
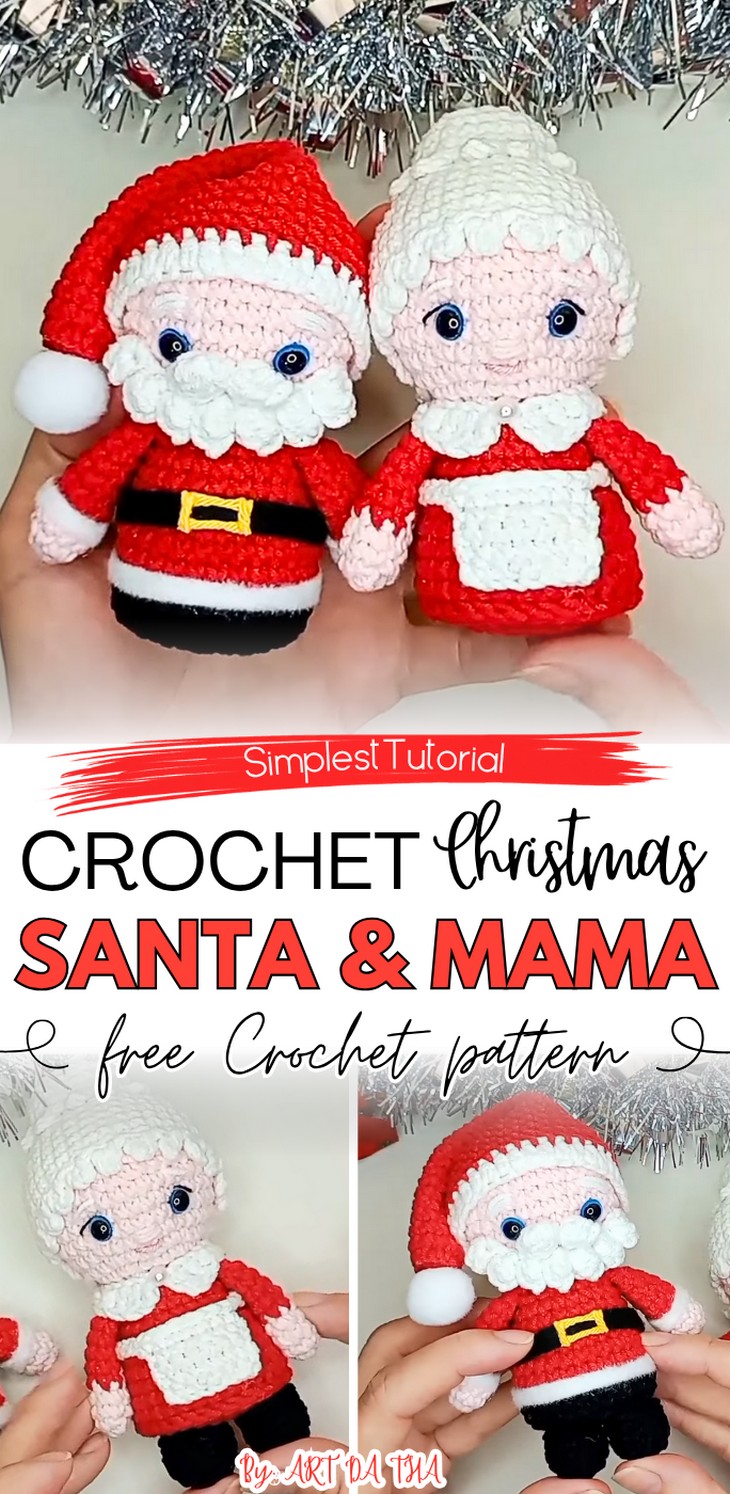
How to Crochet Santa And Mama Claus Amigurumi for Christmas
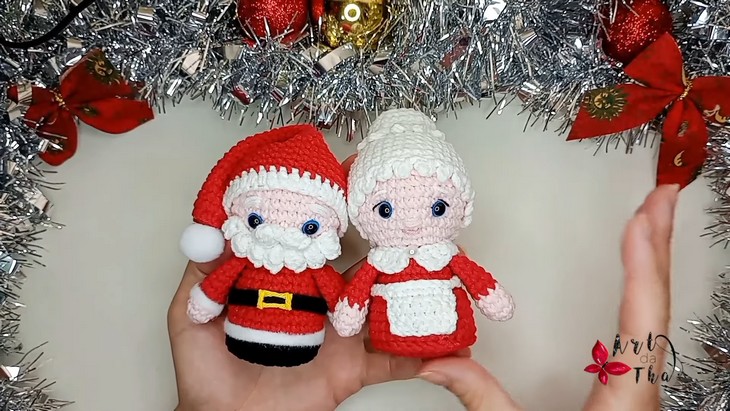
Santa Claus & Mrs. Claus amigurumi are the best couple gifts for Christmas! And finally, I have found a quick and two-in-one tutorial for crocheting both Santa and Mama Claus amigurumi that share the same base body pattern, with instructions provided to easily adapt the design. It is perfect for baby siblings, newlyweds, and old guys in your home.
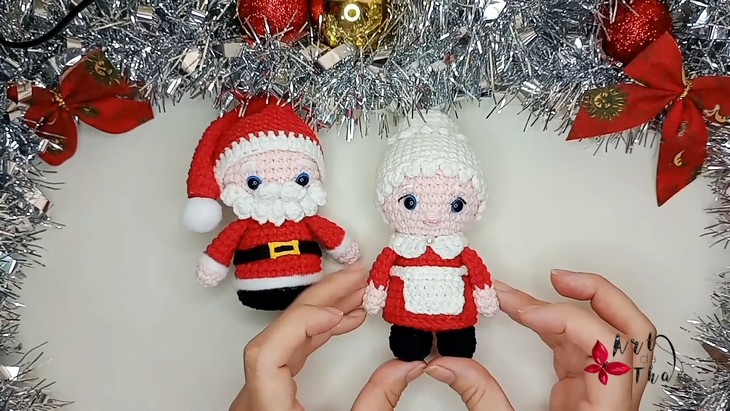
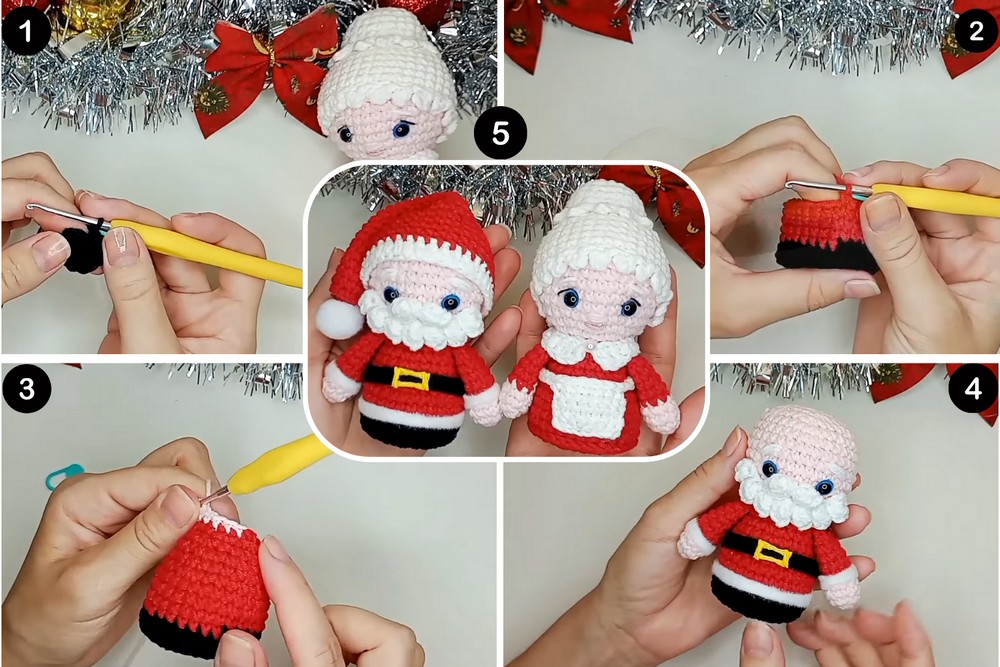
You will find to change Santa to Mrs. Claus, primarily through color changes and minor details like an apron and hair. This crochet amigurumi Santa family set has no legs, which makes them stand on their own, perfect for welcoming the guests.
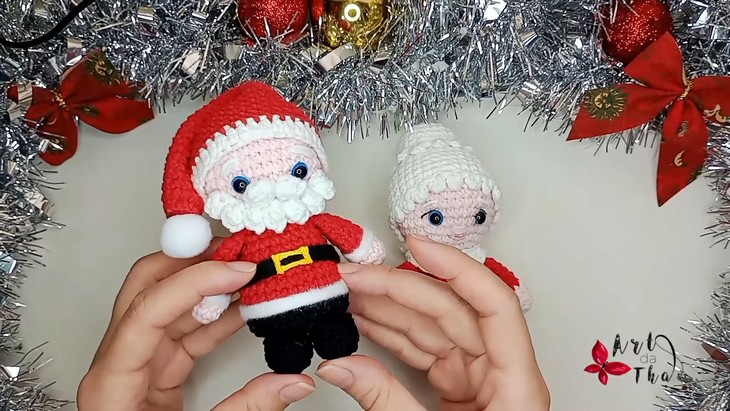
You will especially love Santa’s long slouchy hat with pom pom and the fluffy no-sew beard. With a flat base so they can stand up as decorations, but the tutor also shows how to add crocheted feet if desired.
So, if you are interested in crocheting this Christmas amigurumi set, continue reading this post till the end. There you will find the complete tutorial. It will certainly be the best gift ever!
Who is the designer: The incredible designer behind this Christmas doll set is @ARTDATHA. She has some of the cutest amigurumi designs in quite a promising amount, like the Minecraft Bee, Minion, and Bugs Bunny, to name a few.
From popular cartoon amigurumi (such as Snoopy and Tweety Bird) to small animals like lions and rabbits. You will love her Christmas series with a Christmas tree, Santa, an elf, and more.
Note: In respect of the creator’s rights, there will be no provision of the written pattern. You can watch the tutorial with on-screen written instructions at the end of this post.
Materials Suggested
While the tutor does mention these crochet materials, you can use the crochet materials from the following recommendations to crochet this Christmas amigurumi:
Yarn: Balloon yarn in Black, Red, Skin Tone, and White.
Crochet Hook: 2.5 mm.
Safety Eyes: 7 mm.
Other materials:
Stuffing: Polyester fiberfill.
Firm Base Material: EVA foam, plastic (like from a margarine lid), or cardboard (if the item will not be washed) to stabilize the flat bottom.
Felt: White felt for Santa’s coat trim and black felt for his belt.
Yellow Yarn: Used for Santa’s belt buckle.
Half-Pearl: Used to decorate Mrs. Claus’s collar.
Crochet Christmas Amigurumi Set Tutorial
Quick Summary & Skill Level: You will be using basic amigurumi techniques, color changes, increases, decreases, and making details such as Santa’s beard using the popcorn stitch, suggesting a beginner to intermediate level of difficulty.
Work Single Crochet in continuous rounds to crochet the main body and head. Shaping is achieved use of Increases. For the beard use, Popcorn Stitch. Structural details like the waistline are defined by working a round into the Back Loop Only (BLO).
Accessories for Mrs. Claus use a combination of Chain, Half Double Crochet, and Double Crochet to create flat pieces like her apron and collar. Finishing involves basic Embroidery for facial details.
Tutorial-Timing: 22 Minutes only. (perfect for learning the base doll pattern that can also be adapted for crochet reindeer amigurumi)
Tips before starting: The tutor’s main suggestion is to insert a firm material like EVA foam or plastic into the base of the body to make the figures stand securely. As a final tip, she has a wire for crafts to make tiny glasses. Or you can crochet and attach a small crocheted foot/shoe for a different appearance.
The small accessories, such as Mrs. Claus’s apron, can be either crocheted as demonstrated or simply cut from felt to save time and effort. You can also use a similar pattern to crochet an elf amigurumi with Mr. Elf.
Stitch Guides for Special Techniques
Here are the quick guides for crocheting each stitch that the tutor uses for crocheting this Christmas set:
Popcorn Stitch (Puff/Bobble): Make several double crochets in the same stitch, remove the hook, reinsert in the first DC, and pull through to close into a bobble.
Back Loop Only (BLO): Insert the hook only into the back loop to form a ridge or defined edge.