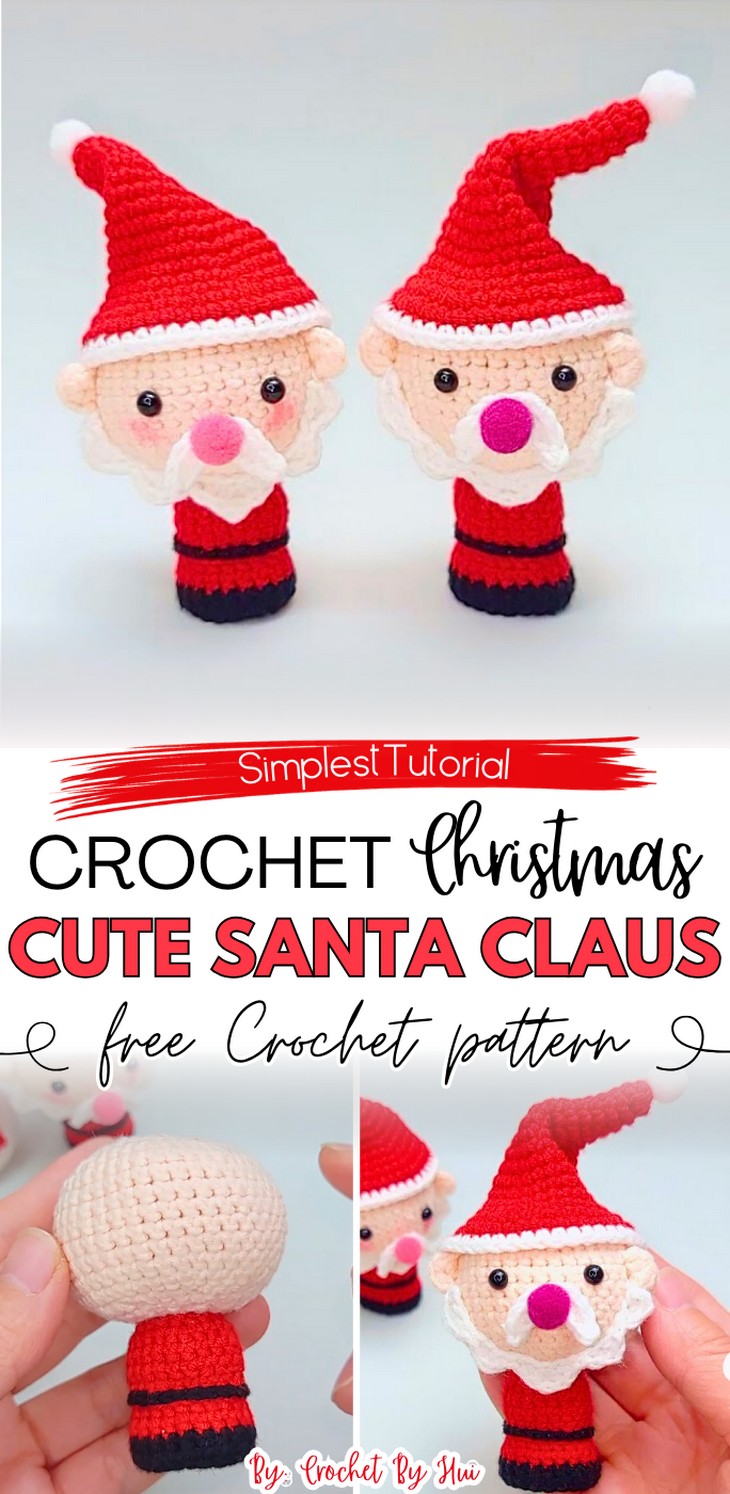
How to Crochet Santa Clause Puppet For Christmas
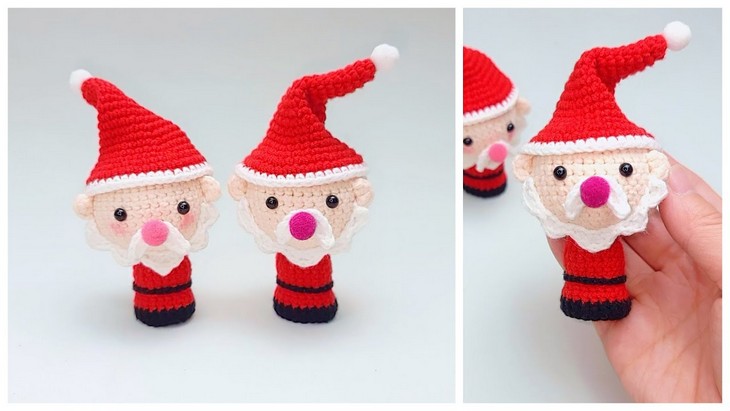
The 4th and last crochet Christmas puppet tutorial from Hui Crochet is here, and this is based on your favorite Christmas character! So, learn how to crochet this kawaii mini Santa Claus finger doll and puppet that is unique in look but simply adorable. You will love its Slouchy Santa hat, the pom-pom nose, and basic beard that is a bit funny! Combining with the puppet sleeve, it becomes an ornament, a desktop buddy, and a playable toy for kids. Just like gingerbread, it is quick, low-sew and perfect for beginners. However, it will take a bit longer to crochet like tree pattern.
So, if you have decided to crochet this version of a crochet puppet for Christmas, continue reading this post till the end. There you will find the complete tutorial. It is worth crocheting!
About the Designer: The designer behind this smiling reindeer doll is @CrochetByHui – Like An_design Crafts, she has excelled at amigurumi designing. From chibi dolls and mermaids to animal keychains like dolphins and mice with a lot of creative and unique variations, her library is a top, though underrated, amigurumi library. What sets this channel apart is the creator’s commitment to making these projects accessible to absolute beginners. She has also made a whole playlist of crochet Christmas projects, from hats to puppets, bag charms to amigurumi, so check them for sure!
Note: In respect of the creator’s pattern rights, there will be no provision of the written pattern. You can watch the tutorial with on-screen written instructions at the end of this post.
Santa Claus Mini Dolls Tutorial
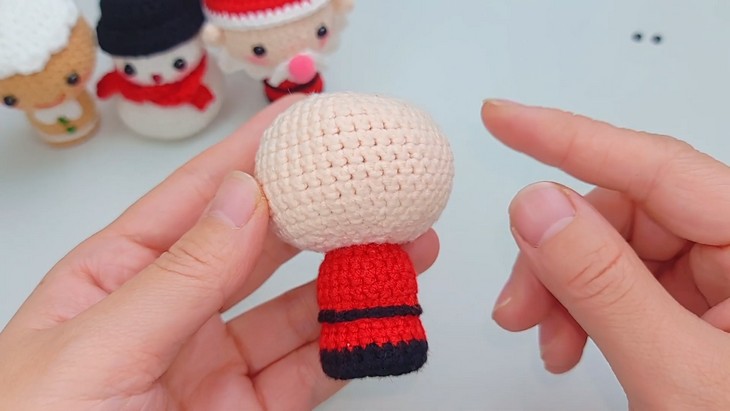
Skill Level: Beginner to Intermediate. Like the gingerbread man, the Santa puppet pattern is worked from the head to the bottom as a single piece. Magic Ring, followed by the primary stitch, the Single Crochet (SC for the head, body, and hat. The tutorial uses Increase (INC) and Decrease (DEC) stitches for shaping. The Slip Stitch (SL ST) is used to join rounds and finish off parts, while the Chain Stitch (CH) is used for the beard foundation and a starting chain.
The technique of Working in the Back Loop Only (BLO) is also needed to create a sharp edge or turning point on the body. For the beard, you will need the surface stitching, starting with reverse single crochet.
Tutorial Timing: About 20 Minutes only (perfect for learning how to crochet a basic pattern for crocheting a finger puppet that can be easily adapted for crochet animals, and as you may have seen in the crochet tree puppet.
Personalization Tips: Instead of small pom-poms for the crochet Santa doll, you can crochet a simple bobble stitch or use a small white faux fur piece for the top of the hat. The hat can also be decorated with embroidered snowflakes or beads. Use the red for the nose as it matches better instead of the pinkish.
Pattern Type: A detailed on-screen written pattern is available if you find written instructions easy to follow along with. The pattern is written in US terms.
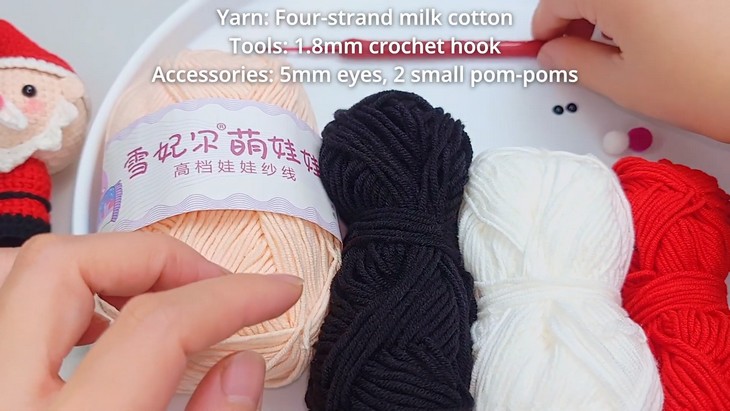
Materials Needed
Gather the following suggested tools and materials for crocheting this Christmas puppet, mentioned in the tutorial:
- Yarn (in colors for Santa, such as red, white, skin tone, and black). 4-ply Milk Cotton Yarn
- 1.8 mm crochet hook
- 5 mm safety eyes (2 pieces)
- Small pom-poms (2 pieces, for the hat)
- Stuffing cotton
- Needle for assembly
Techniques Used
The following are the crochet techniques that the tutor will use for crocheting this Christmas puppet version for beginners:
- Chain Stitch (CH): Make a series of loops to form the starting chain for the beard and other parts.
- Slip Stitch (SL ST): Insert the hook and pull the yarn through both the stitch and the loop on the hook to join rounds or move across stitches.
- Single Crochet (SC): Insert the hook, yarn over, pull up a loop, yarn over, and pull through both loops on the hook to form the primary building block of the amigurumi.
- Single Crochet Increase (INC): Work two single crochet stitches into the same stitch to add stitches and increase the circumference.
- Single Crochet Decrease (DEC): Work two single crochet stitches together to reduce stitches and decrease the circumference.
- Half Double Crochet (HDC): Yarn over, insert the hook, yarn over, pull up a loop, yarn over, and pull through all three loops on the hook.
- Double Crochet (DC): Yarn over, insert the hook, yarn over, pull up a loop, yarn over, pull through two loops, yarn over, and pull through the final two loops on the hook.
- Triple Crochet (TR): Yarn over twice, insert the hook, yarn over, pull up a loop, yarn over, pull through two loops (repeat three times).
- Color Change: Complete the last stitch of the old color with the new color to switch yarn colors seamlessly.
- Working in Back Loop Only (BLO): Insert the hook only under the back strand of the V-shaped stitch.
- Reverse Crochet (Anti-Crochet): Work stitches by inserting the hook from the back of the current stitch to the front, often used for a textured border (like the Santa head/body).
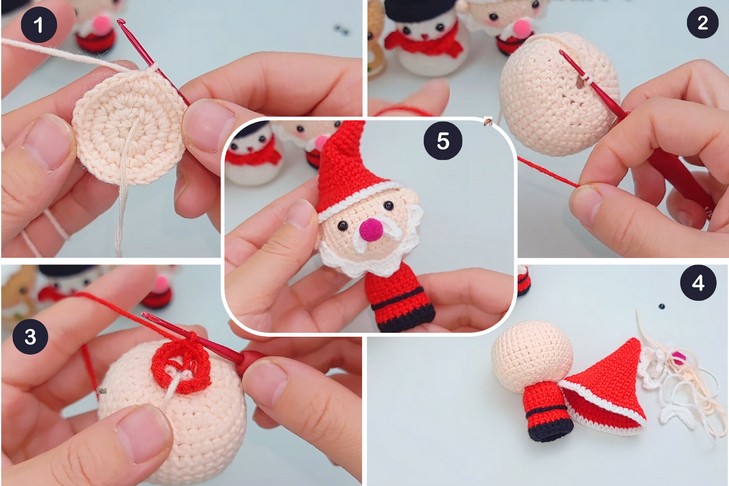
How is it done?
The project is crocheted in six main parts: the head/body sleeve, the hat, two ears, a large beard, and a small mustache. The Head/Body Sleeve is worked first, starting with a magic ring and using increases to form the head, working straight for the body sleeve, and using decreases to shape the top. The Hat is crocheted separately with increases to shape the cone. The Ears are small, simple pieces.
The Beard and Mustache are crocheted in rows using chains and various stitches (SC, HDC, DC, TR) to create their curved shapes.
Once all pieces are complete, the hat is placed on the head, the ears, large beard, and eyes are sewn on, and the mustache is attached last, completing the Santa finger puppet.