
Crochet Sheep Amigurumi Pattern For Beginners
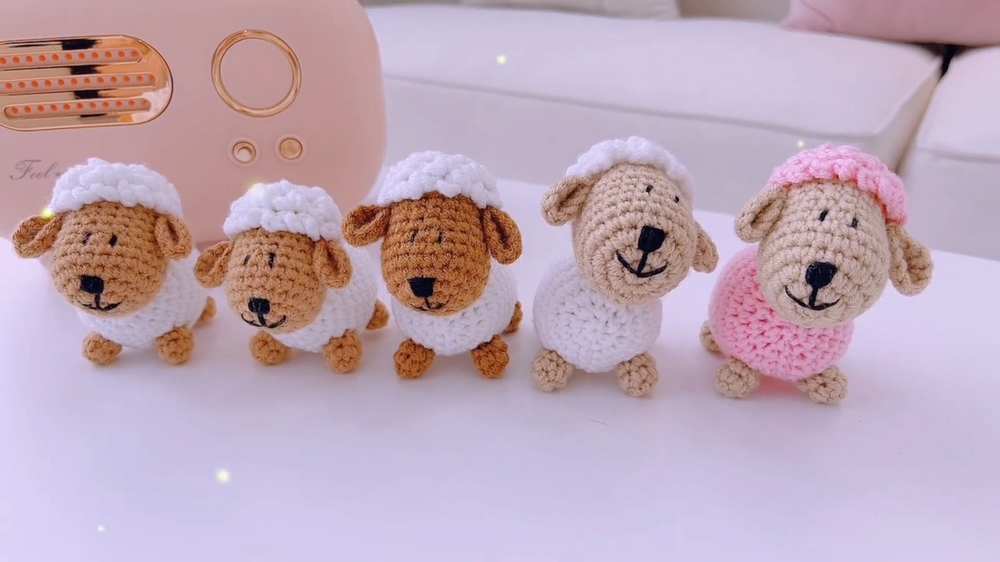
It may be the first sheep amigurumi pattern I’m sharing, but it was well worth the wait. This pattern shows you how to make a tiny, soft, and cute sheep toy with easy stitches. You can make one to rest on your computer table or make a bunch to fill your kid’s toy farm.
You will need two colors of yarn: a light brown or tan color for the face, ears, and legs. A bright white color is also needed for the sheep’s woolly body. So, follow along with the pattern and bring this cutest amigurumi creation to life!
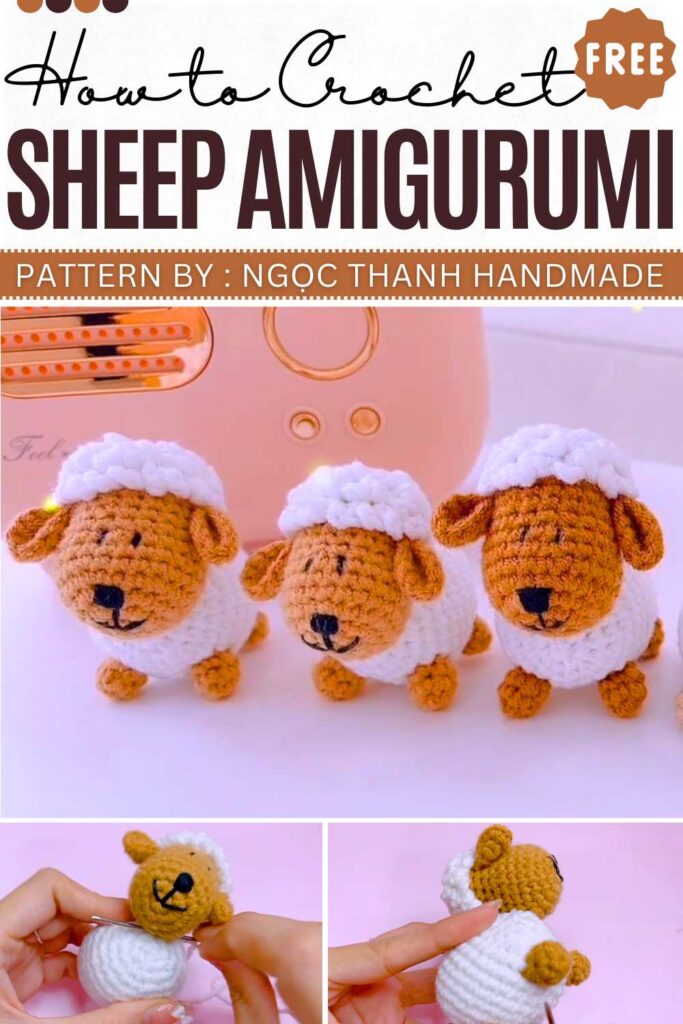
The designer behind this avocado keychain is Ngọc Thanh Handmade – she has quite a good grasp on kawaii amigurumi designing with added cuteness and surprises.
Free Crochet Squid Amigurumi Keychain Pattern for Summer
https://mycraftybasket.com/crochet-squid-amigurumi-keychain/
Materials
- Yarn: Milk Cotton (Brown/Beige #23 for skin, White #68 for wool).
- Hook: 2.5mm.
- Tools: Fiberfill stuffing, black embroidery thread, yarn needle, scissors.
Abbreviations
- MR: Magic Ring
- ch: Chain
- sc: Single crochet
- inc: Increase (2 sc in one stitch)
- dec: Decrease
- sl st: Slip stitch
Head (Brown)
- R1: MR, 6 sc (6)
- R2: 6 inc (12)
- R3: (1 sc, 1 inc) * 6 (18)
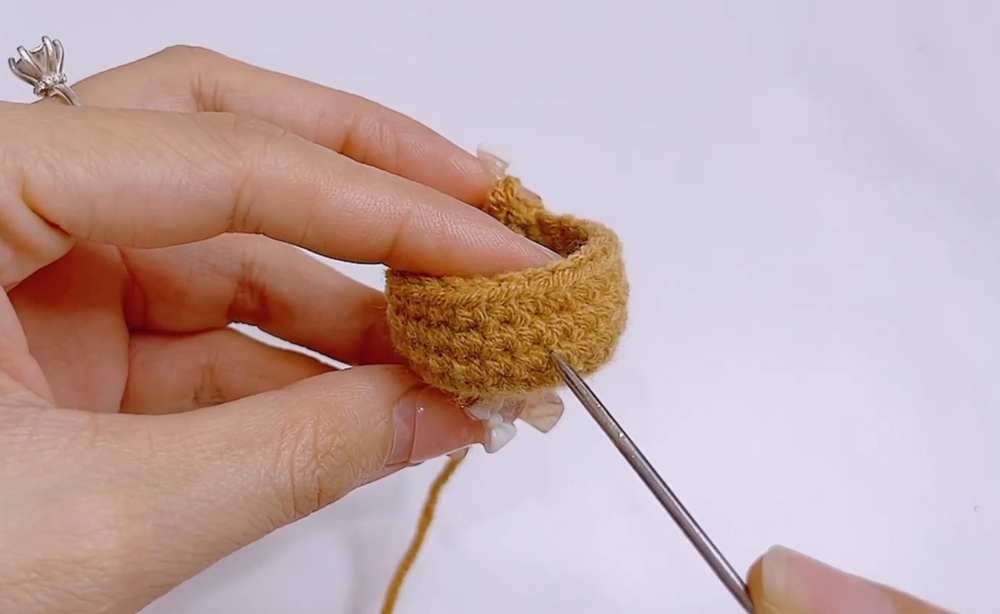
- R4: (1 sc, 1 inc, 1 sc) * 6 (24)
- R5–7: 24 sc (24)
- R8: (3 sc, 1 dec, 3 sc) * 3 (21)
- R9: 21 sc (21)
- R10: (5 sc, 1 dec) * 3 (18)
- R11–12: 18 sc (18)
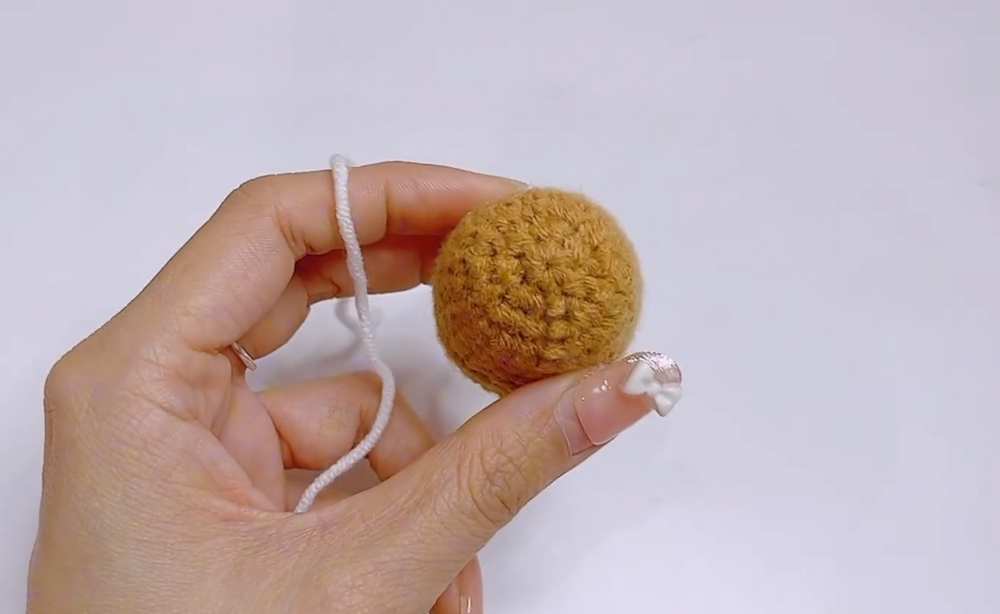
- R13: (1 sc, 1 dec) * 6 (12) — Stuff the head firmly.
- R14: 6 dec (6)
- Fasten off, leave a tail for sewing.
Wool/Hair (White)
- Attach white yarn to the top center of the head.
- Layer 1: (3 ch, sl st into next stitch) * 6.
- Layer 2–4: Continue working (3 ch, sl st into next stitch) in a spiral around the top of the head for 4 total layers until the “cap” of wool is formed.
- Fasten off and hide the yarn tail.

Body (White)
- R1: MR, 6 sc (6)
- R2: 6 inc (12)
- R3: (1 sc, 1 inc) * 6 (18)
- R4: (1 sc, 1 inc, 1 sc) * 6 (24)
- R5: (3 sc, 1 inc) * 6 (30)
- R6–11: 30 sc (30)
- R12: (3 sc, 1 dec) * 6 (24)
- R13: (1 sc, 1 dec, 1 sc) * 6 (18)
- R14: (1 sc, 1 dec) * 6 (12) — Stuff the body firmly.
- R15: 6 dec (6)
- Fasten off, leave a tail for sewing.
Ears (Brown) – Make 2
- R1: MR, 6 sc (6)
- R2: 6 inc (12)
- Fasten off, leave a tail for sewing.
Legs (Brown) – Make 4
- R1: MR, 6 sc (6)
- R2–3: 6 sc (6)
- Fasten off, leave a tail for sewing. Lightly stuff if desired.
Detailed Assembly
-
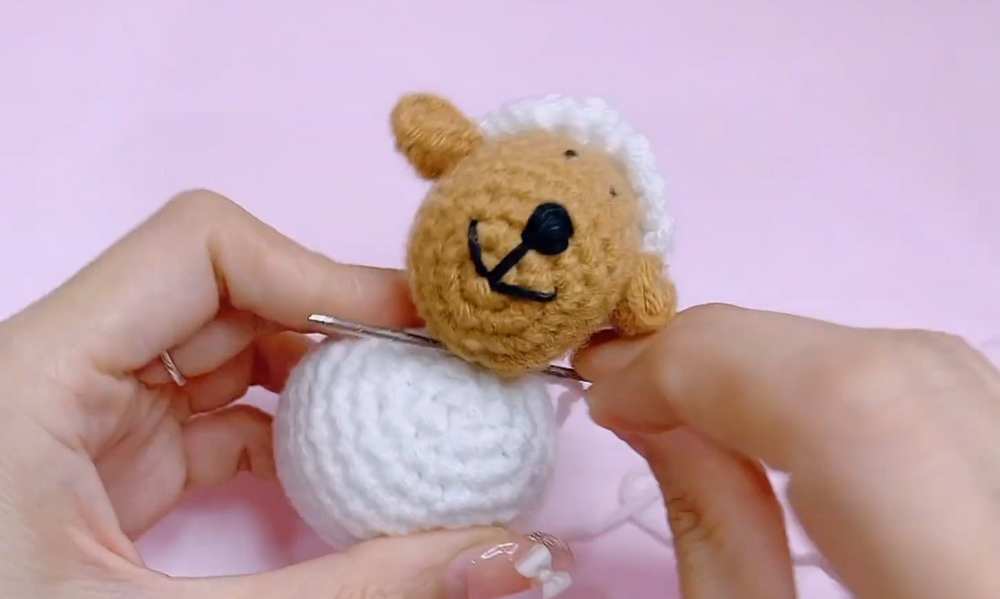
Facial Features:
- Nose/Mouth: Use black thread. Locate Round 2 of the head. Create a small “V” shape for the nose. Draw a vertical line down from the center of the V to form the mouth.
- Eyes: Count 3 rows up from the nose. Place the eyes approximately 2 stitches apart. Use black thread to create small French knots or several small horizontal stitches for each eye.
-
Ears:
- Fold the flat ear circles in half slightly to create a curved shape.
- Sew the ears to the sides of the head, positioned just at the edge where the brown skin meets the white wool.
-
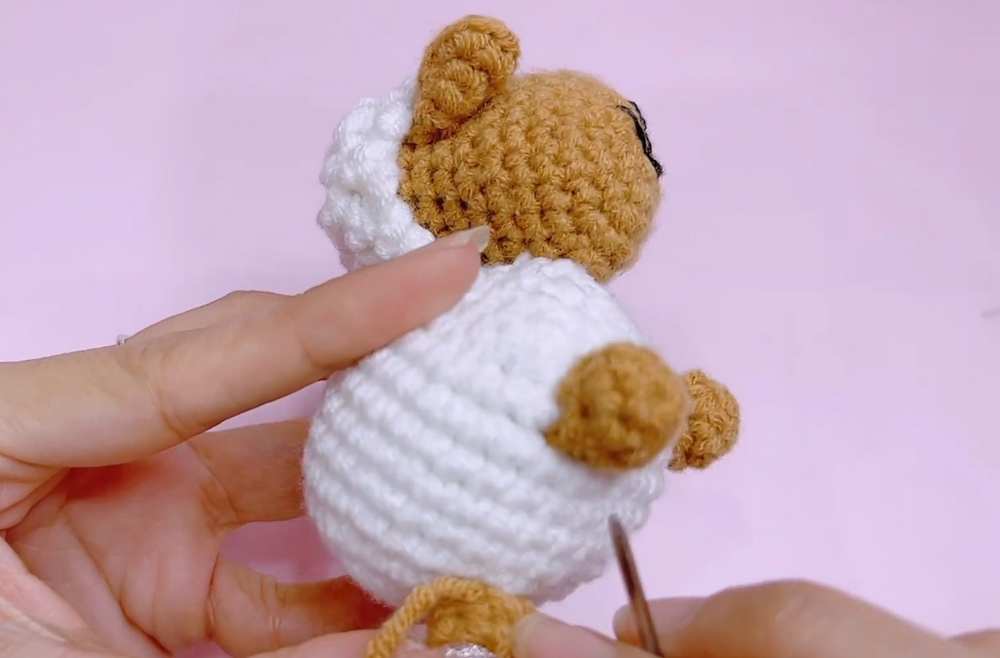
Head to Body:
- Align the head so the face is centered.
- Sew the head to the body securely, passing the needle through both the stitches of the neck and the top of the body.
-
Legs:
- Position the first two legs on the bottom-front of the body.
- Position the remaining two legs on the bottom-back.
- Ensure there is a 4-stitch gap between the left and right legs to allow the sheep to stand stable.

-
Final Touches:
- Ensure all yarn tails are woven into the center of the body or head to hide them.
- Adjust the stuffing by squeezing the body to ensure a round, uniform shape.
Video Pattern
Pattern (UK Terminology)
Head (Brown)
- R1: MR, 6 dc (6)
- R2: 6 inc (12)
- R3: (1 dc, 1 inc) * 6 (18)
- R4: (1 dc, 1 inc, 1 dc) * 6 (24)
- R5–7: 24 dc (24)
- R8: (3 dc, 1 dec, 3 dc) * 3 (21)
- R9: 21 dc (21)
- R10: (5 dc, 1 dec) * 3 (18)
- R11–12: 18 dc (18)
- R13: (1 dc, 1 dec) * 6 (12) — Stuff the head firmly.
- R14: 6 dec (6)
- Fasten off, leave a tail for sewing.
Wool/Hair (White)
- Attach white yarn to the top centre of the head.
- Layer 1: (3 ch, sl st into next stitch) * 6.
- Layer 2–4: Continue working (3 ch, sl st into next stitch) in a spiral around the top of the head for 4 total layers until the “cap” of wool is formed.
- Fasten off and hide the yarn tail.
Body (White)
- R1: MR, 6 dc (6)
- R2: 6 inc (12)
- R3: (1 dc, 1 inc) * 6 (18)
- R4: (1 dc, 1 inc, 1 dc) * 6 (24)
- R5: (3 dc, 1 inc) * 6 (30)
- R6–11: 30 dc (30)
- R12: (3 dc, 1 dec) * 6 (24)
- R13: (1 dc, 1 dec, 1 dc) * 6 (18)
- R14: (1 dc, 1 dec) * 6 (12) — Stuff the body firmly.
- R15: 6 dec (6)
- Fasten off, leave a tail for sewing.
Ears (Brown) – Make 2
- R1: MR, 6 dc (6)
- R2: 6 inc (12)
- Fasten off, leave a tail for sewing.
Legs (Brown) – Make 4
- R1: MR, 6 dc (6)
- R2–3: 6 dc (6)
- Fasten off, leave a tail for sewing. Lightly stuff if desired.
Detailed Assembly
-
Facial Features:
- Nose/Mouth: Use black thread. Locate Round 2 of the head. Create a small “V” shape for the nose. Draw a vertical line down from the centre of the V to form the mouth.
- Eyes: Count 3 rows up from the nose. Place the eyes approximately 2 stitches apart. Use black thread to create small French knots or several small horizontal stitches for each eye.
-
Ears:
- Fold the flat ear circles in half slightly to create a curved shape.
- Sew the ears to the sides of the head, positioned just at the edge where the brown skin meets the white wool.
-
Head to Body:
- Align the head so the face is centred.
- Sew the head to the body securely, passing the needle through both the stitches of the neck and the top of the body.
-
Legs:
- Position the first two legs on the bottom-front of the body.
- Position the remaining two legs on the bottom-back.
- Ensure there is a 4-stitch gap between the left and right legs to allow the sheep to stand stable.
-
Final Touches:
- Ensure all yarn tails are woven into the centre of the body or head to hide them.
- Adjust the stuffing by squeezing the body to ensure a round, uniform shape.