How To Crochet Striped Pumpkin with Vines For Absolute Beginners
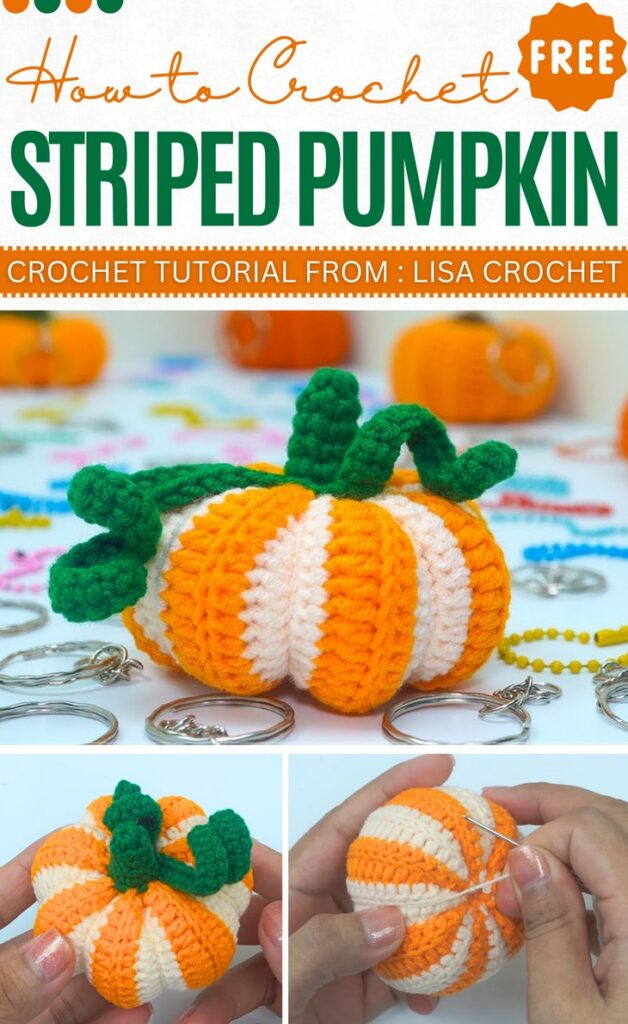
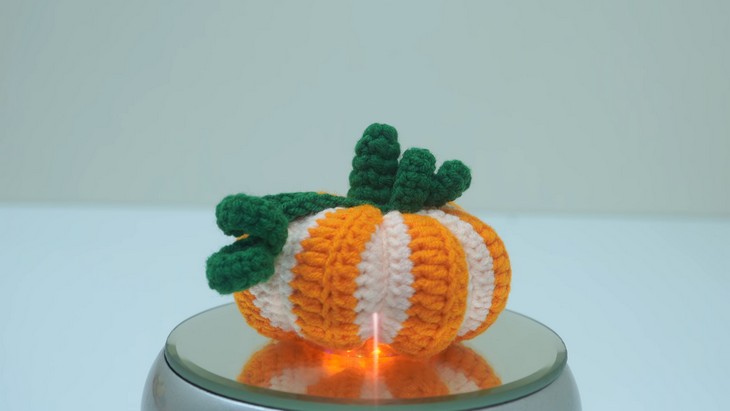
Here is another tutorial for crocheting a striped pumpkin from a rectangle designed by Lisa for absolute beginners. It differs from the previous pumpkin pattern because it is inspired by the Cinderella pumpkin, which has a small height but a large diameter, and the addition of two curly pumpkin vines. The slices of pumpkin are also more prominent than the previous pattern, making it a must-have for Halloween and other fall celebrations. With the same ribbing and white and orange color combo, you can crochet one within 30 minutes.
So, if you are ready for crocheting this colorful pumpkin amigurumi, continue reading this post till the end. There you will find the complete tutorial!
About the designer: the designer behind this pumpkin project is @lisa_crochet – most of her tutorials are about using the yarn scraps to crochet practical and popular projects, including keychains shaped like sunflowers, four-leaf clovers, butterflies, and much more. In addition to these small accessories, she also has tutorials for making classic granny squares and simple amigurumi like bunnies a frog. However, she mostly focuses on crochet motifs and flatwork. But I will call her an all-rounder! She also has a whole collection of pumpkin projects that is worth checking!
Note: in respect of the creator’s pattern rights, there will be no provision of the written pattern. You can watch the tutorial with on-screen instructions at the end of this post.

Crochet Colorful Pumpkin Tutorial
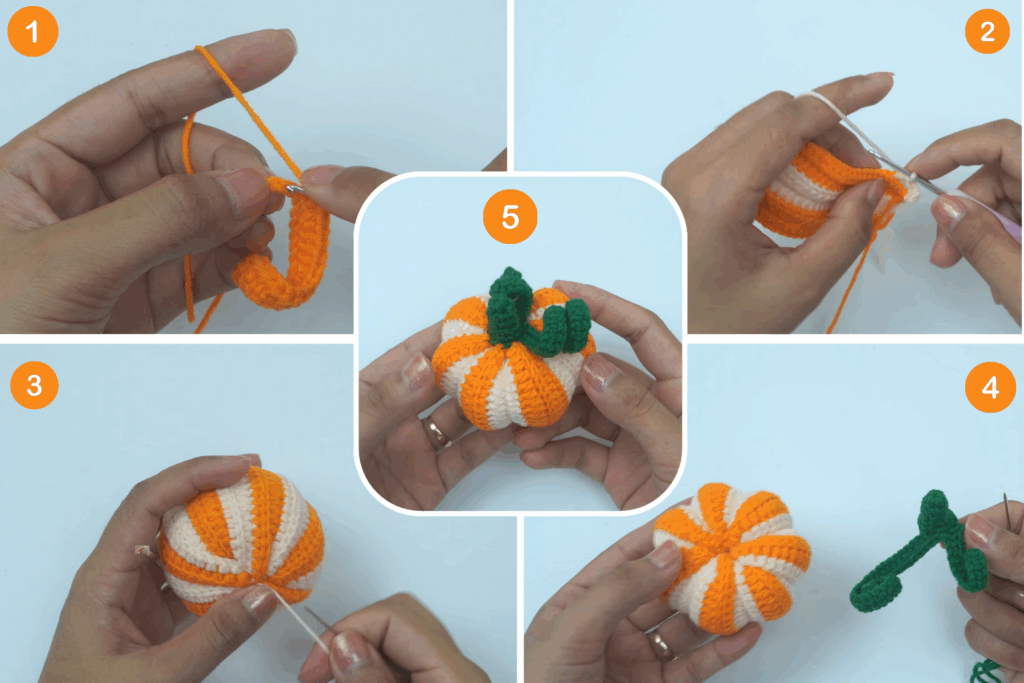
Skill Level: Beginner – Intermediate. You will follow the usual pumpkin from a rectangle pattern using the normal and BLO half double crochet and changing color after every row. After making the long rectangle, you will crochet the slip stitch on the edges. Then sewing is needed for turning it into a round pumpkin. You will use the thread technique for making the slices for a life-like look. Use the single crochet, chain, and increase to make the stem and curl.
Tutorial Timing: 26 minutes only (learn the ribbed stitch, perfect your sewing, and work with the smaller parts, making it worth watching. Ribbing is used widely for crochet sweaters, dishcloths, and many other projects. A similar pattern can also be used to make slippers from a rectangle.)
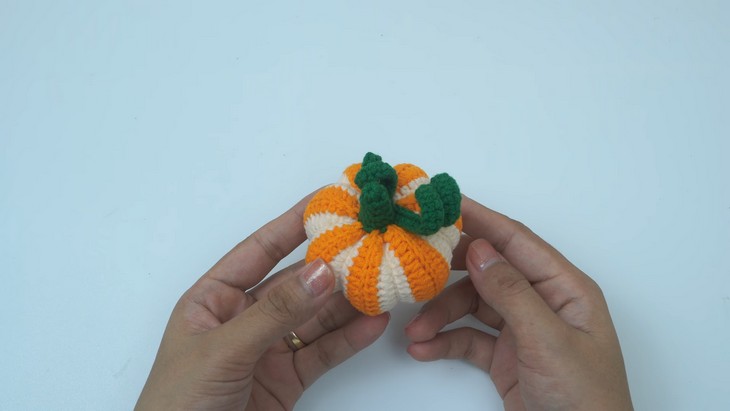
Personalization Tips: Like the previous pumpkin striped pattern, you can also choose either orange and green or orange, green, and brown. Or simply retain the orange and white. To crochet one larger, adjust both the amount of foundation chain and the width of the rectangle. Add the keyring to turn it into a bag charm for Halloween and fall bags.
Pattern Type: A detailed on-screen written pattern is available if you find written instructions easy to follow along with.
Materials Needed
Gather the following suggested tools and materials for crocheting this Halloween and fall amigurumi pumpkin, mentioned in the description:
- Yarn in your choice of colors: Milk cotton (4ply)
- A crochet hook – 2mm tulip
- A keychain ring.
- Stuffing
- Scissors.
Techniques Needed
Here’s a one-line guide for crocheting each stitch and technique in the pumpkin pattern:
- Chain (ch): Yarn over and pull through the loop; creates a foundation or adds length.
- Slip stitch (slst): Insert hook into a stitch, yarn over, and pull through both loops to join or finish neatly.
- Single crochet (sc): Insert hook, yarn over, pull through, yarn over again, and pull through both loops.
- Half double crochet (hdc): Yarn over, insert hook, yarn over, pull through, then yarn over and pull through all three loops.
- Increase (inc/2sc inc): Make two single crochets into the same stitch to expand the fabric.
- Front loop only (FLO): Work the stitch into the front loop of the V-shape on top.
- Back loop only (BLO): Work the stitch into the back loop of the V-shape on top.