
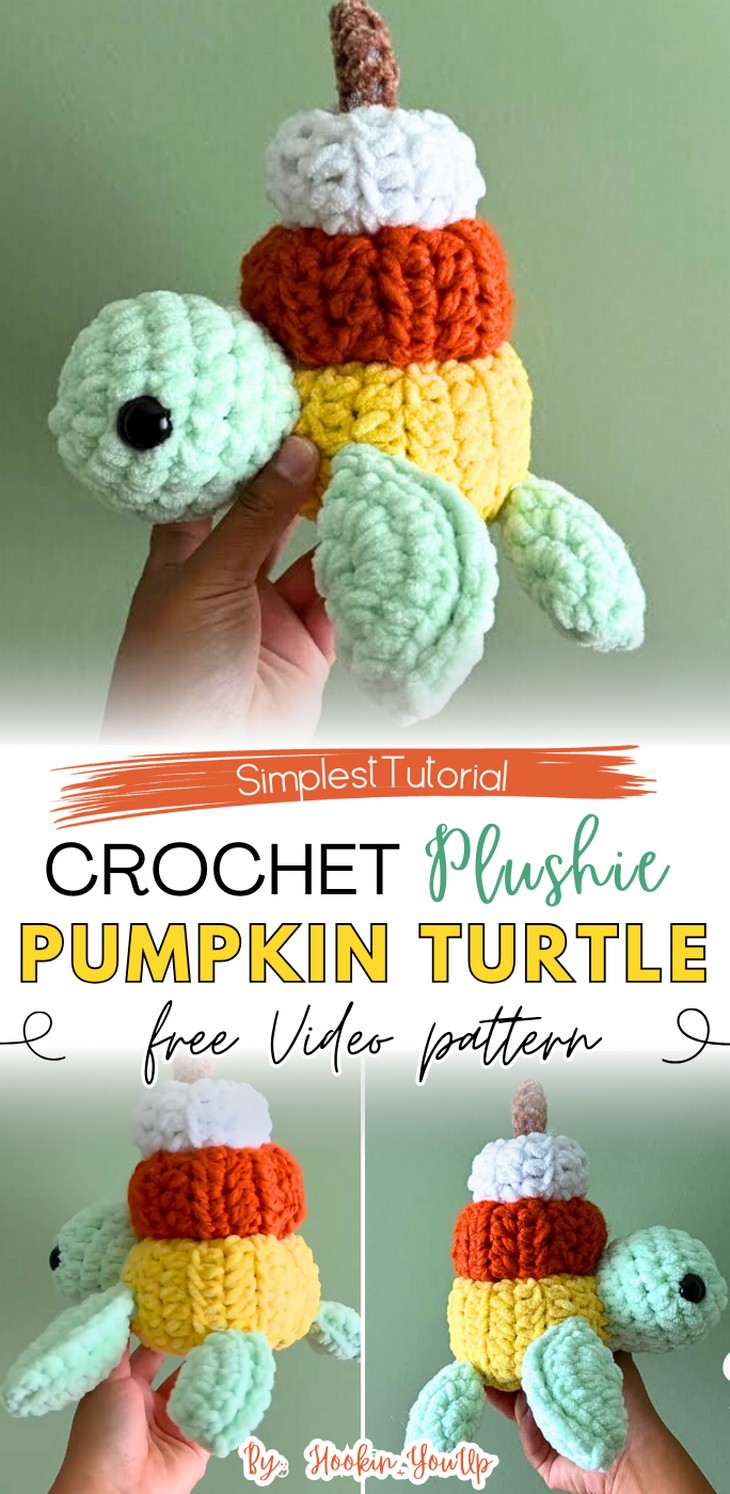
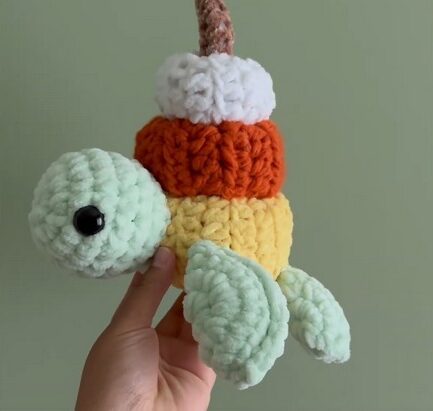
How to Crochet Three Pumpkins Turtle Plushie with Candy Corn Colors
How about combining candy corn, pumpkin, and turtle in one crochet project for fall & Halloween? Yes, here is the crochet candy corn pumpkin turtle plushie that features a stack of three pumpkins in candy corn colors as the shell of a turtle and is designed so beautifully by Hookin_YouUp for beginners. All three pumpkins are crocheted using a similar method, with slight variations in the number of rows for each size. You can crochet this pumpkin within an hour thanks to the plush yarn.
The tutorial has step-by-step instructions for each pumpkin and for assembling everything. So, if you have made up your mind to crochet the complete Halloween pumpkin, continue reading this post till the end.
About the Designer: The designer behind this pumpkin shell turtle is @hookinyouup – crochet flower accessories, mostly with sunflowers and daisies, seem to be her favorite projects since she has almost two-thirds of her library filled with tutorials for them. Whether its a sunburst granny square, sunflower turtle or even sunflower top and earrings, she has in my view, the largest collection of crochet sunflower projects and all are just adorable. The same goes for her four crochet turtles with unique shells from popcorn to evil eye and even a cactus. Certainly check her list!
Note: In respect of the creator’s rights, there will be no provision of the written pattern. You can watch the tutorial with CC instructions at the end of this post.
Crochet Three Pumpkins Turtle Plushie
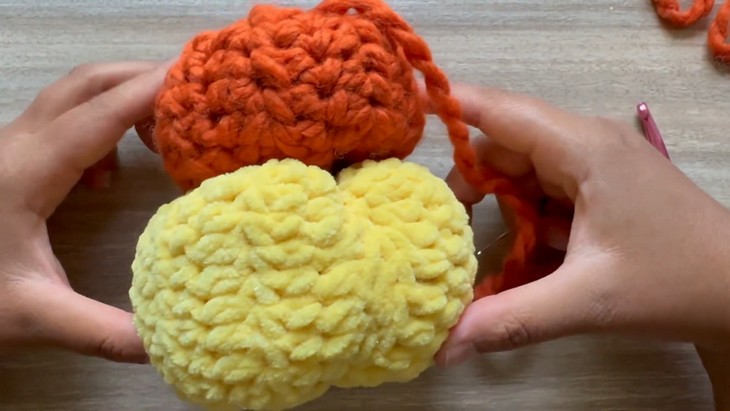
Skill Level: Beginner – Intermediate. You will use the pumpkin from a rectangle pattern in different dimensions for crocheting pumpkins of different sizes and colors. For ribbed texture, you will be using the alternating half-double crochet and BLO half-double crochet rows and sewing using a needle. For the turtle head, you will need to work in the rounds using single crochet, increase, and decrease. For each flap, crochet a circle of a few rounds, fold, and sew in a semi-circle shape.
Tutorial Timing: 32 Minutes for the first part and 35 minutes for the second (worth watching as you will learn not only how to crochet a pumpkin from a rectangle in any size, but also to make flippers of a turtle using a crochet round. Your sewing will be improved and become seamless as everything is crocheted separately.
Personalization Tips: Use the glittery safety eyes or crochet it in pastel blue or beige. You can also crochet the fall version using the orange for the turtle and shades of brown up to golden yellow for the pumpkins. Always use the same yarn for each pumpkin to get the determinable sizing. The tutorial mentions using plush or “thick and quick” yarn, but you can choose any yarn weight.
Pattern Type: A detailed CC and vocal pattern is only available if you find written instructions easy to follow along with.
Materials Needed
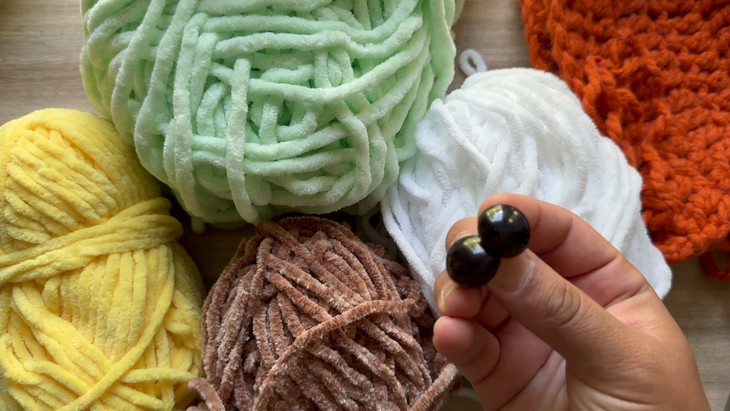
The tutor recommends the materials required for this pumpkin turtle project. These include:
- Yellow, orange, white, green, and brown yarn. Plush yarn is recommended, but Lion Brand’s “thick and quick” yarn is also suggested.
- A 6.5mm crochet hook.
- A tapestry needle.
- Safety eyes.
Techniques Used
Here are our quick guides for crocheting each stitch and technique for this pumpkin Halloween amigurumi for beginners:
- Half Double Crochet (hdc): Yarn over, insert the hook into the stitch, yarn over again, pull through, and yarn over once more to pull through all three loops.
- Back Loop Only (BLO) Half Double Crochet: Insert the hook into just the back loop, yarn over, pull through, and complete the hdc as usual for ribbed texture.
-
Single Crochet (sc): Insert the hook into the stitch, yarn over, pull through, yarn over again, and pull through both loops.
Increase: Make two stitches in the same stitch to expand the work. - Decrease (sc2tog): Insert the hook into the first stitch, yarn over, pull through, insert into the next stitch, yarn over, pull through, yarn over again, and pull through all loops on the hook.
- Sewing: Stitch together edges or folds with a needle to shape and assemble the piece.