
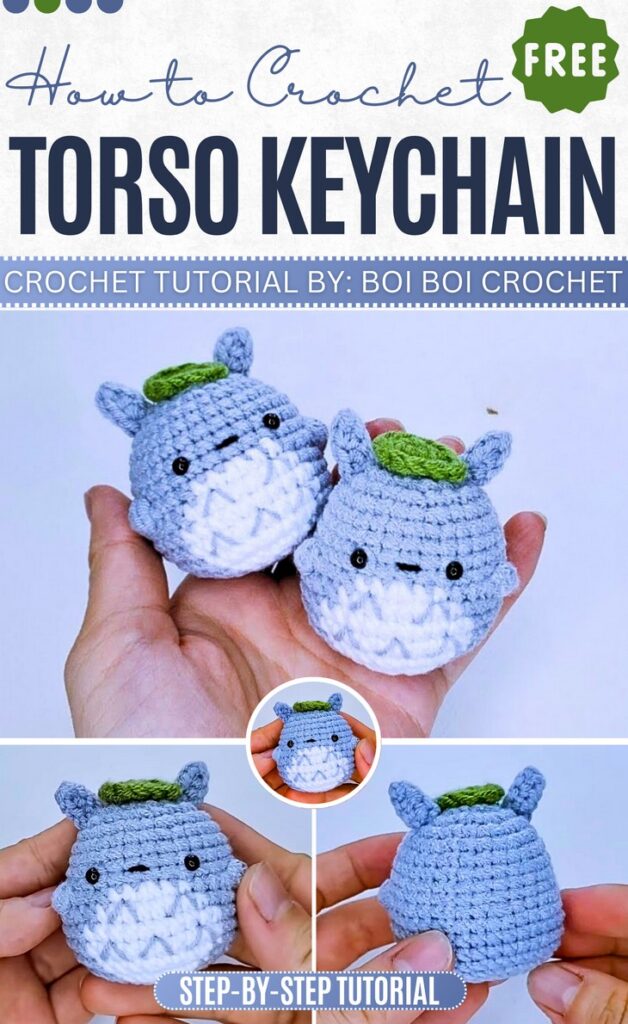
How to Crochet Mini Totoro Keychain without Sewing
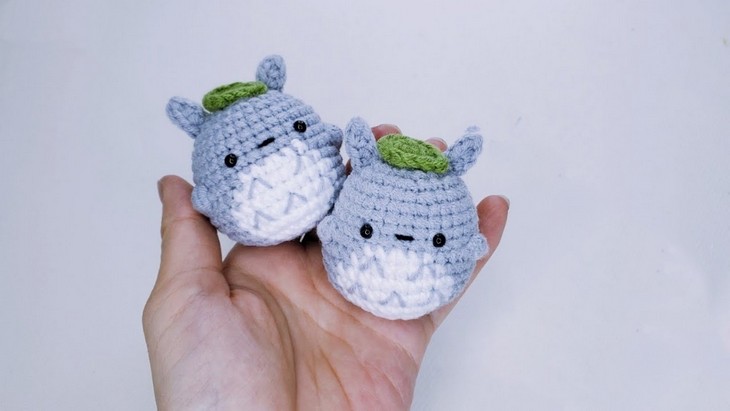
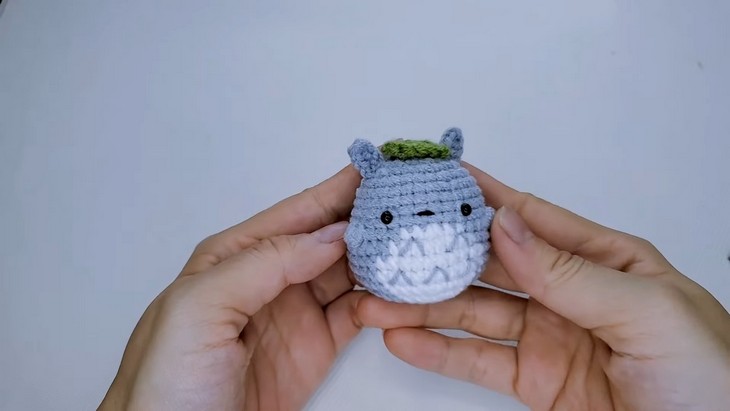
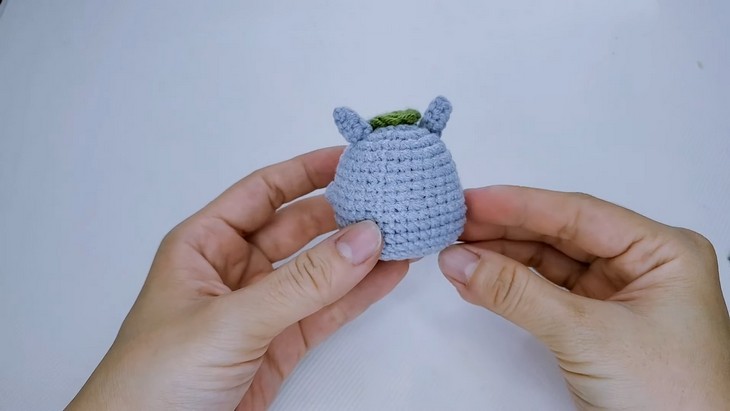
Need a quick and last-minute gift for a My Dear Totoro fan? Follow through with this crochet mini no-sew Totoro keychain tutorial that can be completed within an hour. It is a chubby version of Totoro completed with bobble stitch legs and arms and a green Totoro hat. So, learn how to crochet from a step-by-step tutorial from Boi Boi Crochet.
Please note that all the rights of this crochet totoro keychain pattern and media rights of the creator @boiboicrochet are fully protected. We won’t provide any artifically or self-written fetched pattern but details about this project to make it easy for you!
Mini Totoro Keychain Tutorial Features
Skill Level: Beginners, thanks to the tutorial
Tutorial Timing: 40 Minutes Only
Personalization Tips: You can also crochet a large Totoro amigurumi using a super bulky or simply bulky yarn while using the same pattern as described in the tutorial.
Pattern Type: On-screen written instructions are available if you find written instructions more convenient.
Supplies Used
The following are the materials and tools suggested by the tutor to crochet this mini keychain Totoro for all skill levels:
- Milk Cotton Yarn 4ply (available on Amazon)
- 2.5mm crochet hook
- Colors: Grey for the body, white for the bell,y and green for the hat!
- Embroidery thread
- Polyester fiberfill stuffing
How to Crochet a Bobble Stitch for Totoro?
To crochet the arms in this quick Totoro amigurumi, you’ll need no-sew techniques like bobble stitch. To work a bobble stitch, start by yarn over and insert your hook into the stitch. Yarn over again and pull through, creating three loops on the hook. Yarn over and pull through two loops only.
Repeat this process (yarn over, insert hook, yarn over, pull through two loops) four more times in the same stitch until you have six loops on your hook.
Finally, yarn over and pull through all six loops together. This completes the bobble stitch. Continue the pattern as directed for your project.
Tips for Color Changes in Mini Amigurumi
When changing colors in mini amigurumi, precision is key to keep your work seamless. Always change the color before completing the last pull-through of your final stitch in the current color. This ensures the new color starts cleanly with no overlap.
Stitch Guide
If you are a beginner, get your rust away with these quick stitch guides to crochet the Totoro mini amigurumi:
- Single Crochet (sc): Insert the hook into the stitch, yarn over, pull up a loop, yarn over again, and pull through both loops on the hook.
- Slip Stitch (sl st): Insert the hook into the stitch, yarn over, and pull the loop directly through the stitch and the loop on the hook.
- Single Crochet Decrease (dec): Insert the hook into the first stitch, pull up a loop, insert the hook into the next stitch, pull up a loop, yarn over, and pull through all loops on the hook.
- Chain Stitch: Yarn over and pull through the loop on the hook!
- Increase: Work two stitches of the same type here, single crochet into the same stitch to add width or shape.
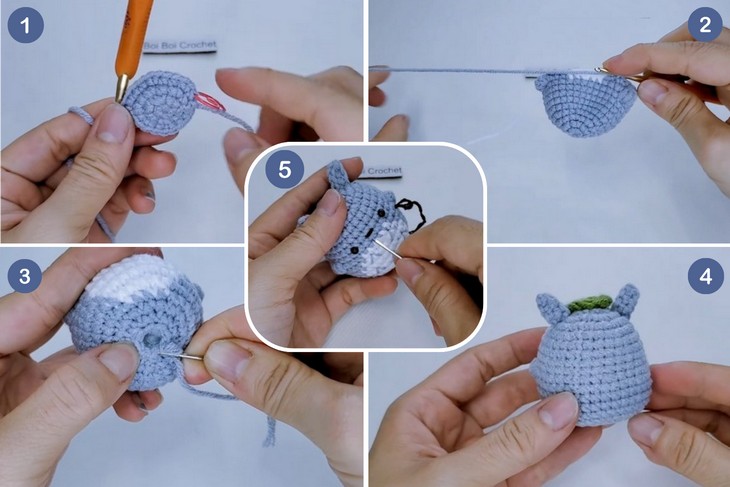
How’s it done? The quick mini Totoro keychain!
You will begin by creating the magic ring and start crocheting the sphere body of Totoro. It involves first increasing like the regular flat round, and then even stitches, and then decreasing in this manner. The difference is that as you go, you will change the colors to make the belly and use the bobble stitch for the arms. Then you’ll proceed with the tutorial!
Complete Video Guide
If you love the kawaii crochet characters, then you will also like this mini Sanrio amigurumi list!