
How to Crochet Toy Plushies for Kids
I have found a few more crochet plushies that you won’t want to resist. Plus, this time will find so many tips for working with the chenille yarn, plus ideas with some of the leading velvet yarns. So, learn how to crochet your next amigurumi from super bulky yarn with these toy plushie tutorials for beginners.
This time, I have added mainly those that will make you play with them instantly and relieve your stress. There are two teddy bear plushies, two turtles, and one bunny plushie. I think they were common and favs, so I added them.
Crochet Toy Plushies

01 of 13 Crochet Mr. Bean Teddy Bear Plushie
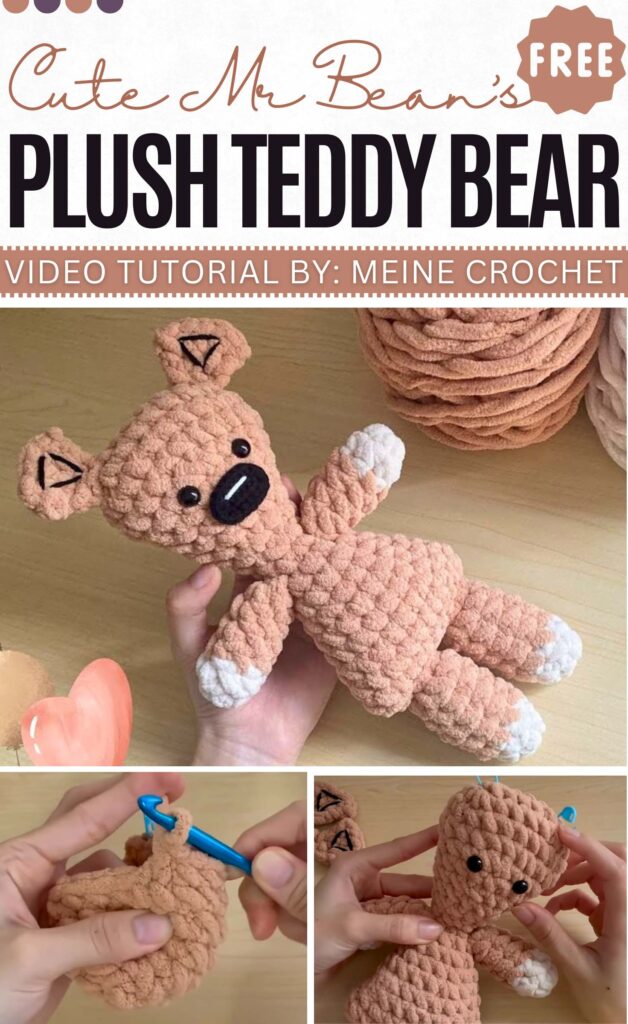
Here is how to crochet the most accurate Mr. Bean teddy plushie using super bulky yarn. You will crochet this teddy doll in separate parts and end up with a large teddy bear that seems quite the same size if you take the photo.
Crocheting this teddy bear is great for gifting to a kid on their next birthday. It also has an embroidery around the ears, plus the crochet oval nose. Simply irresistible, I think.
Materials Needed
The materials used in the tutorial for the crochet Mr. Bean’s Teddy Bear are:
Velvet/Chenille Yarn (Len Nhung Đũa): In light brown and beige (or light skin tone) colors.
Milk Cotton Yarn (125g): In black and white (a small amount of white for the nose detail).
Crochet Hooks:
7.0 mm (for the main body, head, and limbs).
3.0 mm (for the nose).
Stuffing: Polyester Fiberfill (Bông Gòn Bi).
Safety Eyes: 10.0 mm.
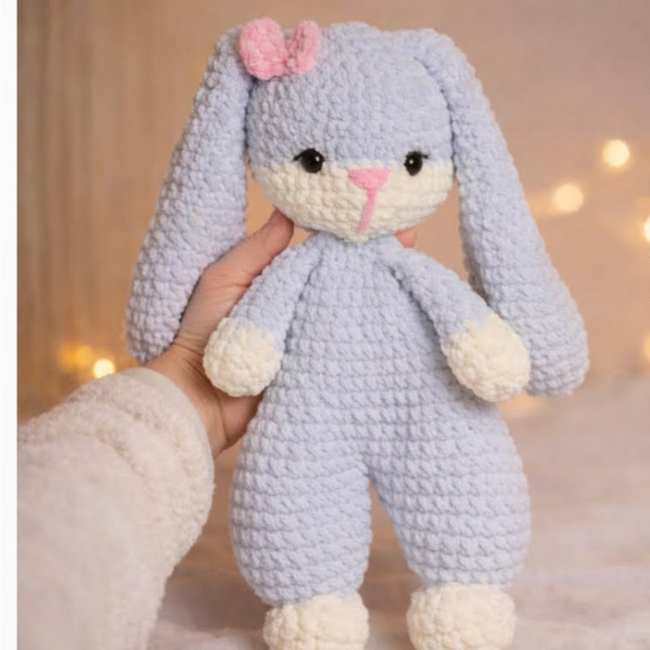
02 of 13 Crochet Plush Bunny Doll
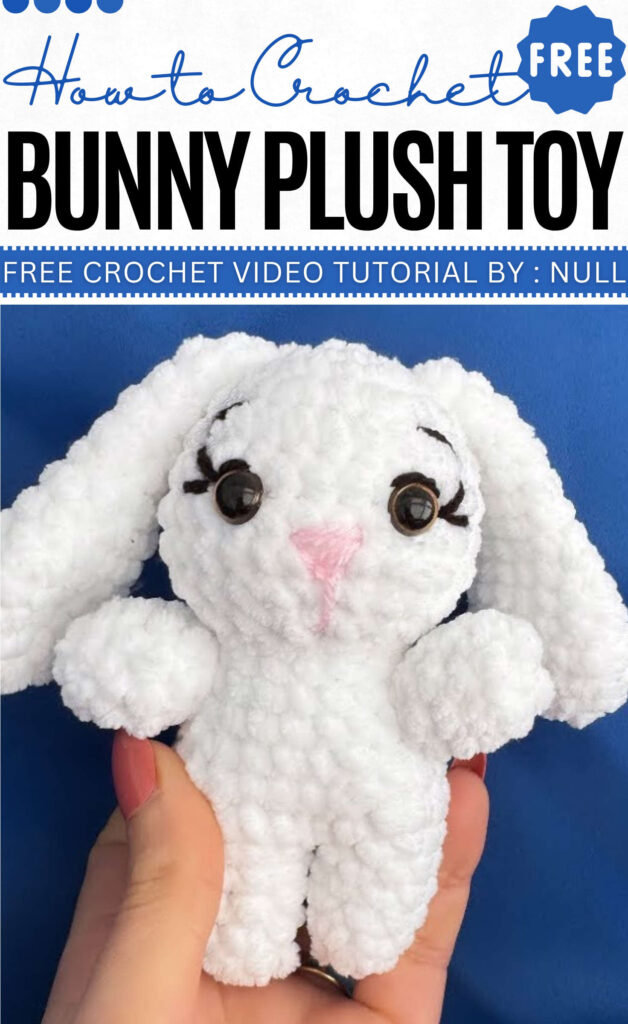
The bunny plushie pattern that you will learn in this tutorial will result in the cutest bunny doll with long ears. A similar one, but without long ears, captured the trend recently. And I hope you will love crocheting this one, too.
With the white and pink, you can crochet one for a little girl. The base bunny body is basic and usually used in most animal dolls. So, it will be easy to crochet and low-sew.
Materials Needed
The following are the materials and tools needed for the plush bunny:
- White plush yarn (you can use Himalayan velvet yarn)
- Semi-cotton yarn for the eye embroidery
- 10mm safety eyes
- 4mm crochet hook
See Bunny Series:
03 of 13 Crochet Baby Bear Plushie
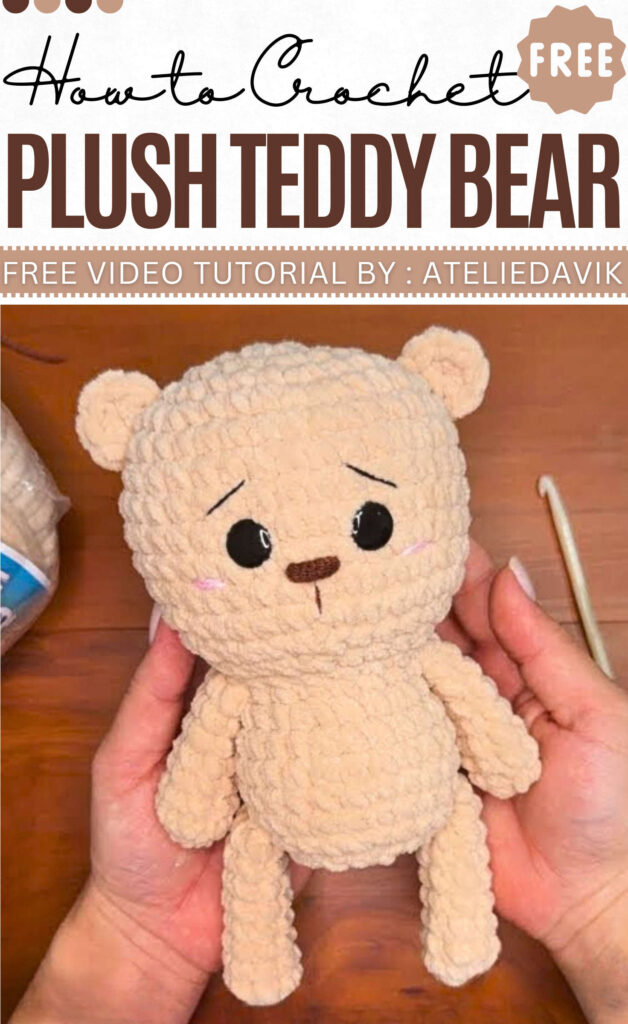
Following this test guide of Circulo Amigurumi Chenille yarn, you will end up with an oh-so cute 20cm teddy bear plushie with an unusually large head construction. It looks so cute and will become your next buddy for sure.
The yarn’s soft, chenille texture makes it look like a stuffed toy from a store. This guide will mainly have tips for how to manage working with the velvet yarn, as it might be difficult the first time.
Materials Needed
The tutorial for making the plush amigurumi bear uses the following materials:
Yarn: Círculo Amigurumi Chenille (a beige/universal color is used for the bear’s body).
Crochet Hook: 4.5 mm.
Safety Eyes: 12 mm safety eyes (with safety backings).
Stuffing: Fiberfill (enchimento).
Needle: Tapestry needle (for assembly and weaving in ends).
Embroidery Thread/Yarn
04 of 13 Crochet Easy Toy Plushie Turtles
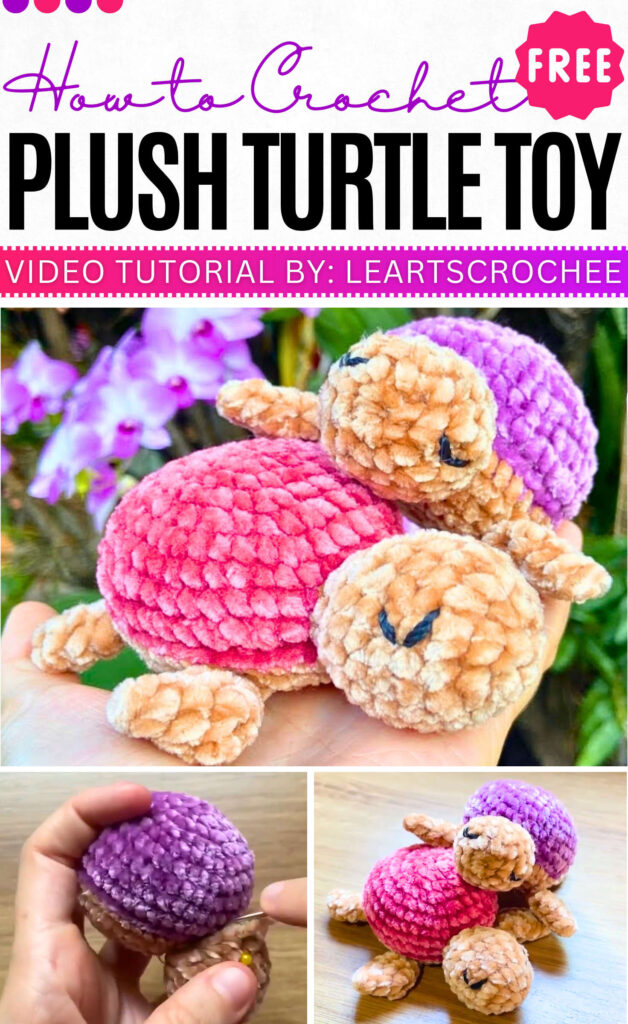
With the whiteness of chenille yarns, these crochet sleeping turtle plushies will make your next stress toy and desk buddy. It needs Amigurumi Plush yarn that gives the finish as if the purple is mixed with white.
Crocheting the shell is quite easy, with the sewing needed for the legs and head. These crochet turtles are quite small and with the super bulky yarn, work up fast, finishing one within 30 minutes.
Materials Needed
The materials used in the crochet tutorial for the plush Amigurumi turtle are:
Yarn:
Amigurumi Plush Yarn in two colors. Colors 5801 and 6085.
Black yarn or embroidery floss for embroidering the eyes.
Tools and Notions:
Crochet Hook: 3 mm (The video notes a recommendation of 3 mm to 4.5 mm for crochet with this yarn).
05 of 05 Crochet Ice-Cream Turtle Toy Plushie
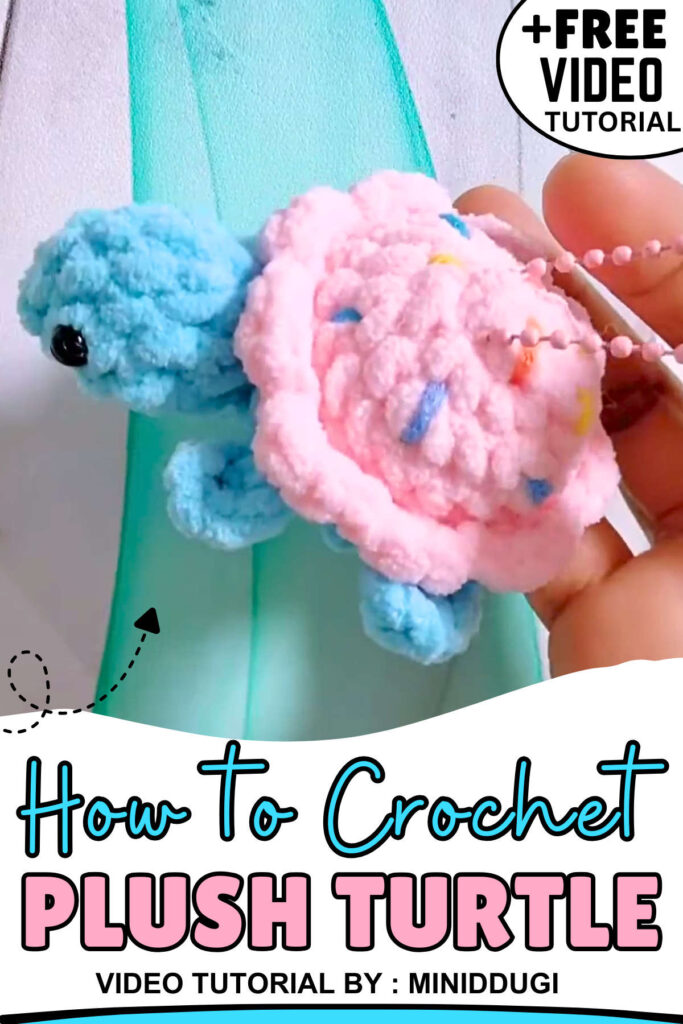
The shell of these cute baby turtle plushies is designed as the ice-cream part, with the remaining body also in a different color (blue). These are small and can be attached to keyrings. One can complete crocheting in less than 25 minutes.
I especially love the shell edging and the color embroidery thread. You can also couple with the beaded key charm in pink. Crochet more than one for selling at craft fairs.
Materials Needed
Gather the following for this crochet plush yarn turtle:
- Chenille yarn in two colors
- Cotton yarn in many colors, like yarn scraps for sprinkles
- 3.5mm crochet hook
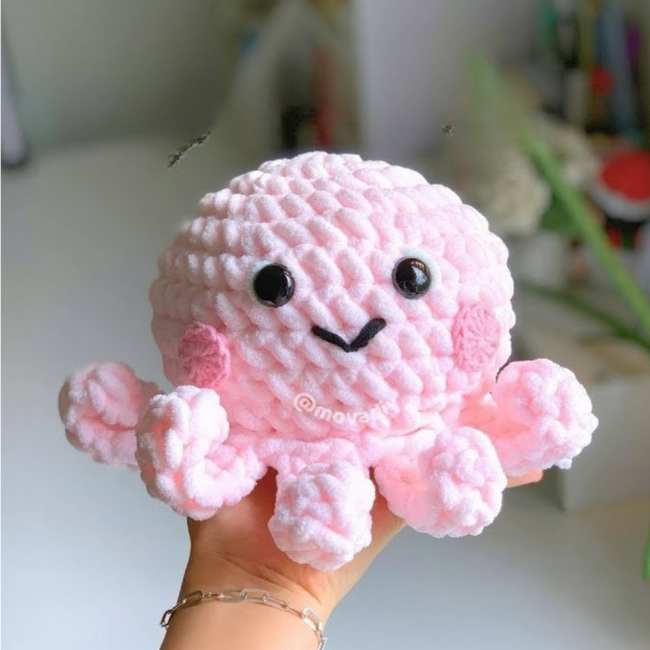
06 of 13 Crochet Plush Toy Octopus
07 of 13 Crochet Plush Toy Bear

Follow this tutorial to crochet a large teddy plush bear using the amigurumi technique. You will be crocheting the separate head, body, arms, legs, ears, and muzzle.
You will learn essential crochet skills like working in rounds, increasing, and decreasing to shape the bear’s form. After crocheting the pieces, the tutorial covers how to attach plastic safety eyes and assemble them into a sitting doll.
08 of 13 Crochet Plush Toy Turtle
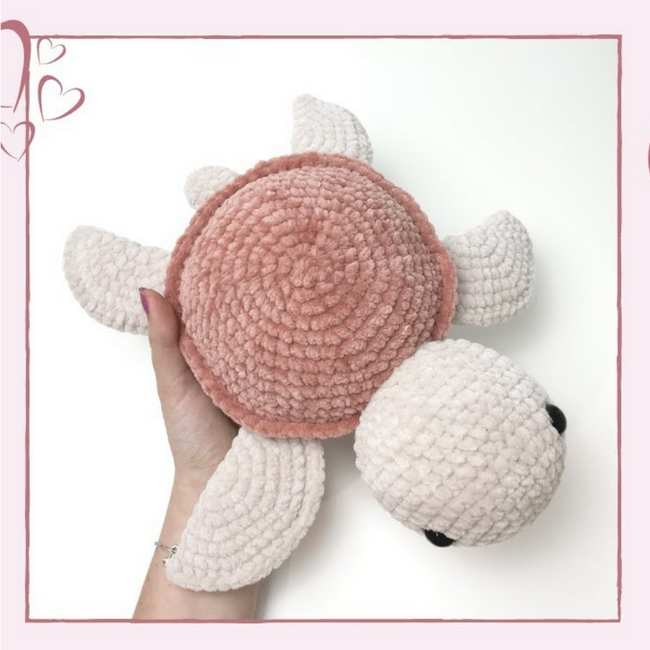
Here is how to crochet a jumbo crochet turtle plushie for summer, with a tutorial by Rosalie. It measures approximately 13 inches in size, depending on the materials used.
The tutorial focuses on crocheting the head, front legs, back legs, and tail of the amigurumi creature.
09 of 13 Crochet Plush Toy Bunny Lovey
Here is how to crochet a cute baby bunny snuggler for a girl with a bow tie. This bunny has long stuffed ears but an unstuffed body, which makes it huggable and lovable, perfect for having while sleeping. It is bigger and a girl will definitely want to have it as a birthday gift.
10 of 13 Crochet Plush Toy Dino
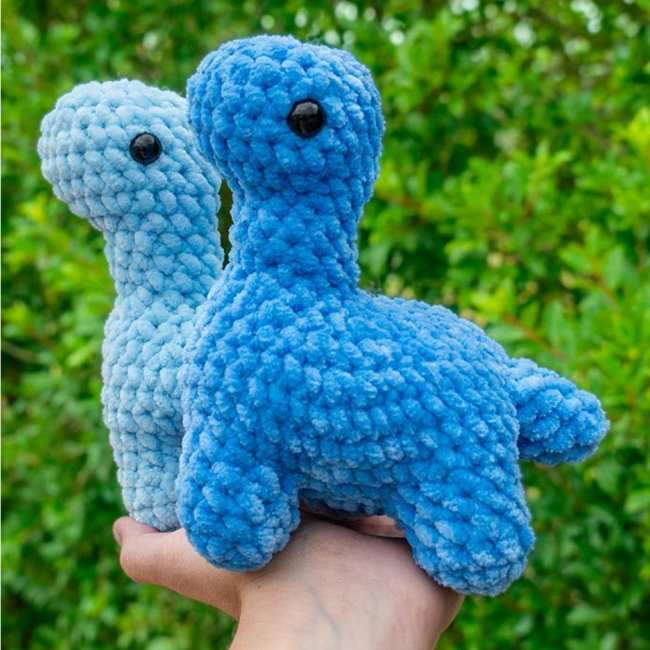
Learn how to crochet the body and legs of a Brontosaurus dinosaur plushie, which is no-sew and super quick. It is the first part of Brontosaurus, crocheting four legs and then effectively attaching them to the main body.
11 of 13 Crochet Plush Toy Cow
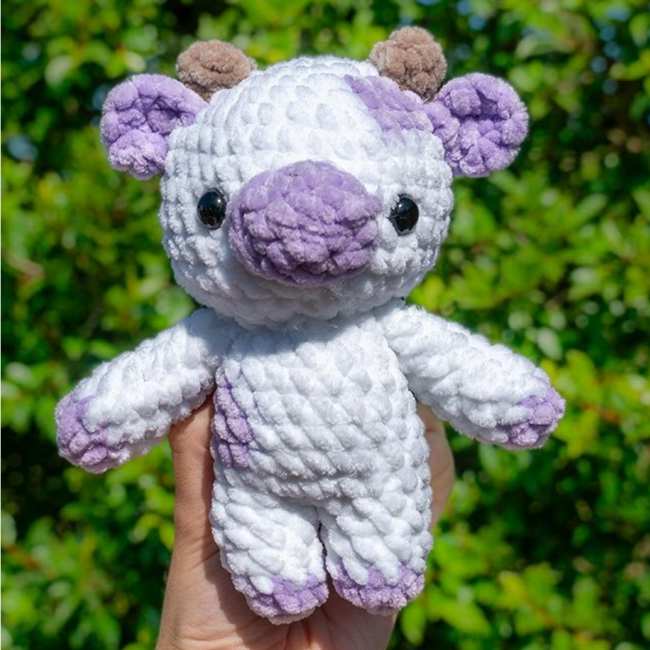
Learn how to crochet a big cow doll with this tutorial. Begins by detailing the construction of the legs, which involve changing to the 2nd color to white, followed by joining them to form the body.
You will also learn how to manage color changes to crochet patches on the cow. After completing the body, the tutorial moves to crocheting the head with horns.
12 of 13 Crochet Plush Toy Highland Cow
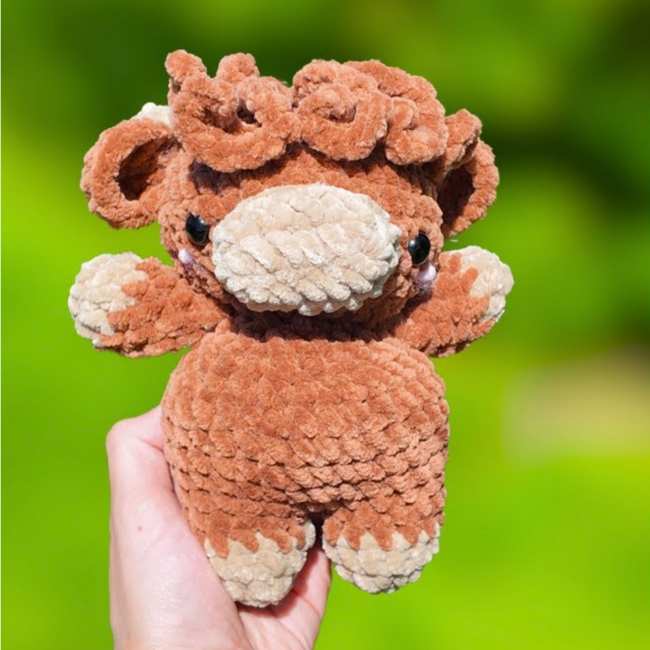
Here is the first part of a guide for crocheting a Highland cow plushie for kids. Starts by crocheting the legs and arms using a lighter color for the base and changing to a darker brown for the rest of the limb. These pieces are then stuffed and connected to form the body.
The tutorial continues by detailing the construction of the cow’s head, which involves increasing rounds to shape the head, followed by decreasing rounds. It is cute and easy.
13 of 13 Crochet Plush Toy Horse

Learn how to crochet a “no-sew” sleeping horse amigurumi using chenille yarn. The tutor explains that the entire unicorn is designed to be crocheted in one piece, meaning parts like the mane, tail, and legs are crocheted as you go.
The tutorial focuses on crocheting the legs and hooves, using color changes to create a distinct look. While some parts of the project may be challenging for complete beginners.