
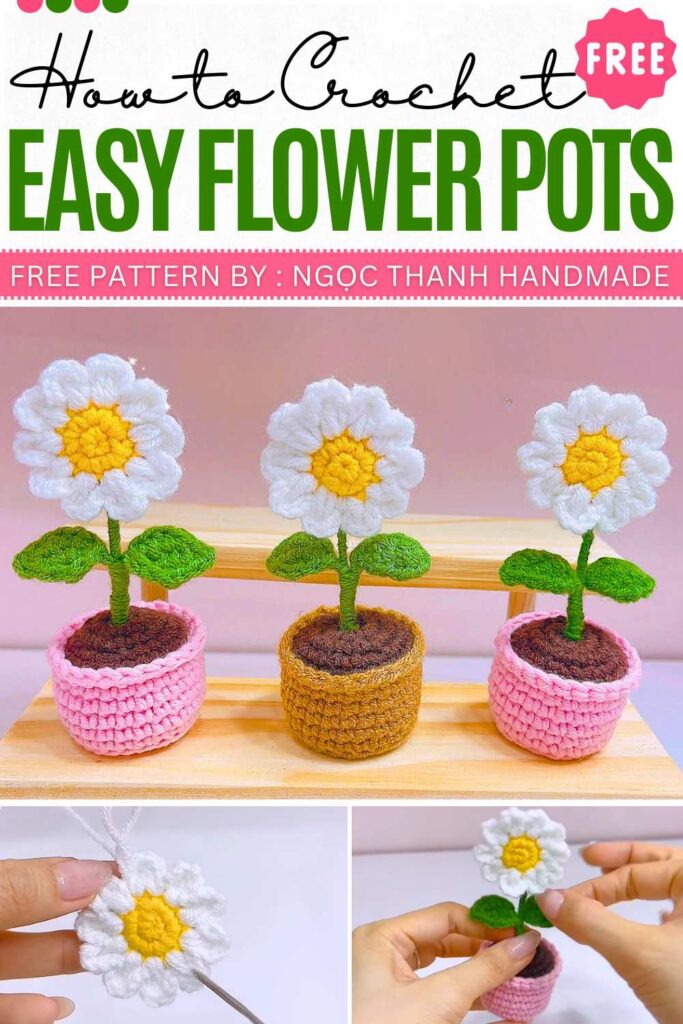
Free Crochet Daisy Flower Pot Pattern
Here is a free crochet pattern to crochet a beautiful daisy flower amigurumi pot that you can crochet within an hour. You can crochet it in different sizes and decorate your working table, kitchen shelf, or porch. These eternal daisy pots can be crocheted with either pink or brown pots.
There are flat daisies that need a no-sew method. So, you can also crochet many things for other purposes. There will be a pair of leaves, too. You can try different amounts of wrap concentration on the stem.
The designer behind this flower tutorial is @NITKA_KZ – she has quite a good grasp on kawaii amigurumi designing with added cuteness and surprises.
Shared already:

Materials Needed
Yarn: Milk Cotton (50g or 125g) in Pink (Pot), Yellow (Flower Center), Green (Back of Flower/Leaves), White (Petals), and Dark Brown/Black (Soil).
Hook: 2.5 mm.
Other: 18 cm wire for the stem, thin wire for leaves, fiberfill stuffing, a small piece of cardboard (for the pot base), and hot glue.
| Term | US Abbreviation | UK Abbreviation |
| Magic Ring | MR | MR / Adjustable Ring |
| Chain | ch | ch |
| Single Crochet | sc | dc (double crochet) |
| Half Double Crochet | hdc | htr (half treble crochet) |
| Double Crochet | dc | tr (treble crochet) |
| Increase | inc | inc |
| Slip Stitch | sl st | ss |
| Back Loops Only | BLO | BLO |
| Front Loops Only | FLO | FLO |
1. The Pot (Pink)
- R1: MR, 6 sc (6)
- R2: 6 inc (12)
- R3: (1 sc, 1 inc) x 6 (18)
- R4: (2 sc, 1 inc) x 6 (24)
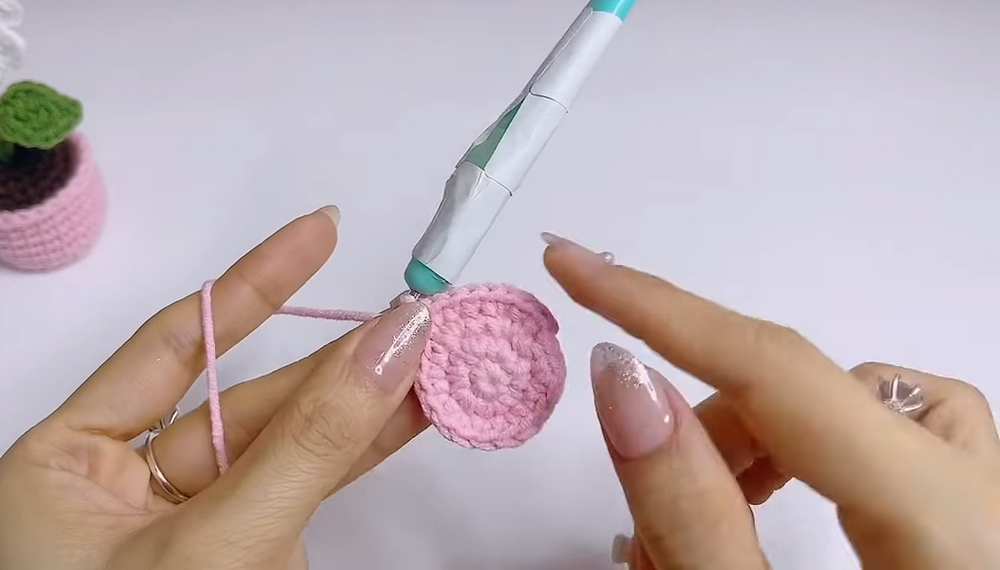
- R5: BLO 24 sc (24)
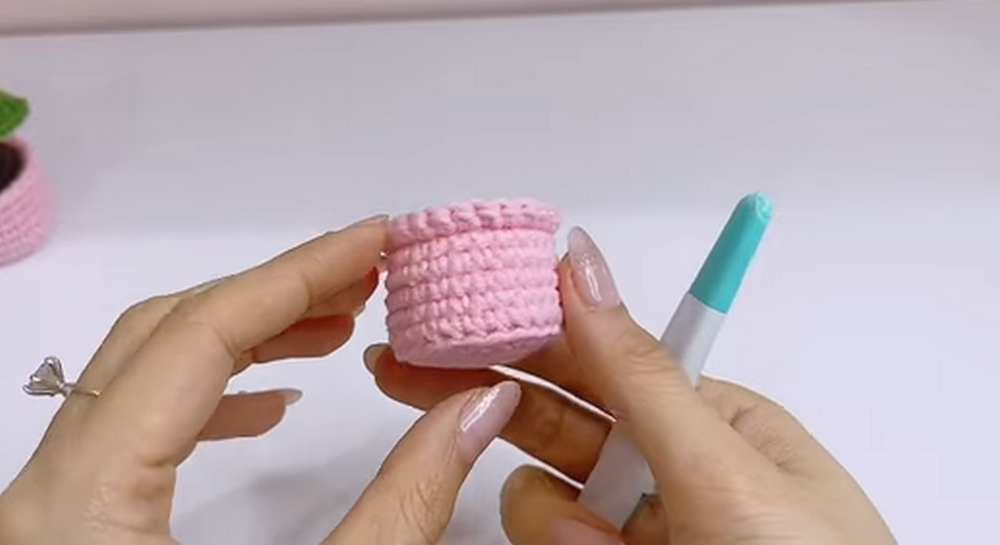
- R6–9: 24 sc (24)
- Pot Rim: Turn the work slightly and crochet 24 sc into the FLO. Fasten off and weave in ends. Flip the rim down.
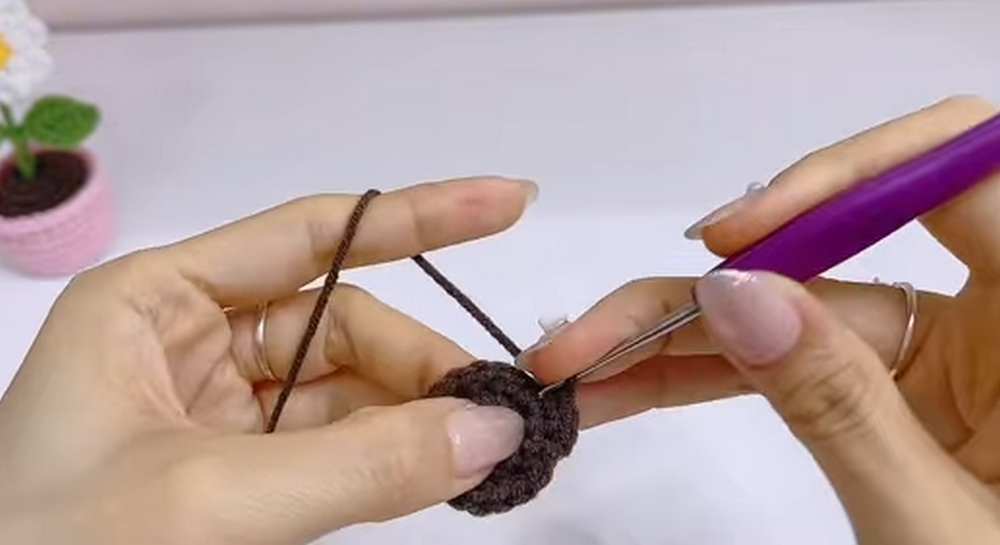
2. Flower Center (Make 1 Yellow and 1 Green)
- R1: MR, 5 sc (5)
- R2: 5 inc (10)
- Fasten off. The yellow piece is the front; the green piece is the back.
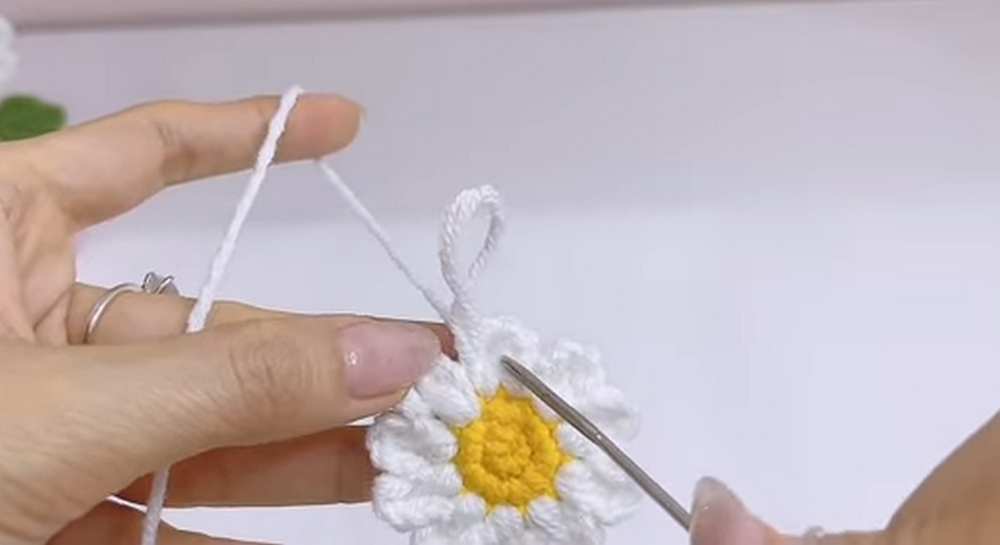
3. Petals (White)
- Hold the yellow and green center pieces together (wrong sides facing). Join white yarn through both layers.
- Petal (Repeat 10 times): (Ch 2, 2 dc in the same stitch, ch 2, sl st in the next stitch).
- Fasten off and hide the yarn tails inside the flower.
- 4. Soil (Dark Brown)
- R1: MR, 6 sc (6)
- R2: 6 in (12)
- R3: (1 sc, 1 inc) x 6 (18)
- R4: (2 sc, 1 inc) x 6 (24)
- Fasten off, leaving a long tail for sewing.
4. Soil (Dark Brown)
- R1: MR, 6 sc (6)
- R2: 6 inc (12)
- R3: (1 sc, 1 inc) x 6 (18)
- R4: (2 sc, 1 inc) x 6 (24)
- Fasten off, leaving a long tail for sewing.
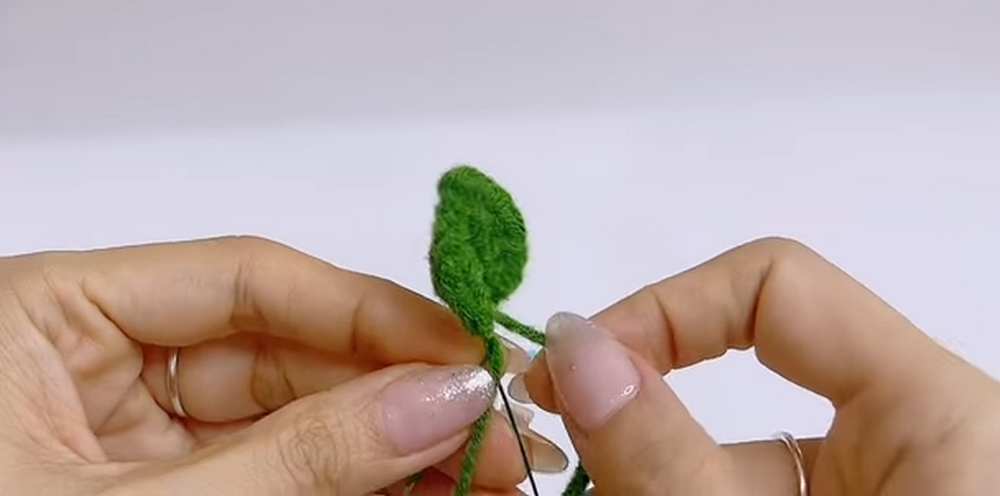
5. Leaves (Green – Make 2)
- Ch 6.
- Place a thin wire along the chain.
- Side 1: 1 sc, 1 hdc, 1 dc, 1 hdc, 1 sc.
- Tip: Ch 2.
- Side 2 (Mirror): 1 sl st, 1 sc, 1 hdc, 1 dc, 1 hdc, 1 sc.
- Wrap the remaining yarn around the wire and fasten off.
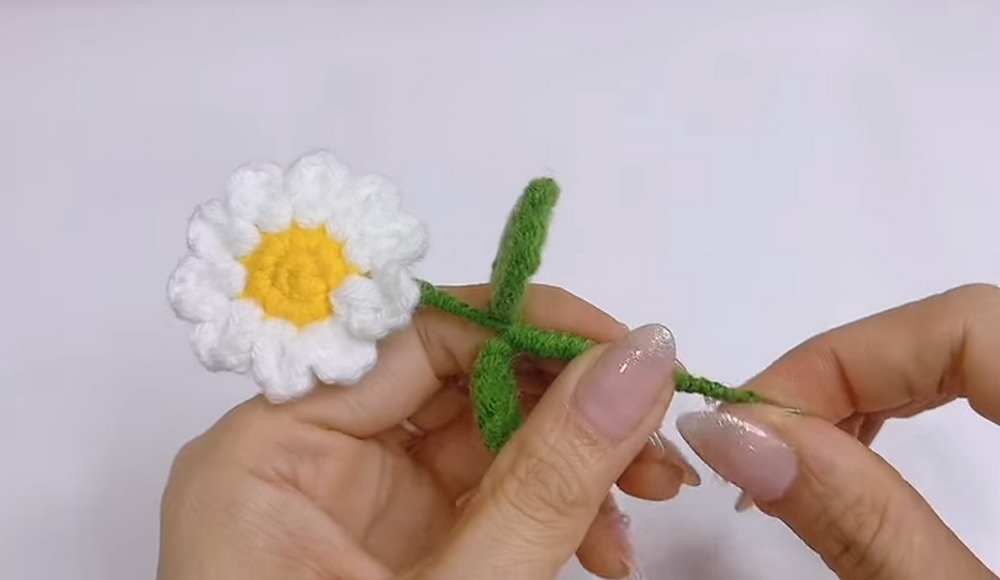
Assembly Instructions
- Pot Base: Cut a round piece of cardboard to fit the bottom of the pot and place it inside.
- Stuffing: Fill the pot with fiberfill (do not overstuff).
- Sewing: Sew the soil piece to the top of the pot using the inner loops.
- Stem: Bend the 18 cm wire in half. Apply hot glue to the end and attach it to the back (green side) of the flower.
- Wrapping: Use green yarn to wrap the wire stem. Attach the two leaves while wrapping the wire down toward the base.
- Finishing: Secure the yarn at the bottom of the stem with hot glue, then insert the stem into the center of the soil. Adjust the leaves and flower petals as desired.
Crochet Pattern (UK Terms)
1. The Pot (Pink)
- R1: MR, 6 dc (6)
- R2: 6 inc (12)
- R3: (1 dc, 1 inc) x 6 (18)
- R4: (2 dc, 1 inc) x 6 (24)
- R5: BLO 24 dc (24)
- R6–9: 24 dc (24)
Pot Rim: Turn the work slightly and crochet 24 dc into the FLO. Fasten off and weave in ends. Flip the rim down.
2. Flower Center (Make 1 Yellow and 1 Green)
- R1: MR, 5 dc (5)
- R2: 5 inc (10)
- Fasten off.
3. Petals (White)
Hold the yellow and green center pieces together. Join white yarn through both layers.
Petal (Repeat 10 times): (Ch 2, 2 tr in the same stitch, ch 2, ss in the next stitch).
Fasten off.
4. Soil (Dark Brown)
- R1: MR, 6 dc (6)
- R2: 6 inc (12)
- R3: (1 dc, 1 inc) x 6 (18)
- R4: (2 dc, 1 dc) x 6 (24)
- Fasten off, leaving a long tail for sewing.
5. Leaves (Green – Make 2)
- Ch 6.
- Place thin wire along the chain.
- Side 1: 1 dc, 1 htr, 1 tr, 1 htr, 1 dc.
Tip: Ch 2.
Side 2 (Mirror): 1 ss, 1 dc, 1 htr, 1 tr, 1 htr, 1 dc.