
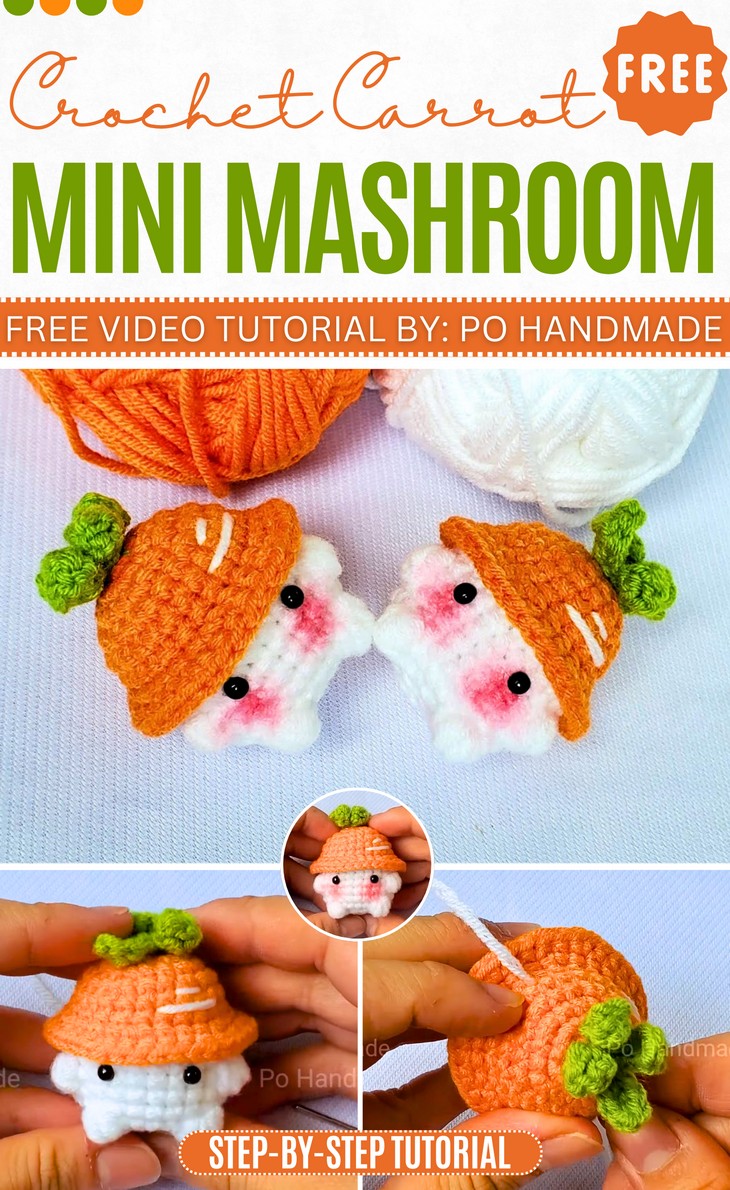
How to Crochet Mini Carrot Hat Mushroom for Fall & Thanksgiving
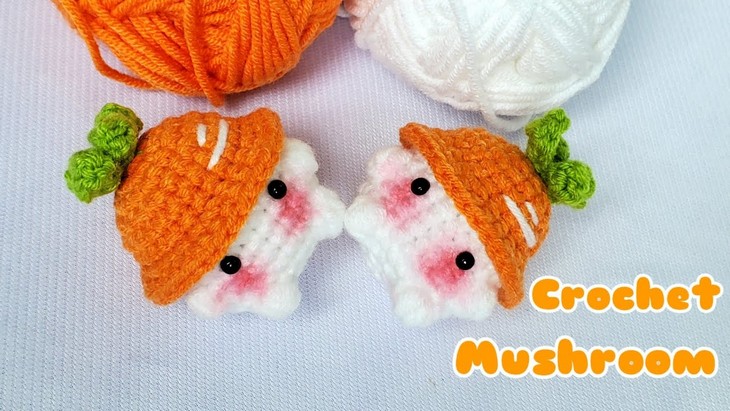
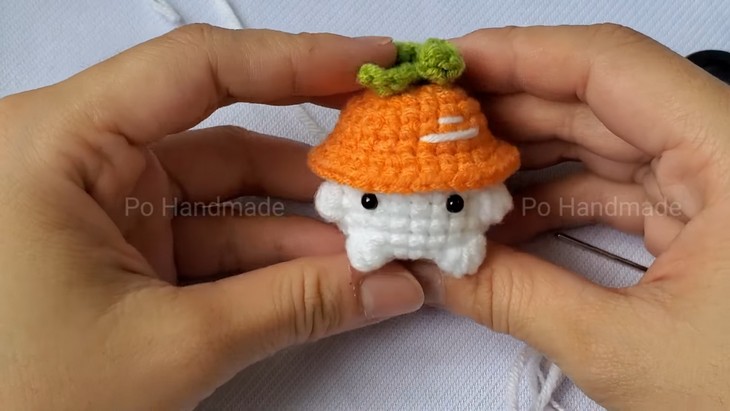
The same 20-minute and cute baby mushroom pattern is ready for fall harvest celebrations! So, learn how to crochet this mini mushroom with carrot amigurumi keychain with a stitch-by-stitch tutorial from Po Handmade. The carrot bucket hat with a tiny stem for this crochet mushroom desk buddy is super easy and uses a familiar pattern. With the embroidered carrot spots on the carrot and little no-sew mushroom design, this is worth crocheting as a last-minute fall gift.
So, if you have made up your mind to crochet this baby mushroom with a carrot cap for Thanksgiving, continue reading this post till the end. There you will find the quick tutorial!
About the Designer: The designer behind this baby mushroom keychain variation is @pohandmadevn – she probably originally started crocheting the baby mushroom with unique heads and they just became so popular in the community. These are Spiderman mushroom, banana mushroom and many other quirky themes. Other than that, she also crocheted small bag charms with animals like fish, bear and bunny. You will love exploring her tutorial library.
Note: In respect for the creator’s pattern rights, there will be no provision of the written pattern. You can watch the tutorial with on-screen written instructions at the end of this post.
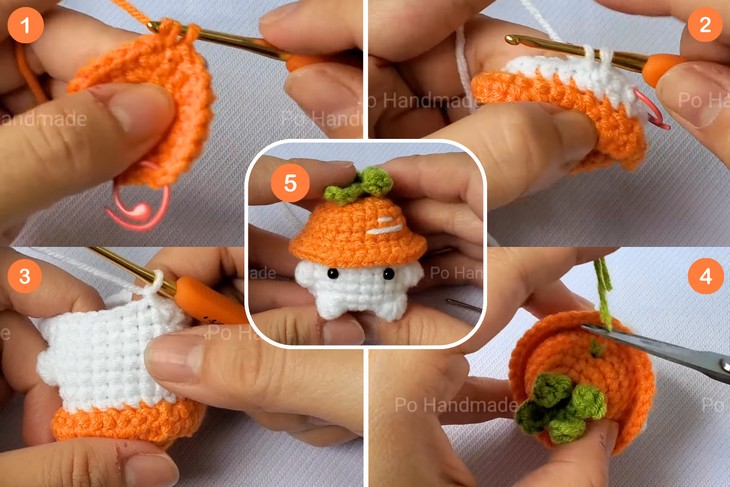
Crochet Carrot Mushroom Tutorial
Skill Level: Beginner – Intermediate. Common crochet techniques and stitches will be used to crochet a mushroom with a carrot hat. The project starts with a magic ring for both the hat and the leaves. The main stitch used is the single crochet, which forms the bulk of the hat and body. To shape the pieces, the creator uses increases (making two stitches in one) and decreases (combining two stitches) to narrow them. Special stitches are also used, such as the double crochet and half double crochet for the leaves, and the bobble stitch to create the decorative limbs on the mushroom’s body.
Additionally, the video demonstrates techniques like crocheting in the outer loop, stuffing the mushroom’s body, and using a slip stitch to join rounds and finish off the work.
Tutorial Timing: 33 Minutes Only (perfect for learning the popular crochet baby mushroom pattern, which has a big potential for variations!)
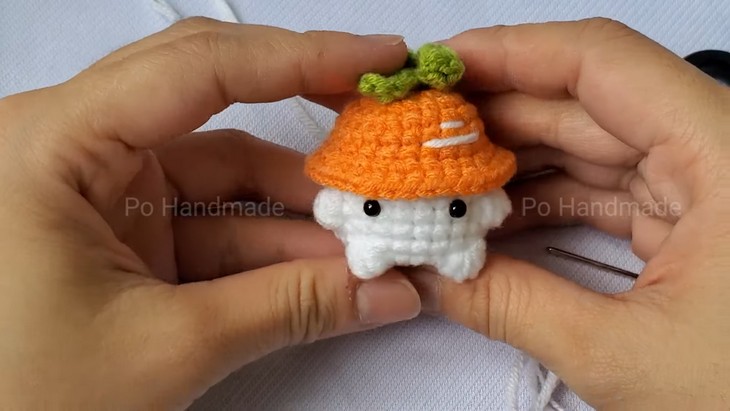
Personalization Tips: Instead of using 4mm animal eyes, embroider the eyes or use a pair of large safety eyes instead. You can use any other fruit color, like red, for the actual toadstool baby mushroom amigurumi.
Pattern Type: An on-screen written pattern is available if you find written instructions easy to follow along with.

Materials Needed
Gather the following crochet supplies for crocheting this baby mushroom keychain variation:
- Orange, green, and white cotton yarn
- 4mm crochet hook
- Scissors
- Sewing needle
- Embroidery Thread
- Animal eyes
- Optional: Glue (for securing features)
Techniques Used
To understand the on-screen instructions and the pattern, follow the following crochet pattern stitch guides:
- Magic Ring: Create a foundation loop to work your first round of stitches into.
- Single Crochet (x): Insert your hook, yarn over, pull up a loop, yarn over, and pull through both loops on the hook.
- Increase (v): Work two single crochets into the same stitch to add a stitch.
- Slip Stitch: Insert your hook into the stitch, yarn over, and pull through the stitch and the loop on your hook.
- Outer Loop Only: Insert your hook only into the loop of the stitch that is furthest away from you.
- Popcorn Stitch: Create a cluster of stitches in one location to form a textured bump.
- Decrease (A): Work two stitches together to reduce the number of stitches in a row.
- Half Double Crochet: Yarn over, insert your hook, yarn over, pull up a loop, yarn over, and pull through all three loops on your hook.
- Double Crochet: Yarn over, insert your hook, yarn over, pull up a loop, yarn over, pull through two loops, yarn over, and pull through the final two loops.
Complete Video Guide