
How to Crochet Tiered Christmas Tree Amigurumi (Gift & Decorate)
I have finally found the most professionally designed, elegant, and decor-ready tiered Christmas tree project, thankfully by Mundo Crochet. So, following a tutorial in two parts, learn how to crochet this stacked and potted Christmas tree amigurumi decor that will also make an irresistible present and Christmas centerpiece.
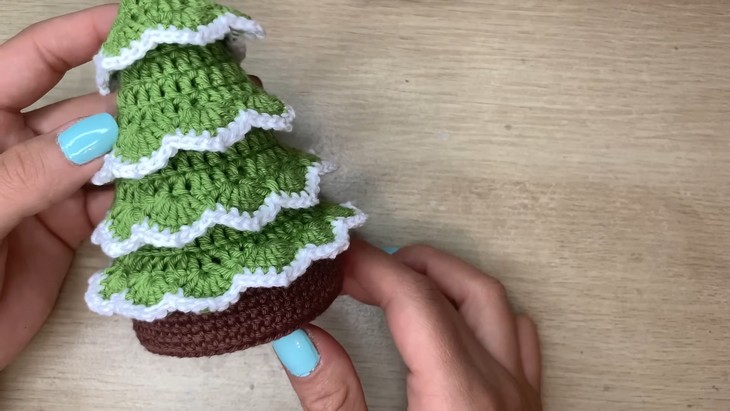
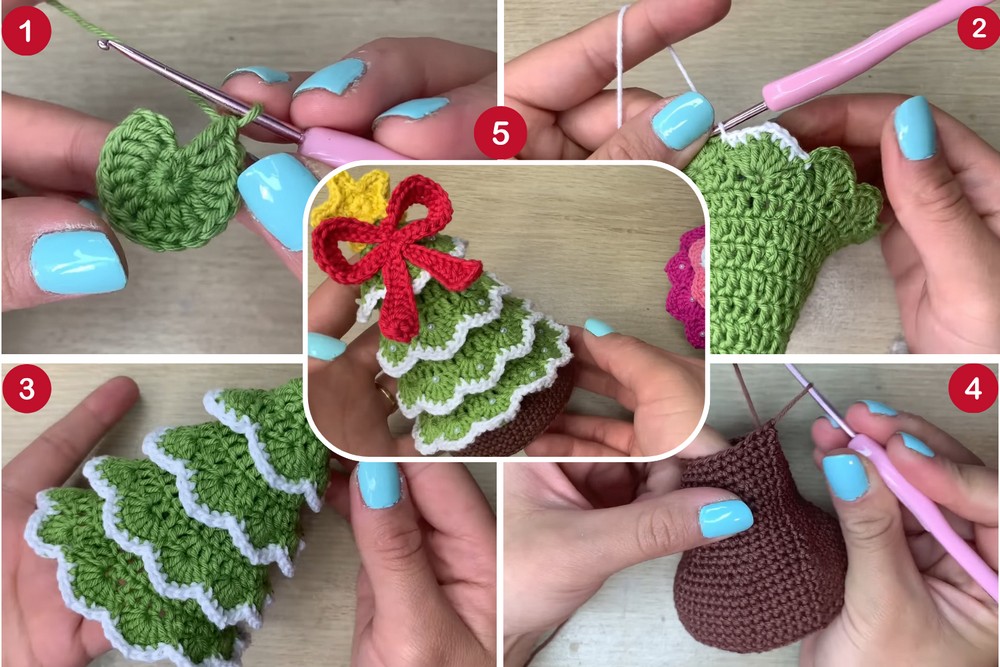
In the first part, you will learn to crochet elegant 4 stackable pieces with beautiful white edging and beads, plus crochet the base tree that is stuffed part of this amigurumi tree. The base gives a look of a potted green part or looks like a stem. There are actually two lovely variations!
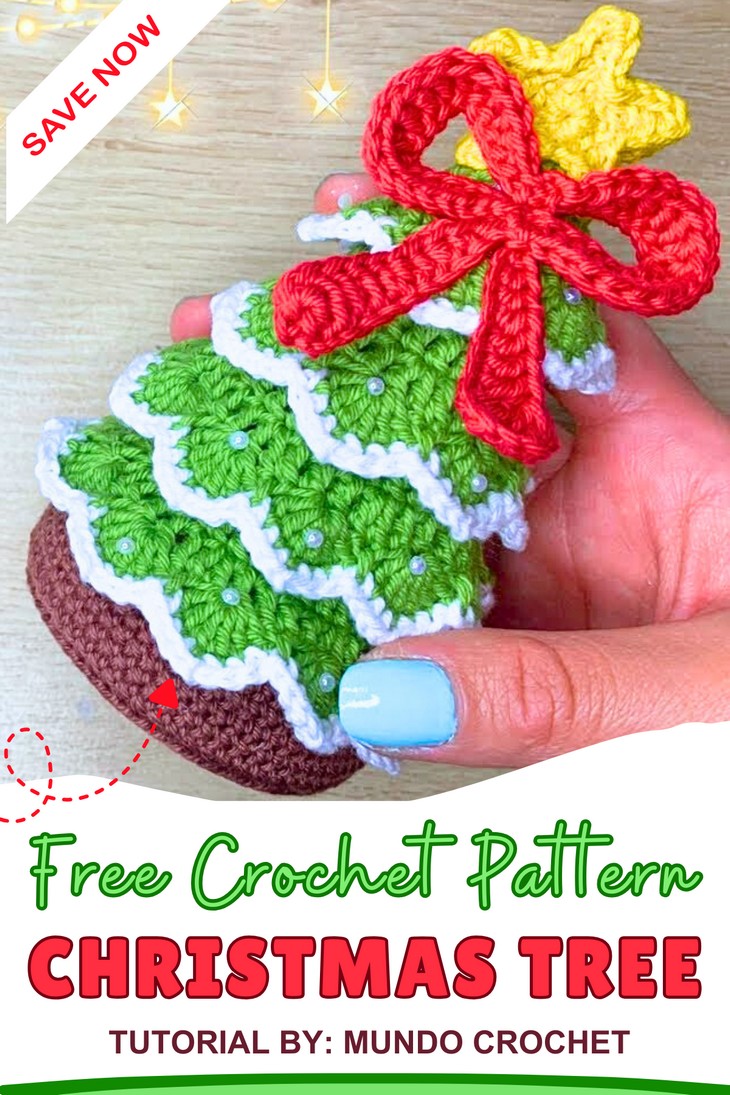
In the second part, she will cleverly teach crocheting the decorative Star and an oversized Bow that are so cute. Crocheting and assembling everything will be in the tutorial. So, if you have made up your mind to crochet the complete Christmas set, continue reading this post till the end. There you will find the complete tutorial!
A Bit About the Designer: The incredible designer behind this Christmas tree pattern is Ari of @Mundoocrochett. Her small tutorial library of 64 has some of my favorite kawaii amigurumi and doll projects, like flower turtle, Minecraft amigurumi, to name a few.
Note: In respect of the creator’s rights, there will be no provision of the written pattern. You can watch the tutorial with on-screen written instructions at the end of this post.
Crochet Christmas Tree Tutorial
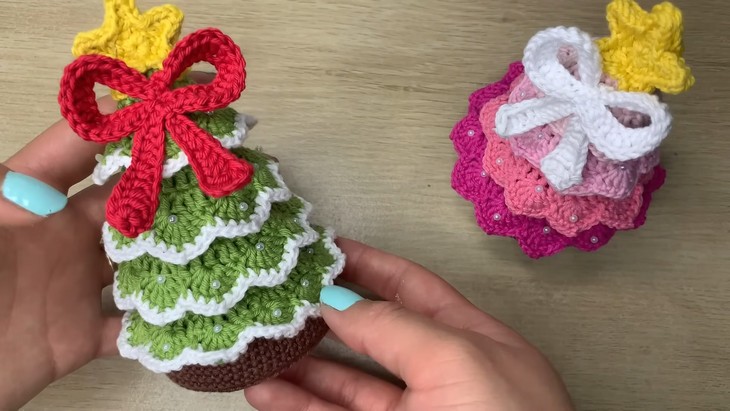
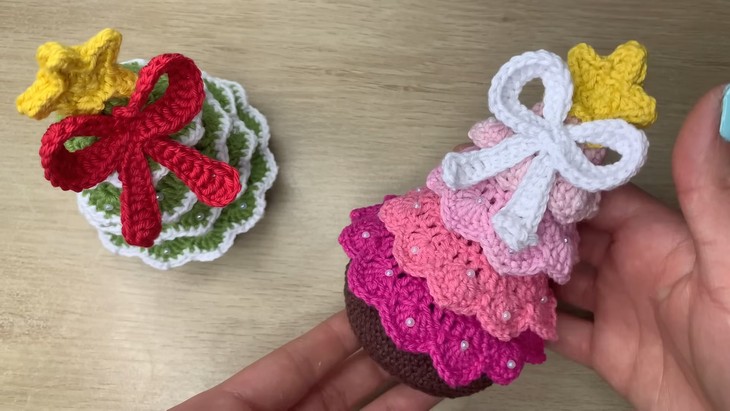
Personalization Tips: You can easily make th is tiered tree shorter or taller by adjusting the number of pieces and the diameter increase of each piece. As mentioned, there are two color versions: instead of solid green, you will be using three shades of pink.
The final white edge is optional; you can skip it to have a solid green edge, or use another color. The tutorial mentions adding a cardboard base to the trunk, which is an excellent tip for stability.
You can also choose to sew the star or even stiffen the yarn for a one-piece star. The red bow can be made in any contrasting color, such as white, gold, or silver, to match your decor.
Pattern Type: A detailed on-screen written pattern is available if you find written instructions easy to follow along with. The pattern is written in Spanish terms.
Materials Needed
Collect the following tools and materials in your basket for crocheting this Christmas tree amigurumi, as mentioned and suggested in the tutorial:
For Part 1:
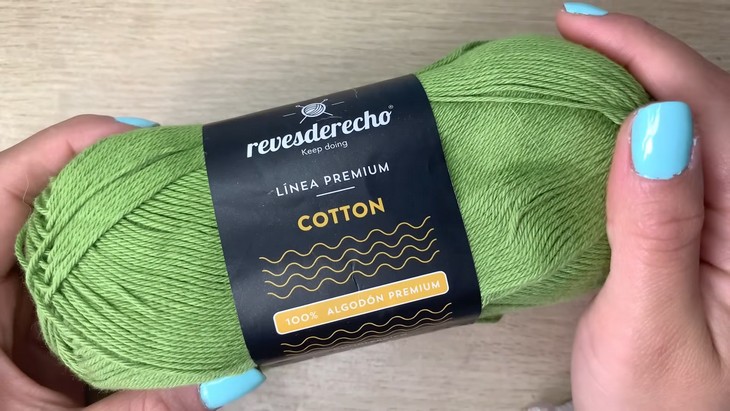
- Reversederecho (Cotton yarn) in Green and White (for the snow effect)
- Crochet Hook (2 mm)
- Yarn in Brown/Café (for the trunk/base)
- Stuffing
- Cardboard or firm base material (for the trunk)
For Part 2:
- Same yarn (Cotton) in Yellow/Gold (for the star)
- Yarn in Red (for the bow)
- Crochet Hook (size unspecified, but likely 2 mm from Part 1)
- Darning Needle (for assembly and weaving in ends)
- Glue for the star)
- Optional: Sequins, rhinestones, or small beads (Piedritas brillantes) for final decoration
Stitches Required
The following are the crochet techniques that the tutor will use for crocheting all parts of this Christmas amigurumi:
For Part 2:
Chain Stitch (CH): Pull yarn through the loop to create a foundation or lengthen rows.
Slip Stitch (SL ST): Insert hook, pull yarn through both loops to join or move.
Single Crochet (SC): Insert hook, yarn over, pull through two loops for a short stitch.
Half Double Crochet (HDC): Yarn over, insert, pull through, yarn over, pull through all three loops.
Double Crochet (DC): Yarn over, insert, pull through, yarn over, pull through two loops twice.
Double Treble Crochet (DTR): Yarn over three times, insert, pull through, yarn over, pull through two loops repeatedly until one loop remains.
Remaining For Part 1:
Back Loop Only (BLO): Crochet into only the back loop to create a defined ridge or edge.
Shell Stitch: Work six DC stitches into one stitch to make a decorative, fan-like cluster.
Increase: Crochet two stitches into the same stitch to widen your work.
Complete Video Guide
Complete Video Guide
You will love her keychains (such as the Kitty Keychain), beloved charms like Strawberry Shortcake and the Wild Robot, and animals (turtles, chicks). Thanks!