
5 Crochet Mixed Summer Bag Patterns for Ladies
These bag patterns include the summer-themed, mesh, and textured crochet bags you can crochet this year. I have already shared a separate tutorial curation for the water bottle holders, shoulder bags, and popular summer-themed bags. For now, you will be exploring the sling, tote, drawstring and phone bag with lovely stitches and beautiful colors.
Crochet Mixed Summer Bag Patterns
They are great for market and beach visits, especially the net, ocean stripes, lace, and block stitch bags. As for the themes, I collected the star fish and the green apple. So, let’s get started!
Shared already:
01 of 05 Crochet Apple Bag

This charming Apple-Shaped Bag has a circular green base and body accented by two apple-shaped side panels. The crochet bag uses milk cotton yarn chapped double with a 3.5 mm hook to create a firm structure. You will finish it with a dark green cord strap and a tiny brown stem and leaf.
General Making:
Crochet two apple-shaped motifs starting with a 12-stitch magic ring. Create a ribbed body by working a textured rectangular strip using alternating front and back post stitches, then join the ends to form a tube. Finish by sewing the apple panels to the sides, adding a double-layer strap, and gluing on a small stem and leaf.
02 of 05 Crochet Summer Phone Bag
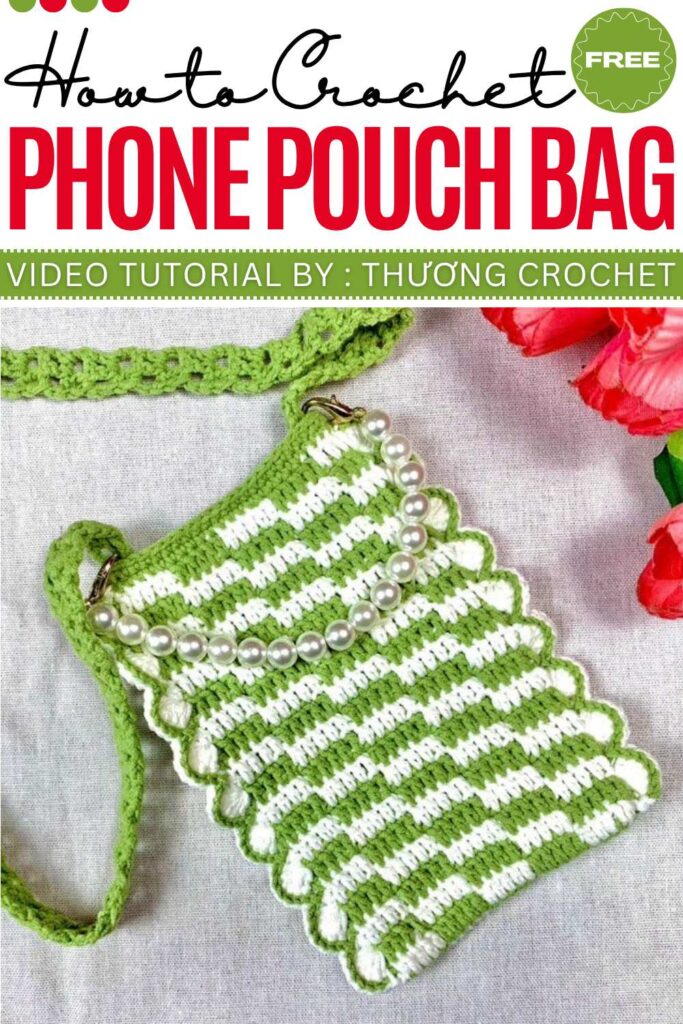
This Summer Phone Bag is a beginner-friendly project made in a clean white yarn with a contrasting green and yellow floral accent. It shows a dense, sturdy stitch pattern to protect your phone and a long, comfortable crossbody strap.
General Making:
Crochet a foundation of 14 stitches and work in the round to create a flat base. Continue with 22 rows of single crochet (about 17 cm) to form the body. Finish by attaching a 100 cm cord strap and decorating the front with a crochet daisy and leaf.
03 of 05 Crochet Ocean Waves Bag
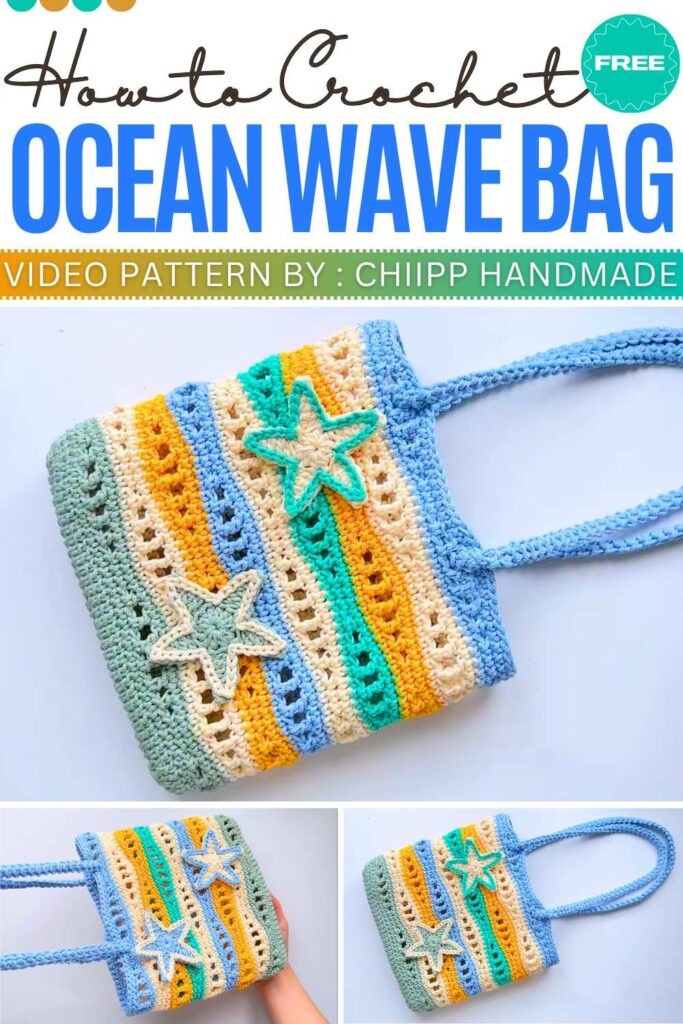
This Ocean Waves Bag is a vibrant accessory inspired by the sea. It has a beautiful ripple pattern created by using a combination of different stitch heights. The bag is made using a variety of blue, teal, and sandy-colored yarns to mimic rolling waves and a sandy shore. And delicate crochet starfish decorations completes the look!
General Making:
Start with a 32-stitch base and work in the round to create an oval. Crochet 9 wave sections by alternating stitch heights (single to treble) in 16-stitch repeats, switching colors for a gradient. Finish with a 100 cm strap and crochet starfish accents.
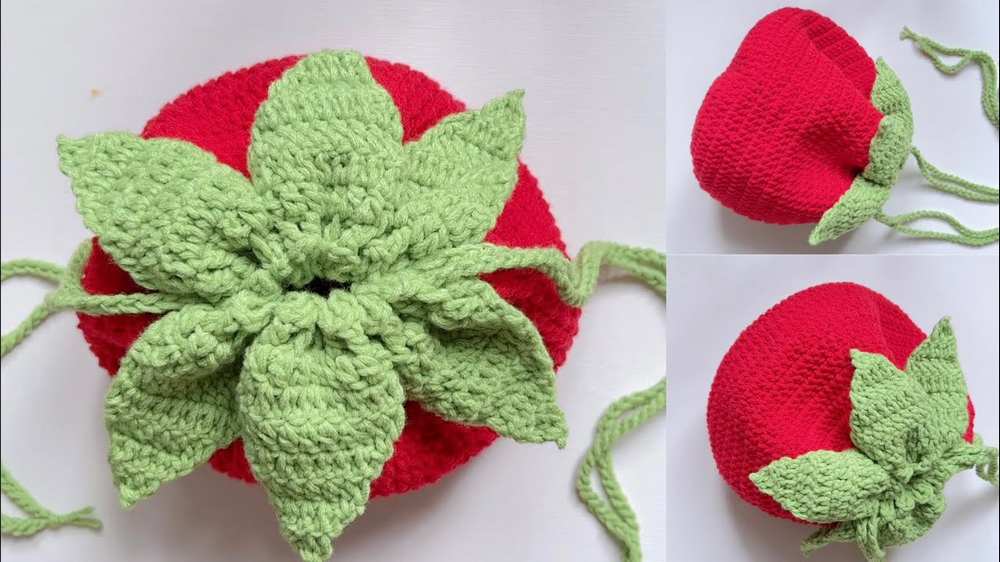
04 of 05 Crochet Tomato Bag
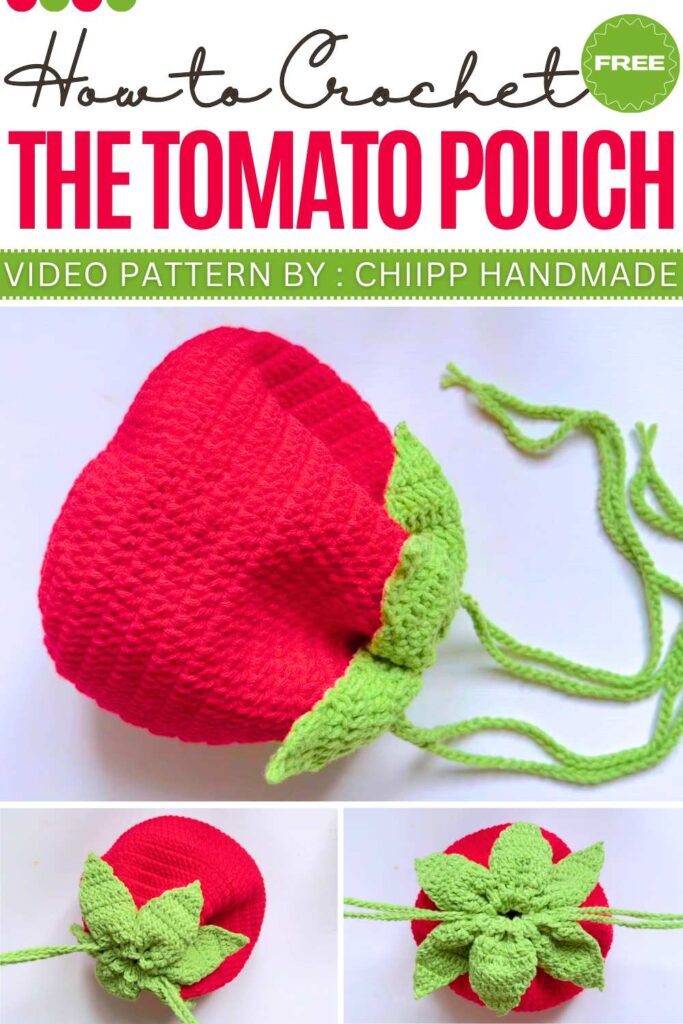
Crochet Tomato Pouch Bag is a large, vibrant accessory with a deep red round body and a leafy green top that functions as a drawstring closure. The bag is about 24 cm tall and measures 27 cm wide, making it spacious enough for daily essentials while maintaining its cute fruit-like appearance.
General Making:
To make the Tomato Pouch Bag, crochet a red circular base and body (18 rounds) starting with a 15-stitch magic ring. Switch to green yarn for the top rim and a mesh row. Crochet six triangular leaves onto the rim’s outer loops, tapering each with decreases. Finish by weaving two 80 cm chain cords through the mesh in opposite directions to create the handles.
05 of 05 Crochet Fish Shaped Net Bag
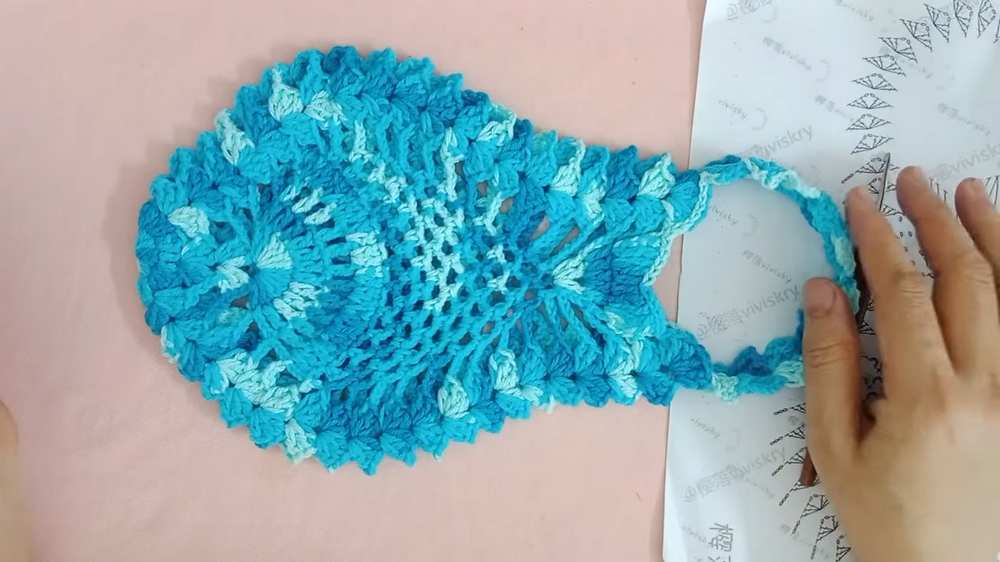
This Fish-Shaped Net Bag is a stylish and functional accessory, perfect for the beach or as a fun phone holder. It is uses a 2.8 mm or 2.5 mm hook and lightweight yarn, with a mesh-like “pineapple” stitch for the fish body and decorative “fins” at the tail.
General Making:
Start with a 12-stitch magic circle and expand it into a flat base. Crochet the body using 3-double crochet clusters, increasing the chain spaces to widen the middle and decreasing them to taper the tail. Finish by adding a wide fin made of double and triple crochets, and attach a cluster-stitch strap to the top corners.