
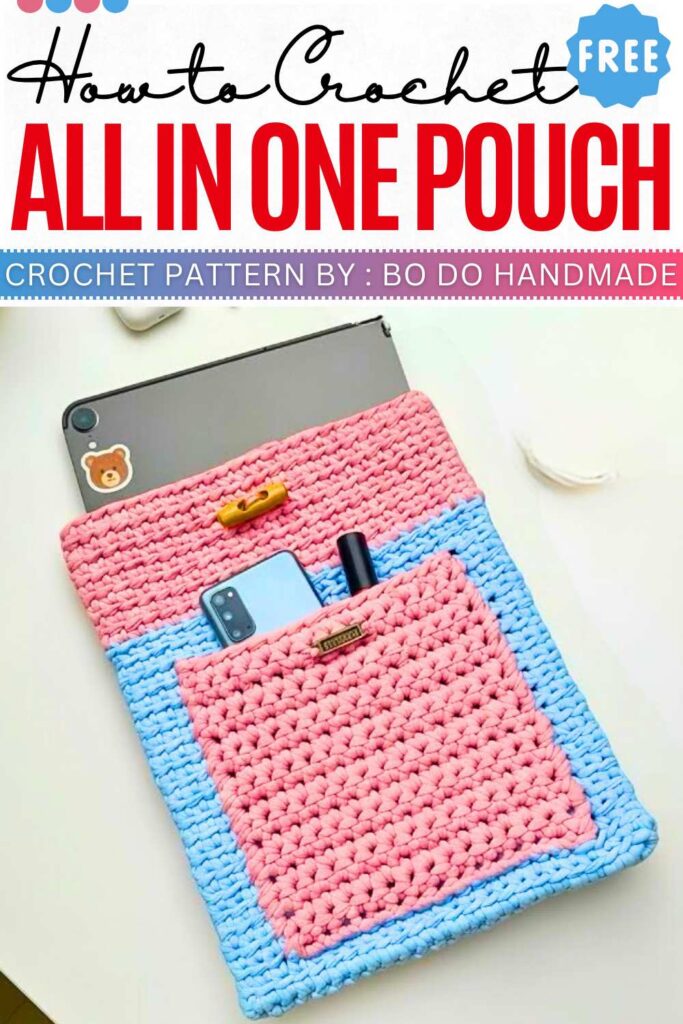
Crochet All In One Pouch Bag Pattern For Gadgets
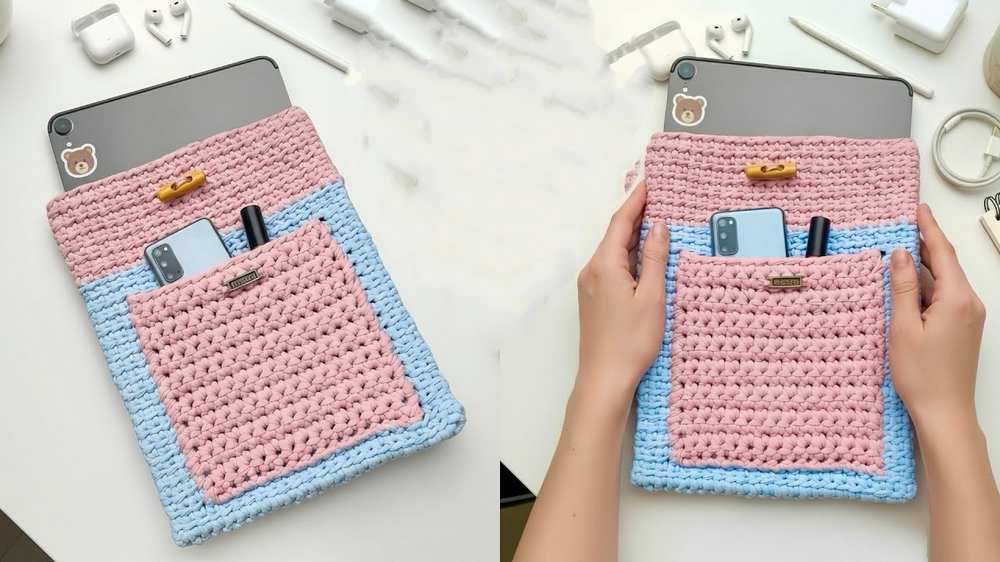
Our gadgets need to be handled with care! Today, I’m sharing a pattern for a bag that has home for all your favorite electronics and treasures. It has a large pocket to hold your tablet or laptop and a medium-sized front pocket for your phone and other items.
This crochet bag is made with thick, soft fabric yarn that cushions your gadgets and keeps them safe. You can carry it as a stylish sleeve or add a strap to wear it over your shoulder whenever you go on an adventure.
The designer behind this avocado keychain is Ngọc Thanh Handmade – she has quite a good grasp on kawaii amigurumi designing with added cuteness and surprises.
Materials Used:
- T-shirt yarn (sợi vải), approx. 6–7 mm thickness
- 8.0 mm crochet hook (or 9.0 mm for tight tension)
- Scissors
- Tapestry needle (yarn needle)
- Stitch markers
- Measuring tape
- Button
- Decorative sticker or patch (optional)
Crochet Abbreviations (US Terms):
- ch = chain
- sc = single crochet
- st(s) = stitch(es)
- sl st = slip stitch
- inc = increase (2 sc in one st)
- BLO = back loop only (specifically the lower bar to create a ridge)
- FO = fasten off
-
Pattern Outline:
-
Main Body:
- Create a foundation ch (approx. 30 ch or length needed for device + 2–4 cm).
- R1: 1 ch, 2 sc in 30th ch, sc across to end, 3 sc in last ch, rotate to other side, sc across, 1 sc in starting st. (Total 3 sc at each end).
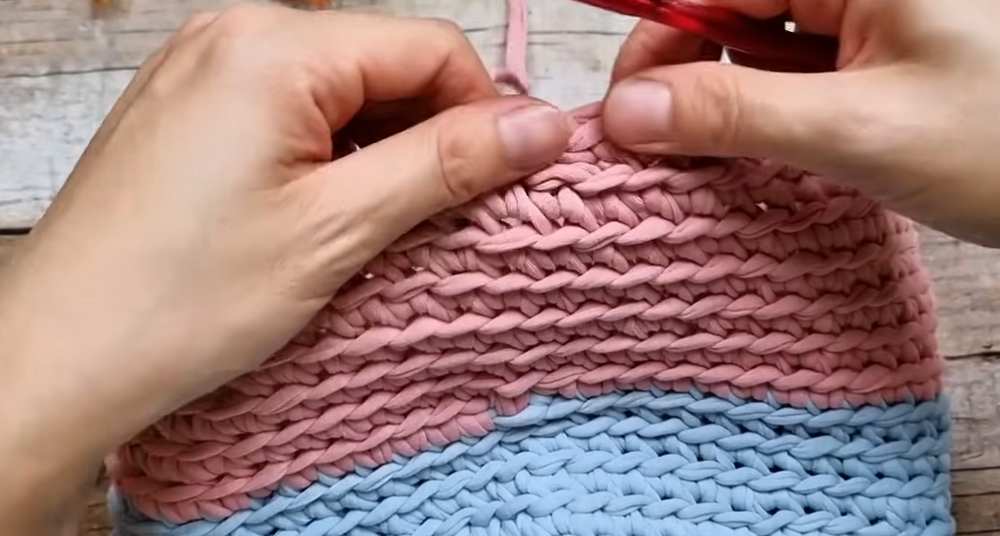
- R2: Do not sl st. Work in spiral. sc in BLO of every st.
-
Main Body:
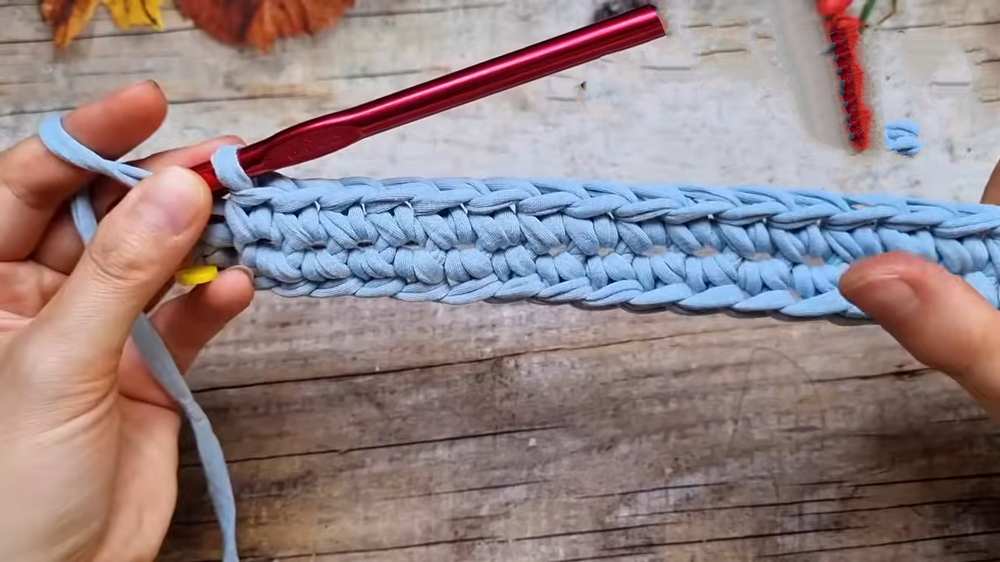
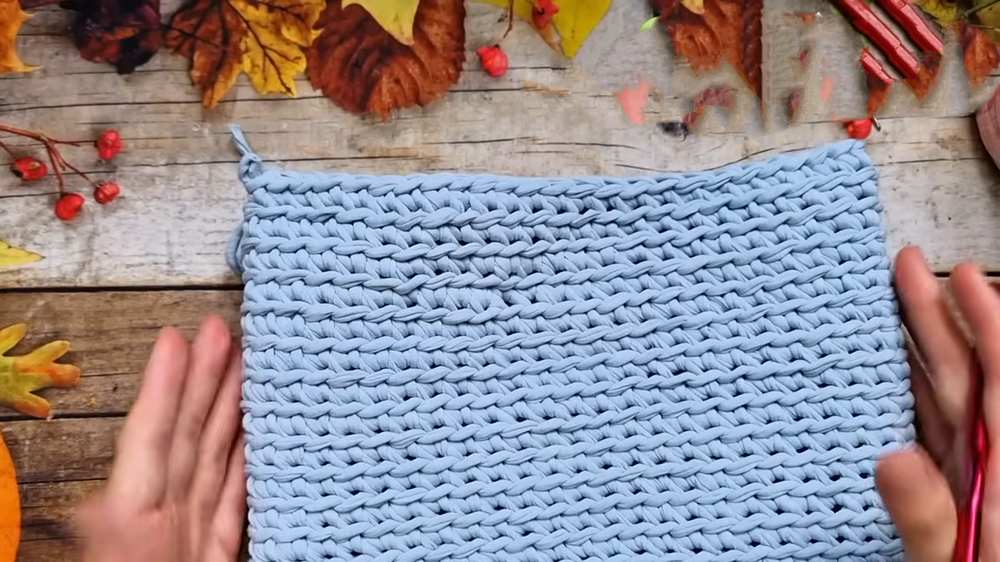
- R3+: Continue sc in BLO spirally until reaching desired height.
- Color Change: Switch yarn at the side corner. sl st to join new color, then continue sc in BLO spirally for several rounds.
- Final round: sl st in each st to finish. FO and hide tails.
-
Front Pocket:
- ch 20–22 (or width desired).
- R1: sc in 2nd ch from hook and across.
- R2+: ch 1, turn, sc across.
- Continue until pocket depth is reached. FO, leaving a very long tail for assembly.
-
Closure Loop:
- ch 15. FO, leaving tails for attachment.
-
Closure Loop:
-
Detailed Assembly Instructions:
-
Attaching the Front Pocket:
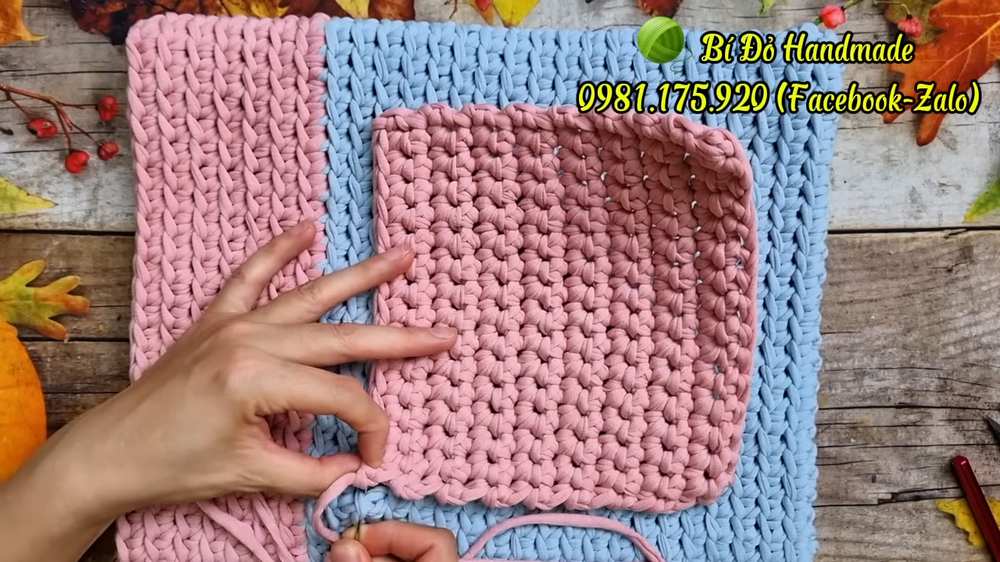
- Place the main bag on a flat surface. Position the front pocket onto the front center of the bag.
- Align the pocket so its bottom and sides sit neatly between the horizontal ridges created by the BLO stitches on the main body.
- Thread the long yarn tail from the pocket into a tapestry needle.
- Begin sewing at one top corner of the pocket. Insert the needle into the main bag stitches specifically underneath the decorative ridge to hide the join.
-
Attaching the Front Pocket:
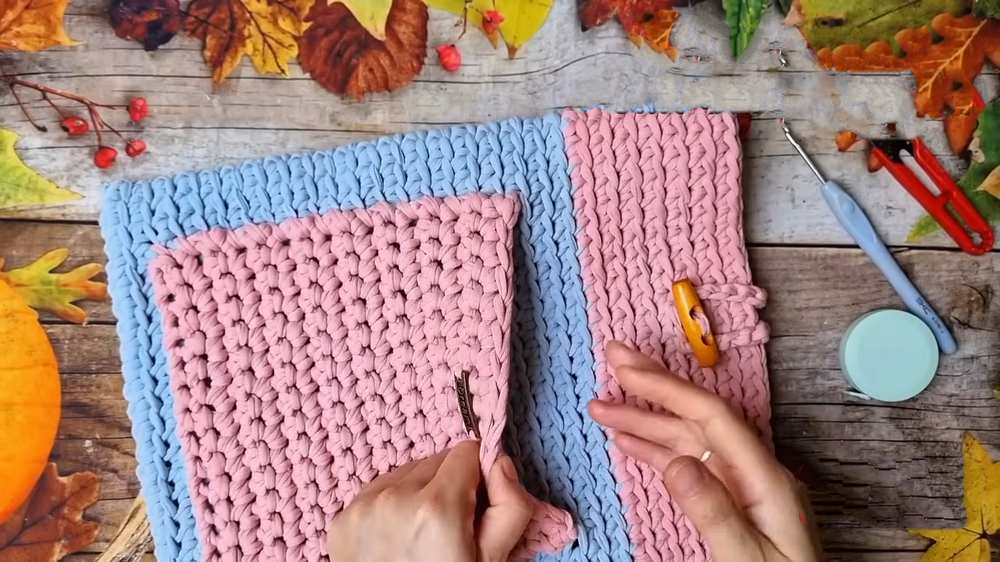
- Use a running stitch or whip stitch, sewing down the first side, across the bottom, and up the second side.
- Ensure the tension of the sewing yarn is consistent so the pocket doesn’t pucker.
- Knot the yarn on the inside of the bag and weave in the tail.
-
Installing the Closure Strap:
- Identify the center point of the back of the bag at the top.
- Count down 2–3 rows from the top rim.
- Thread one tail of the ch-15 strap into the tapestry needle. Insert it from the outside to the inside through a stitch at the center point.
- Take the second tail of the strap and insert it into the adjacent stitch.
- Turn the bag inside out. Pull both tails tight so the loop is secure.
- Tie a double or triple knot with the two tails on the inside.
- Weave the remaining tails deeply into the surrounding stitches to ensure the knot doesn’t come undone under the tension of the button.
-
Attaching the Button:
- Put the device (or a similar item) inside the bag to check the “fullness.”
- Fold the closure loop over the front of the bag to determine the natural resting point for the button.
- Mark the center spot on the front of the bag where the loop ends.
- Using a needle and matching yarn or sturdy thread, sew the button securely at the marked position.
- Test the loop over the button to ensure it is snug but easy to open.
-
Attaching the Button:
-
Final Touches:
- If using a decorative sticker or patch, center it on the front pocket and sew or glue it in place.
- Inspect the inside of the bag for any loose tails and trim them after securing.
-
Final Touches:
Video Pattern
Pattern (UK Terminology)
Main Bag Body:
Create a foundation ch 30 (or enough to be 2cm–4cm wider than your device).
R1: 1 ch, 2 dc in the 30th ch, dc in each ch across. In the last ch, work 3 dc. Rotate to work along the opposite side of the chain, dc in each ch across, and work 1 dc into the very first st used. (Total 3 dc at each curved end).
R2: Do not join with a ss. Work in a continuous spiral. dc in the BLO (the lower bar) of every st.
R3 onwards: Continue working dc in the BLO spirally until the bag reaches the desired height.
Colour Change: Switch yarn at the side of the bag. Join new colour with a ss, then continue dc in the BLO spirally for several rounds.
Final Round: ss in each st around the rim. FO and weave in tails.
Front Pocket:
ch 20–22 (or approximately half the width of the main bag).
R1: dc in 2nd ch from hook and in each ch across.
R2 onwards: ch 1, turn, dc in each st across.
Repeat until pocket depth is achieved. FO, leaving a very long tail for sewing.
Closure Loop:
ch 15. FO, leaving tails at both ends for attachment.
Detailed Assembly Instructions:
Sewing the Front Pocket:
Flatten the main bag and place the pocket on the front center.
Align the pocket edges so they sit precisely between the horizontal ridges formed by the BLO stitches on the main body.
Thread the long pocket tail into a tapestry needle.
Start at a top corner of the pocket. Sew into the main bag stitches by passing the needle behind the decorative ridges to keep the join invisible.
Use a consistent whip stitch or running stitch down the side, across the bottom, and up the other side.
Knot the yarn on the inside of the bag and weave the tail through several stitches to secure.
Attaching the Closure Loop:
Find the center point on the back of the bag near the top rim.
Count down 2–3 rows from the top edge.
Thread one tail of the ch 15 strap into the needle and pull it from the outside to the inside of the bag.
Thread the second tail and pull it through the adjacent stitch.
Turn the bag inside out, pull the tails tight to ensure the loop is firm, and tie a secure double knot.
Weave the remaining tails into the thick fabric of the bag to prevent the knot from loosening.
Button Placement:
Place your device inside the bag to simulate the final shape.
Pull the closure loop over to the front to see where it naturally falls.
Mark the center spot on the front pocket where the loop fits snugly.
Sew the button onto the front pocket at this mark using matching yarn or strong thread.
Final Touches:
Center and sew/glue your decorative patch onto the front pocket if desired.
Check the interior for any stray yarn tails, knot them securely, and trim