
How to Crochet Quick & Easy Yarn Pumpkin for Fall
Before fall, let’s get rid of the yarn stash and other soft waste. Learn how to crochet these eco-friendly yarn pumpkins without the usual stuffing with a stitch-by-stitch tutorial from Lerugi Crochets. Using leftover yarn, socks, and rice, you can crochet a large pumpkin amigurumi with the same ribbing and beautiful color combos. Luckily, you won’t need to work in the rounds and complement it by working in the rows and some sewing. You can crochet one within an hour.
So, if you are interested in crocheting this quick & easy crochet pumpkin, continue reading till the end of this post.
The designer of this fall pumpkin amigurumi is @lerugicrochets – known for her beautiful crochet wearables, bags and sometimes seasonal projects . In respect for the creator’s pattern rights, there will be no provision of the written pattern. You can watch the tutorial with on-screen written instructions at the end of this post.
Skill Level: Beginner (Needs basic techniques like chain stitch, creating slip knot, slip stitch, half double crochet, and working in back loops for the ribbing, plus some basic sewing.
The process includes forming a rectangle with alternating stitches, filling it with rice for weight, shaping it, and adding a crocheted stem.)
Tutorial Timing: 26 Minutes Only (perfect for crocheting something that works well for both Halloween and Fall decor)
Personalization Tips: The tutor will show you how to use rice as an affordable filling alternative in case you don’t have polyester toy stuffing on hand, making this project even more accessible for everyone! She suggests using your leftover yarn because you will need around 25 grams.
Don’t have rice? Use oats, barley, corn, buckwheat, or any other grain in your cupboard. You can choose from green and brown, beige and brown, and even regular crochet pumpkin color.
Pattern Type: An on-screen written pattern is available if you find written instructions easy to follow along with.
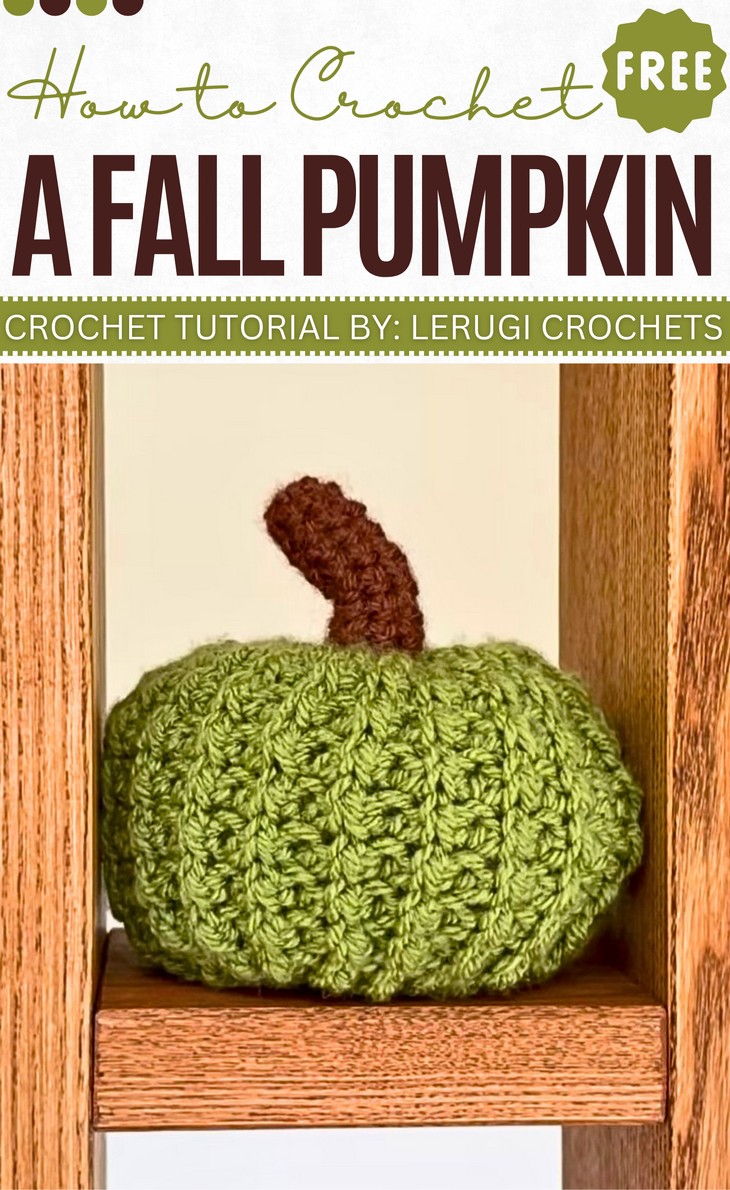
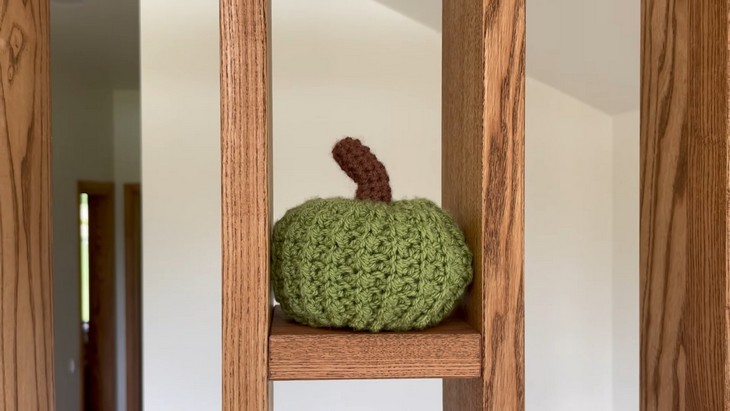
Green pumpkin size: width – 15 cm/6” hight – 12 cm/5”

Supplies Used
The following are the crochet supplies that the tutor uses for crocheting this pumpkin amigurumi:
- Yarn: Any leftover yarn in your stash (approximately 20-25g). Two colors: one for the pumpkin body and one for the stem. Example: Acrylic yarn was used in the tutorial.
- Crochet Hook: The size recommended for the yarn you choose. Example in the tutorial: 3.5 mm hook.
- Scissors: To cut the yarn as needed.
- Darning Needle: For sewing the stem and finishing touches.
- Eco-Friendly Filling: Rice or any similar grain (approximately 200g per pumpkin). Used as a sustainable filling.
- Sock: For creating an inner pouch to hold the rice. Helps prevent the filling from falling through.
- Optional Embellishments: You can add custom decorative touches like extra fabric leaves or other adornments.

Techniques Used in the Tutorial
The following are the crochet stitches and techniques you must master before starting crocheting this crochet pumpkin to read the pattern:
- Foundation Chain Wrap the yarn around, pull a loop through, and repeat until you’ve made the desired number of chains.
- Slip Stitch: Insert the hook, yarn over, pull a loop through all loops on the hook.
- Half Double Crochet Yarn over, insert the hook, pull a loop, yarn over again, and pull through all three loops on the hook.
- Back Loop Crochet Insert the hook into the back loop only, then proceed with the required stitch (slip stitch or half double crochet).
- Seam Connection Using Slip Stitch: Insert the hook into loops on both edges, yarn over, and pull through all loops.
- Sewing the Ends Using a Needle Thread yarn through the needle and work it in a zigzag motion through the stitches, then pull tight to close.
- Magic Ring Wrap yarn around fingers, pull a loop through, and begin crocheting into the loop.
- Single Crochet: Insert the hook, yarn over, pull a loop, yarn over again, and pull through both loops.
- Attach the Stem Thread yarn through the stem and pumpkin stitches, ensuring it’s securely attached.
