
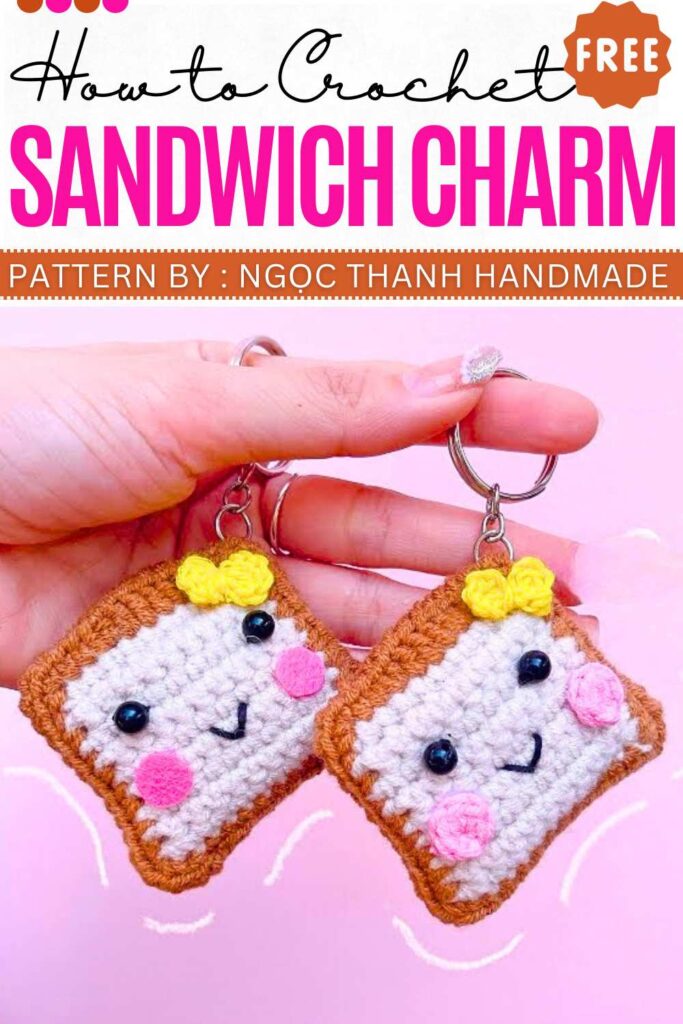
Crochet Sandwich Keychain Pattern For Foodies
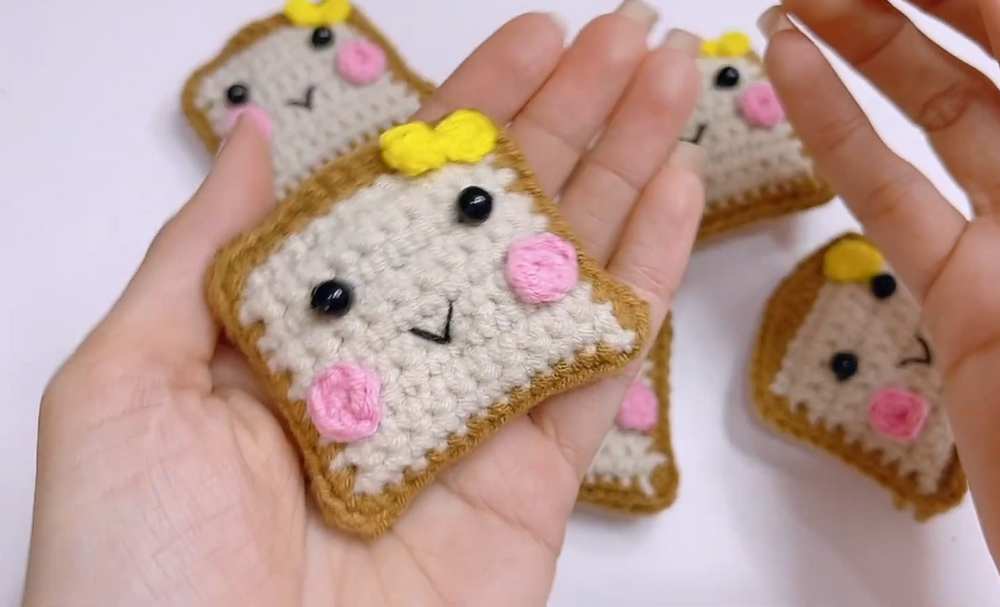
What could be a better gift for a food lover than a sandwich keychain? This fun crochet project shows you how to crochet a cute piece of sandwich bread. The cutest part of this bread is its blushing face and warm smile that makes everyone’s day. My suggestion is to make one simple version and one with a bow to create a lovely couple’s gift!
Crochet Sandwich Keychain Pattern
The designer behind this avocado keychain is Ngọc Thanh Handmade – she has quite a good grasp on kawaii amigurumi designing with added cuteness and surprises.
Free Crochet Ice-Cream Bag Pattern For Summerhttps://mycraftybasket.com/crochet-ice-cream-bag/
16 Cute and Yummy Crochet Food Patterns – Kawaii Amigurumi (UPDATED)
https://mycraftybasket.com/crochet-food-patterns/
Materials
- Yarn: Milk Cotton (Cream for bread, Brown for crust, Yellow for bow, Pink for blush).
- Hook: 2.5mm.
- Tools: Fiberfill stuffing, black embroidery thread, yarn needle, scissors, hot glue (optional).
Abbreviations
- ch: Chain
- sc: Single crochet
- inc (V): 2 sc in one stitch
- w: 3 sc in one stitch (corner)
- hdc: Half double crochet
- dc: Double crochet
- sl st: Slip stitch
The Pattern
Bread Slice (Make 2)
- Foundation: ch 12.
- R1: Start in 2nd ch from hook, 11 sc (11).
- R2–8: ch 1, turn, 11 sc (11).
- R9: ch 1, turn, 1 inc, 9 sc, 1 inc (13).

-
R10 (Crust Color Change): Change to Brown yarn.
- Side 1: 1 w in corner, 8 sc down the side.
- Bottom: 1 w in corner, 9 sc across.
- Side 2: 1 w in corner, 8 sc up the side.
- Top (Dome): 1 w in corner, 2 sc, 2 hdc in 1 st, 3 dc, 2 hdc in 1 st, 2 sc.
- Fasten off first slice. For second slice, leave long tail for sewing.

Bow (Yellow)
- Center: ch 2.
- Side 1: In 1st ch: 3 dc, ch 2, sl st.
- Side 2: ch 2, 3 dc, ch 2, sl st.
- Fasten off, leave tail for wrapping/sewing.
Blush (Pink – Make 2)
- R1: MR, 6 sc.
- sl st to close. Fasten off.
Detailed Assembly
-
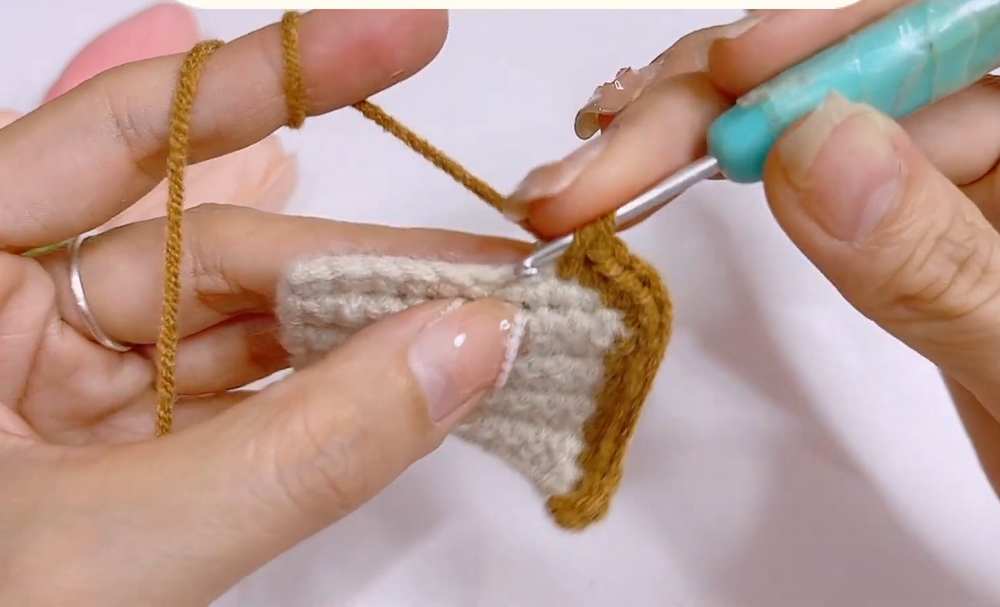
Joining the Slices:
- Place the two bread slices together with the “wrong” sides facing each other (neat sides outward).
- Thread the long brown yarn tail into a needle.
- Sew the edges together by passing the needle through the inner loops (back loops) of both slices.
- Continue sewing around three sides.
-
Stuffing:
- Insert a small amount of fiberfill before closing the final side.
- Constraint: Do not overstuff. The sandwich must remain relatively flat (about 1.5 cm thick) to maintain its authentic shape; overstuffing will make it look like a ball rather than a slice of bread.
-
The Face:
- Eyes: Using black thread, count 2 rows down from the top “dome” of the bread. Position the eyes approximately 3–4 stitches apart. Create small vertical or circular stitches for each eye.
- Mouth: Locate the row directly below the eyes (approximately Row 4). Insert the needle to create a wide “V” shape. Secure the center of the “V” with a tiny anchor stitch to keep the smile curved.
-
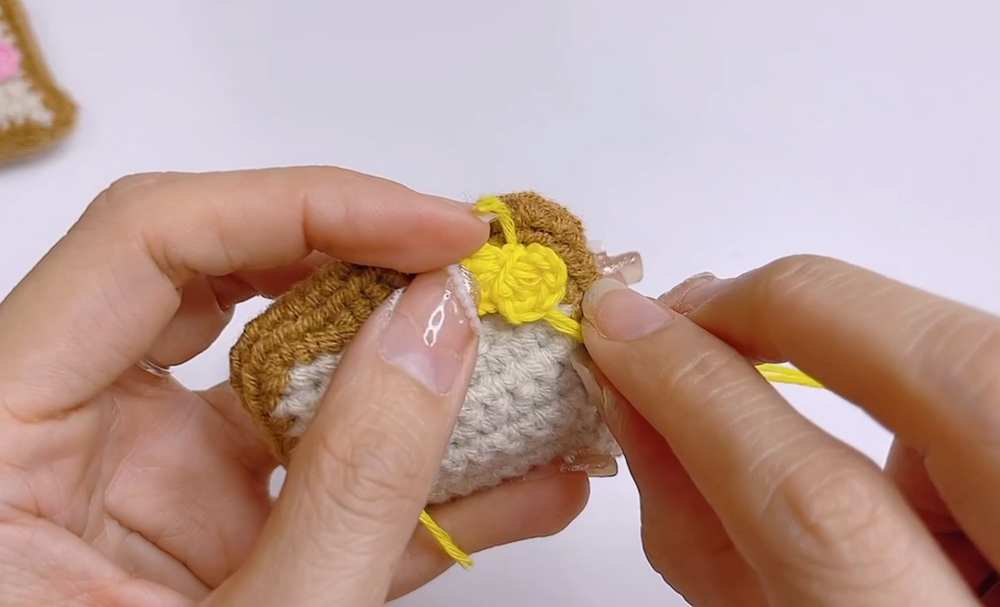
Bow & Blush Placement:
- Bow: Position the yellow bow on the top-right “dome” corner. Wrap the yarn tail around the center of the bow and through the bread slice simultaneously to secure it.
- Blush: Apply a small dot of hot glue (or sew) to the pink circles. Place them directly underneath and slightly to the outside of the eyes.
-
Finishing:
- Weave all remaining yarn tails into the center of the sandwich to hide them.
Video Pattern
Pattern (UK Terminology)
Bread Slice (Make 2)
- Foundation: ch 12.
- R1: Start in 2nd ch from hook, 11 dc (11).
- R2–8: ch 1, turn, 11 dc (11).
- R9: ch 1, turn, 1 inc, 9 dc, 1 inc (13).
-
R10 (Crust Colour Change): Change to Brown yarn.
- Side 1: 1 w in corner, 8 dc down the side.
- Bottom: 1 w in corner, 9 dc across.
- Side 2: 1 w in corner, 8 dc up the side.
- Top (Dome): 1 w in corner, 2 dc, 2 htr in 1 st, 3 tr, 2 htr in 1 st, 2 dc.
- Fasten off first slice. For second slice, leave long tail for sewing.
Bow (Yellow)
- Centre: ch 2.
- Side 1: In 1st ch: 3 tr, ch 2, sl st.
- Side 2: ch 2, 3 tr, ch 2, sl st.
- Fasten off, leave tail for wrapping/sewing.
Blush (Pink – Make 2)
- R1: MR, 6 dc.
- sl st to close. Fasten off.
Detailed Assembly
-
Joining the Slices:
- Place the two bread slices together with the “wrong” sides facing each other (neat sides outward).
- Thread the long brown yarn tail into a needle.
- Sew the edges together by passing the needle through the inner loops (back loops) of both slices.
- Continue sewing around three sides.
-
Stuffing:
- Insert a small amount of fibre fill before closing the final side.
- Constraint: Do not overstuff. The sandwich must remain relatively flat (about 1.5 cm thick) to maintain its authentic shape; overstuffing will make it look like a ball rather than a slice of bread.
-
The Face:
- Eyes: Using black thread, count 2 rows down from the top “dome” of the bread. Position the eyes approximately 3–4 stitches apart. Create small vertical or circular stitches for each eye.
- Mouth: Locate the row directly below the eyes (approximately Row 4). Insert the needle to create a wide “V” shape. Secure the centre of the “V” with a tiny anchor stitch to keep the smile curved.
-
Bow & Blush Placement:
- Bow: Position the yellow bow on the top-right “dome” corner. Wrap the yarn tail around the centre of the bow and through the bread slice simultaneously to secure it.
- Blush: Apply a small dot of hot glue (or sew) to the pink circles. Place them directly underneath and slightly to the outside of the eyes.
-
Finishing:
- Weave all remaining yarn tails into the centre of the sandwich to hide them.