
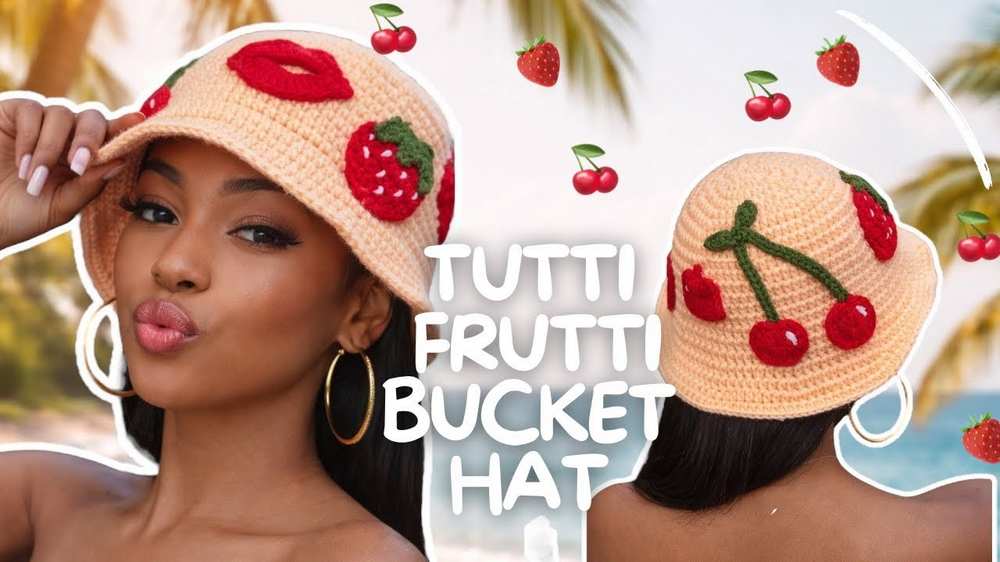
5 Free Crochet UNIQUE Bucket Hat Patterns Done
Continuing the Summer Hat Series, today, I will share these free crochet bucket hat patterns. For this small list, I tried to choose all the unique designs for both the brim and the theme. So, you can choose from the rainbow stripes bucket hat to the starfish bucket hat, a shell stitch to the tulip stitch hat, and more. As for the brim styles, I have chosen the ruffled, cowgirl, plain, brimless, and hats with beautiful edgings, too.
Crochet UNIQUE Bucket Hat Patterns
All these require the cotton yarn for breathability and comfort. You can decorate them with your favorite appliques, such as the cherry, strawberry or rings such as the ribbon and puff stitch row. Let’s get started!
Summer hat tutorials shared already:
01 of 05 Crochet Colorful Bucket Hat
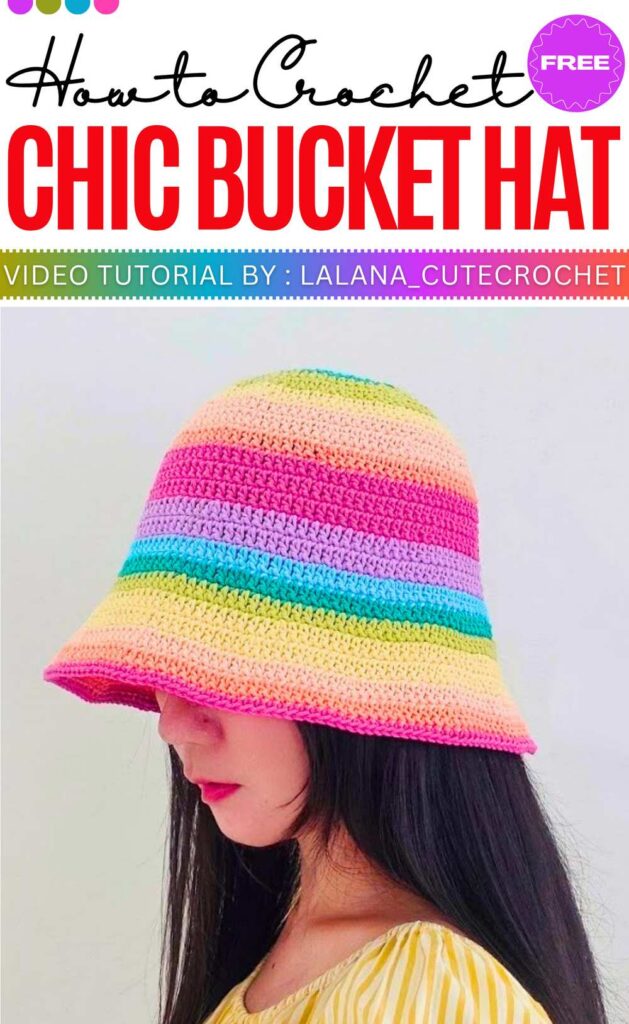
Turn yarn scraps into a stylish, sun-ready accessory with this vibrant Crochet Bucket Hat. Perfect for clearing out your stash, this project builds a colorful, structured shape by transitioning from a simple magic ring into a playful, multi-toned masterpiece.
General Making:
Start with a magic ring and increase to a flat top of 96 double crochets. Work 4 straight rows to form the sides, swapping colors for a striped look. To create the brim, add increases back in for a few rows, then finish with a final row of single crochets and weave in the ends.
02 of 05 Crochet Tulip Bucket Hat
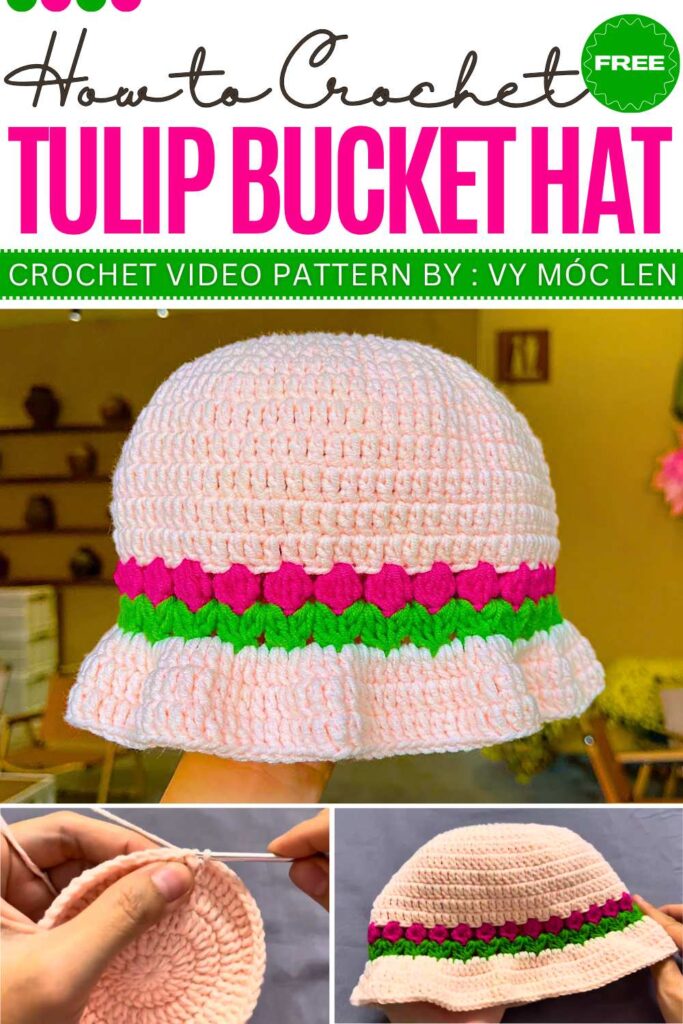
This option shows a decorative floral band of blooming tulips and green leaves. The design uses a classic top-down construction, blending standard stitches with textured clusters to create a unique garden-themed border before flaring into a soft brim.
General Making:
Start with a magic circle and increase to form a flat crown. Crochet straight rows for the body, then switch colors to work a row of tulip clusters followed by green leaves. Finally, switch back to the main color and work increasing rows to flare the brim.
03 of 05 Crochet Cowgirl Brim Bucket Hat
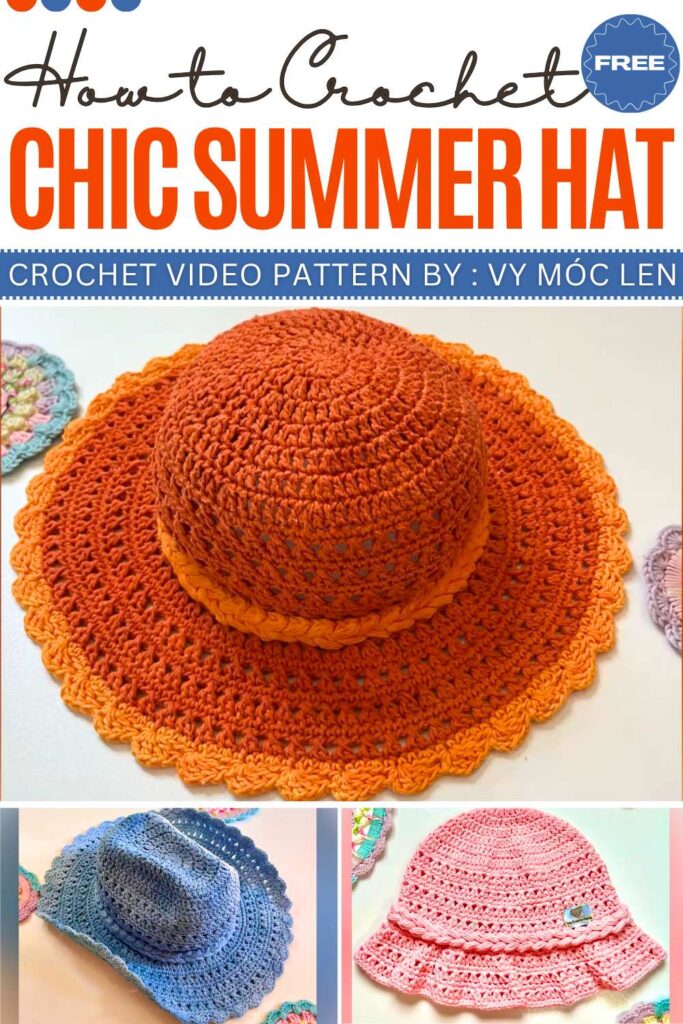
We do have something for Western Fans! The Crochet Shell Brim Bucket Hat is a stylish and functional project that shows a decorative scalloped edge. It is worked in a continuous spiral for a seamless look, making it perfect for sun protection or as a chic accessory.
General Making:
Start with a magic ring and increase in a spiral to form a flat crown. Crochet several straight rows of single crochets without increases to create the body, then transition into a fan stitch pattern to build a scalloped brim. After completing the shells, finish with an invisible join and add a decorative ribbon bow.
04 of 05 Crochet Strawberry Bucket Hat
This Strawberry Bucket Hat is a playful accessory that combines a classic silhouette with colorful appliques. Made in half double crochets, this project is designed for both style and sun protection. Plus the had features a structured crown and a flared brim that holds its shape.
General Making:
Start with a magic ring and increase in a spiral to form a flat crown. Crochet straight rows to build the body, then work into the front loops to help the brim flare outward. Continue increasing the brim to your desired width and hand-sew a strawberry appliqué onto the side for a decorative finish.
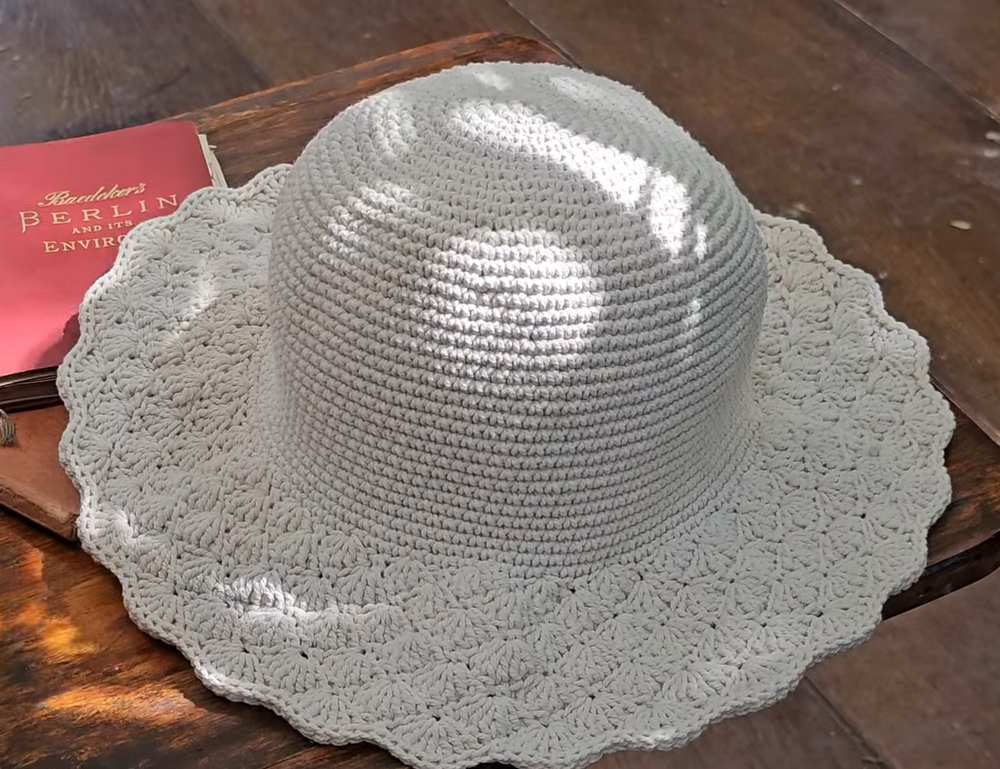
05 of 05 Crochet Shell Brim Bucket Hat
Get ready for your beach adventures with this option. The Crochet Shell Brim Bucket Hat has a classic bucket shape with a decorative scalloped edge. It’s worked in a continuous spiral for the crown and body, then switches to a fan stitch for the brim.
General Making:
Start with a magic ring and increase to a flat top of 96 stitches. Crochet 16 straight rows to form the body, then transition into a fan stitch pattern (5–7 double crochets per shell) to create the scalloped brim. After 6 shell rows, finish with an invisible join and a decorative ribbon bow.