
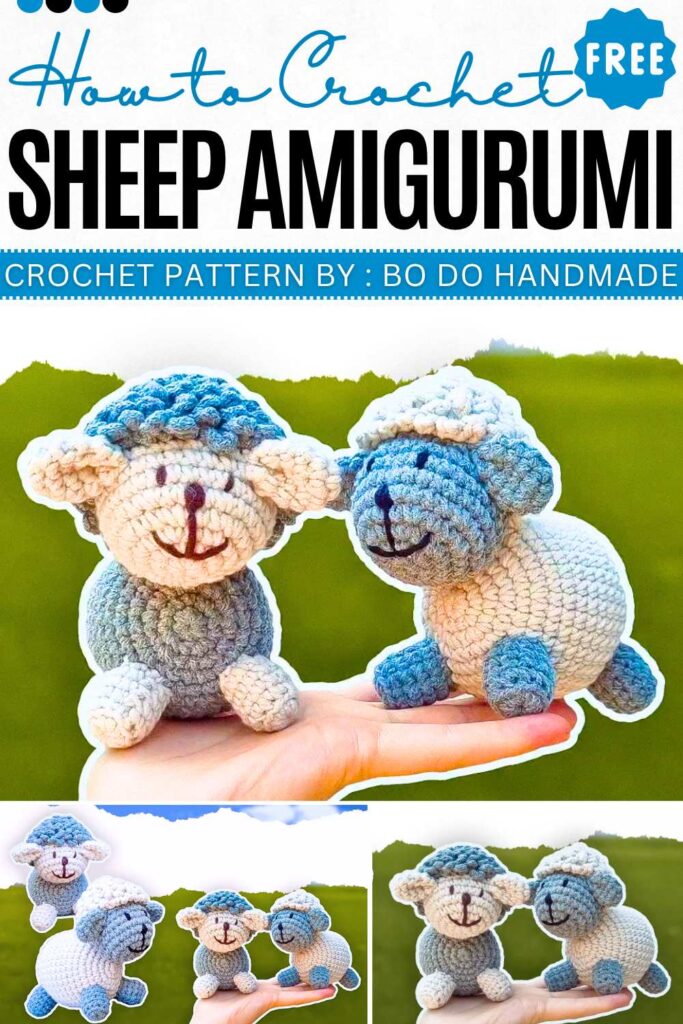
Crochet Amigurumi Sheep Keychain Pattern
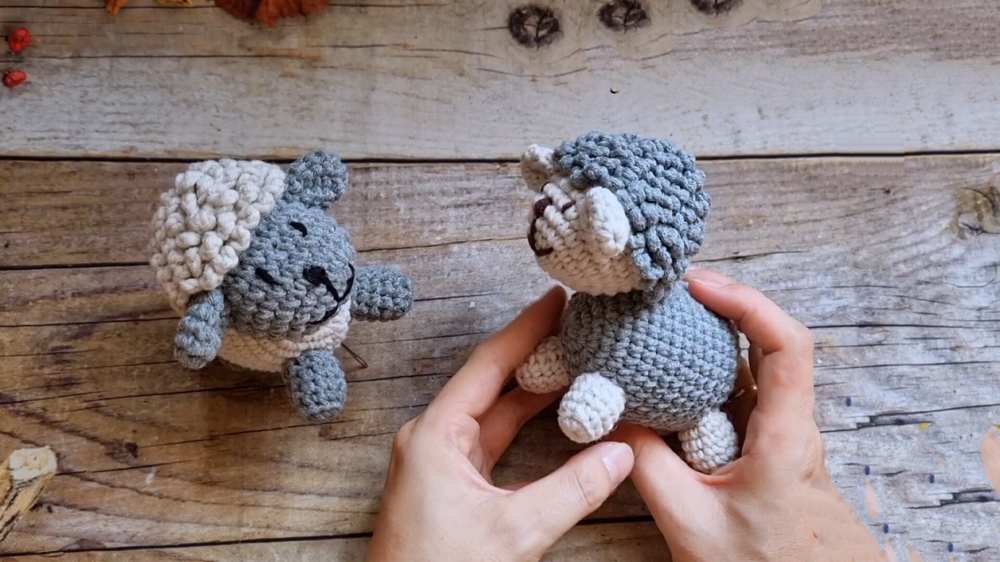
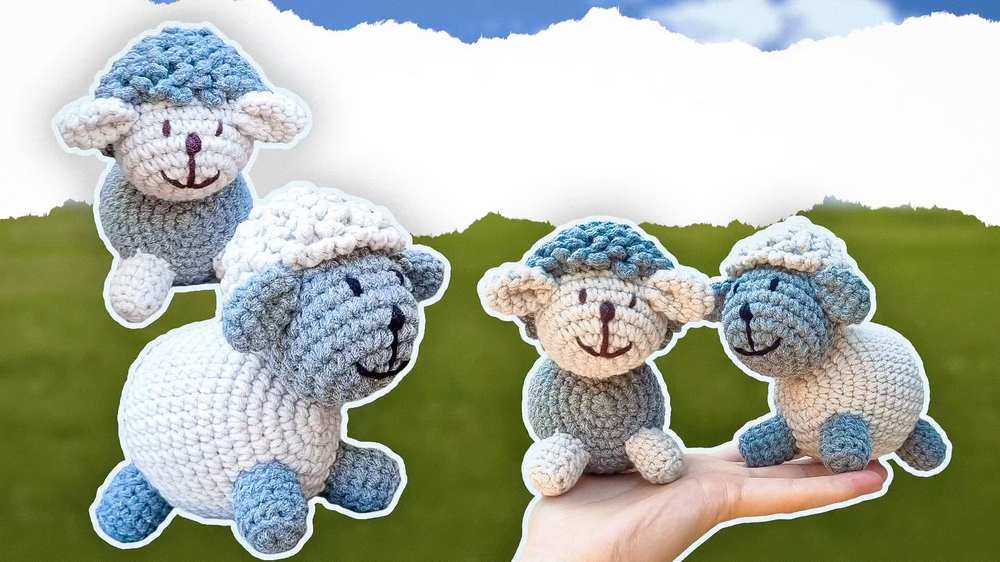
For all those with farm animals love we have Crochet Amigurumi Sheep Pattern to crochet real like sheep toy. This is a round little toy that you can make in different sizes to use as a charm or a soft friend. You can easily make it in any color to match your room or your favorite style.
The sheep is also perfect as a table charm or a piece of decor around you. For your assistance we have added both UK and Us patterns along with the video tutorial at the bottom. Start crocheting your little love today!
Bi Do Handmade has been an expert in crocheting and designing crochet hats, bag charms, and pouches. Also, visit her YouTube channel for more exciting projects.
Materials
- Yarn: Cotton or velvet yarn (white/cream for wool, skin tone for face/limbs).
- Hook: 2.5mm or 3.0mm.
- Other: Fiberfill stuffing, safety eyes or black embroidery yarn, yarn needle, scissors, stitch markers.
Abbreviations (US Terms)
- MR: Magic Ring
- ch: Chain
- sc: Single crochet
- inc: Increase (2 sc in 1 st)
- dec: Decrease (Invisible decrease/sc2tog)
- sl st: Slip stitch
- st(s): Stitch(es)
- BLO: Back Loop Only
- FLO: Front Loop Only
Pattern Instructions
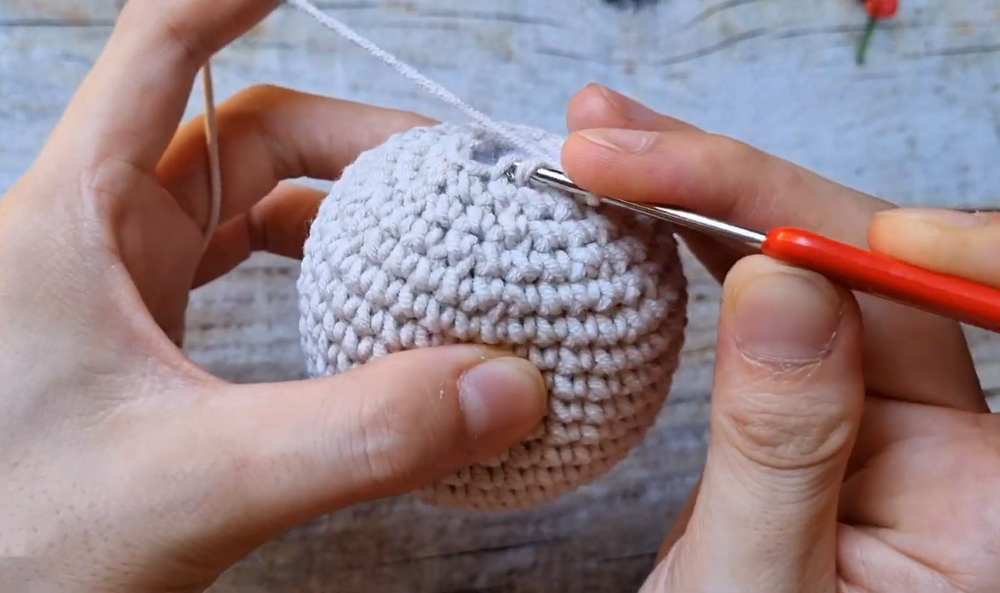
Body (Wool Color)
- R1: MR, 6 sc (6)
- R2: 6 inc (12)
- R3: [1 sc, inc] x6 (18)
- R4: [2 sc, inc] x6 (24) Note: Offset increases for a rounder shape.
- R5: [3 sc, inc] x6 (30)
- R6: [4 sc, inc] x6 (36)
- R7-15: sc around (36)
- R16: [4 sc, dec] x6 (30)
- R17: [3 sc, dec] x6 (24)
- R18: [2 sc, dec] x6 (18)
- R19: [1 sc, dec] x6 (12)
- R20: 6 dec (6)
- Fasten off, leave tail to close.
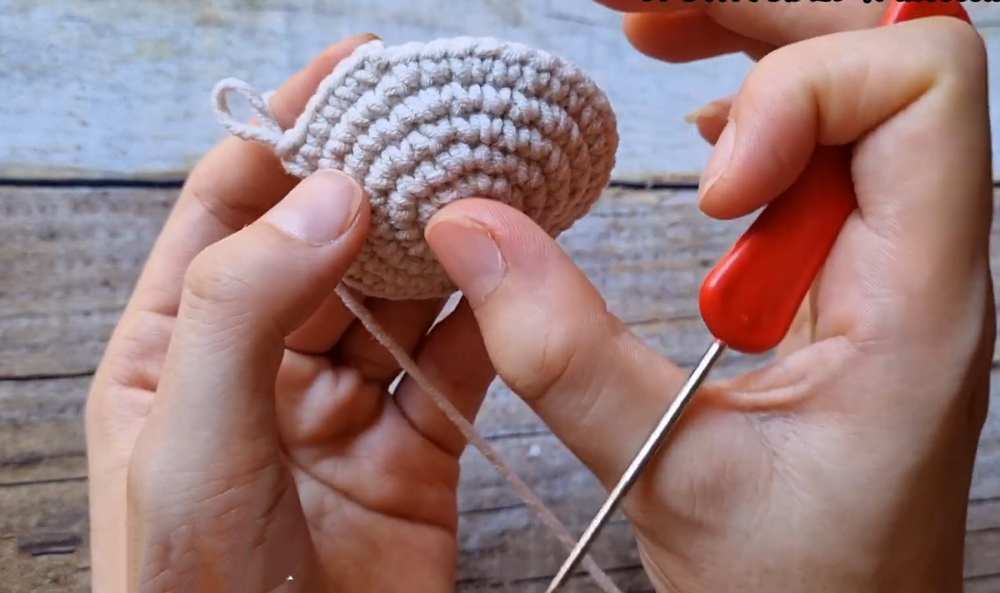
Head (Skin Color)
- R1: MR, 6 sc (6)
- R2: 6 inc (12)
- R3: [1 sc, inc] x6 (18)
- R4: [2 sc, inc] x6 (24)
- R5: [3 sc, inc] x6 (30)
- R6-8: sc around (30)
- R9 (Decrease Round): BLO [3 sc, dec] x6 (24)
- R10: sc around in BLO (24)

- R11: BLO [2 sc, dec] x6 (18)
- R12: sc around in BLO (18)
- R13: BLO [1 sc, dec] x6 (12)
- R14: 6 dec in BLO (6)
- Stuff and close.
Wooly Top (Wool Color)
- Work into the FLO loops left on the head.
- Pattern: [sl st, ch 4, sl st] in every stitch around to create loops.
Legs (Skin Color – Make 4)
- R1: MR, 10 sc (10)
- R2: BLO sc around (10)
- R3-5: sc around (10)
- Stuff lightly.
Ears (Skin Color – Make 2)
- R1: MR, 6 sc (6)
- R2: [1 sc, inc] x3 (9)
- R3-5: sc around (9)
- Fold flat.
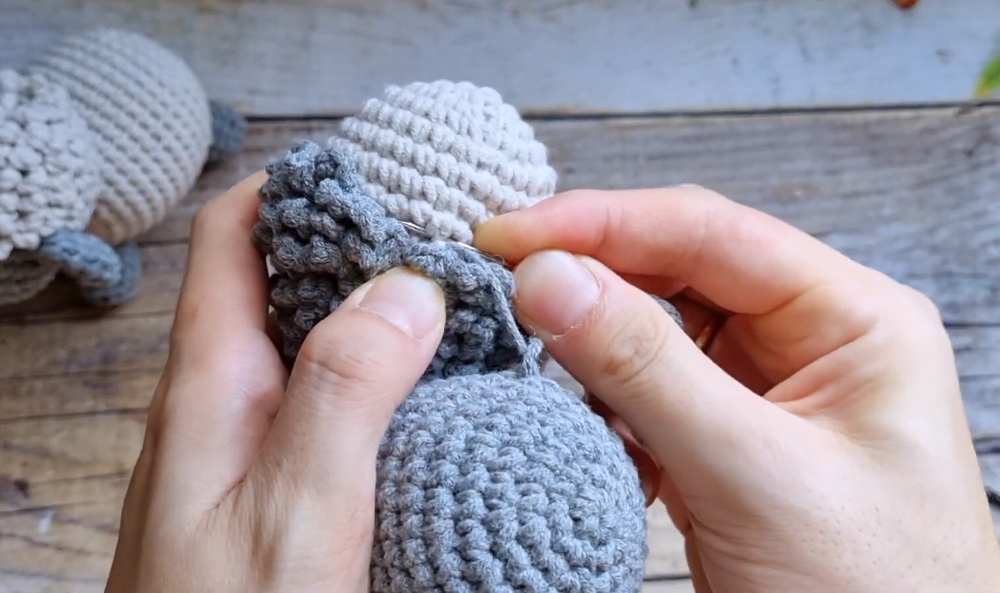
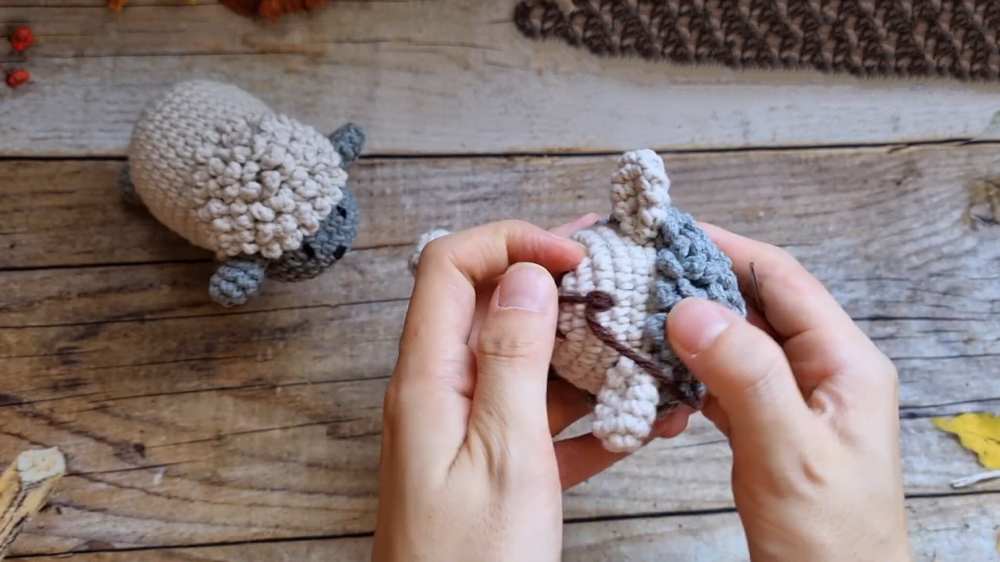
Detailed Assembly Instructions
- Head to Body: Position the head against the front of the body. Identify the line between R6 and R7 on the body. Using a yarn needle, sew the back of the head (the area starting just below the wooly loops) to the body. Sew across approximately 1/4 of the head’s circumference to ensure it remains stable and upright.
- Legs: Align the legs on the bottom of the body. Mark the center-point of the belly. Place the front legs between R4 and R5 of the body, spaced about 1.5cm apart. Repeat for the back legs, ensuring they are symmetrical to the front ones. Sew around the top edge of each leg (10 sts) to the body.
- Ears: Position the ears on the sides of the head, just below the wooly top. Pinch the base of the ear to create a slight indentation. Sew the base to the head. To make them “droop” naturally, take one small stitch through the middle of the ear and anchor it slightly lower on the head before fastening off.
- Face Embroidery: Use black yarn to create a “Y” shape for the nose and mouth in the center of the face. For the eyes, embroider small horizontal lines or insert safety eyes two rows above the mouth, spaced about two stitches apart.
- Tail (Optional): Follow the ear pattern but sew it to the back center of the body.
- Final Checks: Weave in all loose yarn ends inside the body. Adjust the stuffing by gently squeezing the parts into the desired shape.
Video Pattern:
Pattern Instructions (UK Terms)
Body (Wool Color)
- R1: MR, 6 dc (6)
- R2: 6 inc (12)
- R3: [1 dc, inc] x6 (18)
- R4: [2 dc, inc] x6 (24) Note: Offset increases for a rounder shape.
- R5: [3 dc, inc] x6 (30)
- R6: [4 dc, inc] x6 (36)
- R7-15: dc around (36)
- R16: [4 dc, dec] x6 (30)
- R17: [3 dc, dec] x6 (24)
- R18: [2 dc, dec] x6 (18)
- R19: [1 dc, dec] x6 (12)
- R20: 6 dec (6)
- Fasten off, leave tail to close.
Head (Skin Color)
- R1: MR, 6 dc (6)
- R2: 6 inc (12)
- R3: [1 dc, inc] x6 (18)
- R4: [2 dc, inc] x6 (24)
- R5: [3 dc, inc] x6 (30)
- R6-8: dc around (30)
- R9 (Decrease Round): BLO [3 dc, dec] x6 (24)
- R10: dc around in BLO (24)
- R11: BLO [2 dc, dec] x6 (18)
- R12: dc around in BLO (18)
- R13: BLO [1 dc, dec] x6 (12)
- R14: 6 dec in BLO (6)
- Stuff and close.
Wooly Top (Wool Color)
- Work into the FLO loops left on the head.
- Pattern: [sl st, ch 4, sl st] in every stitch around to create loops.
Legs (Skin Color – Make 4)
- R1: MR, 10 dc (10)
- R2: BLO dc around (10)
- R3-5: dc around (10)
- Stuff lightly.
Ears (Skin Color – Make 2)
- R1: MR, 6 dc (6)
- R2: [1 dc, inc] x3 (9)
- R3-5: dc around (9)
- Fold flat.