
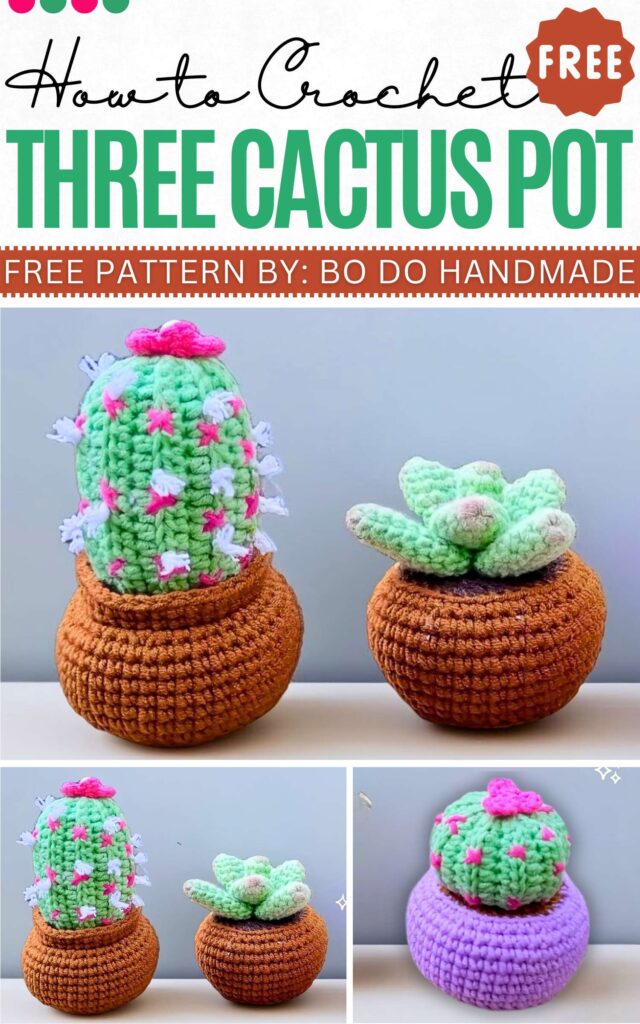
Free Crochet Cactus Pattern (3-in-1 Pattern)
Today, I have a 3-in-1 crochet pattern for crocheting a beautiful cactus pot in three variations. That is a succulent cactus, a ribbed long cactus with flowers, and a short cactus. All these variations will be easy to crochet and also feature a little pot variation. Like the brim around the cactus.
I especially find the little basic flower at the top of the cactus. I will try to mention both the US and the UK patterns so that all of you can follow along with the pattern and make it for the home décor. Especially crochet this for winter to make your spot lively.
Crochet Three Cactuses
Bi do Handmade is an had been an expert in crocheting and designing crochet amigurumi, bag charms, and pouches. Also visit her YouTube channel for more exciting projects.
These are shared already:
Free Crochet Cactus Pattern
Below is the complete written pattern for crocheting the cactus pattern with a little flower and the pot pattern:
-
Materials: Milk Cotton Yarn (125g), 2.5 mm crochet hook, fiberfill, needle, glue (optional), decorations (beads, ribbons).
-
Terms: US Terminology.
-
Abbreviations:
-
MR: Magic Ring
-
ch: Chain
-
st(s): Stitch(es)
-
sc: Single Crochet
-
inc: Increase (2 sc in one st)
-
dec: Decrease (sc 2 together)
-
sl st: Slip Stitch
-
hdc: Half Double Crochet
-
BLO: Back Loop Only
-
1. Pot (Base & Body)
This standard pot pattern is used for all three cactus variations.
Base:
-
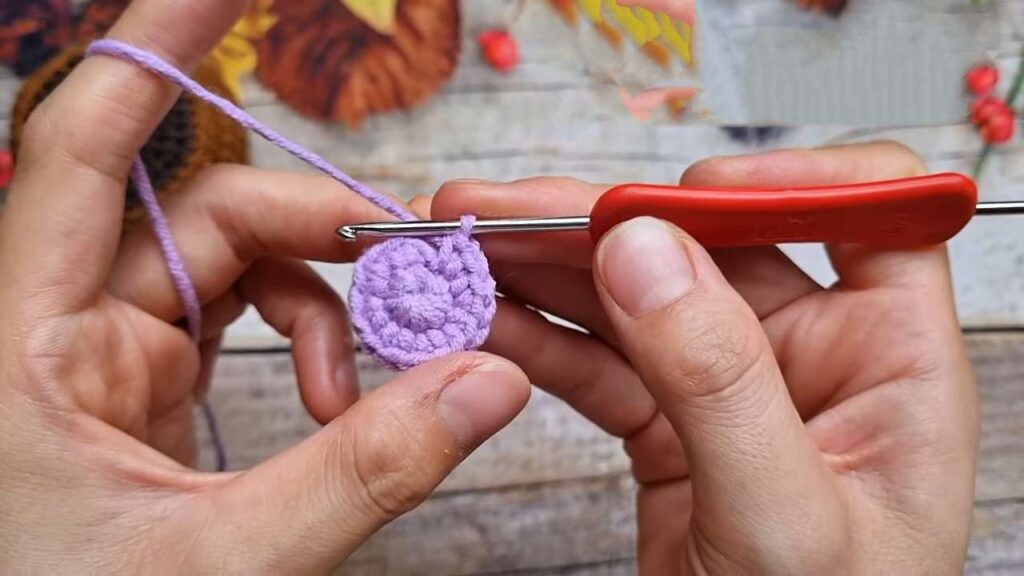
R1: MR, 8 sc. Join with sl st. (8)
-
R2: ch 1, 8 inc. Join with sl st. (16)
-
R3: ch 1, (1 sc, inc) x8. Join with sl st. (24)
-
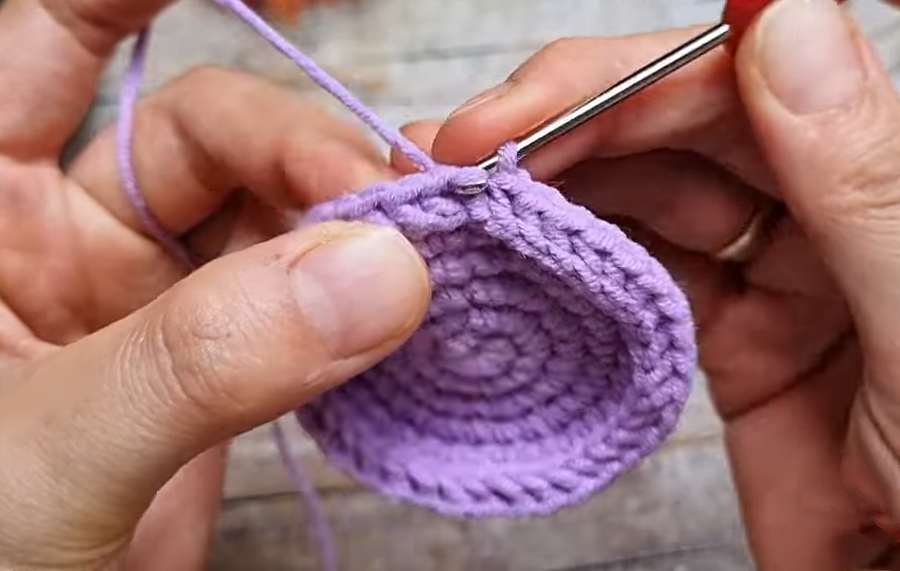
R4: ch 1, (3 sc, inc) x6. Join with sl st. (30)
-
R5: ch 1, (2 sc, inc, 2 sc) x6. Join with sl st. (36)
-
Note: The pattern uses a staggered increase method (splitting the even number) to keep the circle round.
-
Body:
-
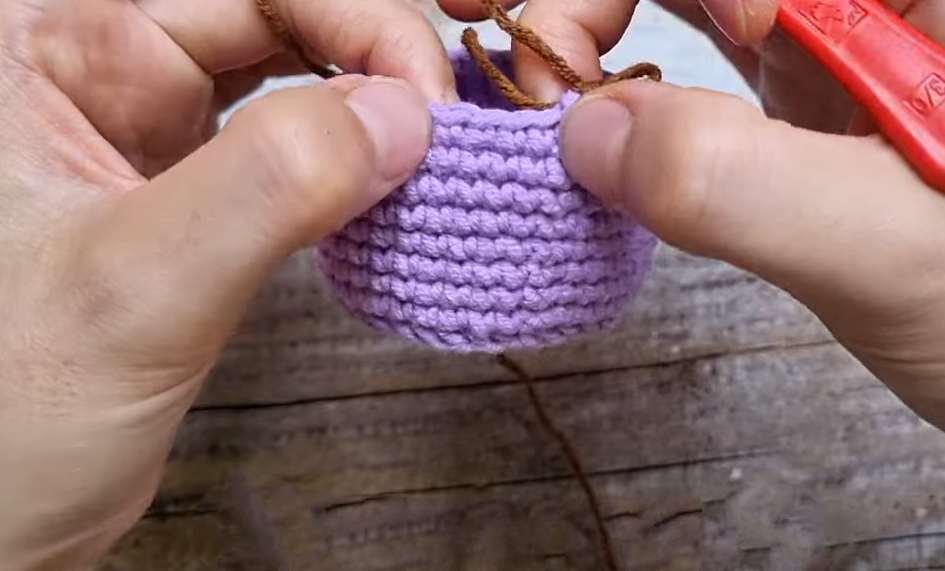
R6 (Transition): Work 1 sc in each st around, but insert hook from bottom to top through the stitch and then horizontally through the next stitch to create a ridge (or work standard Back Post SC if preferred to create a sharp edge). Join with sl st. (36)
-
R7: ch 1, (5 sc, inc) x6. Join with sl st. (42)
-
R8–R12: ch 1, sc in each st around. (42)
-
Note: Adjust height by adding/removing rows here if desired.
-
Rim/Soil Support (Decrease):
-
R13: ch 1, (5 sc, dec) x6. Join with sl st. (36)
-
Change color to brown (soil) here if desired, or continue with pot color and add a separate soil piece.
-
-
R14 (Soil Start): Change to Soil Color. Work in BLO (or inner loops). (4 sc, dec) x6. Join with sl st. (30)
-
R15: ch 1, (3 sc, dec) x6. Join with sl st. (24)
-
R16: ch 1, (2 sc, dec) x6. Join with sl st. (18)
-
Stuff the pot firmly with fiberfill.
-
-
R17: ch 1, (1 sc, dec) x6. Join with sl st. (12)
-
R18: 6 dec. Join with sl st. (6)
-
Fasten off and sew hole closed.
Optional Pot Rim:
-
Attach yarn to the unused front loops of the transition between body and soil.
-
Work 1 or 2 rounds of sc around to create a raised rim.
2. Cactus Variations
Variation A: Succulent/Lotus Type (Layered Leaves)
Small Leaf:
-
R1: MR, 6 sc. Join with sl st. (6)
-
R2: ch 1, (1 sc, inc) x3. Join with sl st. (9)
-
R3: ch 1, (2 sc, inc) x3. Join with sl st. (12)
-
R4–R6: sc in each st around. (12)
-
Flatten leaf. Do not stuff. Crochet or sew the opening closed (optionally, skip sts to gather the bottom).
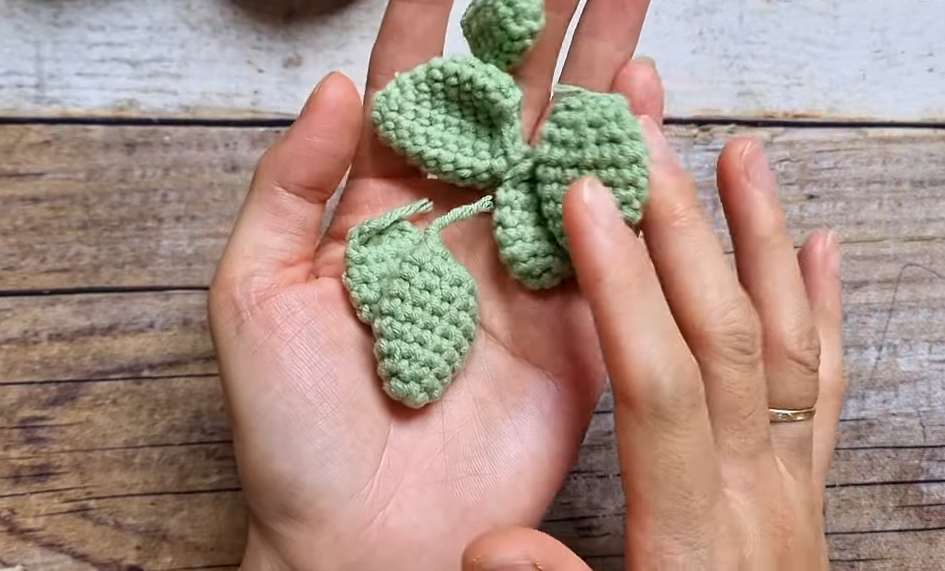
Assembly:
-
Make multiple leaves (approx 6-8) in varying sizes (add/subtract increase rows for size).
-
Arrange in layers on top of the soil and glue or sew in place.
-
Optional: Blush the tips with pink chalk/makeup.
Variation B: Tall/Ribbed Cactus
-
Foundation: ch 15 (or desired height).
-
Row 1: In 2nd ch from hook, sl st 2, sc 2, hdc until 4 chs remain, sc 2, sl st 2. ch 1, turn.
-
Row 2: Working in BLO: sl st 2, sc 2, hdc across center, sc 2, sl st 2. ch 1, turn.
-
Repeat: Repeat Row 2 until the piece is wide enough to form a cylinder when folded (approx 12-15 ridges).
-
Assembly:
-
Fold the piece to form a tube. Sew the first and last row together.
-
Gather the top opening with a needle and pull tight to close.
-
Stuff lightly.
-
Gather the bottom opening and sew to the soil.
-
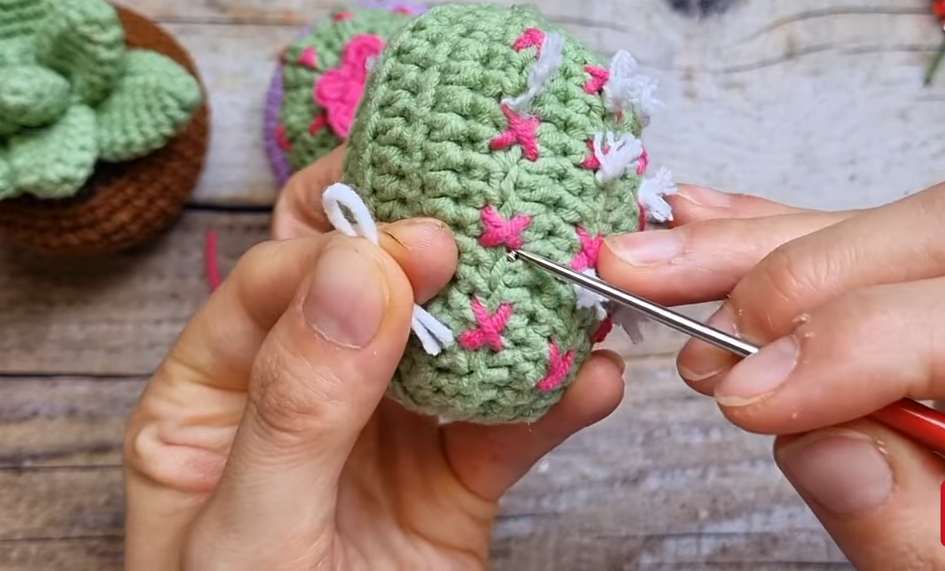
Variation C: Round/Pumpkin Cactus
-
Use the same ribbed pattern as Variation B but make the chain shorter (e.g., ch 12) and make more rows so it forms a sphere when gathered.
-
Stuff firmly to create a round shape.
-
Sew to soil.
-
Decorate with small “x” stitches in contrasting yarn to resemble spines.
3. Decoration (Flower)
-
R1: MR.
-
Petal: (ch 2, 1 dc into MR, ch 2, sl st into MR).
-
Repeat Petal 5 times.
-
Tighten MR, fasten off, and sew to the top of the cactus.
4. Spines (Optional for Ribbed Cactus)
-
Cut short strands of white yarn.
-
Loop them through the “ribs” of the cactus using a hook (larks head knot style).
-
Trim short and fray the ends to look like fuzzy spines.