
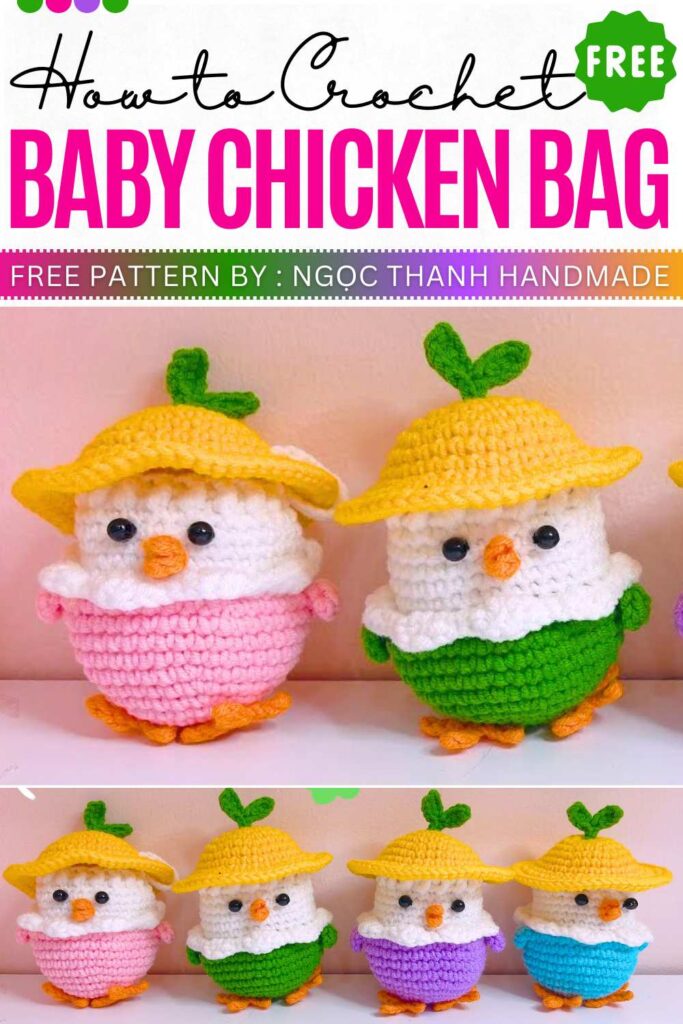
Free Crochet Chick Bag Pattern for Kids
Play with, and carry around as a pouch. Today, I have a free pattern for some really fun crochet chicks for summer. Following this, you will learn how to crochet the dressed chick amigurumi that, at the same time, is a small pouch and bag charm. So, maybe you have found your next picnic buddy.
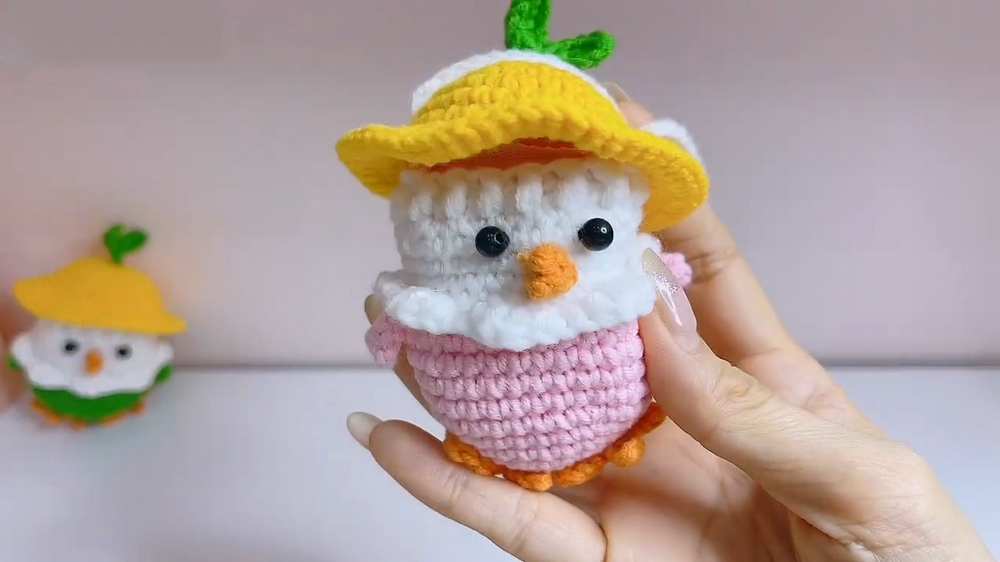
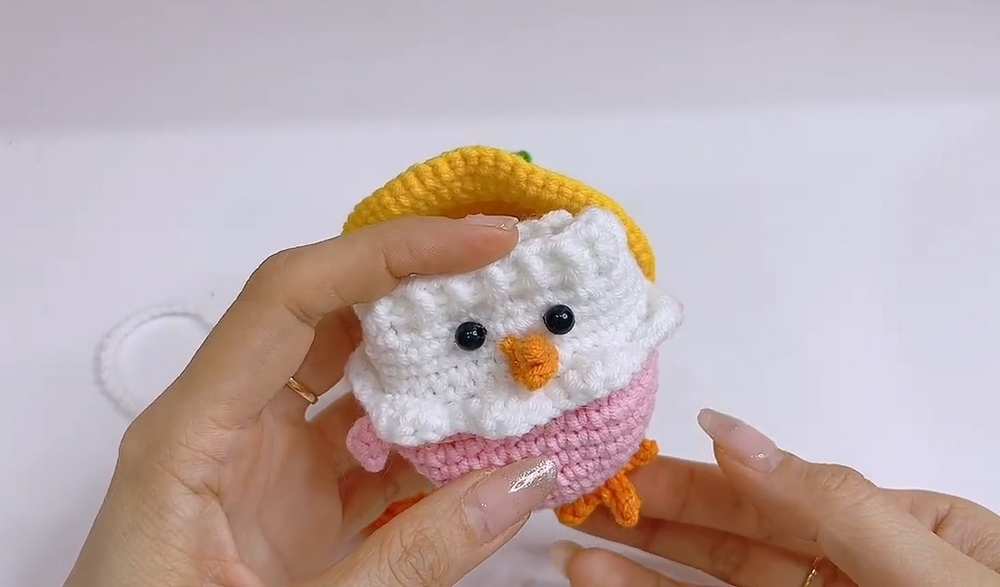
These white chicks wear a collared jumper in any color you find favorite (pink, purple, yellow, etc) and a fruit bucket hat with a leaf top.
You can place them on your desktop as buddies, and while travelling, attach them to your main bag. Below, I will provide you with both the US and UK patterns.
The designer behind this is @NITKA_KZ – she has quite a good grasp on kawaii amigurumi designing with added cuteness and surprises.
Shared Already:
Materials: Milk Cotton yarn (5-ply), crochet hook (2.5mm – 3.0mm suggested), safety eyes or beads, tapestry needle, and hot glue.
US Terms: MR (Magic Ring), ch (chain), st (stitch), sl st (slip stitch), sc (single crochet), hdc (half double crochet), dc (double crochet), inc (increase), dec (decrease), BLO (back loop only), FPDC (front post double crochet), BPDC (back post double crochet).
UK Terms: MR (Magic Ring), ch (chain), st (stitch), sl st (slip stitch), dc (double crochet), htr (half treble crochet), tr (treble crochet), inc (increase), dec (decrease), BLO (back loop only), FPTR (front post treble), BPTR (back post treble).
Crochet Chick Bag Us Pattern
This pattern provides instructions for a mini chicken garlic holder (or small pouch) in US terms. Features a two-color body, a removable hat with a sprout, and small details like wings, feet, and a beak.
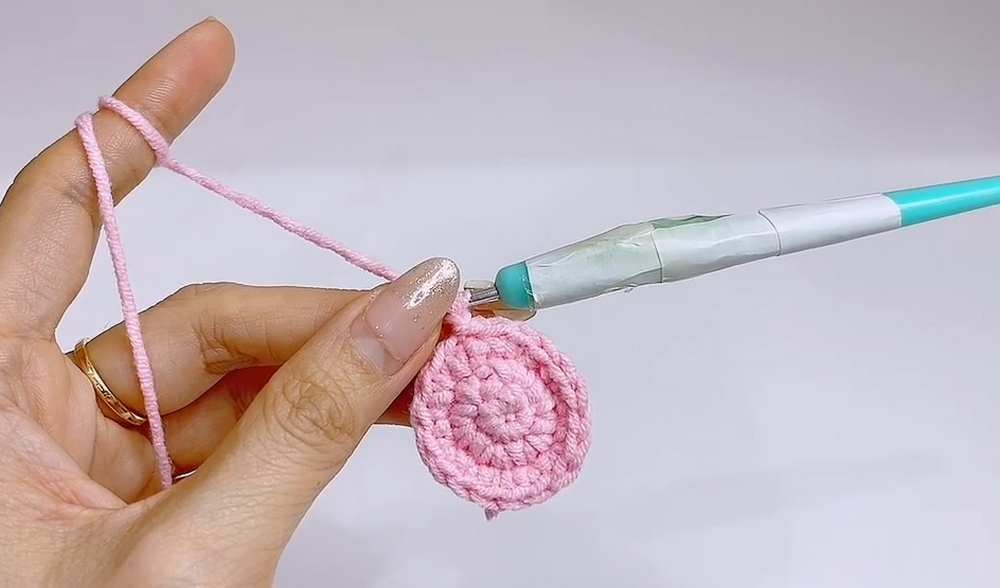
Body (Start with Yellow or Main Color)
- R1: MR, 6 sc (6)
- R2: 6 inc (12)
- R3: (1 sc, inc) x 6 (18)
- R4: (2 sc, inc) x 6 (24)
- R5: (5 sc, inc) x 4 (28)
- R6: (6 sc, inc) x 4 (32)
- R7: (7 sc, inc) x 4 (36)
- R8–R9: 36 sc (36)
- R10 (Arms/Wings): 9 sc, ch 5, skip 2 ch, hdc in next 2 ch, sc in last ch, 18 sc, ch 5, skip 2 ch, hdc in next 2 ch, sc in last ch, 9 sc.
- R11: 6 sc, dec, (7 sc, dec) x 3, 1 sc (32)
- Switch to White yarn.
- R12: 32 sc (32)
- R13: BLO 32 sc (32)
- R14–R17: 32 sc (32)
- R18 (Ribbing): Ch 3, (FPDC, BPDC) repeat around. Sl st to join.
Shell Frill (White)
Attach yarn to the front loops remaining from R13.
Pattern: [sc, (hdc, dc) in next st, (dc, hdc) in next st, sc in next st]. Repeat this sequence around to create the shell edge.

Chicken Hat (Yellow)
- R1: MR, 6 sc (6)
- R2: 6 inc (12)
- R3: (1 sc, inc) x 6 (18)
- R4: (2 sc, inc) x 6 (24)
- R5: (3 sc, inc) x 6 (30)
- R6–R8: 30 sc (30)
- R9: 30 inc (60)
- R10: 60 sc (60)
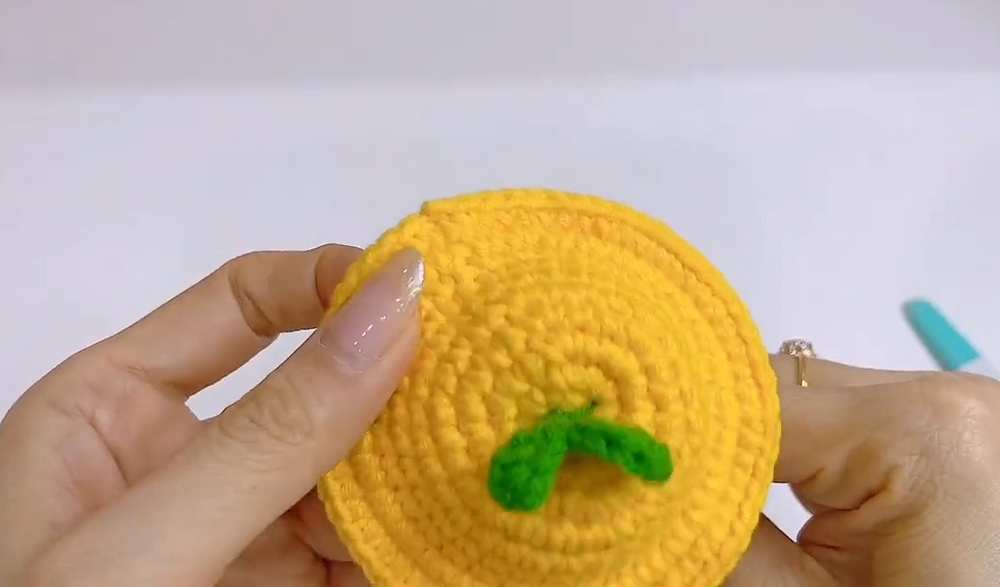
Leaf Sprout (Green)
- Ch 7. Sc in 2nd ch from hook, hdc in next 2 ch, sl st.
- Ch 5. Sc in 2nd ch from hook, hdc in next 2 ch, sl st into the base of the first leaf.
Details (Orange)
- Beak: Ch 3, 2 sl st, ch 3, 2 sl st.
- Feet (Make 2): Ch 6, sl st in 2nd ch and next 2 ch (3 sl st total), ch 4, 3 sl st, ch 4, 3 sl st, 2 sl st back into the original chain base/
- Strap: Ch 180 (or desired length).
Assembly Instructions
Weave the long strap through the ribbed stitches of Row 18.
Pull the strap ends through the center of the hat.
Sew or glue the eyes to the body at Row 2–3 of the yellow section.
Glue the beak between the eyes and the feet at the bottom.
Attach the green sprout to the top of the hat.
Video Tutorial
UK Pattern
Body (Start with Yellow or Main Color)
R1: MR, 6 dc (6)
R2: 6 inc (12)
R3: (1 dc, inc) x 6 (18)
R4: (2 dc, inc) x 6 (24)
R5: (5 dc, inc) x 4 (28)
R6: (6 dc, inc) x 4 (32)
R7: (7 dc, inc) x 4 (36)
R8–R9: 36 dc (36)
R10 (Arms/Wings): 9 dc, ch 5, skip 2 ch, htr in next 2 ch, dc in last ch, 18 dc, ch 5, skip 2 ch, htr in next 2 ch, dc in last ch, 9 dc.
R11: 6 dc, dec, (7 dc, dec) x 3, 1 dc (32)
Switch to White yarn.
R12: 32 dc (32)
R13: BLO 32 dc (32)
R14–R17: 32 dc (32)
R18 (Ribbing): Ch 3, (FPTR, BPTR) repeat around. Sl st to join.
Shell Frill (White)
Attach yarn to the front loops remaining from R13.
Pattern: [dc, (htr, tr) in next st, (tr, htr) in next st, dc in next st]. Repeat around.
Chicken Hat (Yellow)
R1: MR, 6 dc (6)
R2: 6 inc (12)
R3: (1 dc, inc) x 6 (18)
R4: (2 dc, inc) x 6 (24)
R5: (3 dc, inc) x 6 (30)
R6–R8: 30 dc (30)
R9: 30 inc (60)
R10: 60 dc (60)
Leaf Sprout (Green)
Ch 7. Dc in 2nd ch from hook, htr in next 2 ch, sl st.
Ch 5. Dc in 2nd ch from hook, htr in next 2 ch, sl st into the base.
Details (Orange)
Beak: Ch 3, 2 sl st, ch 3, 2 sl st.
Feet (Make 2): Ch 6, 3 sl st, ch 4, 3 sl st, ch 4, 3 sl st, 2 sl st back into the base.
Strap: Ch 180.