
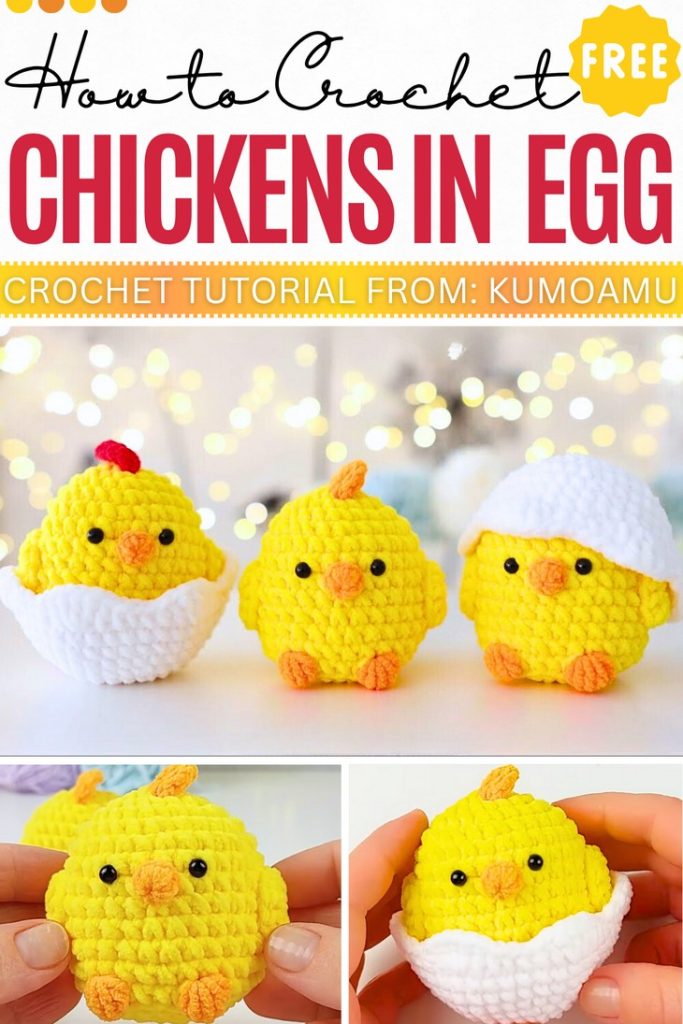
How to Crochet Kawaii Baby Chicken In Eggshell Plushie
Crocheting an amigurumi chick is one of the easiest tasks, especially when you have the tutorial from KumoAmu. So, learn how to crochet this kawaii baby chicken in an eggshell plushie that is so cute and squishy with its chubby finish. You are gonna crochet both the shell and chicken separately, which increases the playable score of this amigurumi for kids: whether you put the amigurumi inside the shell or put the shell on the head.
With the help of a quick pattern, you can easily crochet this with a little sewing in just 35 minutes. The instructions are easy and require an understanding of basic terms. With two variations, this chick amigurumi is perfect for Christmas with A Santa hat and even for Thanksgiving.
So, if you are ready to crochet this quick chick ornament, continue reading this post till the end. There you will find the complete tutorial. It will certainly be the best gift ever!
About the Designer: The designer behind this new penguin amigurumi for kids is @KumoAmu – Hannah’s channel, KumoAmu, is currently quite new, but her festive plushie set tutorials are out of this world! As you may have seen, she also tried other kawaii animal plushies that were all in the box.
Material Suggestions
To follow through with the tutorial, gather the following suggested tools and materials for crocheting this chick plushie:
Yarn (50 g / 135 m, in white, yellow, and orange.) Use plush or standard yarn like Milk Cotton!
Hook (2.5 mm)
Other Supplies:
Scissors
Stuffing (fiberfill for inside the crochet toy)
Stitch marker
5 mm eyes (safety eyes for amigurumi)
Needles (for sewing parts together)
Crochet Baby Chicken Tutorial
Quick Summary and Skill Level: Beginner. Need to crochet a basic chubby body by working in the round using basic crochet stitches. Color-change and bobble stitch are also required for crocheting the legs, which makes it very low-sew. You will crochet the flappers separately by following a pattern of half-double crochet, single crochet, and double crochet, and attach them in the end.
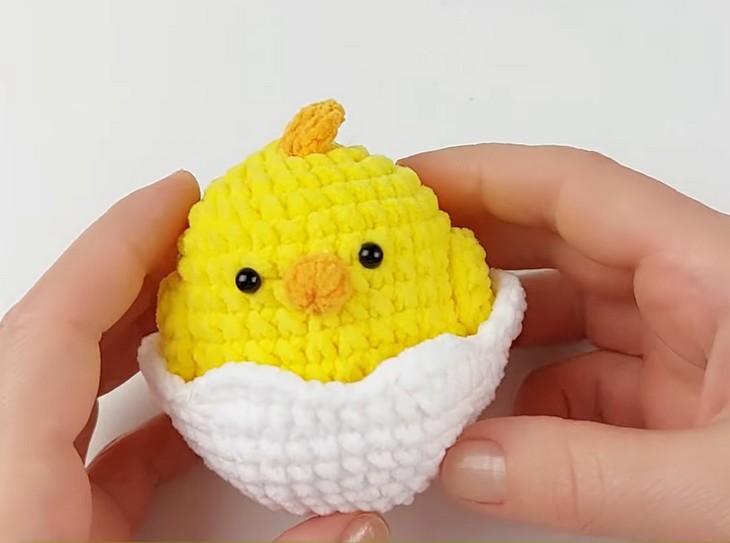
The beak also needs a pattern of half-double crochet and double crochet, and a bit of single crochet. The shell is just a half-sphere with shell edging in the final rounds. The comb is crocheted in flat rows. Everything is assembled using sewing.

Quick Tips: You can crochet the comb in red, also other than orange. The tutor, like other amigurumi, suggests using a thin plush yarn. You can also crochet this baby chick using standard yarn. You can crochet a small Santa hat for your baby chicken, like in Crochet Christmas chicks.
Main Stitch Guides
Here’s a list of quick guides to each crochet stitch for these chicks:
- inc: Work 2 single crochets into the same stitch.
- hdc: Yarn over, insert hook into stitch, yarn over, pull up a loop, yarn over, pull through all 3 loops.
- dc: Yarn over, insert hook into stitch, yarn over, pull up a loop, yarn over, pull through 2 loops twice.
- htr: Yarn over twice, insert hook into stitch, yarn over, pull up a loop, yarn over, pull through 2 loops three times.
- BO (bobble): Work 5 incomplete dc in same stitch (leaving last loop of each on hook), yarn over, pull through all loops.
- BLO: Work stitch only in the back loop of each stitch.
Complete Video Guide