
Tejidos: How to Crochet Shrek Bouquet Present for Halloween
With today’s featured tutorial, you will learn how to crochet an oh-so cute Shrek single flower bouquet which is REALLY unique and lovely idea for Halloween gift exchange among lovers. This crochet Shrek flower measures only 33 cm and proves that the Halloween presents need not be spooky. It is also a lovely present for new Shrek (5) of 2027. We will crochet a small amigurumi Shrek face with the sunflower petals around.
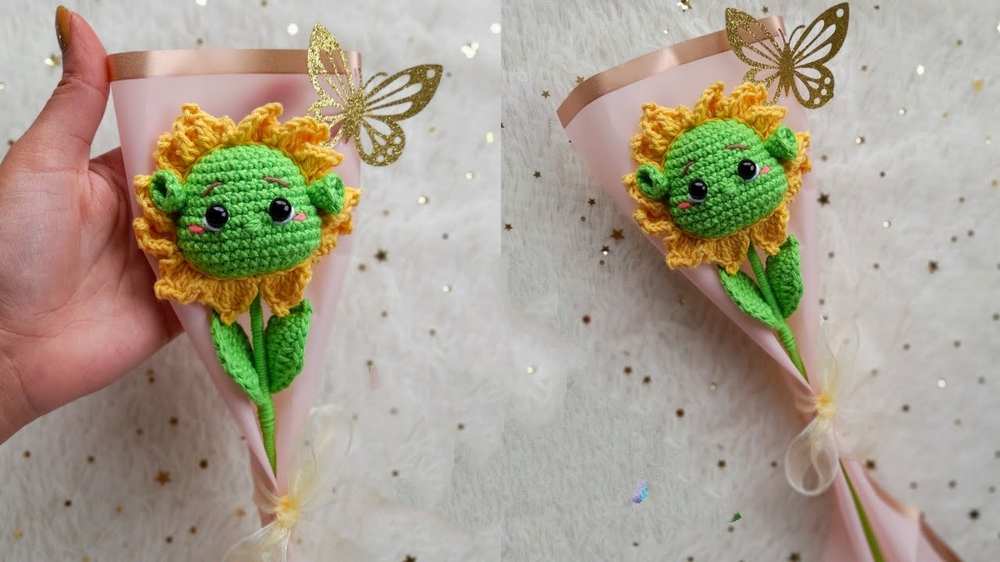
Crochet Shrek Bouquet Present
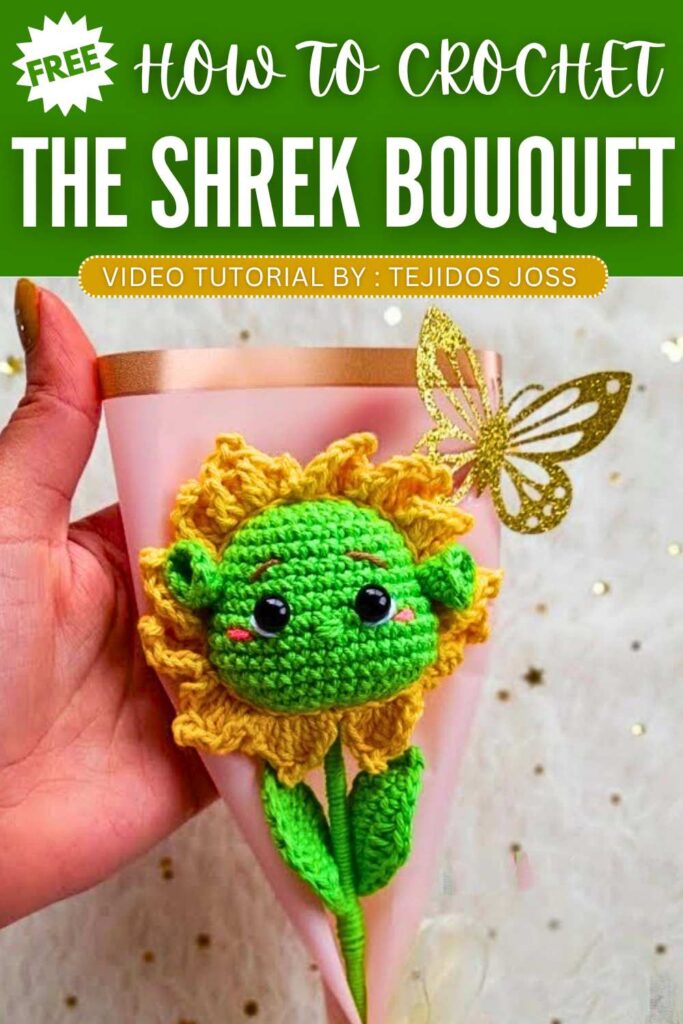
The Shrek face has the eyes cuter than ever thanks to the eye-white and the eyebrows embroidery. You will also need some craft stem so you can wrap the yarn around to make complete the Shrek flower plant. You can also crochet a small bouquet wrap for it or use cellophanes!
[postrurl]https://mycraftybasket.com/crochet-mini-shrek-amigurumi-doll/[/posturl]
[postrurl]https://mycraftybasket.com/crochet-dressed-animal-buddies/[/posturl]
About the Designer: The designer behind this innovative crochet Shrek project is @tejidosjossropa – she is one of my favorite “crochet designers of everything,” but I highly recommend her amigurumi and ornament patterns.

Note: In respect of the creator’s rights, there will be no provision of the written pattern, but only the tutorials.
Abbreviations
MR: Magic ring
ch: Chain stitch
sc: Single crochet
hdc: Half double crochet
dc: Double crochet
sl st: Slip stitch
inc: Increase (crochet two stitches into one loop)
dec: Decrease (crochet two stitches together into one loop)
Materials Used
Yarn: Green yarn for the Shrek head, yellow yarn for the flower petals, and brown yarn for the flower center
Crochet Hook: A crochet hook that matches the size of your yarn
Stuffing: Soft cotton stuffing to fill the inside of the Shrek head
Stick: A long stick to make the flower stand up straight
Tools: Scissors to cut the yarn, a needle to sew the pieces together, and hot glue to attach the parts
Learn Crocheting the Shrek with This Tutorial