
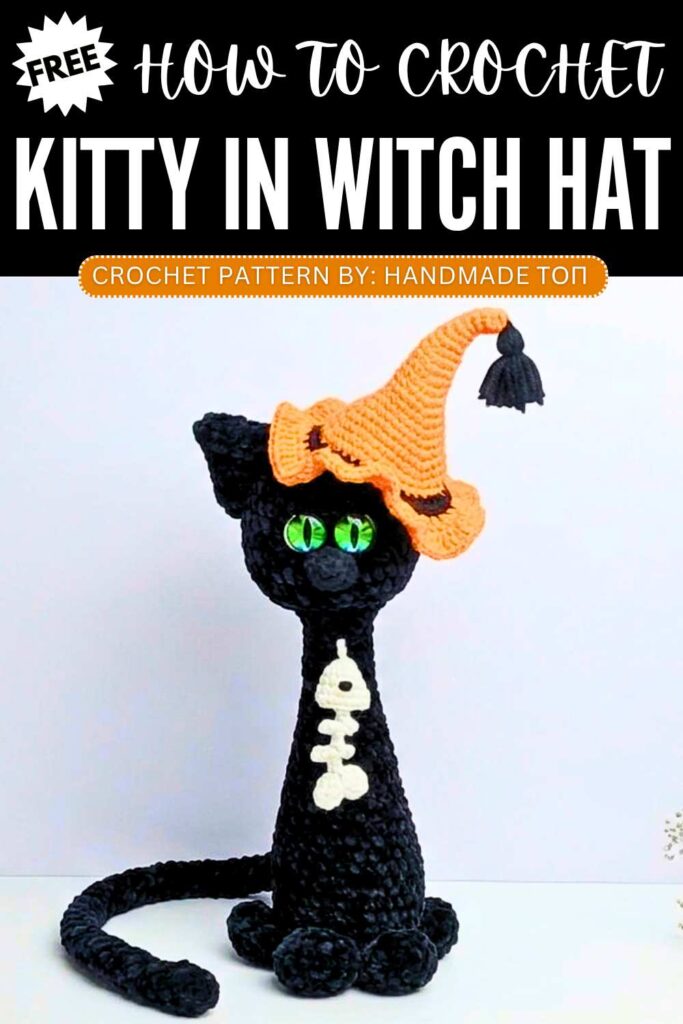
Free Crochet Halloween Witch Hat & Fish Bone Toy for Black Cat
Learn how to crochet a lovely witch hat + a tiny fish herringbone toy for our lovely black cat plushie with this FREE written. If you feel any part confusing, there is also a tutorial at the end of the post! We shall crochet a beautiful ruffled witch hat in orange with a fringe at the top and and small crochet fish skeleton crocheted as a neck accessory for sitting cat plushie.
Crochet Halloween Witch Hat & Fish
Soon, I will also provide a pattern for crocheting the sitting black cat plush with lovely green and white glitter eyes. You can also crochet this accessory set for any other amigurumi especially the monster plushies and the crochet Halloween ghosts and other cat plush. Now, continue reading for the full crochet witch hat and fish pattern.
The designer behind this crochet Halloween witch hat and the herringebone is @HandMade-top – she always crochets the kawaii amigurumi with special focus on the face. I like that idea to give character to different object when crocheted as amigurumi and combine many themes and that’s what she does.
How to Accessories for Crochet Black Cat Plush
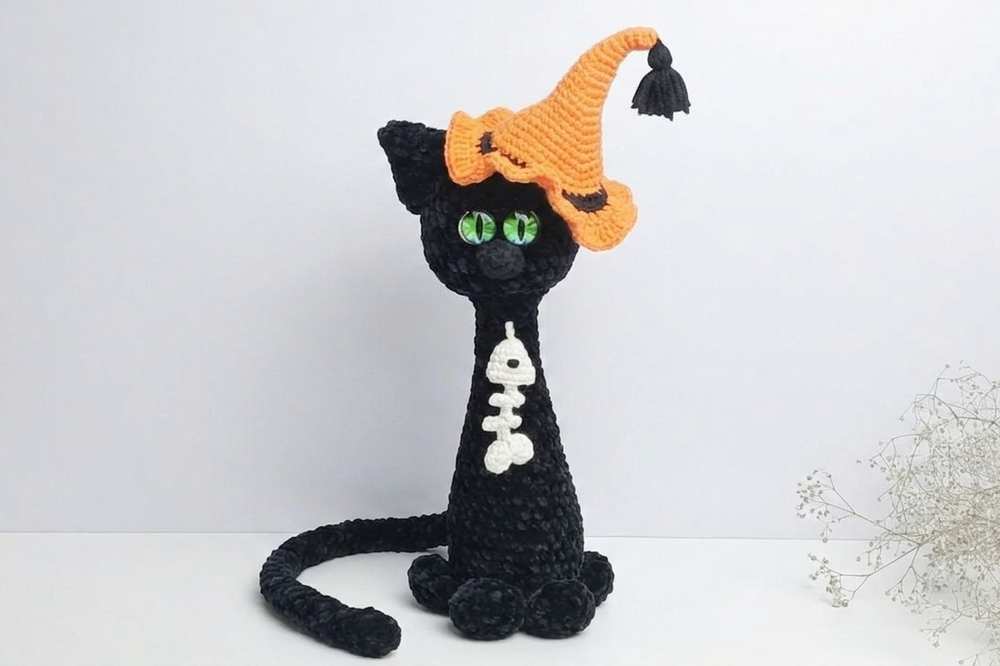
This fun Halloween project includes two separate spooky items designed for a cat or plush toy: a classical pointed witch hat and a tiny fish skeleton charm.
The witch hat is crocheted from the top down, gradually increasing to create a sharp point, transitioning into a black contrast band, and finishing with a dramatic, wavy orange brim.
The fish skeleton consists of a flat, clever sequence of chains and slip stitches to form the delicate ribcage and tail fin, which is then attached to a small stuffed amigurumi head featuring embroidered French-knot eyes.
Both pieces can be used as playful costume accessories, photo props, or cute holiday decorations.
Materials Needed
Yarn: Medium or sport-weight yarn in Orange, Black, and White.
Crochet Hook: A size matching your yarn weight (such as a 2.0 mm to 3.0 mm hook).
Stuffing: A tiny amount of polyester fiberfill for the fish head.
Tools: A tapestry needle for sewing pieces together and weaving in loose ends, an embroidery needle for facial details, and a pair of scissors.
Optional: A cord, ribbon, or small chain to turn the fish bone into a wearable neck pendant.
Abbreviations (US Terms)
MR: Magic Ring
sc: Single crochet
hdc: Half double crochet
dc: Double crochet
tr: Treble crochet
ch: Chain
sl st: Slip stitch
inc: Increase (2 stitches worked into the same stitch)
BLO: Back loop only
st(s): Stitch(es)
Part 1: The Witch Hat Pattern
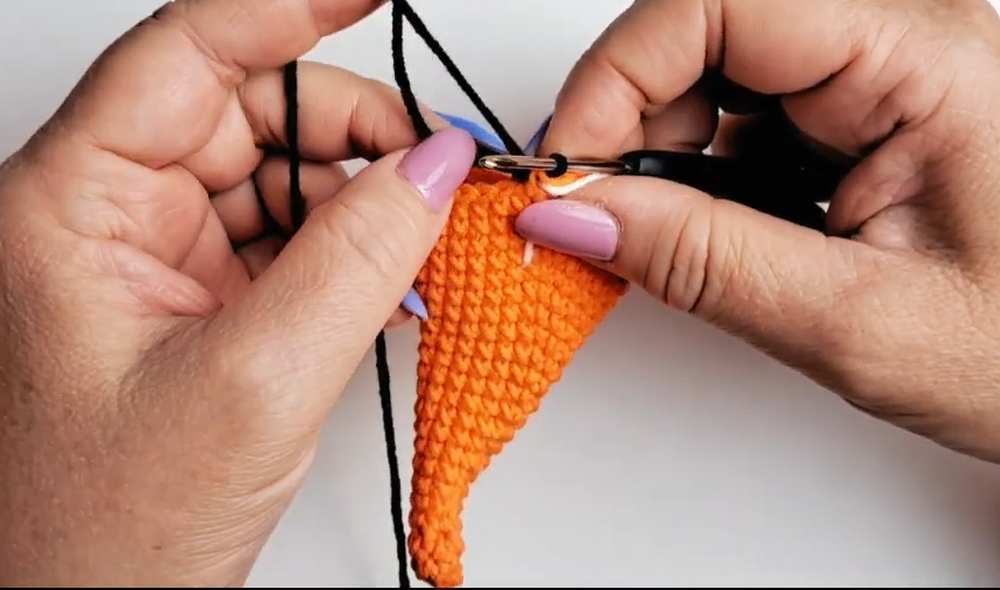
The Hat Cone
The cone is worked in continuous rounds using orange yarn (or your chosen main color).
Round 1: Work 5 sc into a MR. (5 sts)
Round 2: Work 4 sc, then 1 inc. (6 sts)
Round 3: Work 5 sc, then 1 inc. (7 sts)
Round 4: Work 6 sc, then 1 inc. (8 sts)
Round 5: Work 7 sc, then 1 inc. (9 sts)
Rounds 6–14: Continue this gradual increase pattern by adding exactly 1 single crochet increase to the end of every round. By the time you complete Round 14, your stitch count will be up to 18 stitches total. (Round 14 will be: 16 sc, 1 inc).
Round 15: Repeat the pattern of (5 sc, 1 inc) 3 times around. (21 sts)
Round 16: Repeat the pattern of (6 sc, 1 inc) 3 times around. (24 sts)
Round 17: Repeat the pattern of (7 sc, 1 inc) 3 times around. (27 sts)
Round 18: Repeat the pattern of (8 sc, 1 inc) 3 times around. (30 sts)
Round 19: Repeat the pattern of (9 sc, 1 inc) 3 times around. (33 sts)
Round 20: Repeat the pattern of (10 sc, 1 inc) 3 times around. (36 sts)
Round 21: Repeat the pattern of (11 sc, 1 inc) 3 times around. (39 sts)
Round 22: Repeat the pattern of (12 sc, 1 inc) 3 times around. (42 sts)
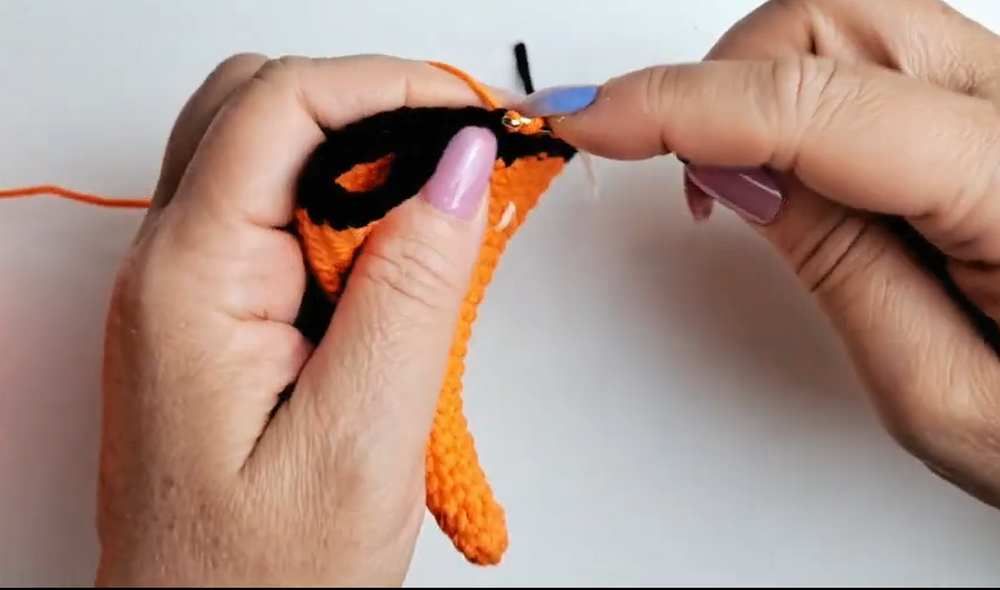
The Black Accent Band
Round 23: Change your yarn color to Black. Repeat the pattern of (13 sc, 1 inc) 3 times around. (45 sts)
Round 24: Repeat the pattern of (14 sc, 1 inc) 3 times around. (48 sts)
Fasten off the black yarn and cut the thread.
The Wavy Ruffled Brim
Round 25: Attach your Orange yarn back into the BLO (back loops only) of the previous stitches. Work a regular alternating increase pattern of (2 hdc, 1 hdc inc) all the way across the entire round.
Round 26: To make the brim highly ruffled, dramatic, and wavy, work a double crochet increase (dc inc) into every single stitch all the way around the hat.
Finishing: Work a final sl st to close the round, fasten off, and weave all your loose yarn tails securely into the inside of the hat to hide them.

The Tassel Top
Wind your black yarn around your fingers multiple times to create a thick bundle of thread.
Tie the bundle together tightly in the center, cut the looped ends open with your scissors, and trim it evenly to form a mini decorative pompom or hanging tassel.
Securely tie or sew this black tassel directly onto the top pointed tip of your finished witch hat so that it hangs down playfully.
Part 2: The Fish Bone Pendant Pattern
The Spine & Ribs
The skeleton frame is worked flat in a single continuous piece using white yarn.
Foundation setup: Leave a long yarn tail at the very beginning to assist with assembly later, then create a foundation of Ch 5.
First rib element: Work 2 sl st back down along the chain stitches.
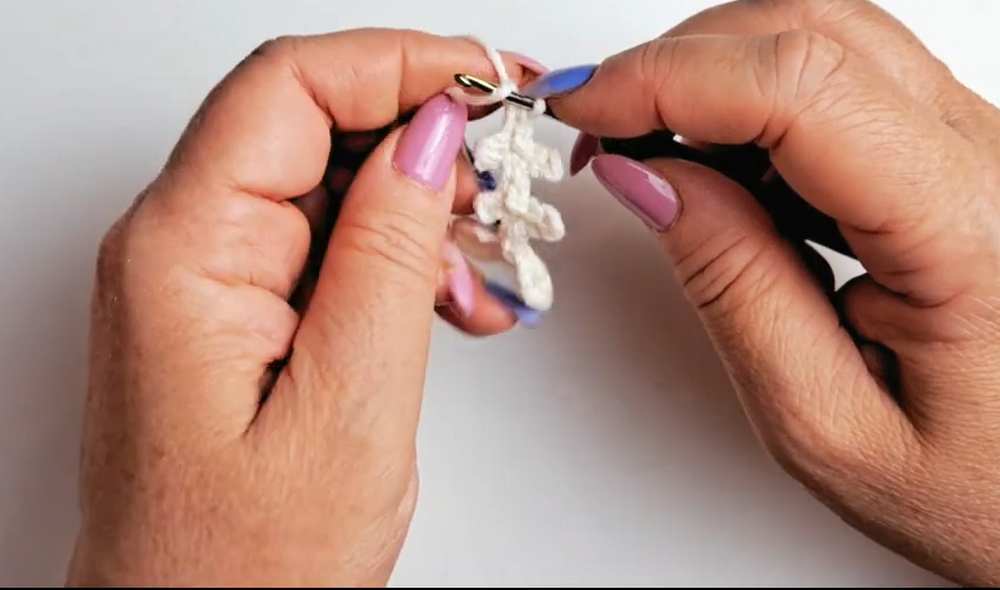
Second rib element: Ch 5, then starting in the second chain from your hook, work 2 sl st.
Tail fin creation: Ch 6. In the 4th chain space away from your hook, work 2 tr into that same stitch. Ch 3, then work a sl st directly back into that same base stitch to complete the first half of the tail.
Completing the tail fin: Ch 3, work 2 tr back into that same base stitch, Ch 3, and finish with a sl st back into the same stitch to complete the full fins.
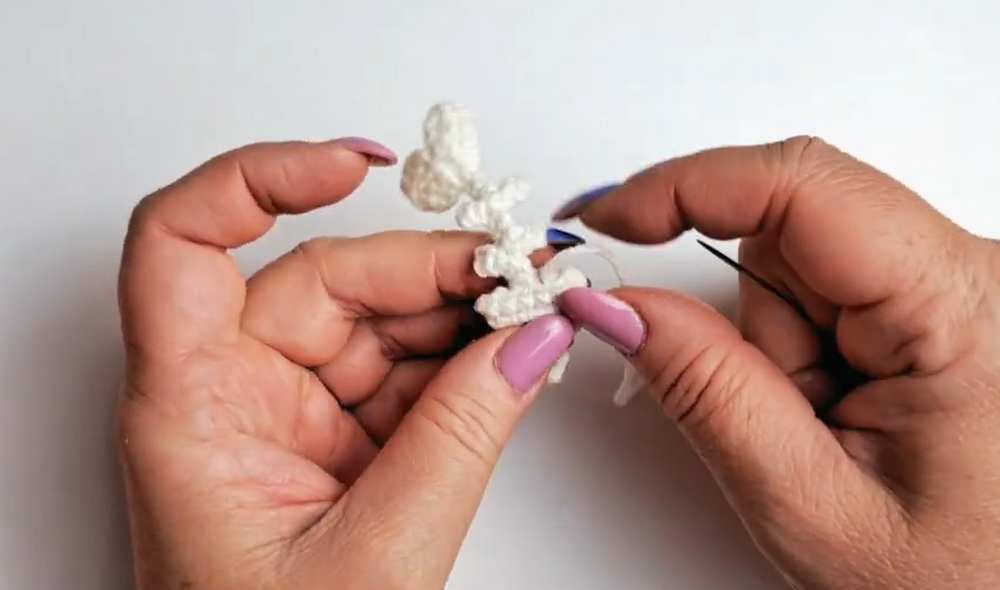
Moving along the spine: Work 2 sl st down the primary spine chain.
Middle side ribs: Ch 3. Starting in the second chain from your hook, work 2 sl st.
Spine spacing: Work 3 sl st along the main center spine.
Front side ribs: Ch 3. Starting in the second chain from your hook, work 2 sl st.
Finishing the bone frame: Work 3 final sl st down the remaining main spine to complete the bone structure. Fasten off your yarn.
The Fish Head
The head is a tiny amigurumi piece worked in continuous rounds using white yarn.
Round 1: Work 6 sc into a MR. (6 sts)
Round 2: Repeat the pattern of (2 sc, 1 inc) 2 times around. (8 sts)
Round 3: Repeat the pattern of (3 sc, 1 inc) 2 times around. (10 sts)
Round 4: Repeat the pattern of (4 sc, 1 inc) 2 times around. (12 sts)
Round 5: Work 1 sc into every single stitch around. (12 sts)
Finishing: Work a final sl st to finish, fasten off, and leave a long yarn tail for assembly.
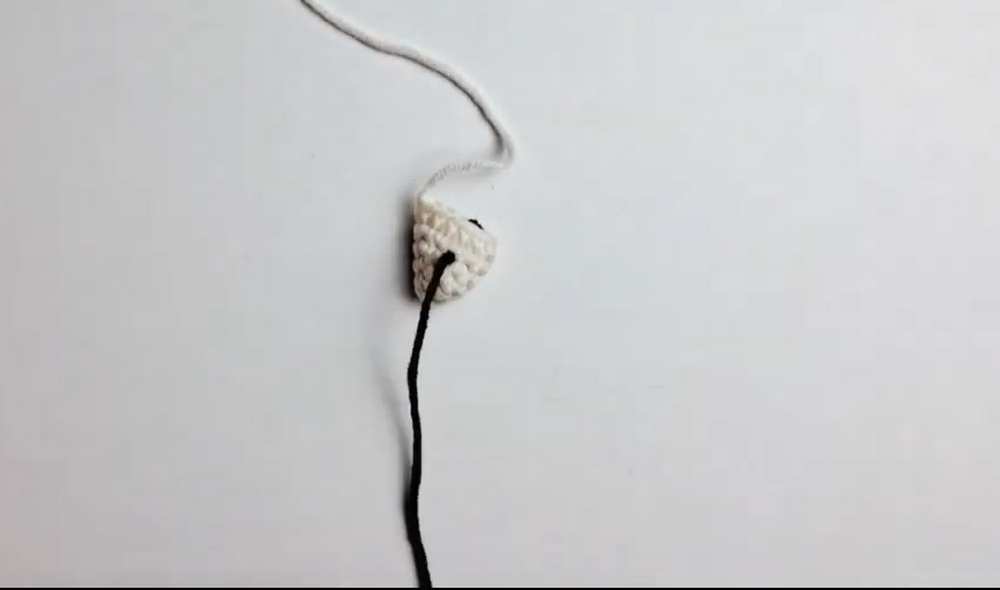
Fish Assembly & Accents
Push a tiny pinch of polyester fiberfill stuffing inside the hollow fish head cavity to give it shape.
Using black yarn and a needle, embroider a small French knot on each side of the head to create the eyes.
Take the yarn tail from the head and sew the open back edge of the fish head firmly onto the front tip of your crocheted bone spine.
Tie a secure knot, hide your remaining threads inside the stuffed head cavity, and snip off any excess.
Thread a small piece of yarn through the front tip of the fish’s mouth to form an open hanging loop. You can now pass a ribbon, necklace cord, or jewelry chain through this loop so your cat can wear it as a spooky festive charm!
Video Tutorial to Learn Even Better