
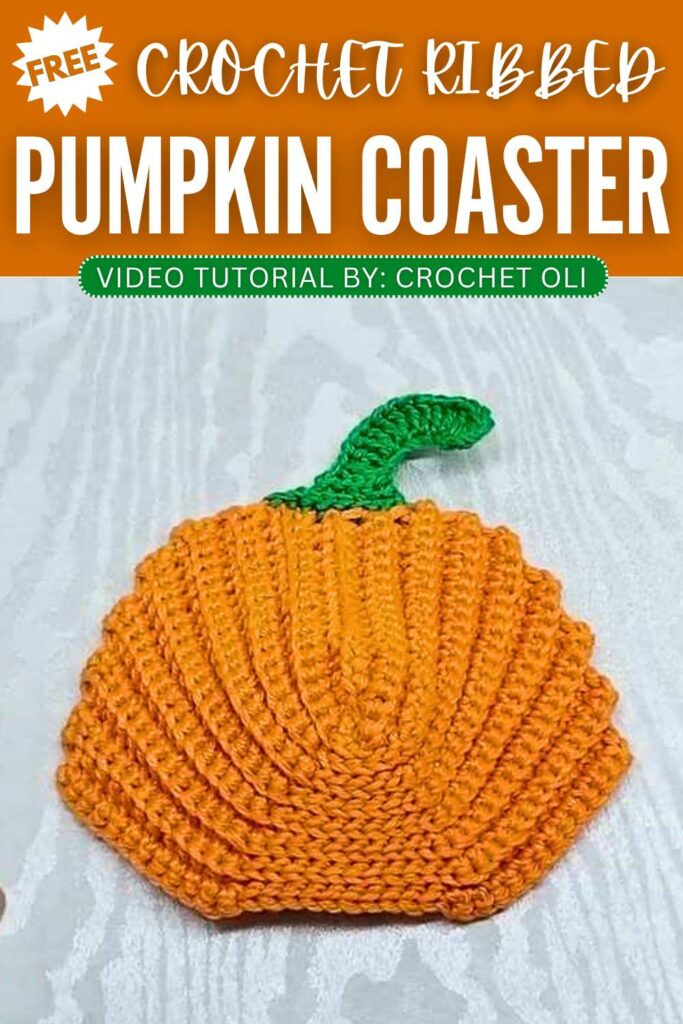
Crochet Oli: Crochet Ribbed Pumpkin Coaster for Fall & Halloween
Learn how to crochet this beautifully ribbed pumpkin coaster following a FREE written pattern in this tutorial. This crochet pumpkin shape is entirely crocheted by working in the back-and-forth rows and can be completed within 45 minutes. This pumpkin coaster also has a small curled stem that is crocheted in the same manner. With the macramé cord, in particular, you will end up with an irresistible fall decoration.
Crochet Ribbed Pumpkin Coaster
This crochet coaster is shaped like a crochet seashell, so you can also crochet it for summer by omitting the crochet stem applique. Crocheting this pumpkin coaster requires only the basic stitches and you will see how clever the pattern is. With all that said, continue reading for the full crochet pumpkin coaster pattern.
About the Designer: The designer behind this crochet pumpkins-shaped coaster is @CrochetOli – Her tutorials are very easy to follow and she teaches the basics very well, even if you are just starting out. She asked me to “never forget her,” so here was her short intro.
How to Crochet Ribbed Pumpkin Coaster/Mat Decoration
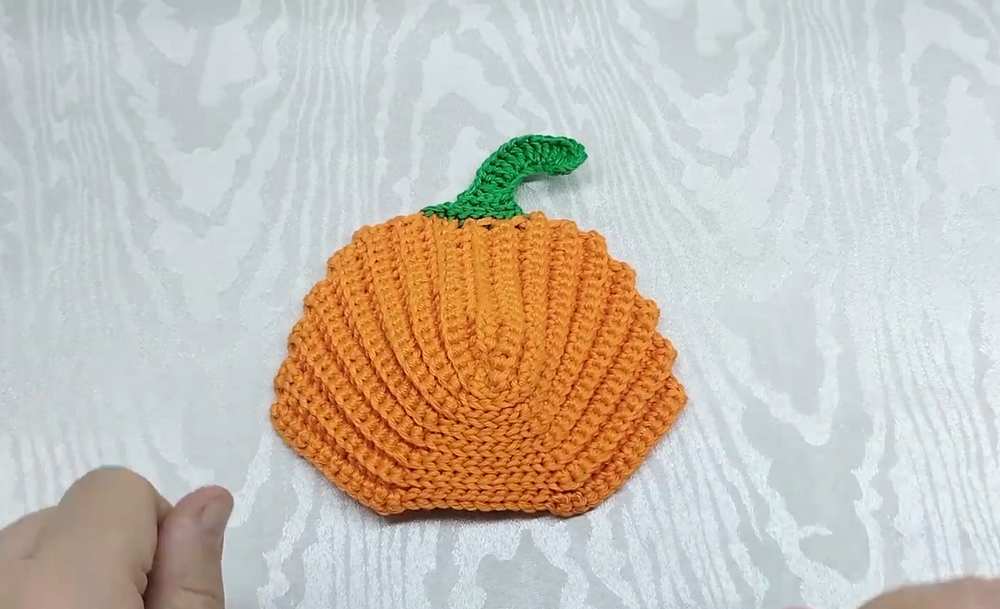
This project is a crochet pumpkin coaster or small decorative mat, perfect for adding a touch of autumn warmth to your home. It functions beautifully as a festive base for your favorite mugs, candles, or seasonal displays.
The pattern uses a clever combination of single crochets and slip stitches worked flat in rows using the back loops only (BLO) to create a realistic ribbed, textured pumpkin shape. It finishes with a tapered stem and a playful curly spiral tendril at the top, making it a quick and satisfying project for fall crafting.
Materials
Yarn: Cotton yarn, used double-stranded (hold two strands together throughout).
Crochet Hook: 2.5 mm
Tools: Yarn needle (for weaving in ends) and scissors.
Abbreviations
ch = chain
sc = single crochet
sl st = slip stitch
dc = double crochet
inc = increase (work 2 single crochets into the same stitch)
BLO = back loop only
st(s) = stitch(es)
Pattern Instructions
Main Body of the Pumpkin
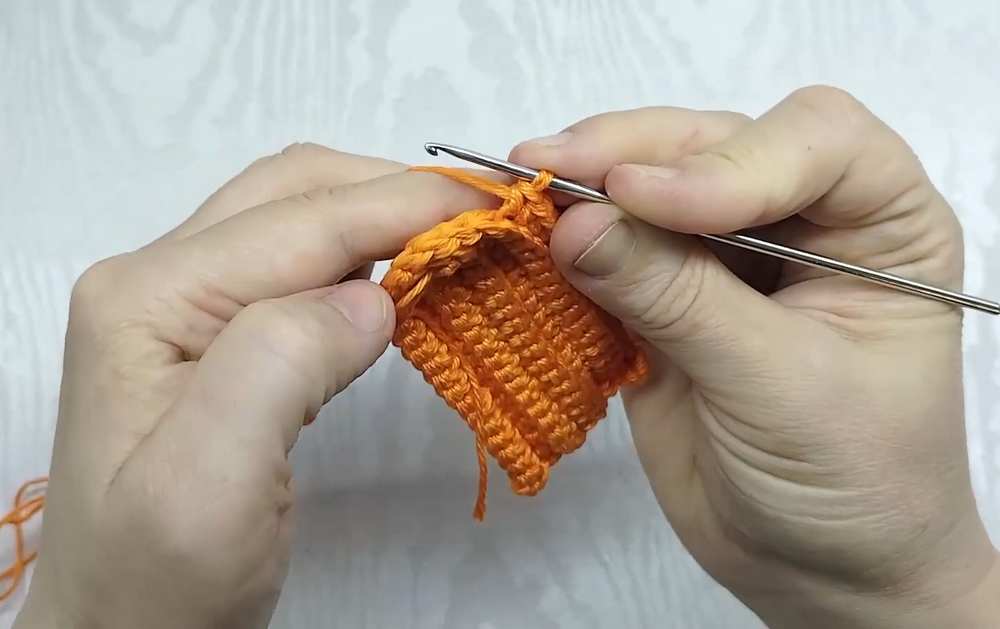
Note: Starting from Row 2, all stitches are worked into the Back Loop Only (BLO) unless specified otherwise.
Foundation: Chain 19.
Row 1: Starting in the 2nd ch from the hook, work 17 sc into the back loops of the chain. In the very last chain stitch, work 3 sc (crochet these normally into the upper loop). Turn your work to crochet along the opposite side of the foundation chain, working 17 sc into the remaining half-loops. (37 sts total)
Row 2: Ch 1, turn. Work 17 sc in BLO. In the next 3 center stitches, work 3 sl st in BLO. Work 17 sc in BLO to the end of the row.
Row 3: Ch 2, turn. Work 1 sc into the 2nd ch from the hook, then work 17 sc in BLO (making 18 sc total on this side). Work 3 sl st in BLO across the center stitches. Work 16 sc in BLO, leaving the final stitch of the previous row unworked.
Row 4: Ch 1, turn. Work 16 sc in BLO, inc in BLO, work 5 sl st in BLO across the center, inc in BLO, work 16 sc in BLO to the end.
Row 5: Ch 1, turn. Work 18 sc in BLO, 5 sl st in BLO, 18 sc in BLO to the end.
Row 6: Ch 1, turn. Work 17 sc in BLO, inc in BLO, 5 sl st in BLO, inc in BLO, 17 sc in BLO to the end.
Row 7: Ch 1, turn. Work 18 sc in BLO, 7 sl st in BLO, 18 sc in BLO to the end.
Row 8: Ch 1, turn. Skip the first stitch, work 16 sc in BLO, inc in BLO, 7 sl st in BLO, inc in BLO, 16 sc in BLO, leaving the last stitch unworked.

Row 9: Ch 1, turn. Skip the first stitch, work 17 sc in BLO, 7 sl st in BLO, 17 sc in BLO, leaving the last stitch unworked.
Row 10: Ch 1, turn. Skip the first stitch, work 14 sc in BLO, inc in BLO, 9 sl st in BLO, inc in BLO, 14 sc in BLO, leaving the last stitch unworked.
Row 11: Ch 1, turn. Skip the first stitch, work 15 sc in BLO, 9 sl st in BLO, 15 sc in BLO, leaving the last stitch unworked.
Row 12: Ch 1, turn. Skip the first stitch, work 13 sc in BLO, inc in BLO, 9 sl st in BLO, inc in BLO, 13 sc in BLO, leaving the last stitch unworked.
Row 13: Ch 1, turn. Skip the first stitch, work 13 sc in BLO, 11 sl st in BLO, 13 sc in BLO, leaving the last stitch unworked.
Row 14: Ch 1, turn. Skip the first stitch, work 11 sc in BLO, inc in BLO, 11 sl st in BLO, inc in BLO, 11 sc in BLO, leaving the last stitch unworked.
Row 15: Ch 1, turn. Skip the first stitch, work 12 sc in BLO, 11 sl st in BLO, 12 sc in BLO, leaving the last stitch unworked.
Row 16: Ch 1, turn. Skip the first stitch, work 10 sc in BLO, inc in BLO, 11 sl st in BLO, inc in BLO, 10 sc in BLO, leaving the last stitch unworked. Fasten off and cut the yarn.
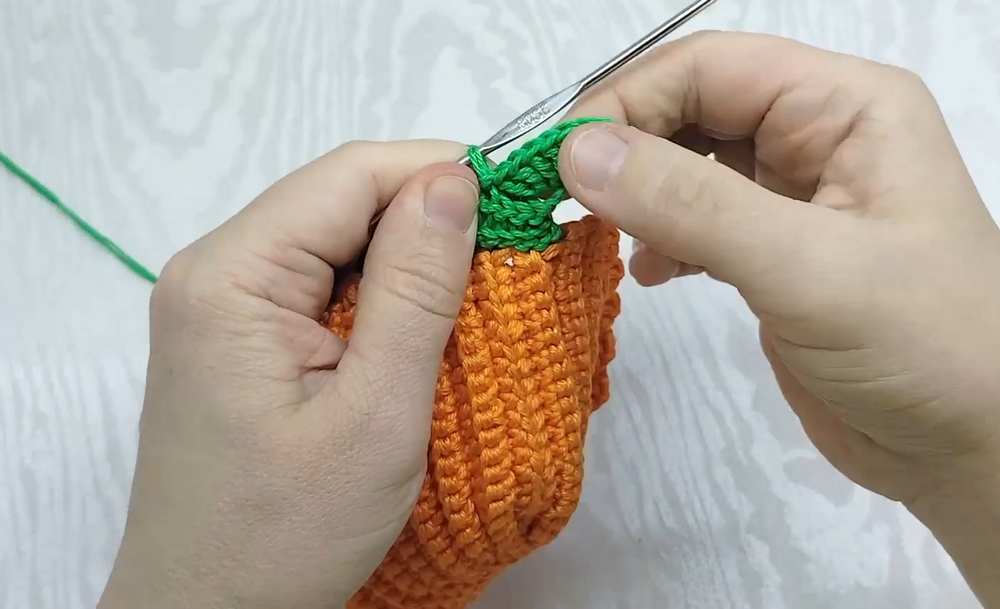
The Stem
Row 1: Locate the top center edge of the pumpkin body. Count 4 stitches to the right of the exact center to begin. Attach your double-stranded yarn, pull up a loop, and work 9 sl st across the top edge.
Row 2: Turn your work (do not make a turning chain). Skip the first stitch, and work 8 sl st in BLO across.
Row 3: Turn your work (do not make a turning chain). Skip the first stitch, and work 6 sl st in BLO.
Row 4: Turn your work (do not make a turning chain). Skip the first stitch, and work 5 sl st in BLO.
The Curly Tendril
With the wrong side of the coaster facing you, continue directly from the end of the stem and chain 9.
Work 3 dc into the 4th chain from your hook.
Work 2 dc into each of the remaining 5 chains down toward the base of the stem (this creates a natural spiral curl).
Turn the pumpkin back so the right side is facing you, skip 3 stitches along the base of the stem, and secure the tendril with a sl st into the 4th stitch.
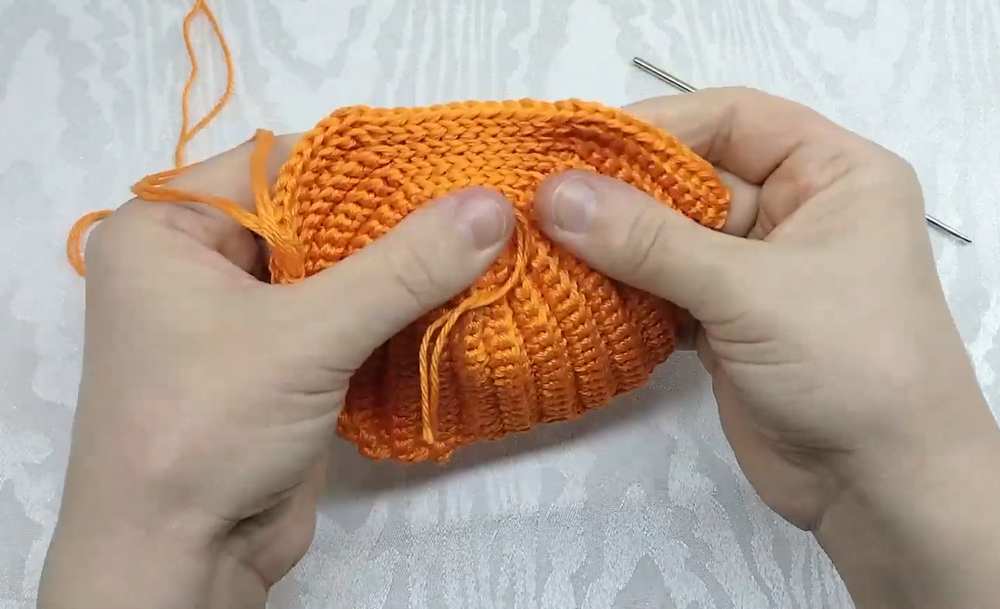
Fasten off, weave in all loose yarn tails with a needle, and lightly steam block your finished pumpkin coaster so it lays completely flat.
Video Tutorial To Learn Even Better