
Love-Knitting: Free Crochet No-Sew Sitting Fox Plushie for Fall Decorations
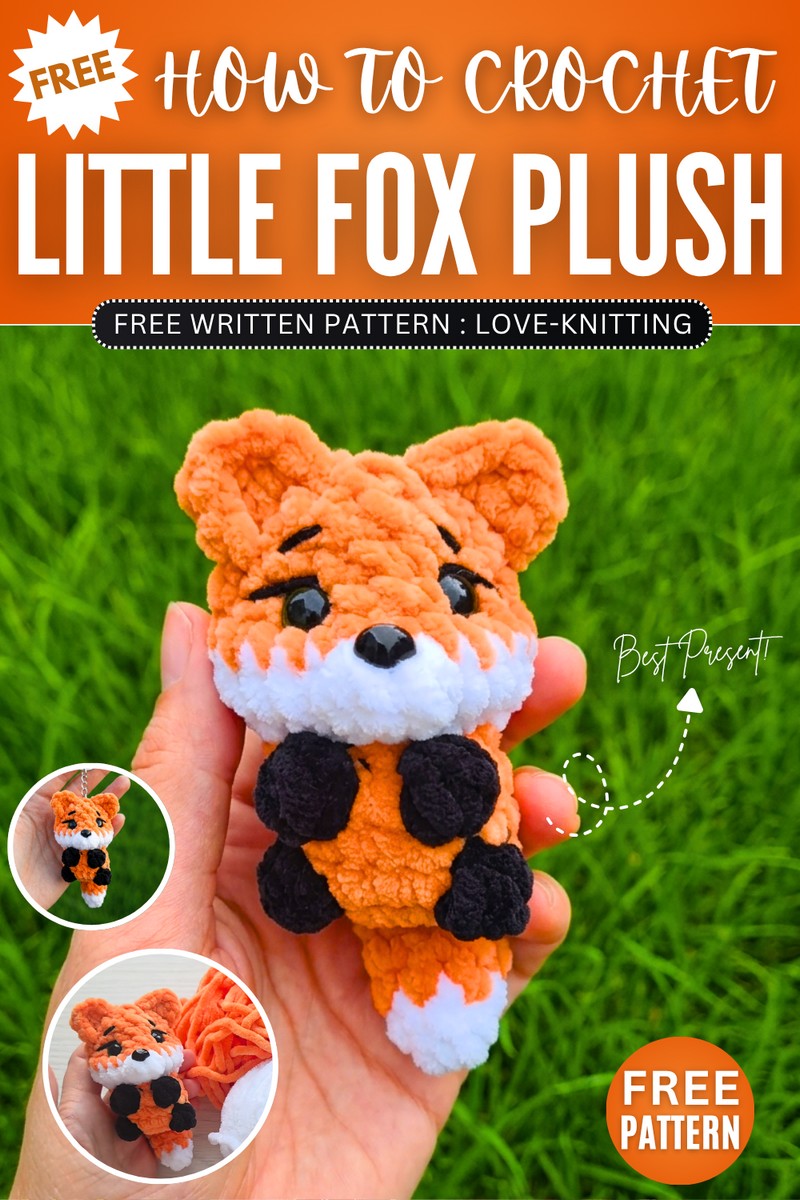
You are still loving the no-sew 9cm crochet fox plushie! Now, learn how to crochet this oh-so cute sitting fox plushie that measures just 7 cm with this FREE written pattern for beginners. It is even easier than the crochet no-sew mini fox plushie as it requires the usual “desk buddy” animal base and no fuzzy yarn. All you need is some super bulky yarn in orange, white and black.
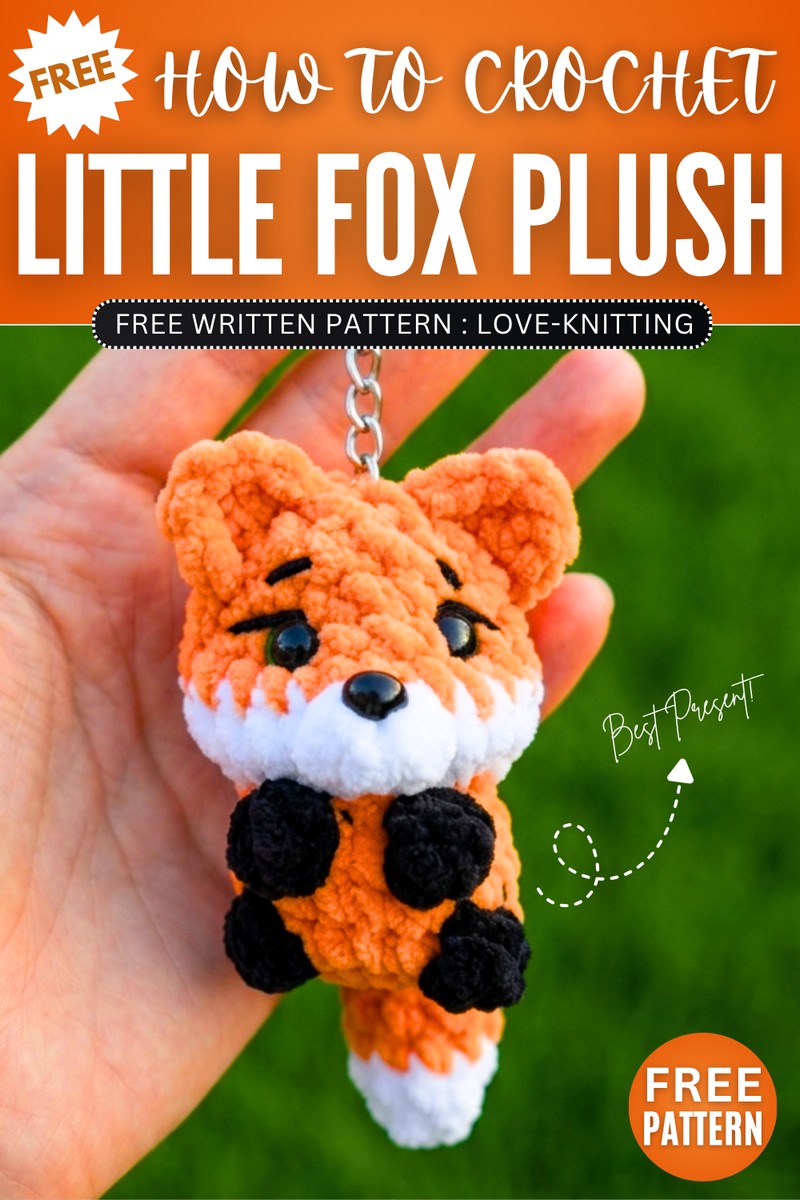
You can also crochet this fox plush within 30 minutes as the CUTEST fall and Thanksgiving present. It is low-sew due to changing the color instead of crocheting a part separately and the use of bobble stitch for the legs and the arms. Now, continue reading for crocheting this miniature fox plushie for fall.
About the Designer: The designer behind this little fox plush is @love-knitting –with her 1k plush and accessory tutorials, she is a master in crochet whose super bulky yarn series is my favorite.
How to Crochet Miniature Sitting Fox Plush for Fall
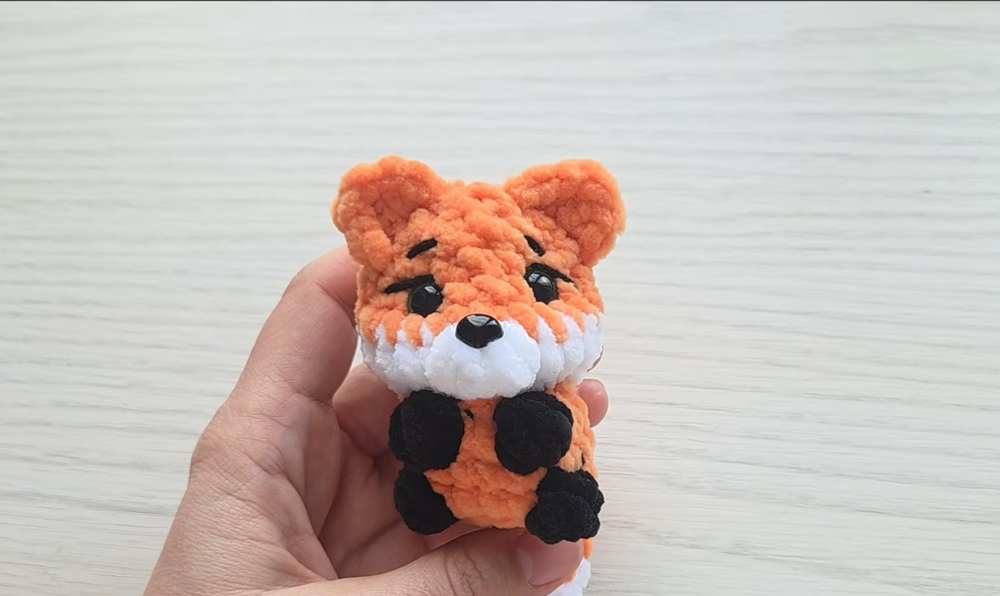
This project is a tiny, seamless plush fox keychain that is crocheted in one piece with almost no sewing required. You begin by making the tail separately, which is then crocheted directly into the body along with the legs, arms, and muzzle.
The head is completed by forming a small white snout before working the final decreases to close the piece.
The ears are crocheted directly onto the finished head, making it a quick and easy project that measures around 7 to 11 centimeters.
Materials:
Plush yarn (100g / 120m) in three colors: Orange (main color), White, and Black.
4.0 mm crochet hook.
10 mm safety eyes.
11×9 mm safety nose or plastic glue-on nose.
Fiberfill stuffing.
Scissors, yarn needle, and thin black embroidery thread for eyebrows and eyelashes.
Abbreviations:
MR: Magic Ring
sc: Single crochet
inc: Increase (2 single crochets in the same stitch)
dec: Decrease (crochet 2 stitches together)
hdc: Half double crochet
dc: Double crochet
sl st: Slip stitch
3-dc cluster: Bobble stitch made of 3 double crochets with a common top (used for limbs)
4-dc cluster: Muzzle bobble made of 4 double crochets with a common top spread over 2 stitches
Rnd: Round
st(s): Stitch(es)
Crochet Pattern Steps:
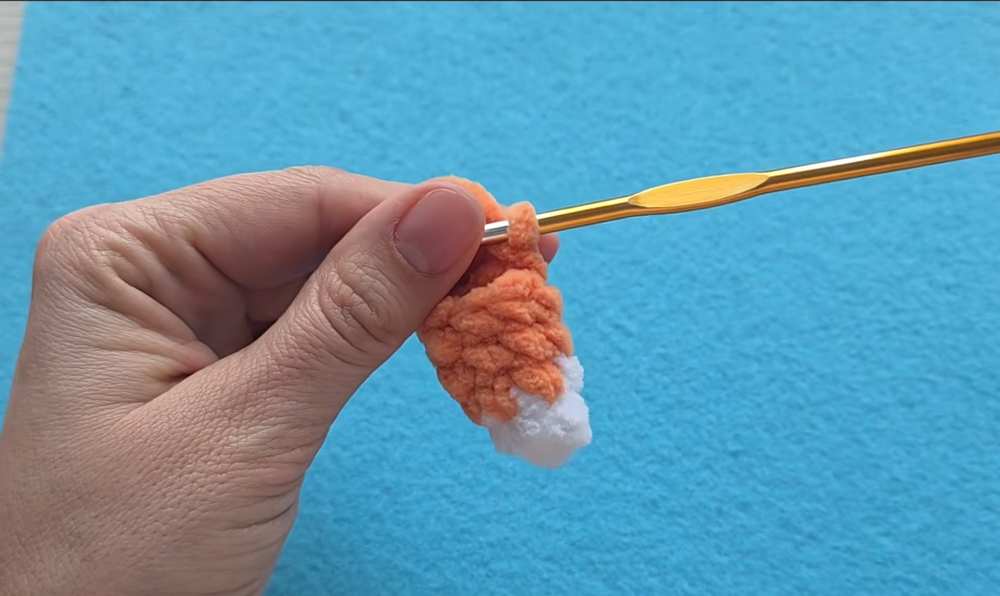
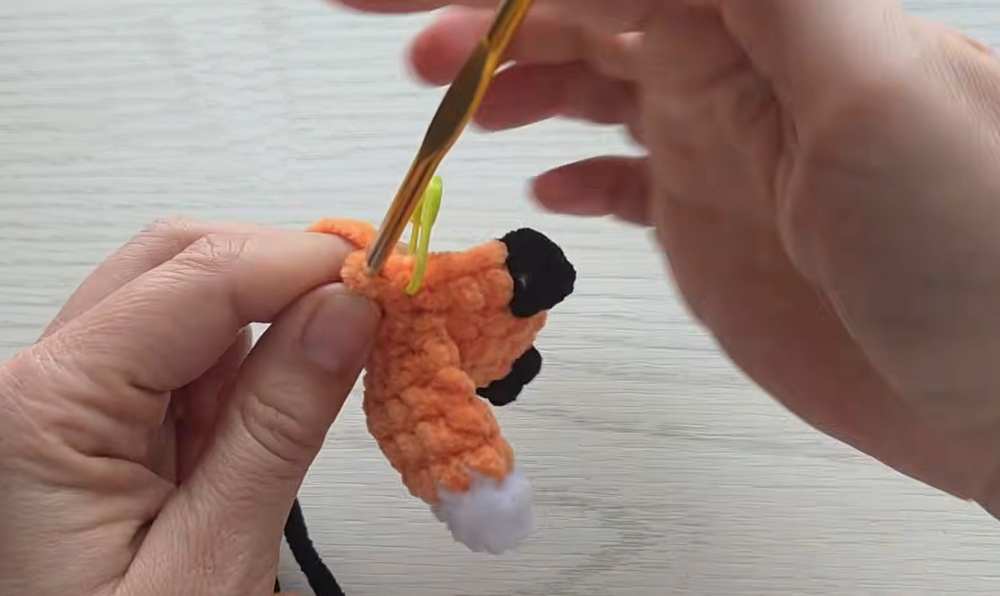
Tail:
Start with white yarn.
Rnd 1: 4 sc in MR (4)
Rnd 2: (1 sc, inc) repeat 2 times (6) — Change to orange yarn on the last stitch.
Rnd 3: (2 sc, inc) repeat 2 times (8) — Turn the piece right-side out and tie the thread ends together.
Rnd 4–5: 8 sc around (8 sts for two rounds)
Do not stuff the tail. Fold the top opening flat and crochet 4 sc across both sides to close it. Fasten off.
Body & Head:
Start with orange yarn.
Rnd 1: 8 sc in MR (8)
Rnd 2: 8 inc (16)
Rnd 3 (Attaching Tail and Legs): Crochet 4 sc through both layers of the tail and the body stitches together, 3 sc (change to black yarn on the last stitch), work a 3-dc cluster for the first leg, change to orange yarn, 4 sc (change to black yarn on the last stitch), work a 3-dc cluster for the second leg, change to orange yarn, 3 sc (16)
Rnd 4: 16 sc around (16)
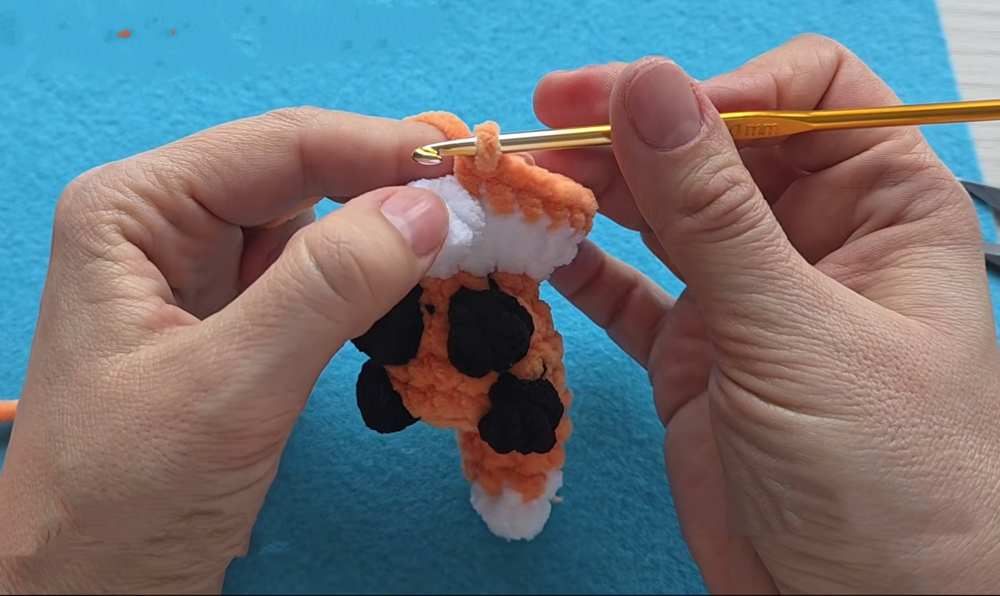
Rnd 5 (Attaching Arms): 8 sc (change to black yarn on the last stitch), work a 3-dc cluster for the first arm, change to orange yarn, 2 sc (change to black yarn on the last stitch), work a 3-dc cluster for the second arm, change to orange yarn, 4 sc (16) — Cut the black yarn.
Rnd 6: (2 sc, dec) repeat 4 times (12) — Change to white yarn on the last stitch.
Rnd 7 (Head Base): 12 inc using white yarn (24)
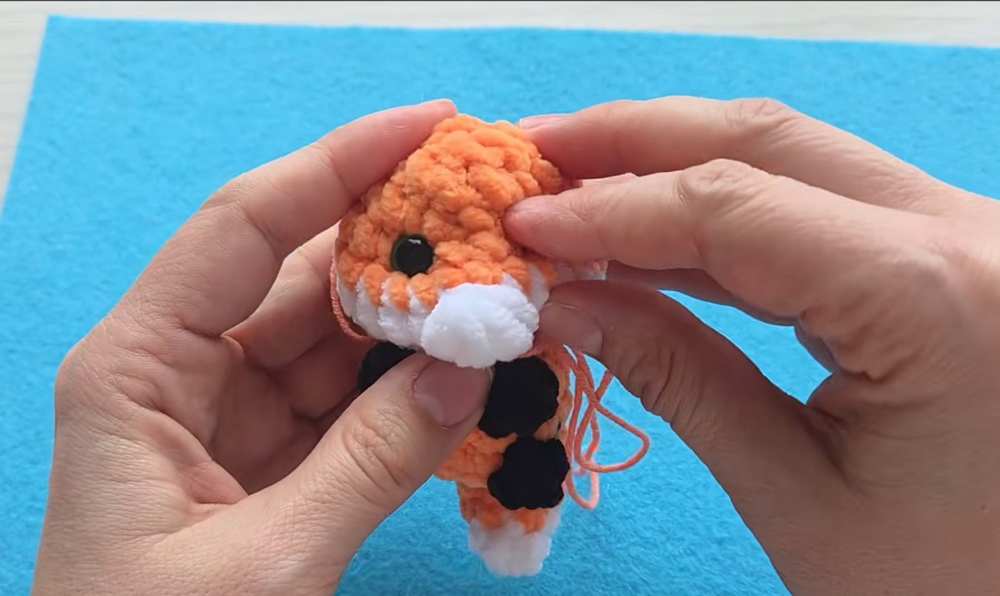
Rnd 8 (Muzzle Base): 14 sc, work a 4-dc cluster over the next 2 stitches (2 dc in the first stitch and 2 dc in the second stitch, finished together with a single top loop to form the nose base), 8 sc (23) — Change to orange yarn on the last stitch, cut the white yarn.
Rnd 9: 14 sc, 1 inc into the top loop of the muzzle cluster, 8 sc (24)
Rnd 10: 24 sc around (24) — Insert 10 mm safety eyes into Round 10.
Rnd 11: (2 sc, dec) repeat 6 times (18)
Rnd 12: (1 sc, dec) repeat 6 times (12) — Stuff the head firmly with fiberfill.
Rnd 13: 6 dec (6)
Fasten off, weave through the front loops of the remaining 6 stitches, pull tight to close, and hide the thread inside the head.
Details & Assembly:
Eye Sculpting: Use a strong matching thread and a needle. Insert from the bottom base of the head up to the outer corner of one eye, go across to the inner corner, and bring it back down to the base. Repeat for the other eye. Pull the ends to gently indent the eyes, tie a secure knot, and hide the yarn tails.
Nose: Secure or glue an 11×9 mm nose onto the white muzzle protrusion.
Facial Features: Embroider little eyelashes and eyebrows using thin black embroidery thread.
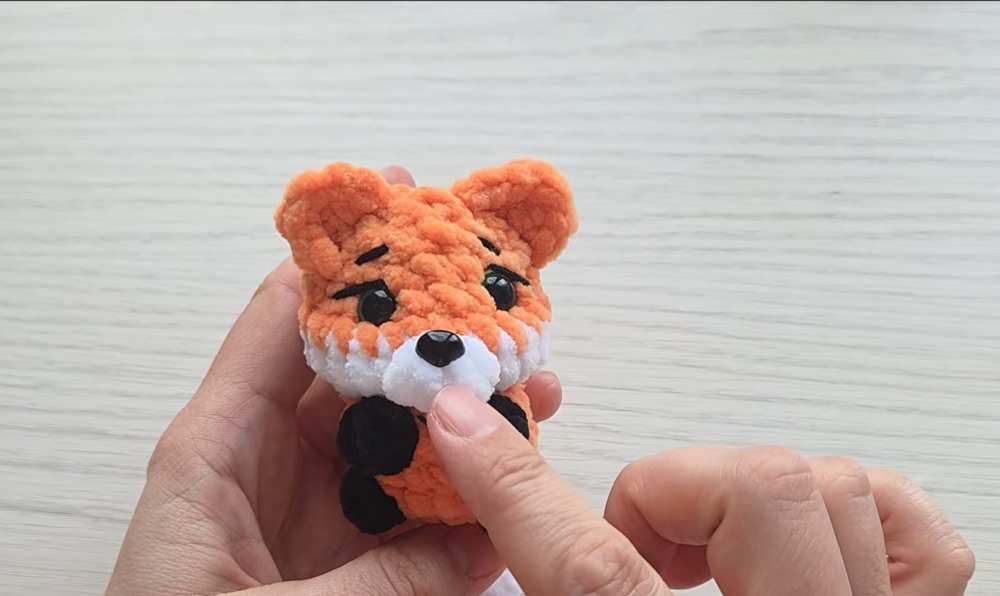
Ears (Make 2):
Join black or orange yarn directly onto the head where you want the ears to sit.
In the first head stitch: crochet 1 sc, 1 hdc, and 1 dc all into the same loop.
In the adjacent head stitch: crochet 1 hdc and 1 sc.
Finish with a slip stitch, fasten off, and weave the ends into the head.
Video Tutorial to Learn Even Better