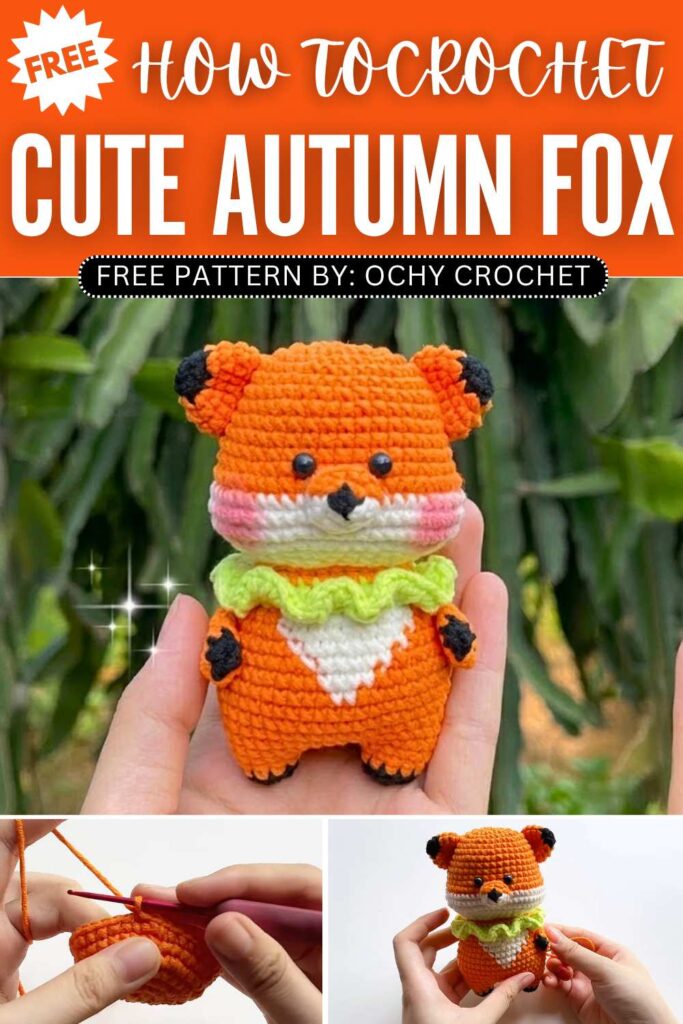
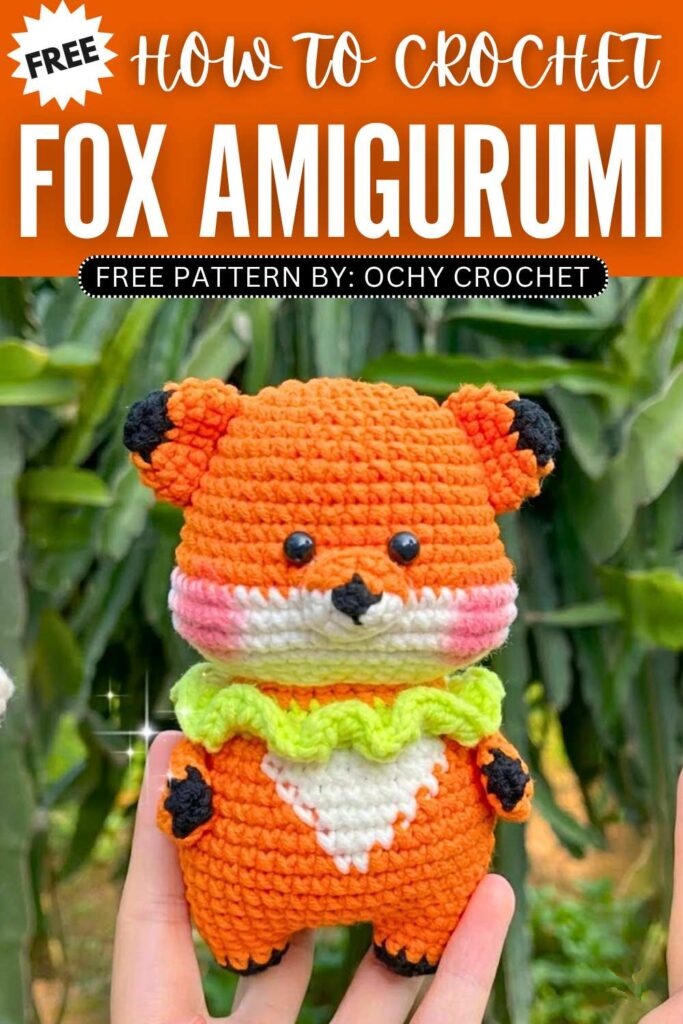
Free Crochet Autumn Baby Fox Amigurumi Pattern for Fall
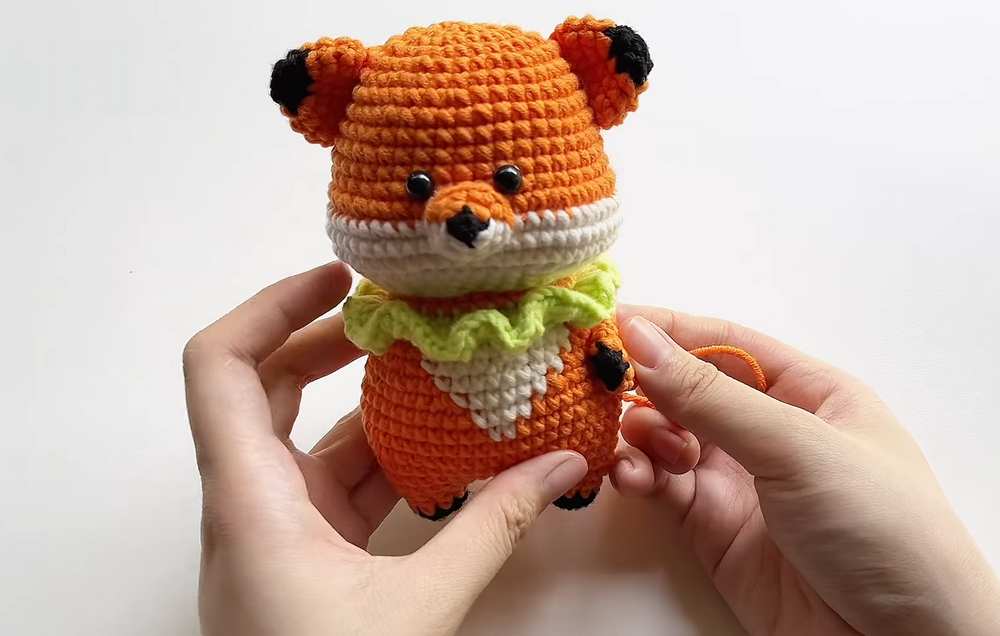
Most of you liked the crochet 20 cm no-sew fox plushie a lot! Now, fall is back again; that’s why I recommend crocheting this autumn baby fox amigurumi doll that you can give as a back-to-school present to a little one. This oh-so cute crochet fox amigurumi wears a ruffled collar and has so cute blush on the cheeks. It is an intermediate fox amigurumi you can also crochet as a plush fox.
We shall use the white and orange colorwork to crochet the belly patch and the white face patch of the fox plush. You can also crochet it as a Zootopia buddy. It actually measures so small and is practically low-sew. Now, continue reading for the full crochet fox amigurumi pattern.
About the designer: The designer behind this oh-so-cute fox amigurumi doll is @ochycrochet – she is among our favorite collaborators all for her oh-so cute and miniature amigurumi like this crochet fox amigurumi. From crochet pumpkins to racoon and much more, she has the best fall patterns as well as other seasonal patterns and designs.
How to Crochet Baby Fox Amigurumi
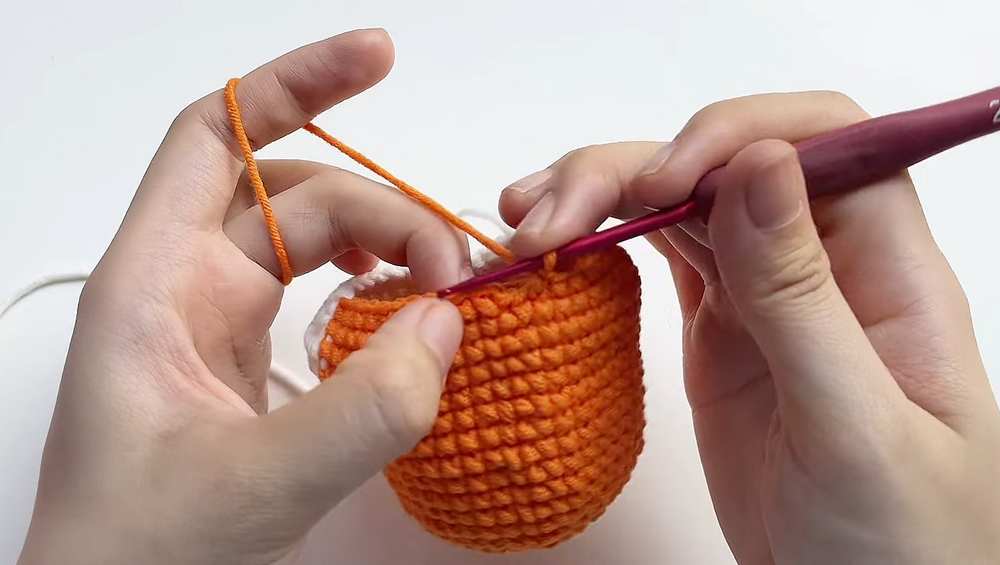
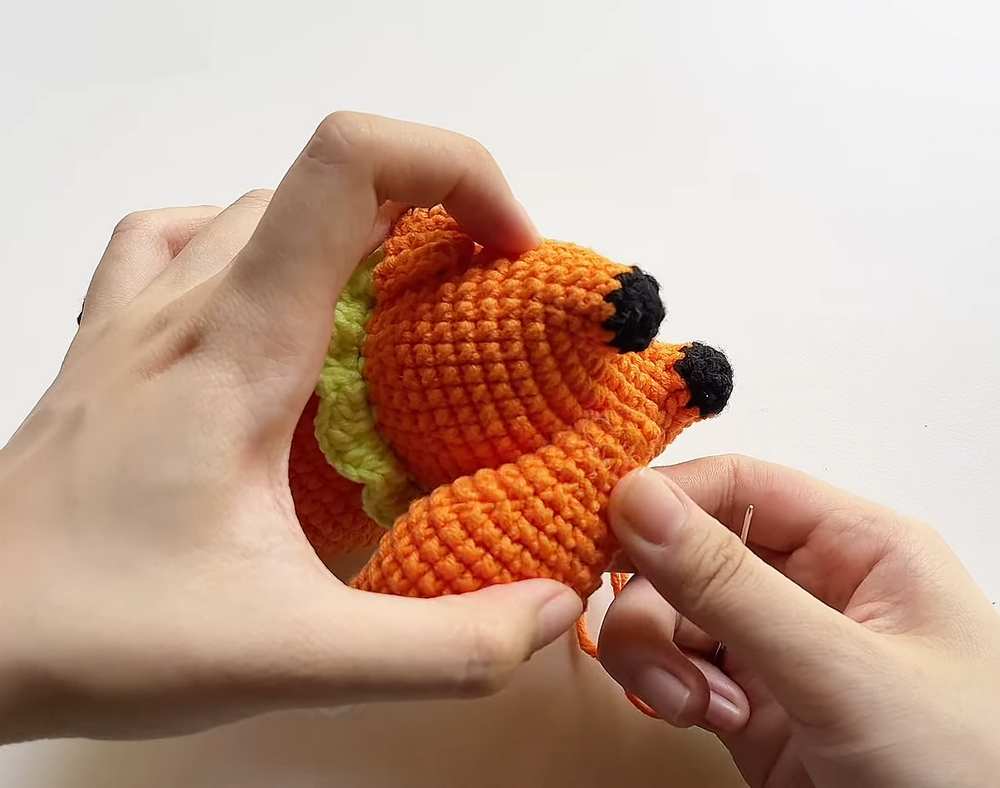
This project is a cute, beginner-friendly crochet fox amigurumi. You will create the fox by crocheting separate pieces: a head with a white face patch, a body with a little green ruffled collar, two black-tipped ears, two arms, two legs that join into the body, a snout, and a fluffy tail.
After crocheting all the parts, you simply stuff them with fiberfill and sew them together to assemble your adorable little fox!
Materials
Milk cotton yarn (125g) in Orange, White, Black, and Green
Crochet hook size 2.0 mm
Stitch markers
Tapestry/yarn needle
Safety eyes (7mm)
Fiberfill stuffing
Abbreviations (US Terms):
MR: Magic Ring
ch: chain
sc: single crochet
inc: increase (2 sc in the same stitch)
dec: decrease (sc 2 together)
sl st: slip stitch
BLO: Back Loop Only
FLO: Front Loop Only
dc: double crochet
st(s): stitch(es)
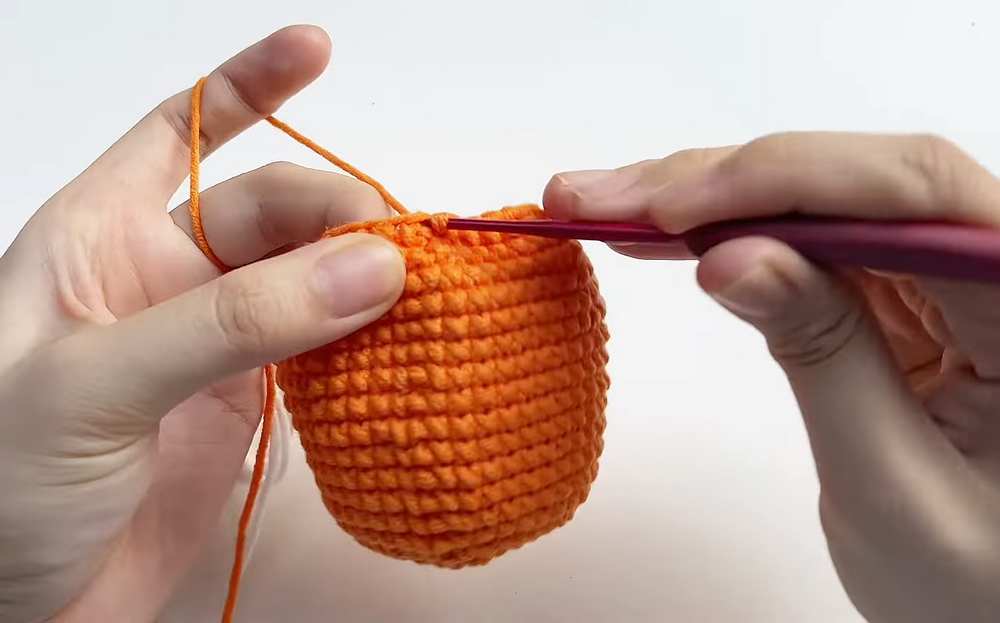
Pattern: Head
Round 1 (Orange): MR, 8 sc, sl st, ch 1 (8)
Round 2: 8 inc, sl st, ch 1 (16)
Round 3: (1 sc, inc) x 8 (24)
Round 4: (3 sc, inc) x 6 (30)
Round 5: (2 sc, inc, 2 sc) x 6 (36)
Round 6: 36 sc (36)
Round 7: (5 sc, inc) x 6 (42)
Rounds 8-12: 42 sc (42)
Round 13: 11 sc, 6 inc, 8 sc, 6 inc, 11 sc (54)
Rounds 14-16: 11 sc in Orange, 32 sc in White, 11 sc in Orange (54)
Round 17: 11 sc (Orange), [in White: 6 dec, 8 sc, 6 dec], 11 sc (Orange) (42)
Round 18: (5 sc, dec) x 6, changing between Orange and White to match the face patch color blocks (36)
Round 19: (4 sc, dec) x 6 (30).
Fasten off, leave a long tail, and stuff firmly with fiberfill.
Pattern: Ears (Make 2)
Round 1 (Black): MR, 4 sc (4)
Round 2: 4 inc (8)
Round 3 (Change to Orange): (1 sc, inc) x 4 (12)
Round 4: (2 sc, inc) x 4 (16)
Round 5: 16 sc (16).
Fasten off, leaving a long tail for sewing.
Pattern: Snout
Round 1 (Black): MR, 4 sc (4)
Round 2 (Change to White/Orange): 4 inc (8)
Round 3: (1 sc, inc) x 4 (12).
Fasten off, leaving a long tail for sewing.
Pattern: Arms (Make 2)
Round 1 (Black): MR, 6 sc (6)
Round 2 (Change to Orange): (2 sc, inc) x 2 (8)
Round 3: 8 sc (8)
Round 4: (3 sc, inc) x 2 (10)
Fold the opening flat and crochet 5 sc across both sides to close. Fasten off.
Pattern: Legs & Body
Leg 1: Round 1 (Black): MR, 6 sc (6). Round 2: (1 sc, inc) x 3 (9). Round 3 (Change to Orange): 9 sc (9). Fasten off.
Leg 2: Repeat Rounds 1-3, but do not fasten off.
Body Round 4: ch 6 from Leg 2, sl st to Leg 1. Work 9 sc on Leg 1, 6 sc along the chain, 9 sc on Leg 2, 6 sc along the other side of the chain (30)
Round 5: (4 sc, inc) x 6 (36)
Round 6: Increase evenly around the sides to reach 42 sc (42)
Rounds 7-8: 42 sc (42)
Round 9: Increase evenly to reach 48 sc (48)
Round 10: 48 sc (48)
Rounds 11-16: 48 sc, transitioning colors on the belly area to White and the rest in Orange. Decrease evenly in the later rounds back down to 30 sc.
Round 17: Dec evenly to 30 sc.
Round 18 (Change to Green): BLO 30 sc (30)
Round 19: 30 sc (30). Fasten off, leave a long tail, and stuff firmly.
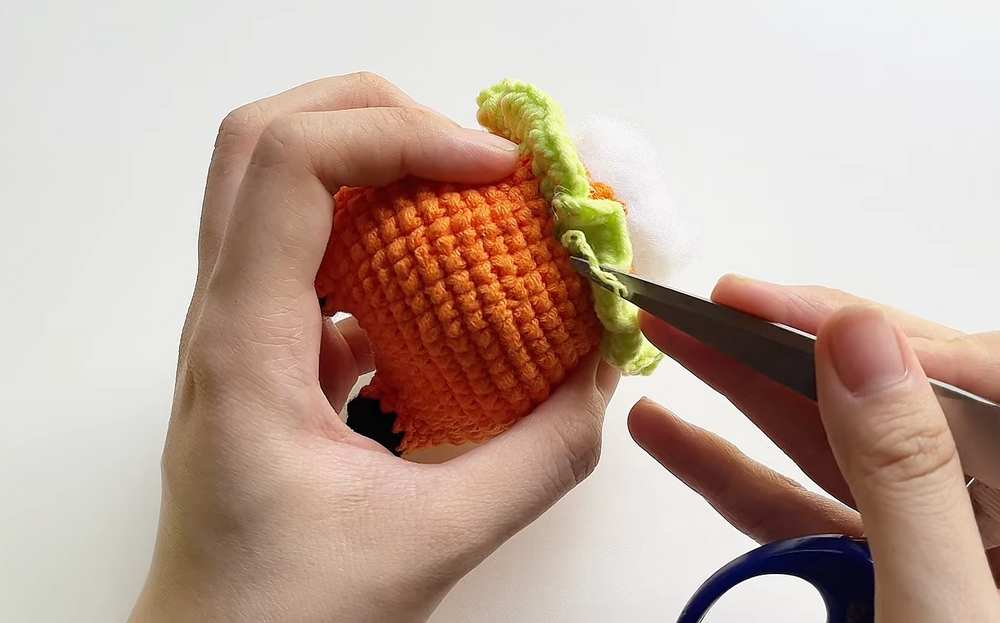
Pattern: Collar
Attach Green yarn to the FLO of Round 17 on the body.
ch 1, work 3 dc in every front loop around. Fasten off and weave in ends.
Pattern: Tail
Round 1 (White): MR, 6 sc (6)
Round 2: (1 sc, inc) x 3 (9)
Round 3: 9 sc (9)
Round 4: (2 sc, inc) x 3 (12)
Round 5: 12 sc (12)
Round 6 (Change to Orange): (3 sc, inc) x 3 (15)
Round 7: (4 sc, inc) x 3 (18)
Round 8: 2 inc, 4 sc, 3 dec, 5 sc, 1 inc (18)
Round 9: (2 sc, inc) x 6 (24)
Rounds 10-13: 24 sc (24)
Round 14: (6 sc, dec) x 3 (21)
Round 15: (5 sc, dec) x 3 (18)
Round 16: (4 sc, dec) x 3 (15)
Round 17: 15 sc (15). Stuff the tail lightly.
Round 18: (3 sc, dec) x 3 (12)
Round 19: 12 sc (12)
Round 20: (2 sc, dec) x 3 (9)
Round 21: (1 sc, dec) x 3 (6). Fasten off, leaving a long tail.
Assembly Instructions:
Sew the snout to the center of the white patch on the head.
Attach the safety eyes (7mm) securely to the face.
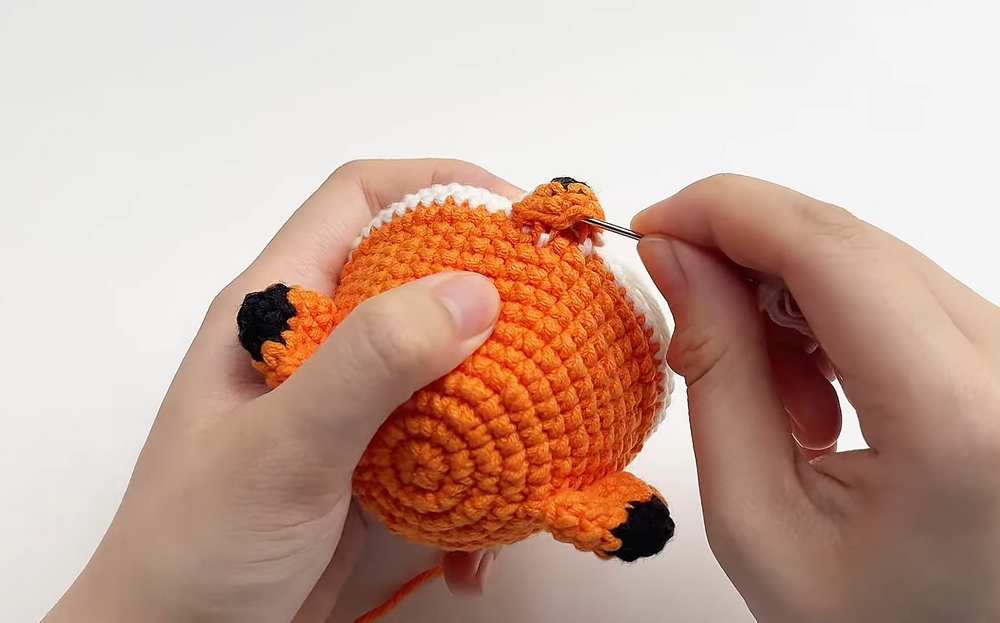
Sew the two ears to the top of the head.
Sew the head to the body.
Sew the arms to the sides of the body just under the green collar.
Sew the fluffy tail to the lower back of the body so it points slightly upward.
Save for Later!
You may also like

How to Crochet Autumn Bunting with 4 Fall Appliques
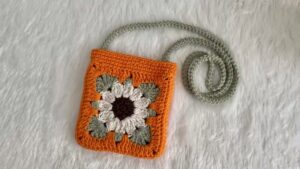
How to Crochet Granny Square Flower Crossbody Bag for Autumn
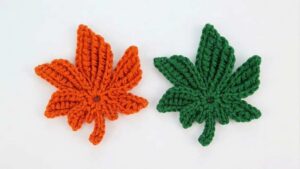
How to Crochet Small Easy Maple Leaf for Autumn
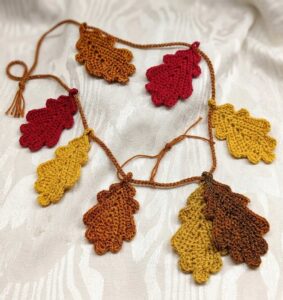
Free Crochet Oak Leaf Autumn Garland Pattern for Beginners
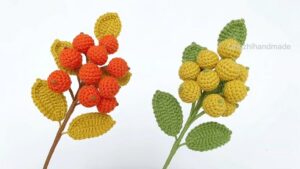
How to Crochet Berry & Leaf Branch Plant for Autumn