
Yuez Crochet: Crochet Kawaii Kitty in a Witch Hat Keychain for Halloween
This Halloween, if you are looking for the fastest and still the KAWAIEST crochet kitty project, learn how to crochet this kawaii chubby cat in a witch hat amigurumi. The stuffed tail of this sphere Halloween kitty is attached with a separate small keyring, so when you will carry your bag, the tail will wiggle in a cute way. You can crochet this cat amigurumi following a tutorial and a written pattern as well.
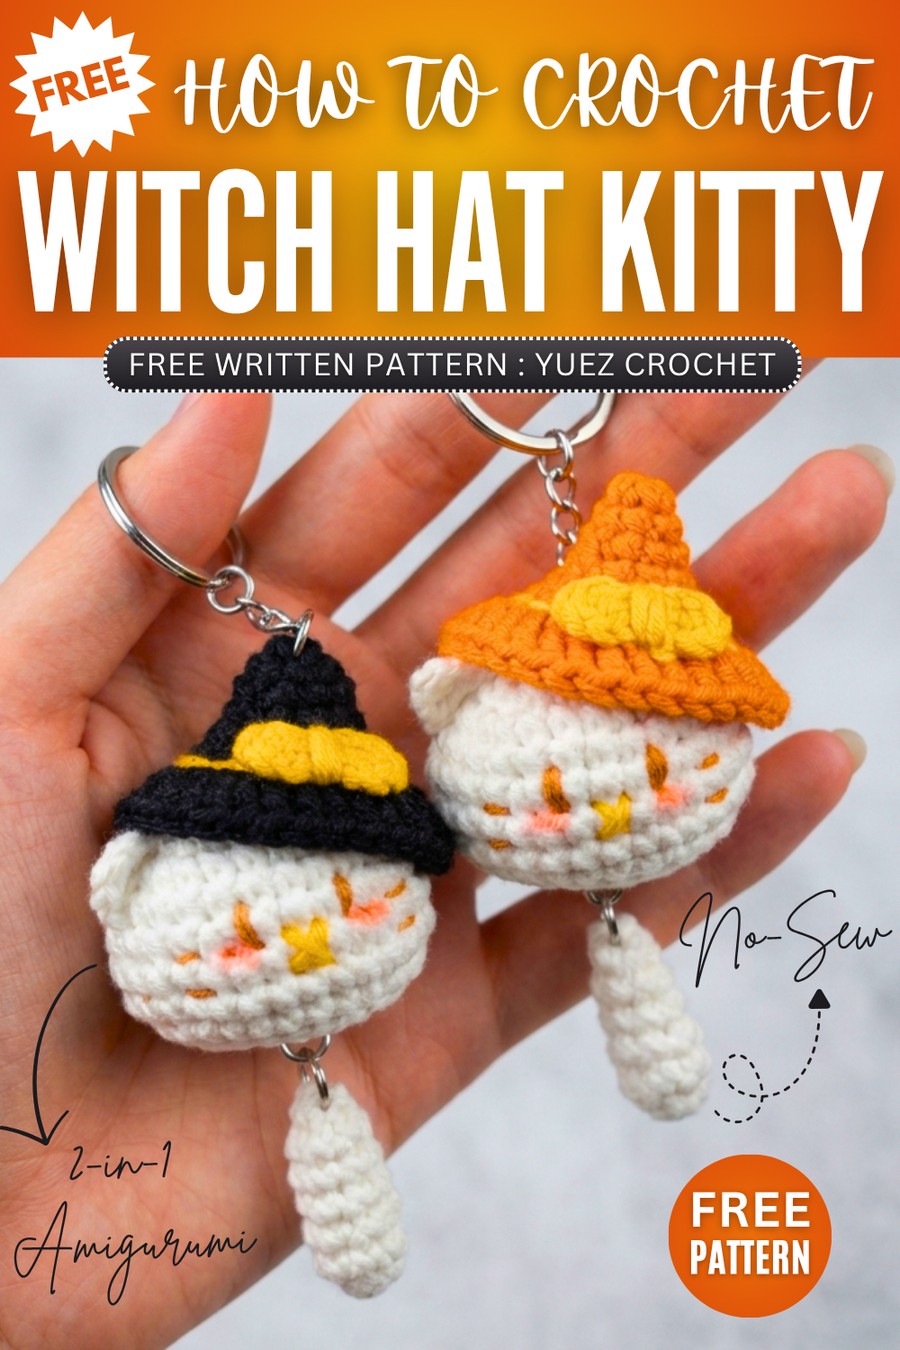
The small crochet witch hat that you can crochet either in orange or black also has a small crochet bow. We also have kawaii face embroidery done using 3 different colors which is the CUTEST detail of this Halloween kitty. Now, continue reading for the full crochet kawaii kitty pattern.
About the designer: Yuez is a crochet designer of kawaii amigurumi and this crochet Halloween kitty that are always small and cute. I am featured her work because she needs support of yours!
How to Crochet Halloween Little Kitty
This adorable crochet project makes a CUTE little white kitty cat wearing a orange witch hat, making it the perfect Halloween keychain. Using simple crochet stitches and basic shaping, you will construct a round cat head, one little ear (since the witch hat covers the other side!),
a tiny tail, and a cute pointed hat adorned with a yellow bow. It is a quick, beginner-friendly amigurumi piece that works up fast and makes a wonderful seasonal gift or a fun, spooky decoration for your bags and keys.
Video Tutorial for Beginners
Written Pattern
Materials Needed
Yarn: Fine/sport weight yarn in White (head, ear, tail), Orange (witch hat), Yellow (hat details, bow, and mouth), and Dark Brown (eyes and whiskers).
Crochet Hook: 2.5 mm size.
Stuffing: Polyester fiberfill.
Tools: A yarn needle, scissors, and a stitch marker.
Crochet Abbreviations (US Terms)
MR: Magic Ring
Ch: Chain
Sc: Single Crochet
Hdc: Half Double Crochet
Dc: Double Crochet
Inc: Single Crochet Increase (2 sc in the same stitch)
Dc Inc: Double Crochet Increase (2 dc in the same stitch)
Dec: Single Crochet Decrease (crochet 2 stitches together)
Sl st: Slip Stitch
FLO: Front Loops Only
St(s): Stitch(es)
Rnd: Round
Step-by-Step Pattern
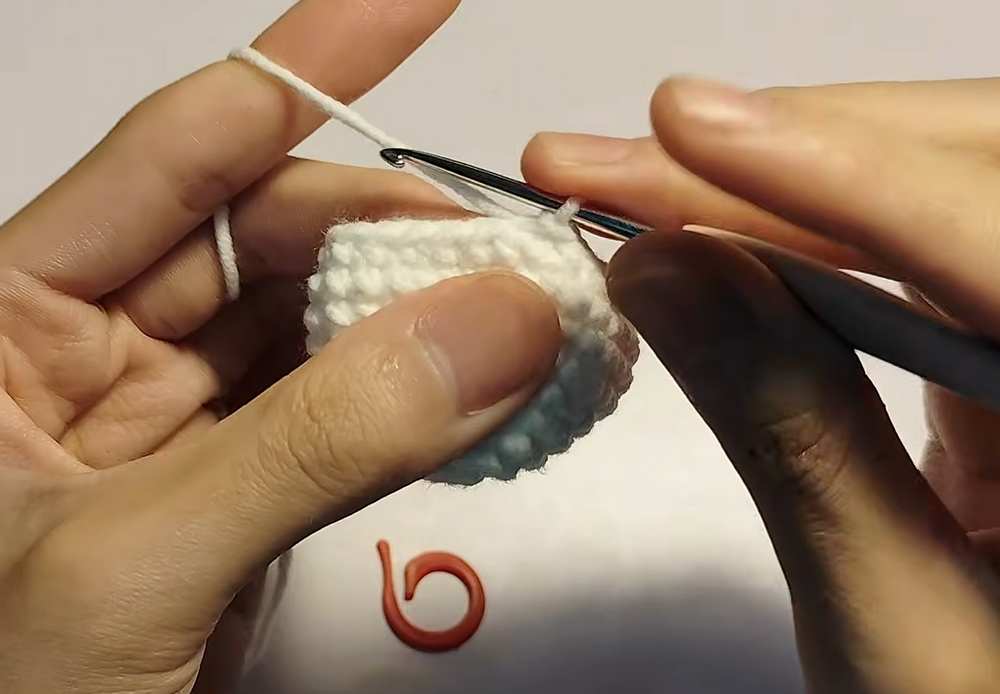
1. Kitty Head
Use the white yarn. End each round with a slip stitch and chain 1.
Rnd 1: Work 6 sc inside a Magic Ring. (6 sts)
Rnd 2: Work 6 inc. (12 sts)
Rnd 3: Repeat [1 sc, 1 inc] 6 times. (18 sts)
Rnd 4: Repeat [1 sc, 1 inc, 1 sc] 6 times. (24 sts)
Rnd 5: 1 sc in each stitch around. (24 sts)
Rnd 6: Repeat [3 sc, 1 inc] 6 times. (30 sts)
Rnd 7–8: 1 sc in each stitch around for two rounds. (30 sts per round)
Rnd 9: Repeat [3 sc, 1 dec] 6 times. (24 sts)
Rnd 10: Repeat [1 sc, 1 dec, 1 sc] 6 times. (18 sts)
Rnd 11: Repeat [1 sc, 1 dec] 6 times. (12 sts)
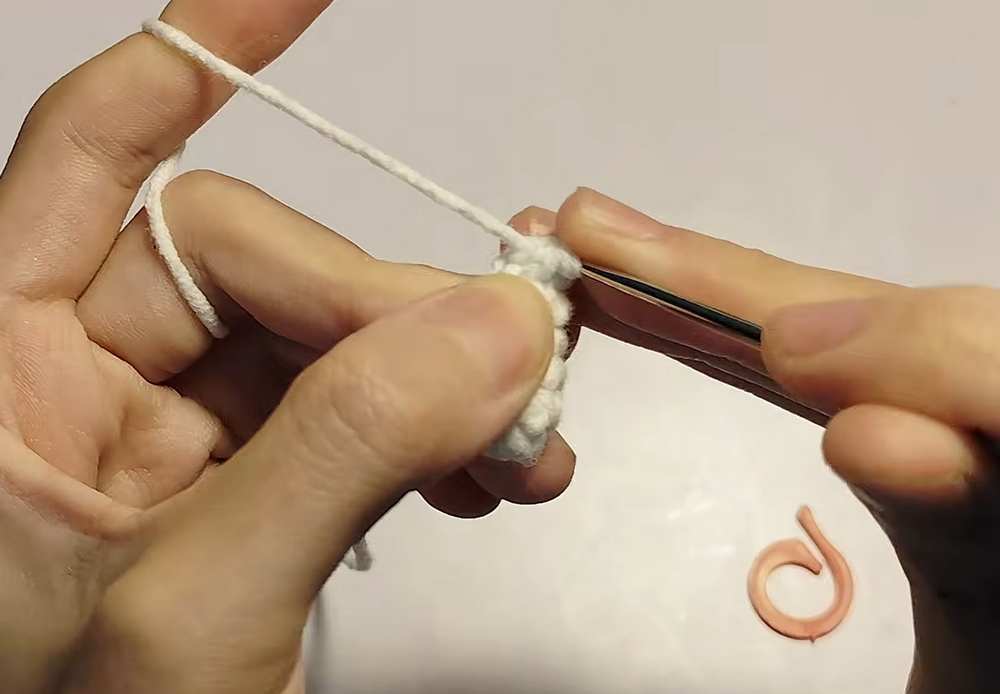
Finishing the Head: Fasten off and leave a tail. Stuff the head firmly with fiberfill. Use your yarn needle to weave through the front loops of the remaining 12 stitches and pull tight to close the hole.
2. Kitty Ear (Make 1)
Note: You only need to make one ear because the witch hat will sit on the other side of the head!
Use the white yarn. Leave a long starting tail for sewing later.
Chain 3.
Skip the first chain from your hook. In the 2nd chain, work 1 sc.
In the 3rd (last) chain, work 1 hdc.
Chain 1, fasten off, and leave a long tail for sewing.
3. Kitty Tail
Use the white yarn.
Rnd 1: Work 6 sc inside a Magic Ring. (6 sts)
Rnd 2–5: 1 sc in each stitch around for four rounds. (6 sts per round)
Stuff the tail very lightly.
Rnd 6: Work 3 dec. (3 sts)
Sl st, fasten off, and leave a long tail for sewing.
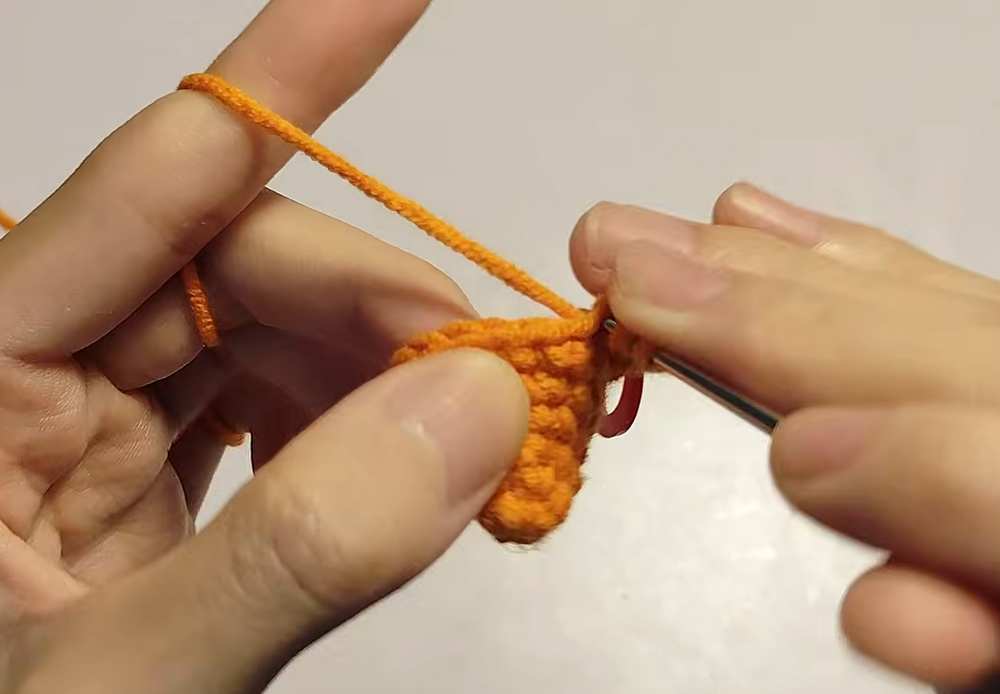
4. Witch Hat
Use the orange yarn. End each round with a sl st and ch 1.
Rnd 1: Work 4 sc inside a Magic Ring. (4 sts)
Rnd 2: Work 4 inc. (8 sts)
Rnd 3: 1 sc in each stitch around. (8 sts)
Rnd 4: Repeat [1 sc, 1 inc] 4 times. (12 sts)
Rnd 5: Repeat [1 sc, 1 inc, 1 sc] 4 times. (16 sts)
Rnd 6: Repeat [3 sc, 1 inc] 4 times. (20 sts)
Rnd 7 (Brim): Working in the Front Loops Only (FLO) for this entire round: Repeat [1 dc, 1 dc inc] 10 times. (30 sts)
Finishing the Hat: Sl st and fasten off. Weave in the ends.
Hat Detail: Using a strand of yellow yarn and your needle, surface stitch or embroider a straight line completely around the base of the hat’s cone (right above the brim at Round 6) to look like a hat band.
5. Tiny Bow
Use the yellow yarn.
Inside a Magic Ring, work the following sequence two times: [Chain 2, 1 dc, Chain 2, sl st].
Pull the magic ring closed tightly, fasten off, and leave a tail to sew the bow onto the hat band.

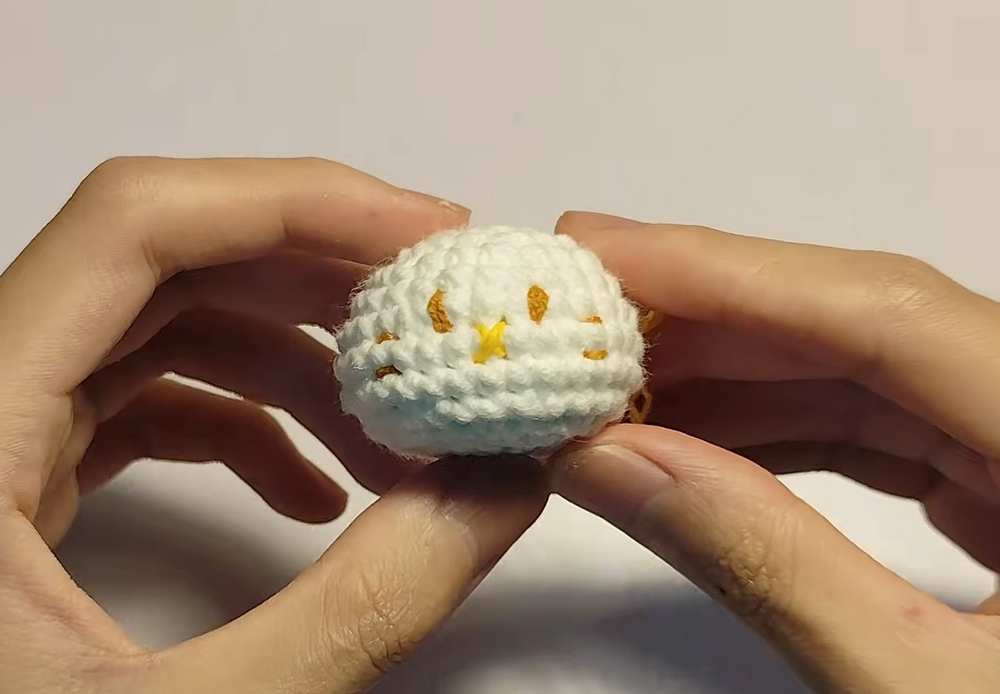
Face Details & Assembly
Eyes: Split your dark brown yarn so you are only using 2 strands. Embroider thick vertical lines for the eyes on Round 6 of the head, leaving exactly 3 stitches of space between them. Wrap the yarn 2-3 times to make the eyes stand out.
Whiskers: Using the same brown yarn, embroider two small horizontal lines on each side of the face. Place them between Rounds 6–8, about 2 stitches away from the outer edge of each eye.
Mouth: Using 3 strands of yellow yarn, embroider a tiny little nose/mouth shape directly in the center, between and slightly below the eyes.
Assembly: Sew the single white ear to one side of the head. Sew the orange witch hat to the top/opposite side of the head at an angle. Finally, attach the tiny tail to the bottom back of the head so it sticks out gracefully!
Save for Later!
