Love Knitting: Free Crochet Little Beaver Plushie Pattern for Fall
Today, learn how to crochet this another no-sew baby beaver plushie with this quick tutorial and a written pattern as well. Thanks to the bobble stitch & color-changes, this crochet kawaii beaver plushie is all crocheted as a single piece. This has the cutest eyes thanks to the embroidery eyebrows and eyelashes. This fall, you will love to crochet this quick beaver plushie within 30 minutes.
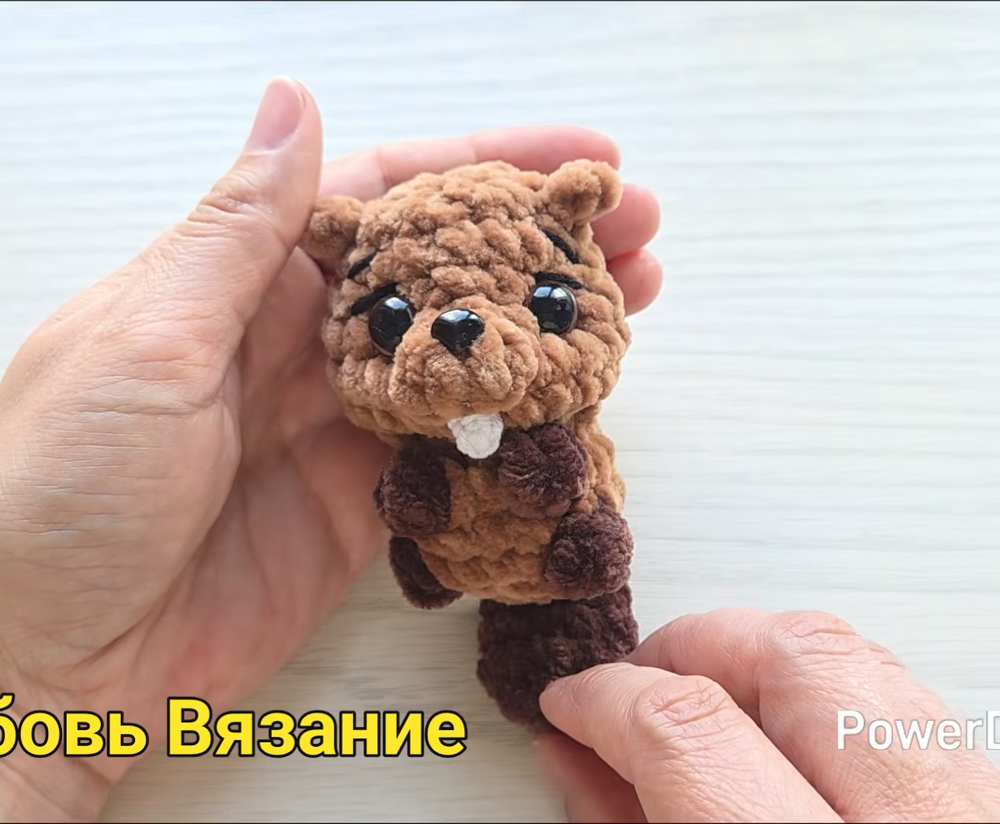
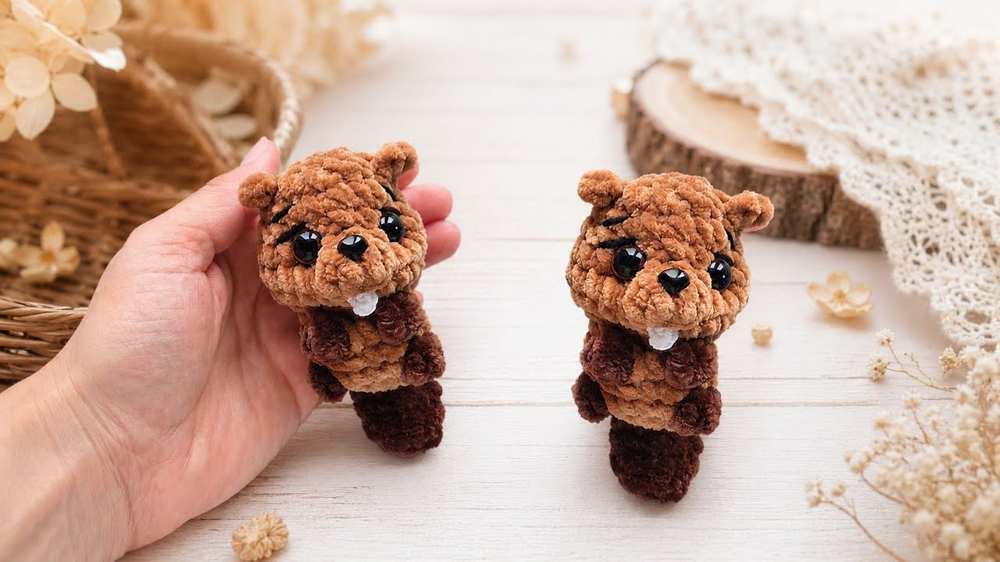
You can crochet this beaver amigurumi as a tote bag charm for fall. With the two shades of brown, this plush ends up pretty oh-so cute. There is also a small crochet teeth in white which is the signature of the beaver. Now, continue reading for the full crochet beaver plush pattern for beginners.
About the Designer: The designer behind this crochet beaver plush for fall is @love-knitting –with her 1k plush and accessory tutorials, she is a master in crochet whose super bulky yarn series is my favorite.
How to Crochet Kawaii Beaver Super Bulky Yarn Amigurumi for Fall
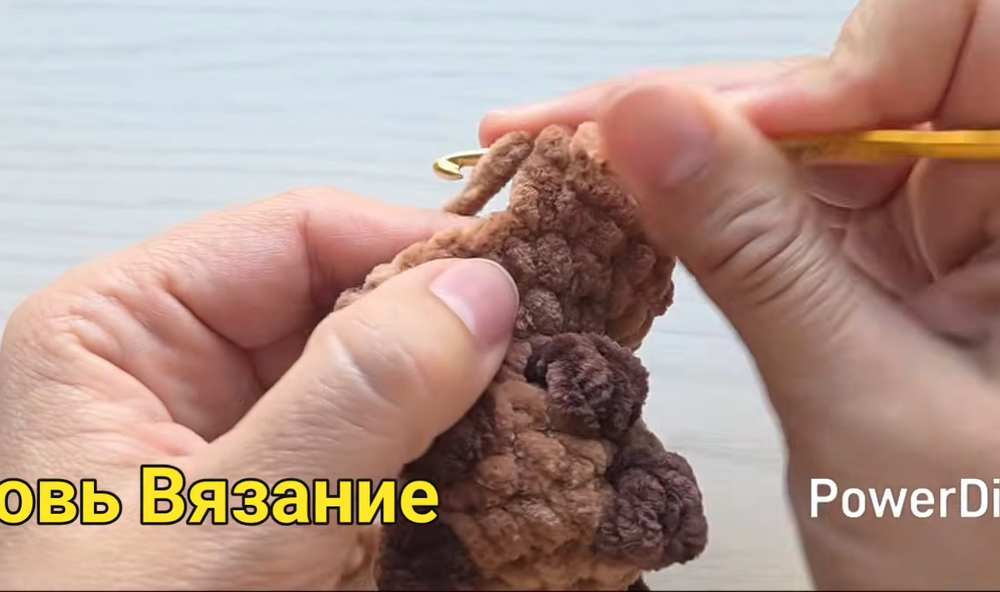
This crochet project is for a tiny, cute, and seamless plush beaver! It’s an amigurumi piece made from plush yarn and is worked entirely in one piece – from the bottom to the top – so there are no parts to sew on later. You start by making the flat brown tail, which is then crocheted directly into the body.
As you work your way up the body, you will crochet the little feet and hands using a bobble stitch technique.
Once the body is done, you’ll continue right into the head, where you will shape the chubby cheeks and small ears. Finally, you add a pair of adorable buck teeth using cotton yarn to give this beaver its signature look!
Materials Needed
Main Yarn: Plush/velvet yarn (100g/120m) in the main body color (like beige or light brown) and a secondary color (like dark brown for the tail, feet, and hands).
Teeth Yarn: Semi-cotton yarn (like YarnArt Jeans) in white.
Hooks: 4.0 mm for the main plush body, and 2.0 mm for the cotton teeth.
Eyes: 12 mm safety eyes.
Nose: 7×9 mm glue-on or safety nose.
Stuffing: Polyester fiberfill.
Tools: A yarn needle, stitch markers, and scissors.
Abbreviations
MR: Magic Ring
Ch: Chain
Sc: Single Crochet
Inc: Increase (2 sc in the same stitch)
Dec: Decrease (crochet 2 stitches together)
Sl st: Slip Stitch
Dc: Double Crochet
Bobble: Multiple double crochets worked into one stitch with a shared/common top (used for hands, feet, and cheeks)
St(s): Stitch(es)
Rnd: Round
Video Tutorial for Beginners
Pattern Details
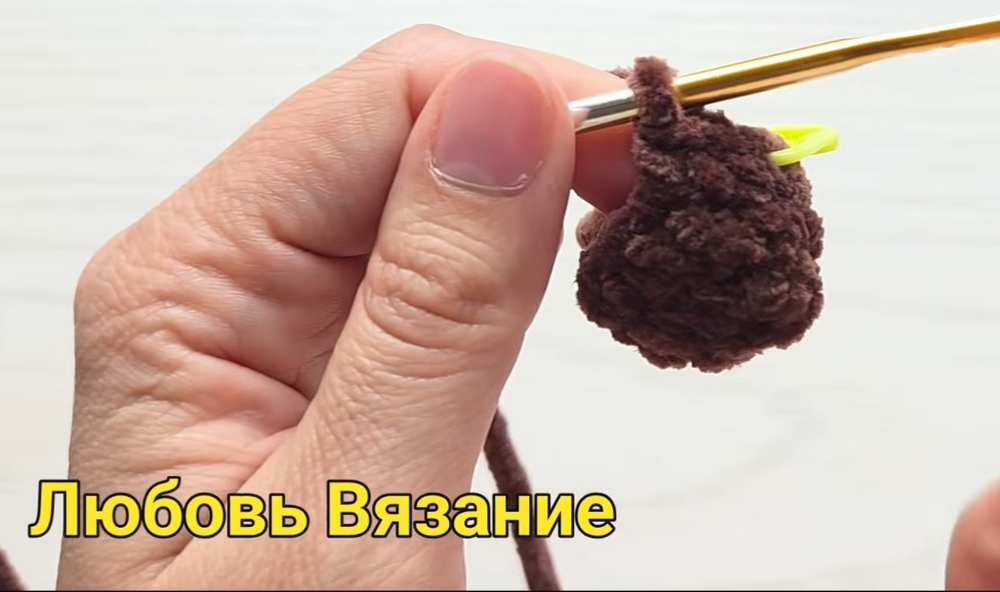
Tail (Dark Brown Plush Yarn)
Rnd 1: 6 sc in MR (6)
Rnd 2: 6 inc (12)
Rnd 3: 12 sc (12)
Rnd 4: [1 sc, 1 dec] x 4 (8)
Rnd 5: 8 sc (8)
Rnd 6: Fold the tail in half and crochet 4 sc through both sides to close it. Cut the yarn (you will attach this to the body later).
Body & Head
Rnd 1: With main color yarn, 8 sc in MR (8)
Rnd 2: 8 inc (16)
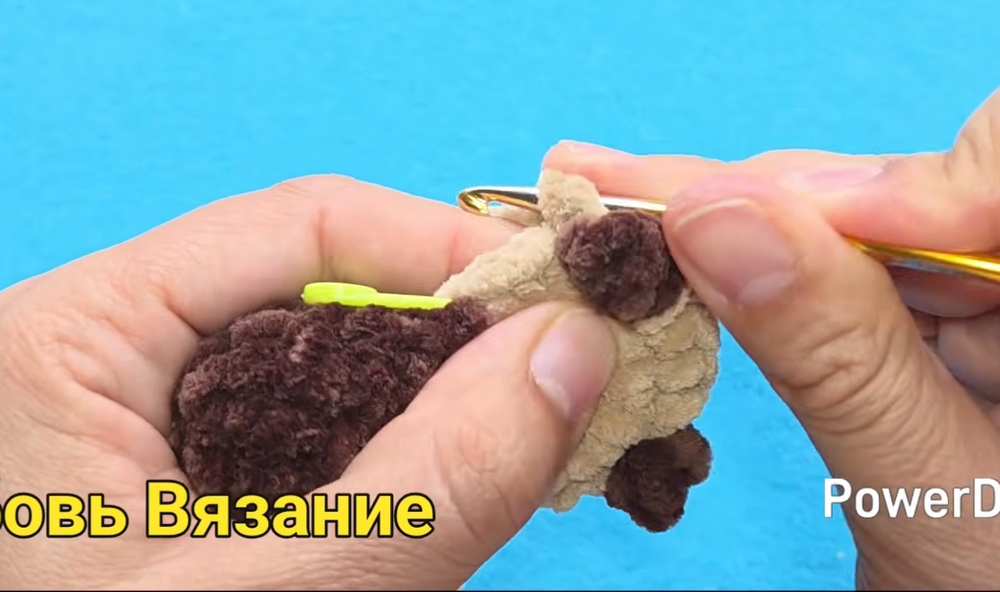
Rnd 3 (Attaching Tail & Feet): Crochet 4 sc through the tail and body at the same time. Crochet 3 sc. Change to dark brown and make a 3-dc Bobble stitch for the first foot. Change back to main color and crochet 4 sc. Change to dark brown and make a 3-dc Bobble stitch for the second foot. Change to main color and crochet 3 sc. (16)
Rnd 4: 16 sc in main color (16)
Rnd 5 (Hands): 8 sc. Change to dark brown and make a 3-dc Bobble for the first hand. Change to main color, 2 sc. Change to dark brown, 3-dc Bobble for the second hand. Change to main color, 4 sc. (16)
Rnd 6: [2 sc, dec] x 4 (12)
Rnd 7 (Start of Head): 12 inc (24)
Rnd 8: 24 sc (24)
Rnd 9 (Cheeks): Crochet 14 sc. Work a 2-dc Bobble in the next stitch. Work another 2-dc Bobble in the stitch after that. Crochet 8 sc to finish the round. (24)
Rnd 10: 24 sc (24)
Rnd 11: [2 sc, dec] x 6 (18)
Rnd 12 (Ears): 8 sc. Chain 3, then sc into the 3rd chain from the hook, and sl st into the base of the same stitch (first ear). 8 sc. Chain 3, sc in the 3rd ch, sl st into the base (second ear). 2 sc. (18)
Place safety eyes between Rnds 10 and 11.
Teeth (White Cotton Yarn & 2.0mm hook)
Chain 3. Starting in the 2nd ch from hook, make 2 sc.
Cut yarn leaving a long tail. Tie these onto the face right under the cheeks before stuffing.
Finishing the Head
Stuff the body firmly.
Rnd 13: [1 sc, dec] x 6 (12)
Rnd 14: 6 dec (6)
Close the hole by threading the tail through the front loops of the last 6 stitches.
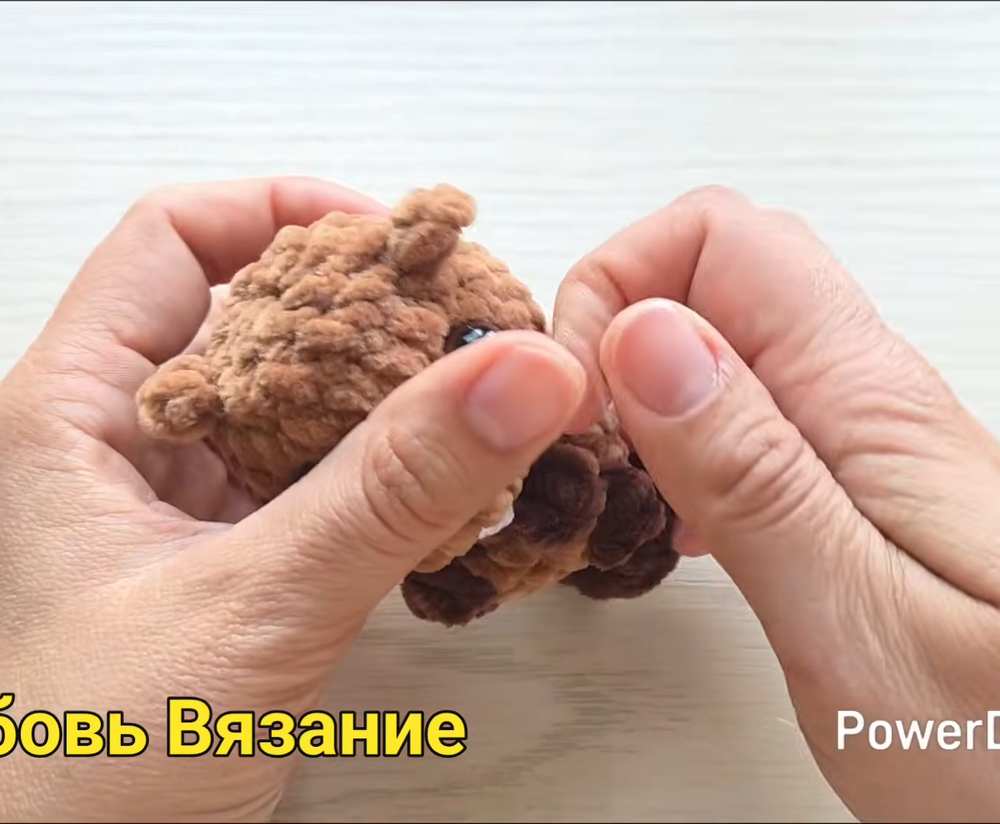
Perform eye indentation/sculpting to pull the eyes closer together and define the cheeks.
Glue on the nose and embroider tiny eyebrows and eyelashes