
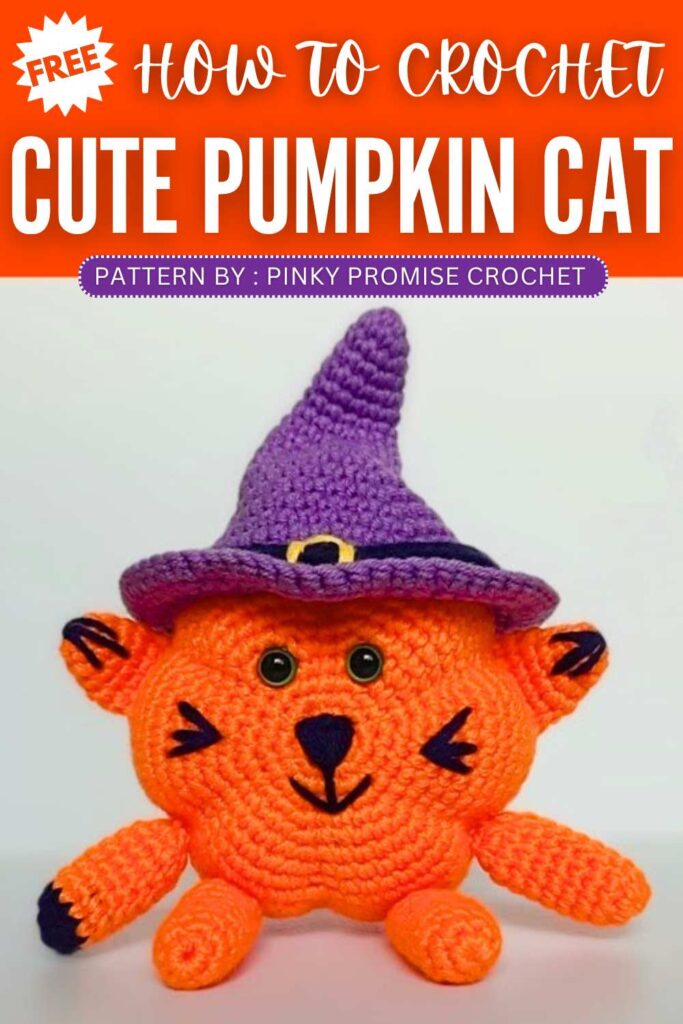
ToysIryna – Crochet Pumpkin Cat in a Witch Hat Amigurumi
Today, let’s crochet this UNIQUE pumpkin cat project for Halloween with a FREE pattern! We will crocheting kawaii pumpkin-shaped cat wearing a small witch hat. I have shared many witch tutorials, so you can follow these patterns to crochet the optional witch hat, too. The cat body pattern requires the traditional “crochet pumpkin in rounds” amigurumi.
Crochet Pumpkin Cat in a Witch Hat Amigurumi
The ears and the legs and the arms pattern will be crocheted separately and attached to the pumpkin amigurumi later! To give it a character, we will also embroider the paws, the nose and the the ear blacks, too. So, continue reading for the full crochet pumpkin cat pattern.
About the designer: The designer behind this crochet pumpkin cat is @CrochetToysIryna – she always crochets an amigurumi from a unique angle and I love it!
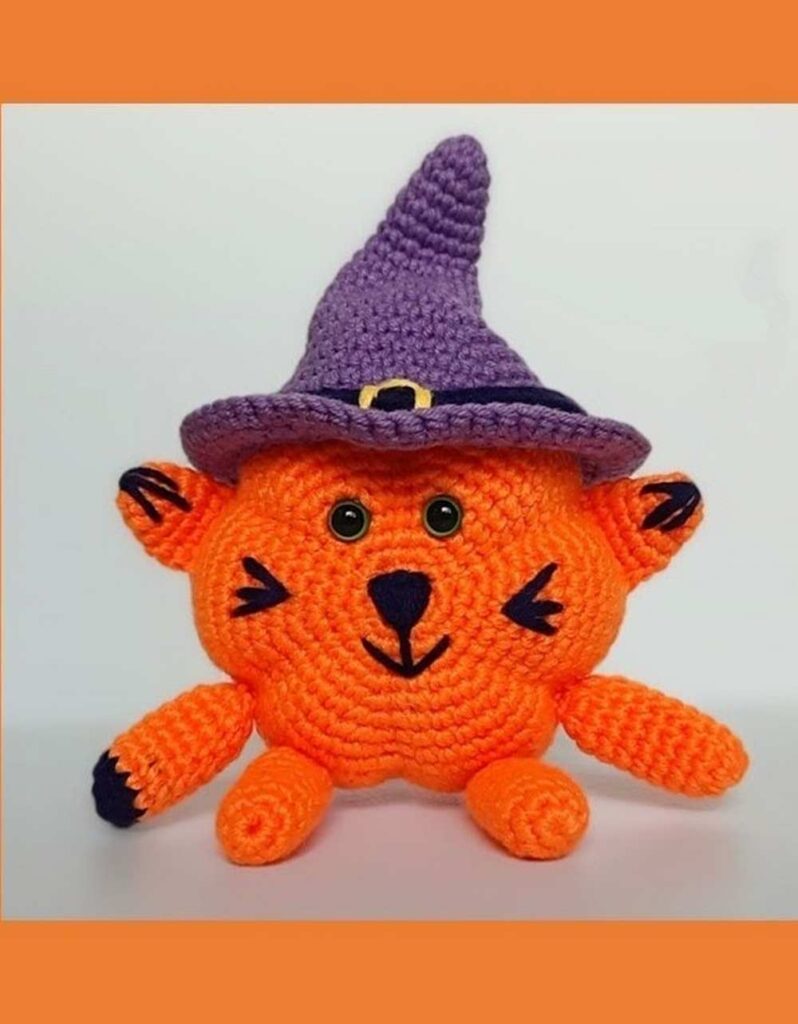
Crochet Pumpkin Witch Hat Cat Amigurumi
This adorable project combines the classic autumn symbol of a pumpkin with a cute little cat. You start by crocheting a large orange ball, which will serve as the main body and head of the cat.
Before completely stuffing and closing the pumpkin, you use long strands of orange yarn to tightly segment the ball, creating realistic pumpkin ridges.
Once the body is shaped and the safety eyes are secured, the top of the pumpkin transitions directly into a green, slightly curled stem that acts as the top of the head.
After the main pumpkin is finished, you crochet and attach four small dangling legs, two pointed cat ears with stitched details, and embroider a sweet little nose and whiskers to bring your “Pumpkin Cat” to life.
Materials Needed
Medium weight yarn (such as a cotton/acrylic blend) in Orange and Green.
A small amount of Dark Blue or Black yarn for embroidering the nose, whiskers, and ear details.
Crochet hook suitable for your yarn size.
Safety eyes (around 8mm or 10mm).
Toy stuffing (holofiber or polyfill).
Long yarn needle for sculpting the pumpkin ridges.
Stitch markers.
Optional: Pliers (to help pull the needle during the pumpkin sculpting phase).
Abbreviations (US Terms)
MR: Magic Ring
sc: single crochet
inc: increase (2 single crochets in one stitch)
dec: decrease (crochet 2 stitches together)
dc: double crochet (used briefly in the stem to create a bend)
sl st: slip stitch
st/sts: stitch/stitches
Full Crochet Pattern
Part 1: The Pumpkin Body
Using Orange Yarn:
Round 1: 6 sc in a MR. (6 sts)
Round 2: 6 inc. (12 sts)
Round 3: [1 sc, inc] 6 times. (18 sts)
Round 4: [2 sc, inc] 6 times. (24 sts)
Round 5: [3 sc, inc] 6 times. (30 sts)
Round 6: [4 sc, inc] 6 times. (36 sts)
Round 7: [5 sc, inc] 6 times. (42 sts)
Round 8: [6 sc, inc] 6 times. (48 sts)
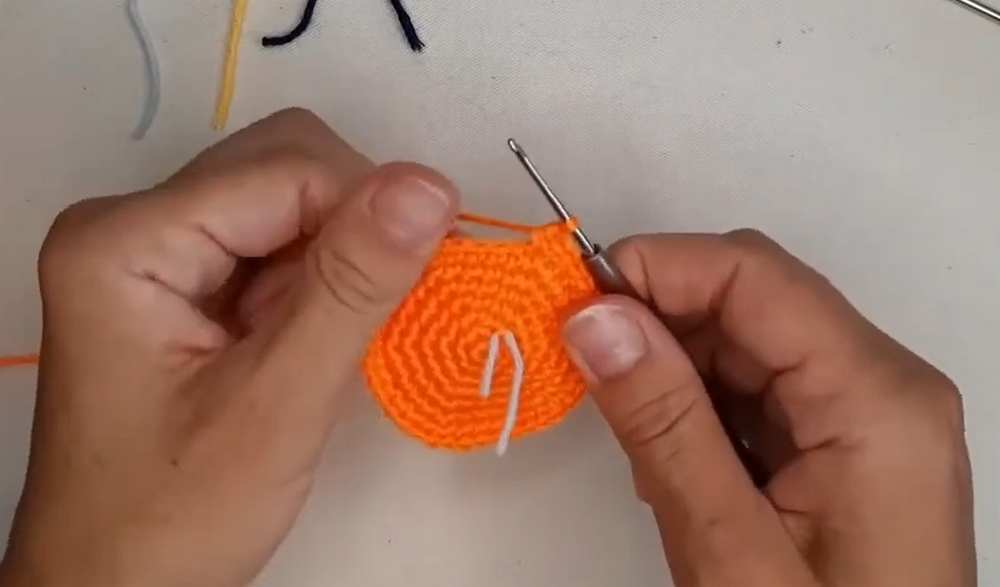
Round 9: [7 sc, inc] 6 times. (54 sts)
Round 10: [8 sc, inc] 6 times. (60 sts)
Round 11 – 19: 60 sc around. (9 rounds total of 60 sts)
Round 20: [1 dec, 8 sc] 6 times. (54 sts)
Round 21: [1 dec, 7 sc] 6 times. (48 sts)
Round 22: [1 dec, 6 sc] 6 times. (42 sts)
Round 23: [1 dec, 5 sc] 6 times. (36 sts)
Round 24: [1 dec, 4 sc] 6 times. (30 sts)
Round 25: [1 dec, 3 sc] 6 times. (24 sts)
Round 26: [1 dec, 2 sc] 6 times. (18 sts)
Round 27: [1 dec, 1 sc] 6 times. (12 sts)
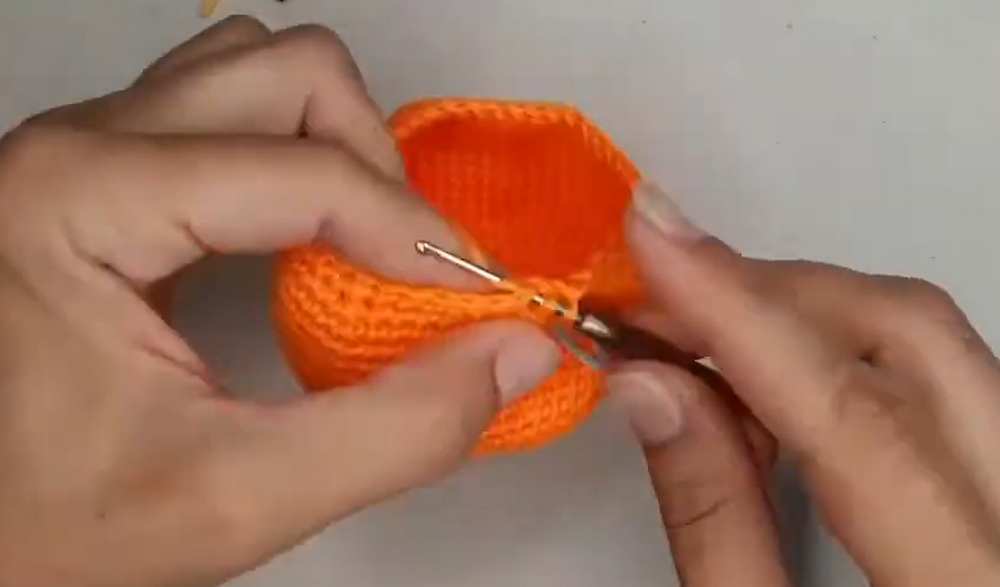
Pause Crocheting to Sculpt the Pumpkin:
Cut 6 very long strands of orange yarn. Tie them all together in one large knot at the very end.
From the inside of the pumpkin body, push a crochet hook up through the center of Round 1 (the Magic Ring at the bottom). Grab the un-knotted ends of the 6 strands and pull them down through the bottom center hole. The large knot will stay trapped inside the pumpkin.
Stuff the pumpkin halfway.
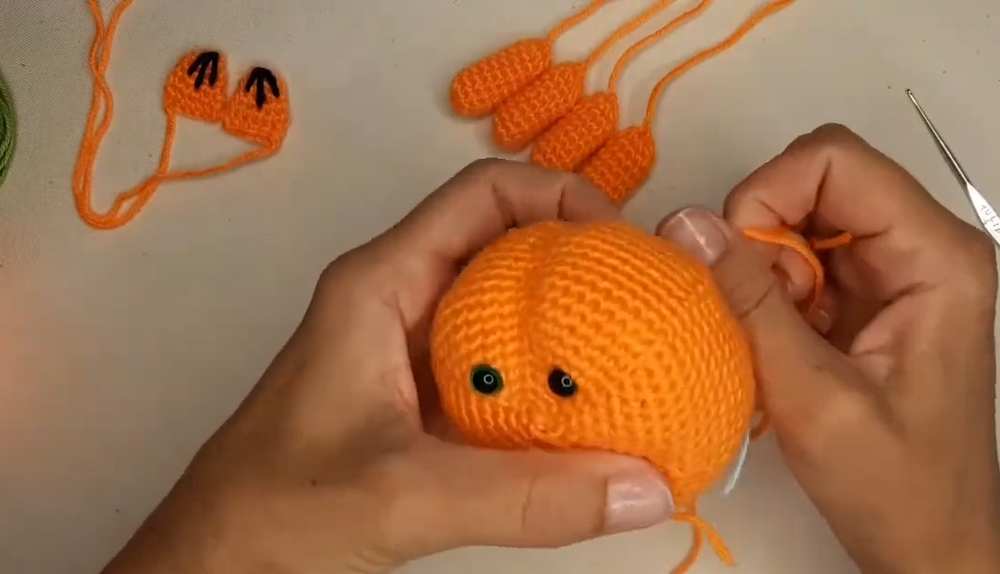
Thread one of the long strands onto your yarn needle. Bring the strand up along the outside of the pumpkin and insert the needle horizontally across a stitch near the top opening (Round 27). Pull it down tightly to create an indentation.
Repeat this process with the remaining 5 strands, spacing them evenly around the pumpkin to create 6 distinct vertical ridges.
Leave the long yarn ends hanging out the top for now.

Part 2: Eyes and Stem
Adding the Eyes: Insert safety eyes between Rounds 5 and 6 (counting from the bottom magic ring). Place them in two adjacent flat sections of the pumpkin, leaving one ridge line directly between them. Fasten the safety backs securely inside.
Finish stuffing the pumpkin firmly.
Pull the 6 sculpting strings tight, tie them to each other in pairs securely across the top opening to lock the ridge shapes in place, and trim the excess tails.
Round 28 (The Stem): Change to Green yarn. Work 12 sc around the remaining opening. (12 sts)
Round 29: 6 dec. (6 sts)
Round 30: 6 sc. (6 sts)
Round 31 (Creating the bend): 3 sc, 3 dc. (6 sts)
Round 32 – 40: 6 sc around. (9 rounds total of 6 sts)
Fasten off, weave the tail through the final 6 stitches, pull tight to close, and hide the end inside the stem.
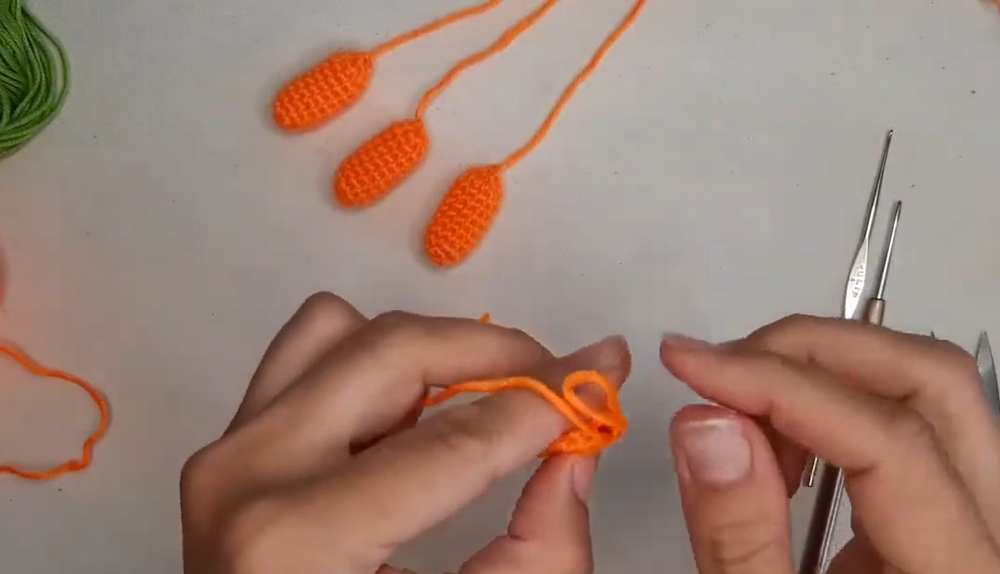
Part 3: The Legs (Make 4)
Note: Make 3 entirely in orange. Make 1 starting with Dark Blue/Black for the tip, then switch to orange.
Round 1: 6 sc in a MR. (6 sts)
Round 2: 6 inc. (12 sts)
Change to Orange yarn (if making the mixed color leg).
Round 3 – 9: 12 sc around. (7 rounds total of 12 sts)
Round 10: 6 dec. (6 sts)
Fasten off, leaving a long tail for sewing. Do not stuff the legs; they should remain flat and floppy. Weave the tail through the 6 stitches, pull tight to close.
Part 4: The Ears (Make 2)
Using Orange Yarn:
Round 1: 6 sc in a MR. (6 sts)
Round 2: [1 sc, inc] 3 times. (9 sts)
Round 3: 9 sc around. (9 sts)
Round 4: [2 sc, inc] 3 times. (12 sts)
Round 5: 12 sc around. (12 sts)
Fold the base flat and sc across both sides to close the ear. Fasten off, leaving a long tail for sewing.
Using Dark Blue/Black yarn, embroider 2 or 3 small vertical lines on the front of each ear for detail.
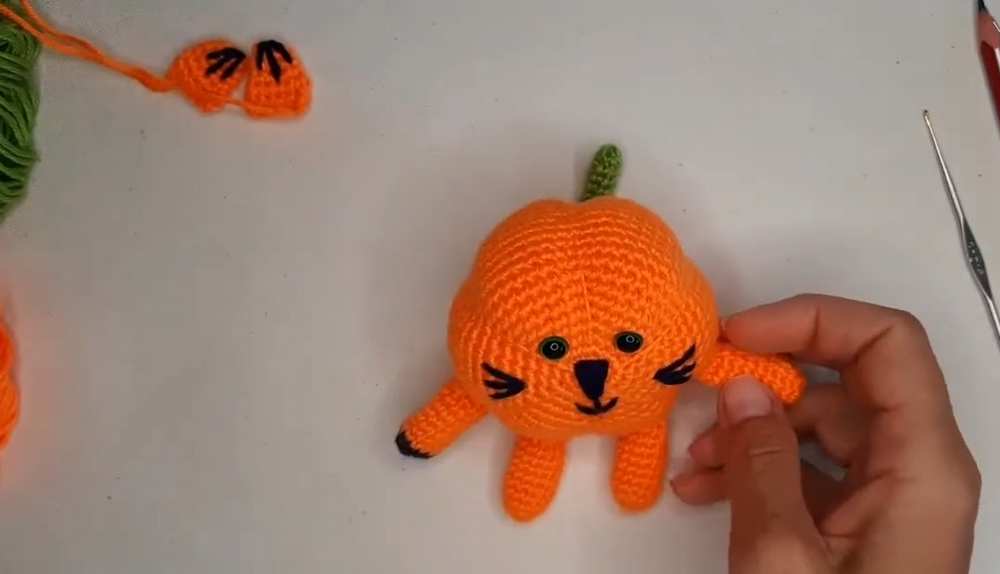
Part 5: Assembly & Embroidery
Face Details: Using Dark Blue/Black yarn, embroider a small triangular nose directly between the eyes. Embroider three small horizontal lines on each cheek to serve as whiskers.
Attaching Ears: Sew the two ears near the top of the pumpkin, placing them on opposite sides of the green stem, pointing slightly outwards.
Attaching Legs: Sew the four floppy legs to the body. Two should be placed near the bottom front (as feet), and two placed slightly higher on the sides (as arms/front paws), aligning them with the pumpkin’s indentations.
Learn with the Video Tutorial Even Better