
Free Crochet Small Smiling Pumpkin Plushie Pattern for Fall
Looking for the fastest, no-sew and the CUTEST crochet pumpkin for this fall? Learn how to crochet this smiling mini pumpkin plushie with a curly pumpkin vine, too. Unlike last year, this is the second crochet pumpkin plush pattern, I am sharing this year. It is suitable bag charm and last-minute gift for both the Halloween and fall. You can easily crochet a pair within 50 minutes.
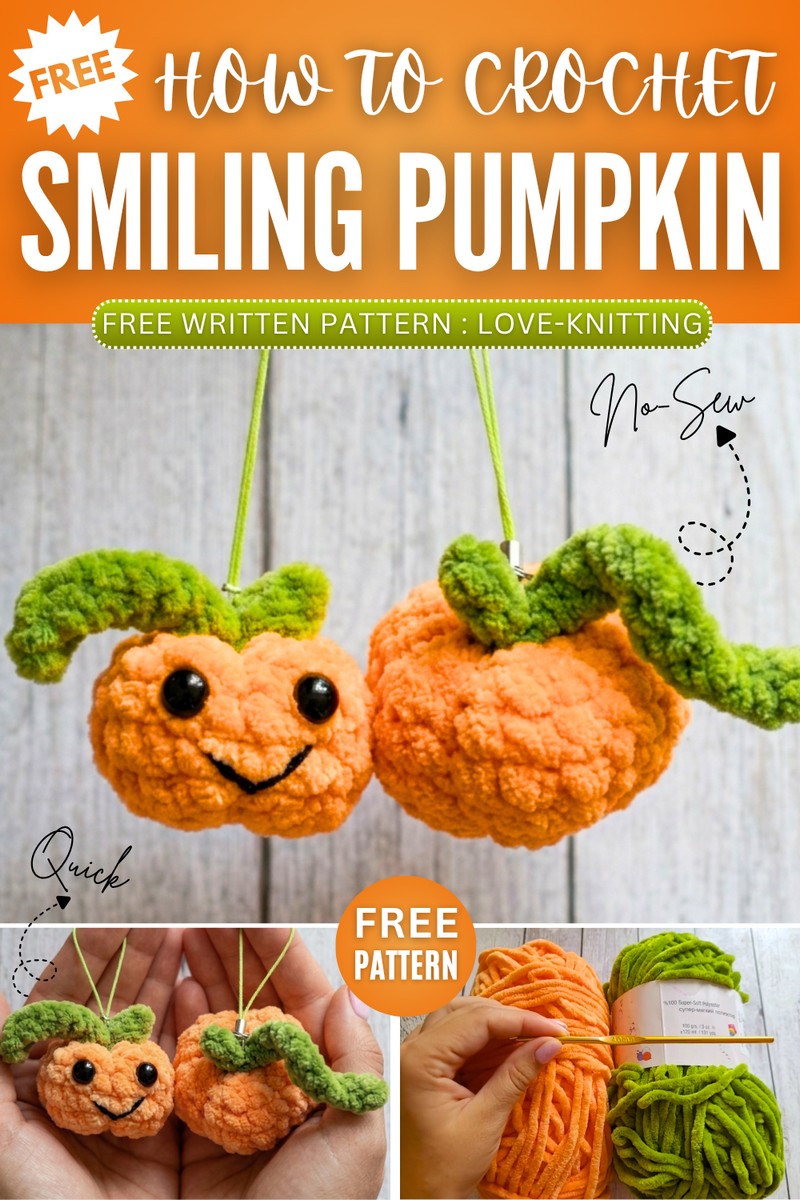
This plush pumpkin also needs a small amount of yarn and worked without sewing. You just require 9 rounds to crochet this pumpkin. We shall use the usual “yarn method” to make the pumpkin ribs. So, continue reading for the full crochet pumpkin amigurumi pattern for beginners.
About the Designer: The designer of this cute plush pumpkin for fall is @love-knitting – with over 1k tutorials, she is an all-rounder in crocheting whose super bulky yarn and fall plush series is my favorite!
How to Crochet Pumpkin Amigurumi Plush
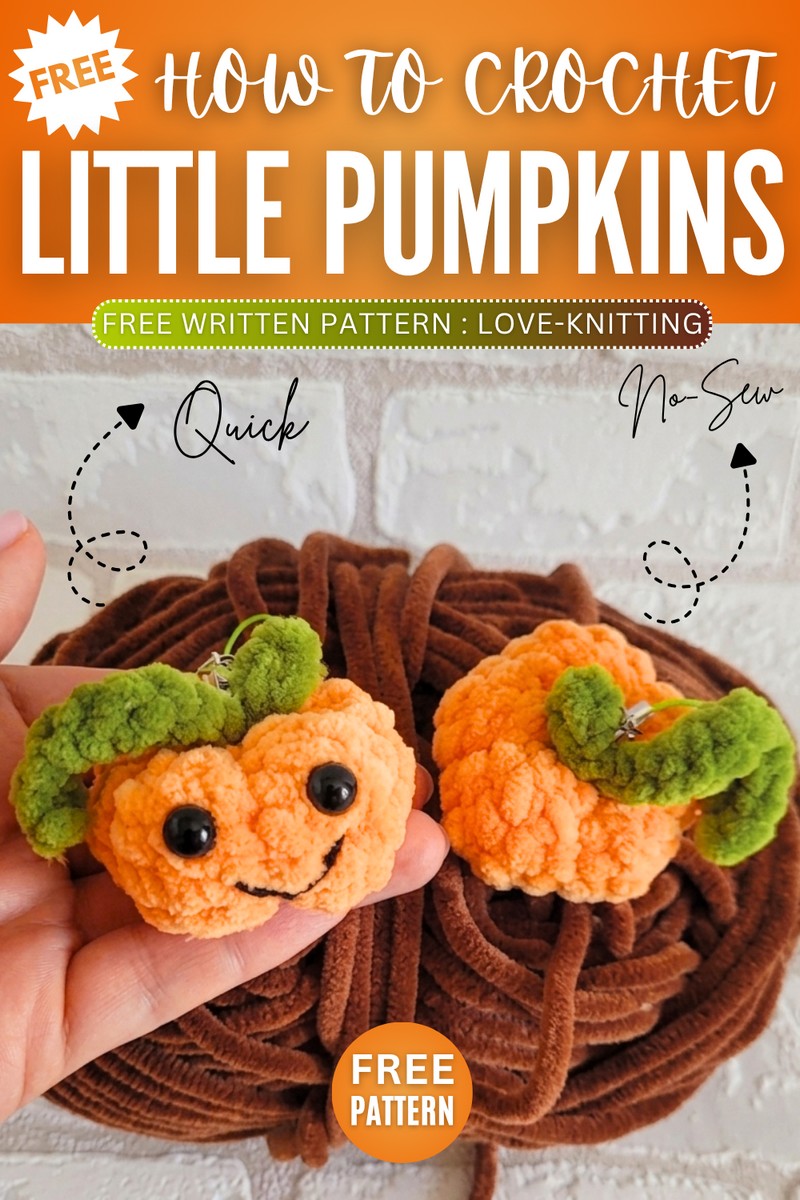
This is a quick and adorable amigurumi project to make a miniature plush pumpkin! The soft, squishy texture makes it extra cute, and it’s perfect to use as a keychain, a bag charm, or simple autumn decoration.
You will crochet a basic sphere, stuff it lightly, and then use yarn to make indentations (the “ribs” of the pumpkin). Finally, you will add a small green stem and a curled vine on top to complete the sweet harvest look.
Materials Needed
Yarn:
Chenille / Plush Yarn in Orange (for the pumpkin body). The video uses a yarn with 120m per 100g.
Cotton or Cotton-blend Yarn in Orange (for pulling the pumpkin ribs/indentations).
Chenille / Plush Yarn in Green (for the stem and vine).
Crochet Hook: 4.0 mm hook.
Stuffing: Fiberfill / toy stuffing.
Tools: Tapestry needle (yarn needle) and scissors.
Extras (Optional): Safety eyes and pink yarn to embroider a face if you want a cute character look!
Abbreviations (UK Terms)
MR = Magic Ring
ch = Chain
dc = Double crochet (equivalent to US single crochet)
inc = Increase (2 double crochets in the same stitch)
dec = Decrease (double crochet 2 stitches together)
sl st = Slip stitch
st(s) = Stitch(es)
FO = Fasten off
(Note: The pattern is worked continuously in the round unless stated otherwise).
Full Crochet Pattern
1. Pumpkin Body (Use Orange Plush Yarn)
Round 1: Make a MR, work 6 dc into the ring. (6 sts)
Round 2: 6 inc. (12 sts)
Round 3: [1 dc, 1 inc] repeat 6 times. (18 sts)

Rounds 4 – 7 (4 rounds): 1 dc in each st around. (18 sts) Begin lightly stuffing the pumpkin. Do not stuff it too firmly, as you will need to squish it down later to make the ribs.
Round 8: [1 dc, 1 dec] repeat 6 times. (12 sts) Add a little more stuffing if needed.
Round 9: 6 dec. (6 sts) FO, leaving a small yarn tail. Thread the tail through the front loops of the remaining 6 stitches and pull tight to close the hole. Weave the end into the middle of the pumpkin to hide it.
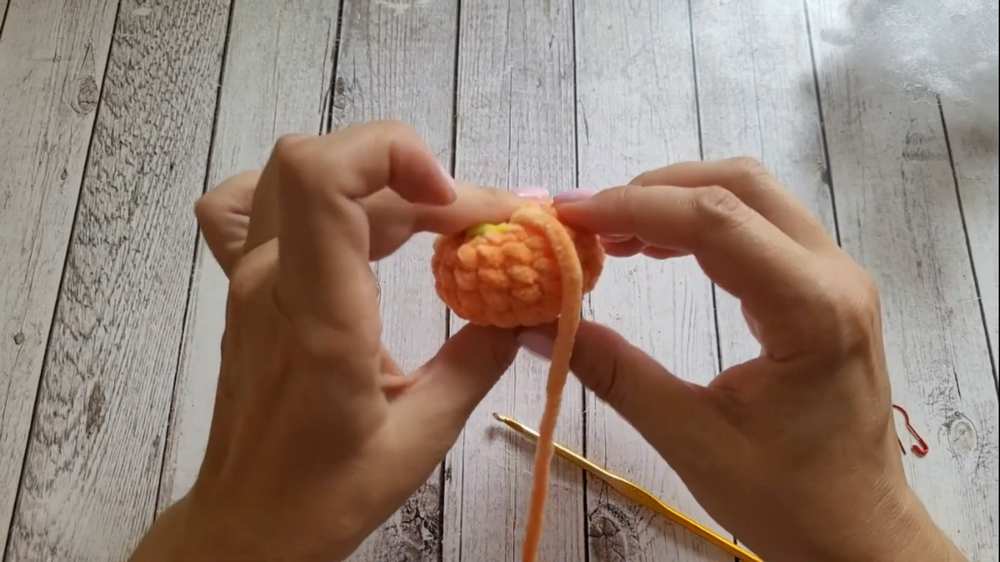
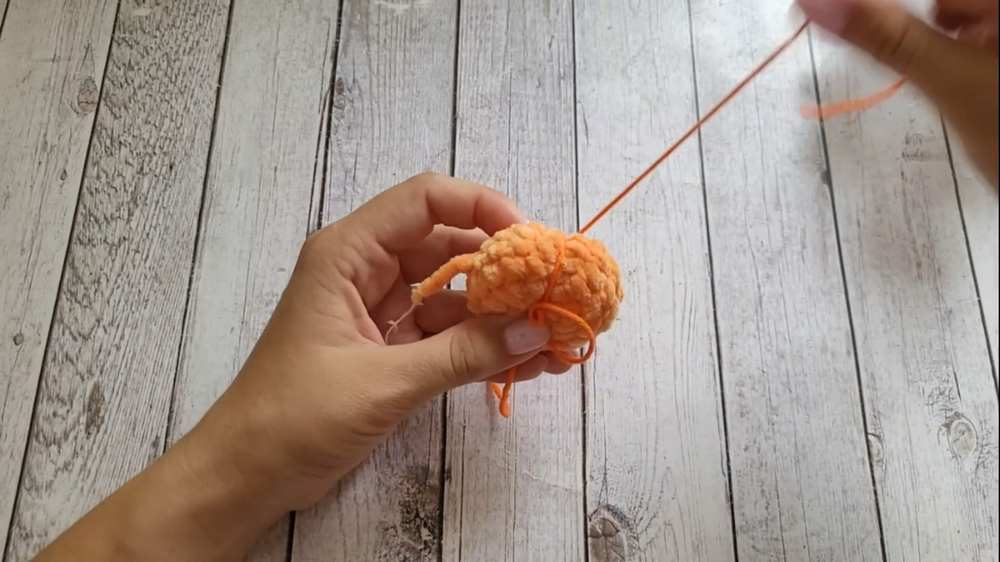
2. Shaping the Pumpkin Ribs
Take a long piece of Orange Cotton or Cotton-blend yarn and your tapestry needle. (Cotton yarn is used because it is stronger and won’t break when pulled tightly like plush yarn might).
Insert the needle through the bottom center of the pumpkin and push it straight up through the top center, leaving a short tail at the bottom.
Bring the yarn down around the outside of the pumpkin to create the first “rib,” and insert the needle back into the bottom center, coming out the top center again. Pull the yarn tight to create a deep indentation.
Repeat this process around the pumpkin, spacing the ribs out evenly (usually 5 or 6 ribs looks best). For a deeper, more defined rib, you can wrap the yarn around the same spot twice.
Once you have made all the ribs, bring the yarn back down to the bottom. Tie the working yarn tightly in a knot with the starting tail you left at the beginning. Push the knot and loose ends inside the pumpkin to hide them.
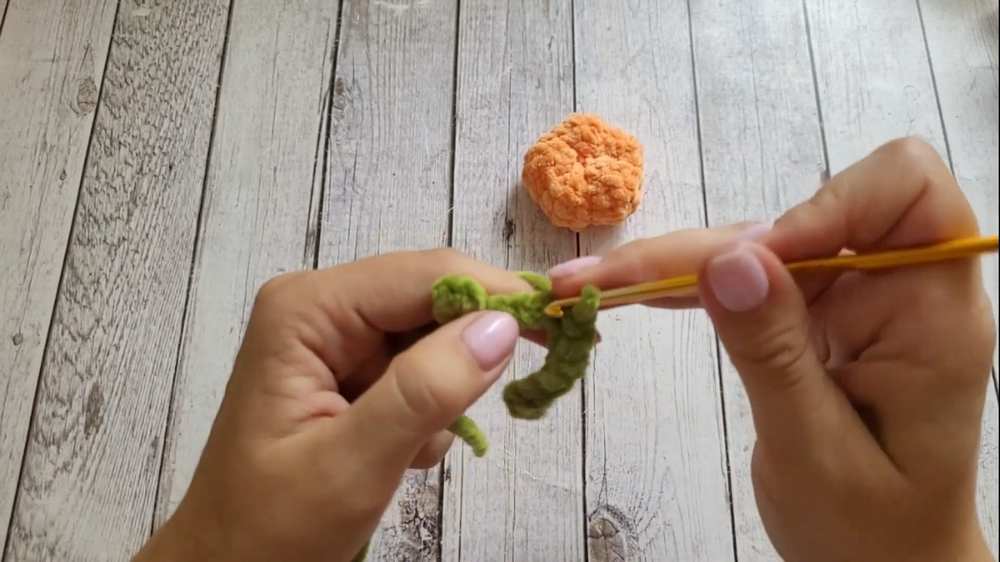
3. Stem and Vine (Use Green Plush Yarn)
Leave a slightly long starting tail (about 5cm) before chaining.
Stem: Ch 3. Starting in the second ch from the hook, work 2 sl st back down the chain. Do not fasten off.
Vine: From the base of the stem, ch 12. Starting in the second ch from the hook, work 1 sl st in each ch all the way back up the vine (11 sl sts). FO, leaving a long tail for sewing.
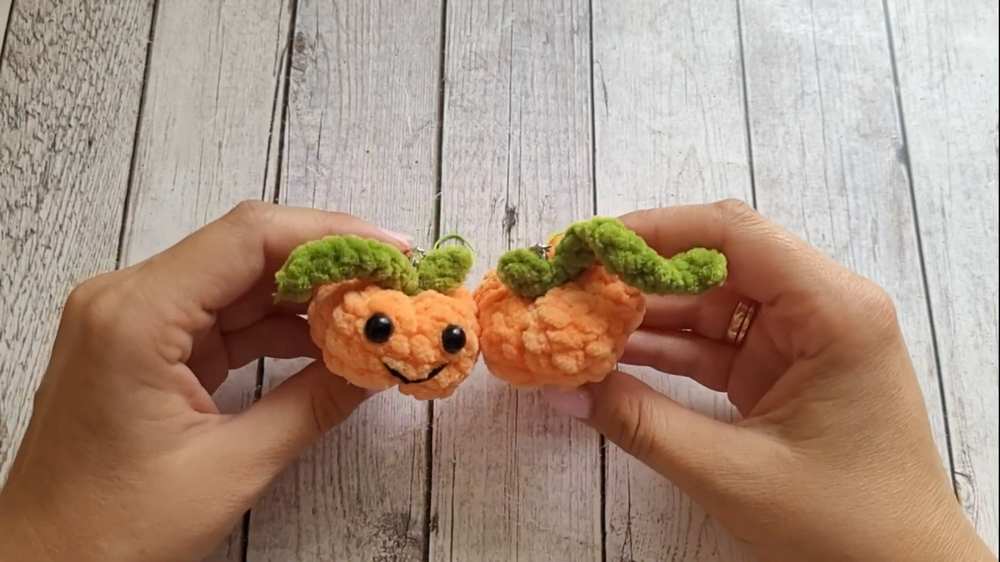
4. Assembly
Take the Green Stem and Vine piece and position it on the top center of the pumpkin.
Use the yarn tails from the stem to sew it securely to the top of the pumpkin.
Tie the starting and ending green tails together in a knot to secure, and hide the ends inside the pumpkin.
Twist the green vine gently with your fingers to help it curl nicely.
Learn with Video Tutorial
Save for Later!