
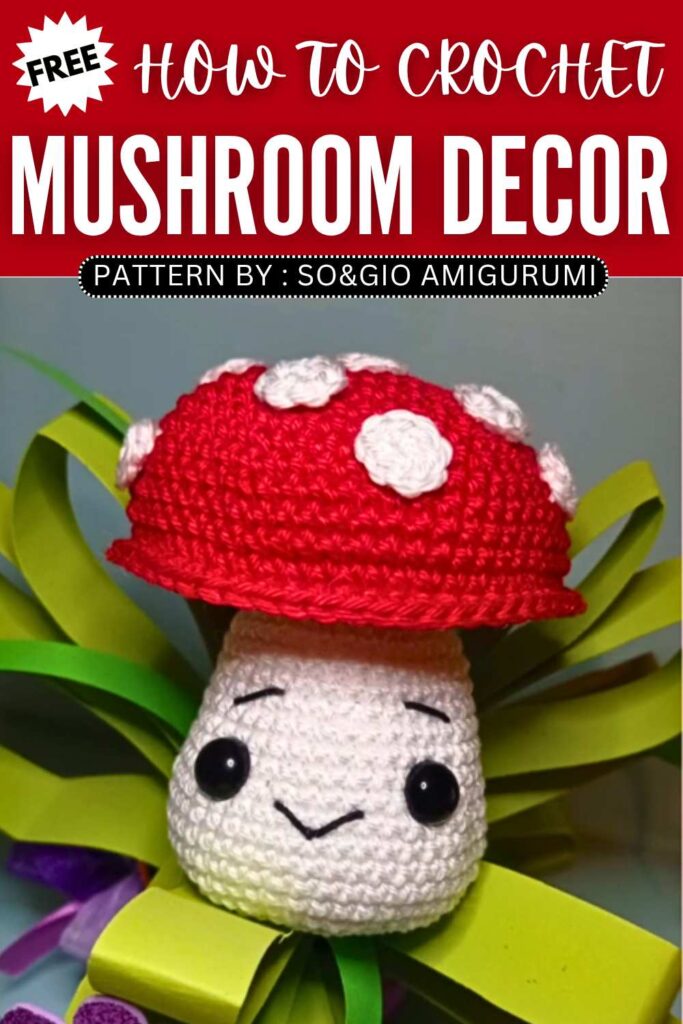
Sogio: Crochet Smiling Mushroom Amigurumi Toy Pattern
This year’s crochet mushroom amigurumi series is gonna be much more memorable with this crochet smiling stuffed mushroom toy. It is a medium-sized crochet toadstool mushroom amigurumi that you can crochet with a FREE written pattern as well as a tutorial for Italians. This Chibi mushroom also has a kawaii smile and embroidery eyebrows. You can crochet it as a fall buddy, car hanger or stress-toy.
Crochet Smiling Mushroom Amigurumi
You can also crochet a plush version of this crochet mushroom following the same pattern but switching to the velvet yarn. You can crochet this mushroom amigurumi within 45 minutes (yes, the pattern is for medium-size). Anyway, below is the free pattern, so continue reading.
About the designer: The honored designer behind is @sogio – I have loved all crochet amigurumi and the fall & Halloween amigurumi in particular! If you are an Italian crocheter, be sure to support her!
How to Crochet Smiling Mushroom Stuffed Toy
Crochet a cute amigurumi mushroom with a smiling face! You’ll start by creating the white stem (the body), where you’ll insert safety eyes and embroider a sweet little smile.
Next, you’ll crochet the mushroom cap in two separate pieces: a flat white base and a rounded red top. These two parts are crocheted together and stuffed before being securely sewn onto the stem. Finally, you’ll crochet several tiny white spots and attach them around the red cap to give it that classic, magical woodland mushroom look!
Materials Needed
Yarn: 100% Cotton yarn (e.g., Fiocco yarn – 3 balls total).
Colors: White and Red.
Embroidery Thread: Thin black yarn for facial details.
Crochet Hook: 3.00 mm.
Extras: Tapestry needle, stitch markers, and toy stuffing.
Eyes: 10.00 mm safety eyes. (Note: Not suitable for children under 3 years old).
Abbreviations
MR: Magic Ring
inc: Increase
dec: Decrease
rep: Repeat round
sl st: Slip stitch
sc: Single crochet
hdc: Half double crochet
dc: Double crochet
rnd/s: Round/s
Pattern Instructions
Body (White Yarn)
Rnd 1: 8 sc in a MR [8]
Rnd 2: 8 inc [16]
Rnd 3: (1 sc, inc) x 8 [24]
Rnd 4: (2 sc, inc) x 8 [32]
Rnd 5: (3 sc, inc) x 8 [40]
Rnd 6: (7 sc, inc) x 5 [45]
Rnds 7 to 11: 1 sc in each stitch around (5 rounds) [45]
Rnd 12: (7 sc, dec) x 5 [40]
Rnds 13 to 15: 1 sc in each stitch around (3 rounds) [40]
Rnd 16: (3 sc, dec) x 8 [32]
Rnds 17 to 19: 1 sc in each stitch around (3 rounds) [32]
Rnd 20: (2 sc, dec) x 8 [24]
Detailing: Insert the safety eyes between rounds 12 and 13, leaving a distance of 9 sc between them. Stuff the body firmly. Using the thin black yarn, embroider the mouth and eyebrows.

Head – Lower Part (White Yarn)
Rnd 1: 8 sc in a MR [8]
Rnd 2: 8 inc [16]
Rnd 3: (1 sc, inc) x 8 [24]
Rnd 4: (2 sc, inc) x 8 [32]
Rnd 5: (3 sc, inc) x 8 [40]
Rnd 6: (4 sc, inc) x 8 [48]
Rnd 7: (7 sc, inc) x 6 [54]
Rnd 8: (17 sc, inc) x 3 [57]
Finish: Fasten off the work with a sl st.
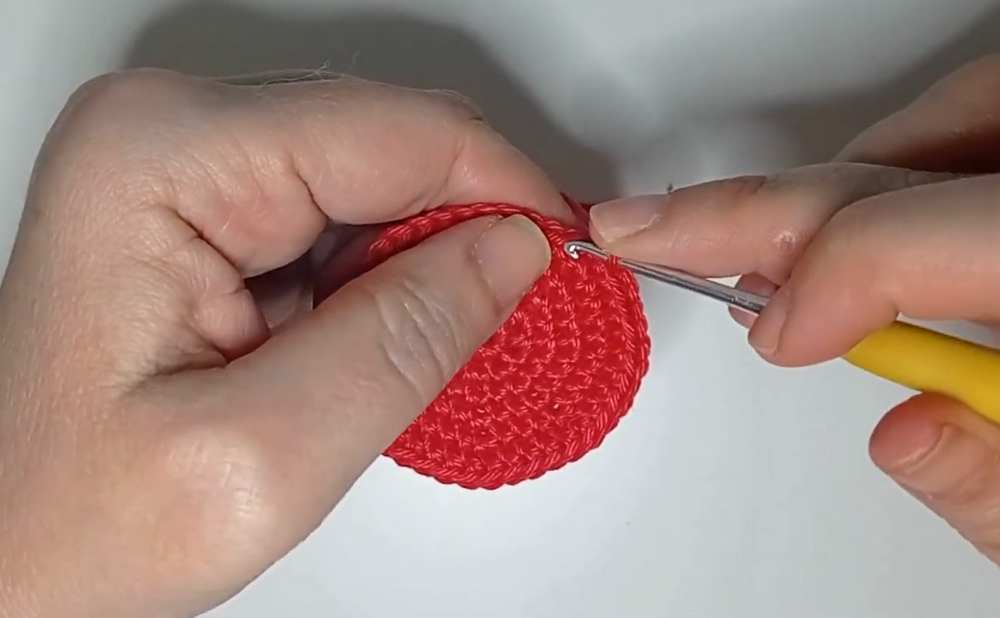
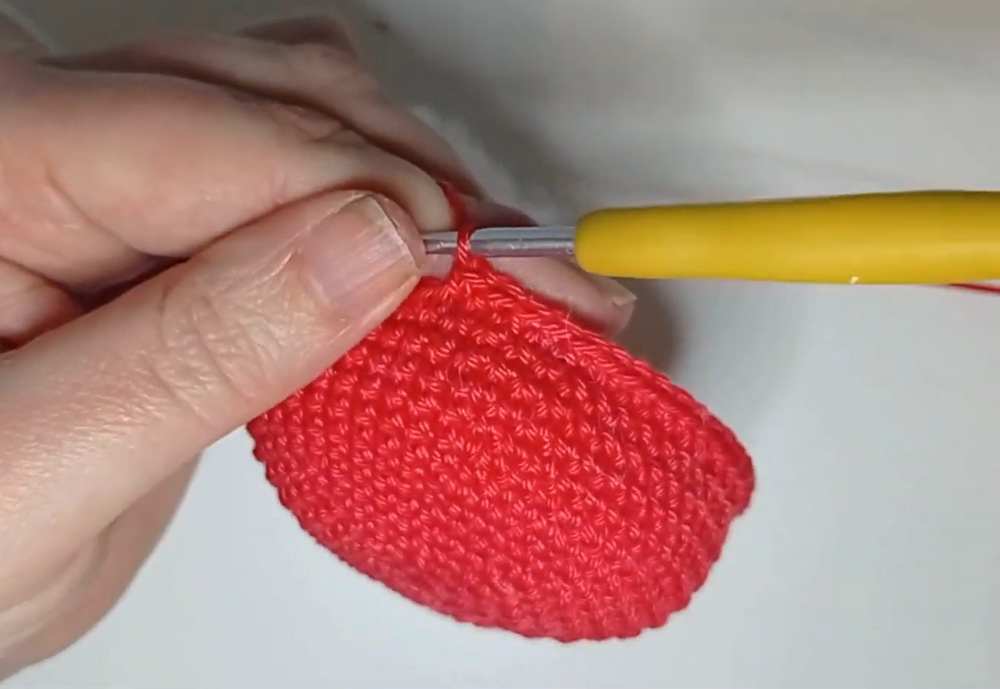
Head – Upper Part (Red Yarn)
Rnd 1: 8 sc in a MR [8]
Rnd 2: 8 inc [16]
Rnd 3: (1 sc, inc) x 8 [24]
Rnd 4: (2 sc, inc) x 8 [32]
Rnd 5: (3 sc, inc) x 8 [40]
Rnd 6: 1 sc in each stitch around [40]
Rnd 7: (4 sc, inc) x 8 [48]
Rnd 8: 1 sc in each stitch around [48]
Rnd 9: (7 sc, inc) x 6 [54]
Rnd 10: 1 sc in each stitch around [54]
Rnd 11: (17 sc, inc) x 3 [57]
Rnds 12 to 13: 1 sc in each stitch around (2 rounds) [57]
Do not fasten off!
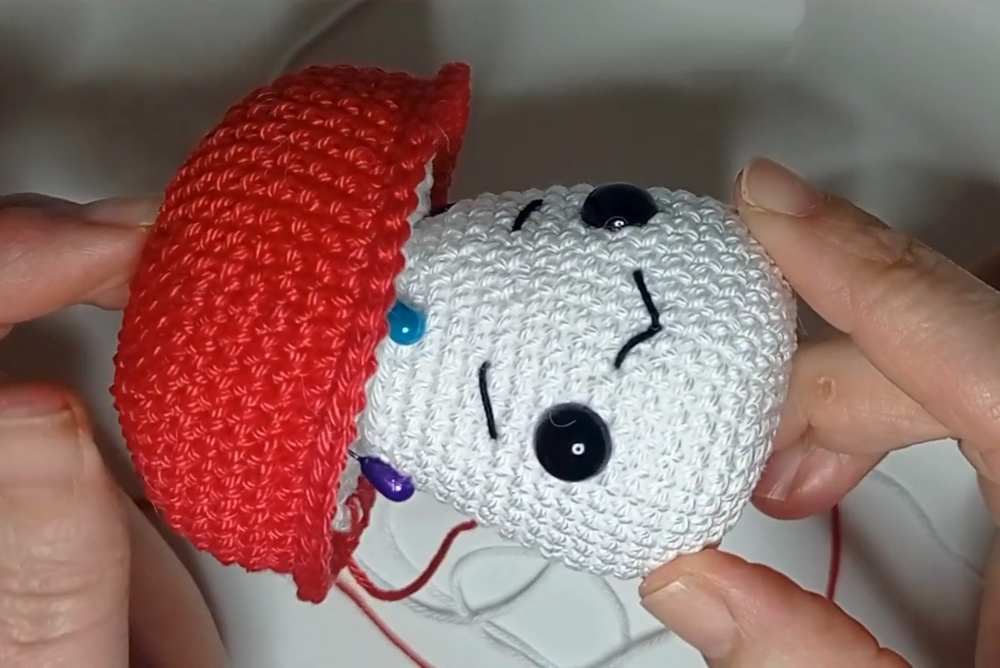
Joining the Head Parts
Take the lower white part of the head and place it against the upper red part.
Using the red yarn still attached, begin single crocheting (sc) the two edges together all the way around.
Important: Do not close the round entirely just yet. Stop when you have a small opening and stuff the head firmly.
Once stuffed, finish closing the round.
Do one final round of sc all the way around the edge and close with a sl st.
Mushroom Spots (White Yarn)
Make 7 sc into a MR. Pull tight and fasten off.
Note: The video creator made 10 of these spots, but you can make as many as you like!
Assembly
Look at the white flat bottom of the assembled head. Count 4 rounds inwards from the outer edge. Use pins to mark this inner circle to indicate the center point.
Sew the top opening of the body directly onto this pinned circle under the head.
Sew or glue your white spots randomly all over the red mushroom cap.
Your cute amigurumi mushroom is now complete!
Learn with the Video Tutorial Even Better