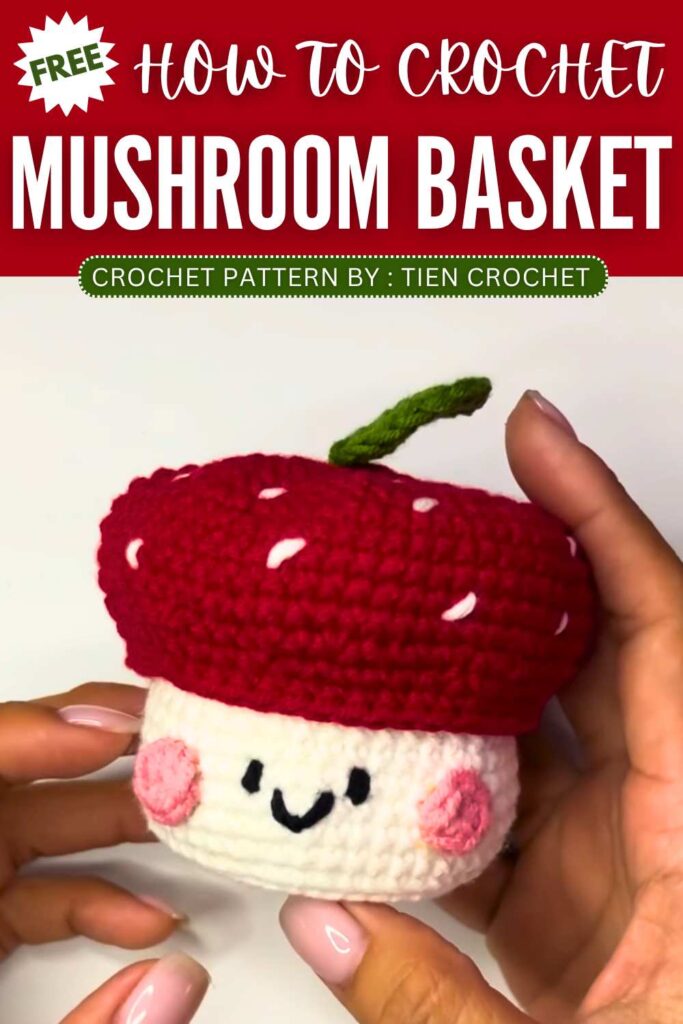
Crochet 2-in-1 Smiling Mushroom Amigurumi & Basket for Fall
Learn how to crochet a small, CUTE & 2-in-1 mushroom basket & amigurumi for fall with this FREE pattern. This crochet mushroom project is an irresistible present for little ones with its kawaii embroidery face and crochet blush on the cheeks. The crochet toadstool cap with white embroidery spots of this mushroom basket function as a perfect lid for it. Perfect for jewelry and rubber band holding.
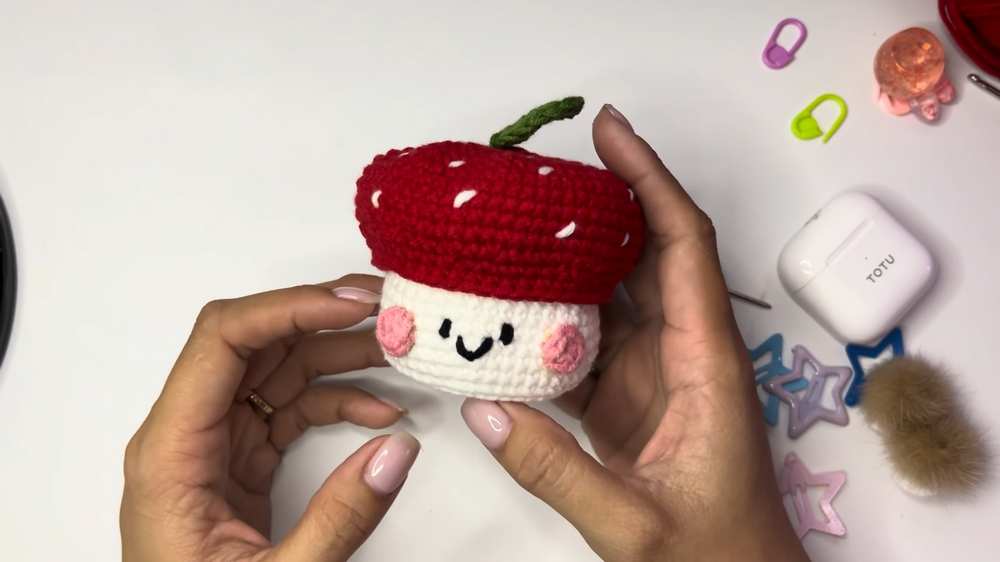
Crochet 2-in-1 Smiling Mushroom Amigurumi
There is also a crochet basic leaf on the top and make this mushroom basket & amigurumi even more elegant. You can also stuff it with the polyester fiberfill and turn into a pincushion. It is just so small and cute that I am feeling rather excited to present mushroom project to you.
About designer: The designer of this crochet smiling mushroom is @tiencrochet – Liking her unique angle crocheting the same thing such as the vegetables and crochet characters, I approached her and she willingly accepted the request. Her crochet designs and tutorials are worth taking a look and crochet. So, try them for sure!
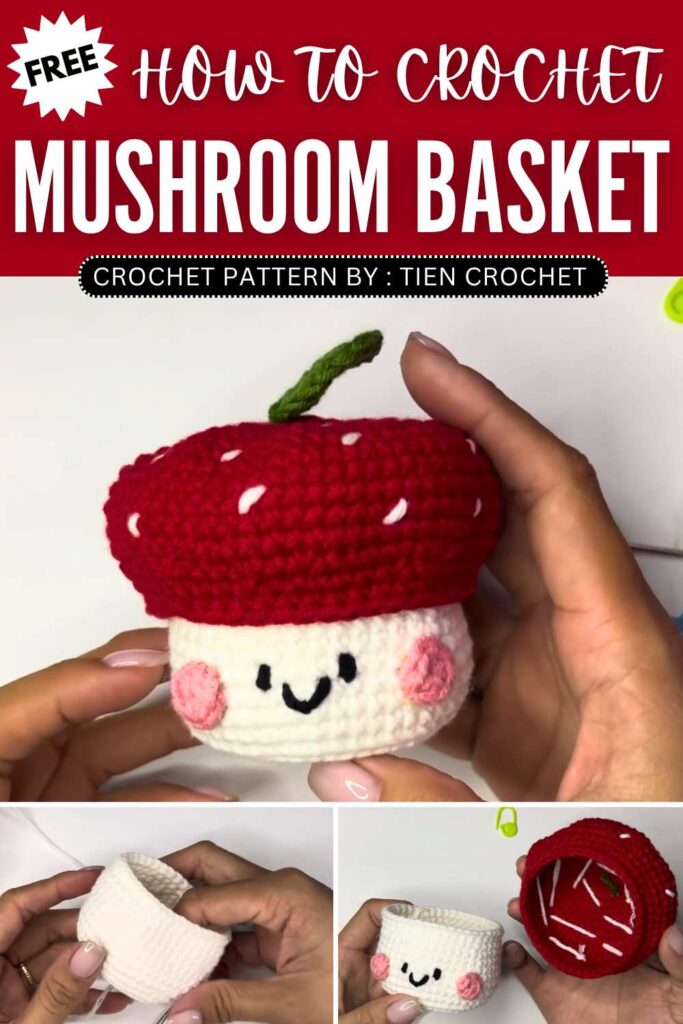
How to Crochet Little Mushroom Basket for Little Ones
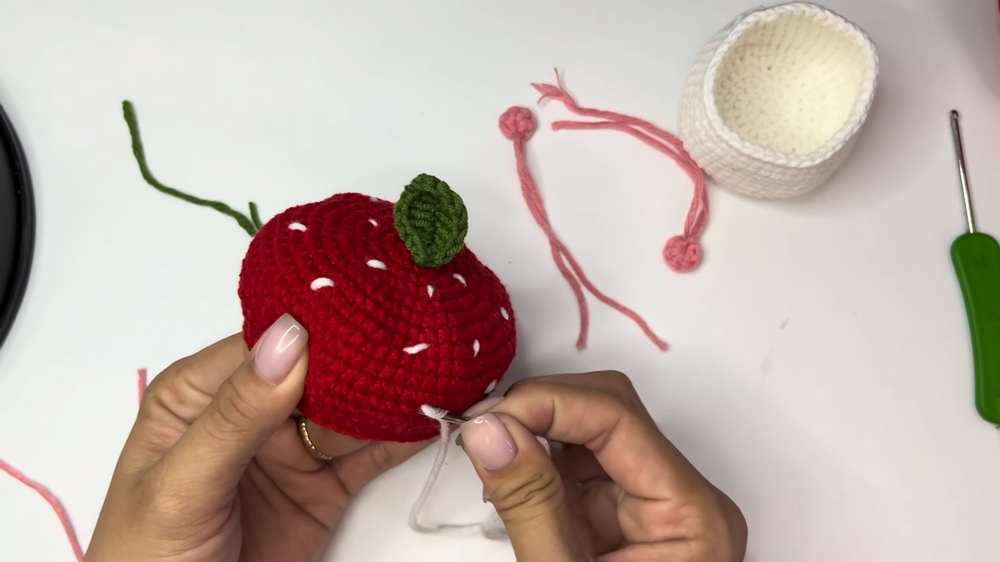
This project is an incredibly cute and functional amigurumi mushroom box! It consists of two main parts: a white mushroom stalk (the base box) and a colorful mushroom cap (the lid). Perfect for beginners, this low-sew design uses simple stitches worked in rounds.
Once completed, it functions as a tiny storage container for small items like stitch markers, hair clips, or earphones. You’ll finish off the adorable look with a tiny green leaf, pink rosy cheeks, and an embroidered kawaii face!
Materials Needed
Yarn: 125g Cotton yarn in White (for the base/stalk), Red or another color of your choice (for the mushroom cap), Green (for the leaf), Pink (for the cheeks), and a tiny bit of Black (for the eyes and mouth).
Crochet Hook: 2.5 mm (or 4.0 mm if you hold the yarn double to make a larger box)
Yarn Needle (for sewing and embroidery)
Scissors
Craft Glue / Hot Glue (optional, for attaching the cheeks)
Abbreviations (US Terms)
MR: Magic Ring
ch: chain
sc: single crochet
inc: increase (2 single crochets in the same stitch)
dec: decrease (single crochet 2 stitches together)
hdc: half double crochet
dc: double crochet
BLO: Back Loops Only
sl st: slip stitch
st(s): stitch(es)
Full Crochet Pattern
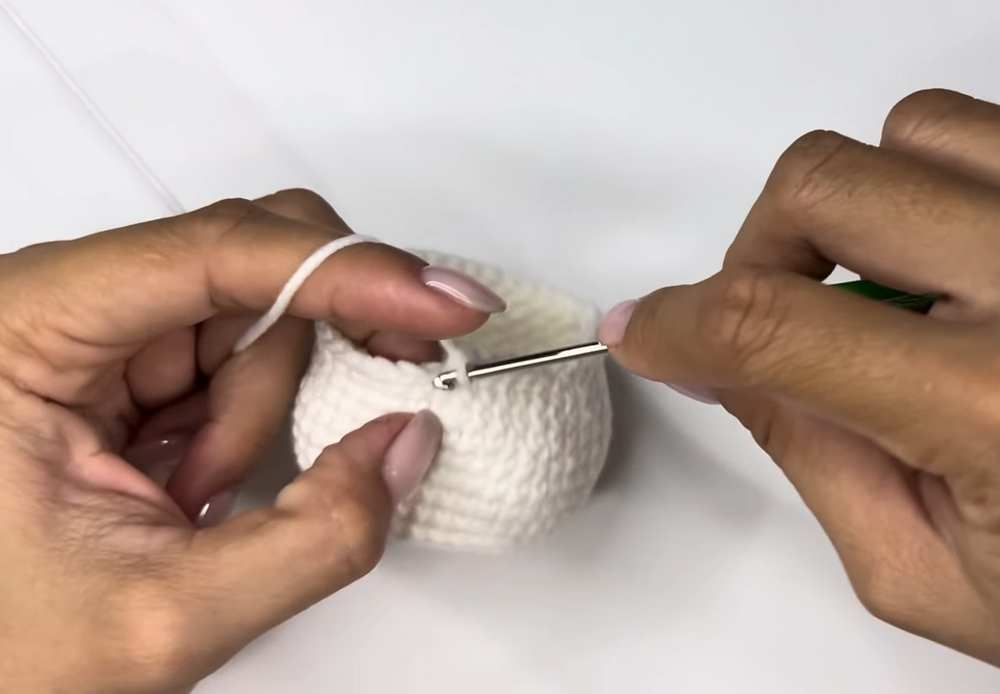
1. Mushroom Base / Stalk (Use White Yarn)
Round 1: Make 8 sc in a Magic Ring. sl st to the first st to join, ch 1. (8 sts)
Round 2: [inc] in every st around. sl st to join, ch 1. (16 sts)
Round 3: [1 sc, 1 inc] repeat around. sl st to join, ch 1. (24 sts)
Round 4: [2 sc, 1 inc] repeat around. sl st to join, ch 1. (32 sts)
Round 5: [1 sc, 1 inc, 2 sc] repeat around. sl st to join, ch 1. (40 sts)
Round 6: [4 sc, 1 inc] repeat around. sl st to join, ch 1. (48 sts)
Round 7 (Create the flat bottom): Work this entire round in BLO (Back Loops Only). 48 sc around. sl st to join, ch 1. (48 sts)
Rounds 8 – 11: Work in both loops again. 48 sc around. sl st to join, ch 1. (48 sts for 4 rounds)
Round 12: [10 sc, 1 dec] repeat 4 times. sl st to join, ch 1. (44 sts)
Rounds 13 – 14: 44 sc around. sl st to join, ch 1. (44 sts for 2 rounds)
Round 15: [9 sc, 1 dec] repeat 4 times. sl st to join, ch 1. (40 sts)
Round 16: 40 sc around. sl st to join. (40 sts)
Finish: Fasten off, weave in the yarn ends.

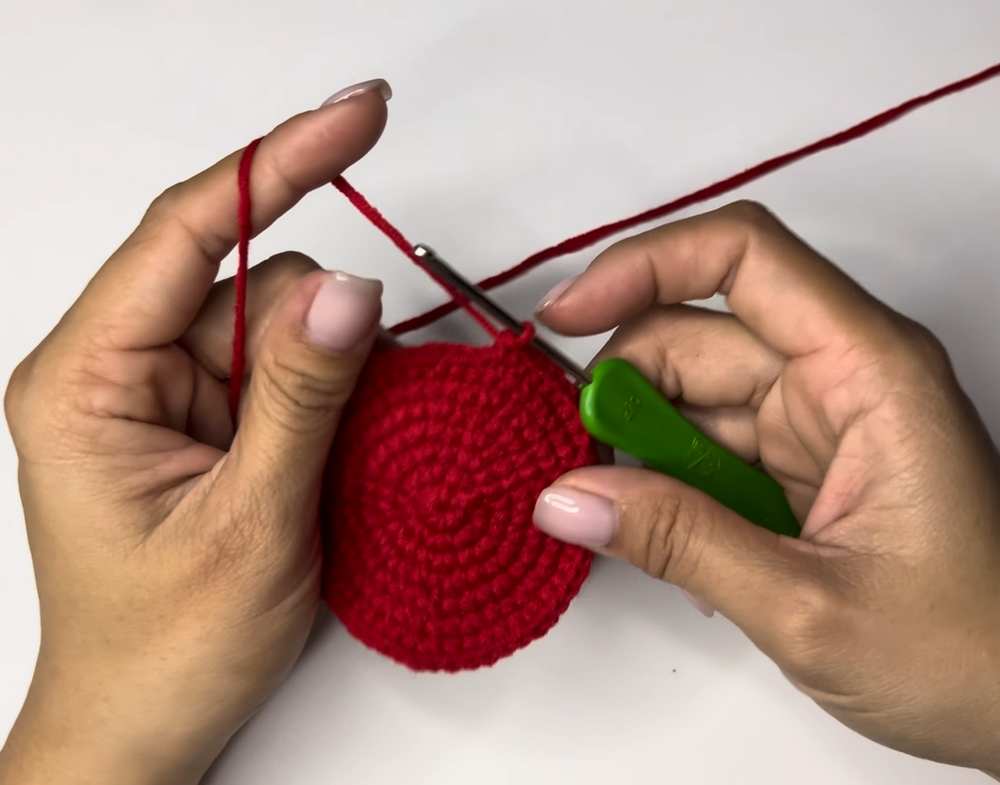
2. Mushroom Cap / Lid (Use Red or Contrasting Yarn)
Round 1: Make 8 sc in a Magic Ring. sl st to join, ch 1. (8 sts)
Round 2: [inc] in every st around. sl st to join, ch 1. (16 sts)
Round 3: [1 sc, 1 inc] repeat around. sl st to join, ch 1. (24 sts)
Round 4: [2 sc, 1 inc] repeat around. sl st to join, ch 1. (32 sts)
Round 5: [1 sc, 1 inc, 2 sc] repeat around. sl st to join, ch 1. (40 sts)
Round 6: [4 sc, 1 inc] repeat around. sl st to join, ch 1. (48 sts)
Round 7: [2 sc, 1 inc, 3 sc] repeat around. sl st to join, ch 1. (56 sts)
Round 8: [6 sc, 1 inc] repeat around. sl st to join, ch 1. (64 sts)
Rounds 9 – 13: 64 sc around. sl st to join, ch 1. (64 sts for 5 rounds)
Round 14: [6 sc, 1 dec] repeat around. sl st to join, ch 1. (56 sts)
Round 15: [3 sc, 1 dec, 2 sc] repeat around. sl st to join, ch 1. (48 sts)
Round 16: [22 sc, 1 dec] repeat 2 times. sl st to join. (46 sts)
Finish: Fasten off and weave in the ends.
3. The Leaf (Use Green Yarn)
Step 1: Ch 8.
Step 2: Starting in the 2nd ch from the hook, crochet down the chain: 1 sc, 1 hdc, 3 dc, 1 hdc.
Step 3: In the last chain, make 3 sc in the same st (this turns your work to the other side of the chain).
Step 4: Working down the opposite side of the chain: 1 hdc, 3 dc, 1 hdc, 1 sc.
Finish: sl st to the first st to join. Fasten off, leaving a long tail so you can tie/sew the leaf onto the top of the mushroom cap.
4. Rosy Cheeks (Make 2 using Pink Yarn)
Round 1: Make 6 sc in a Magic Ring.
Finish: sl st to join. Fasten off and weave in ends. (Make 2).

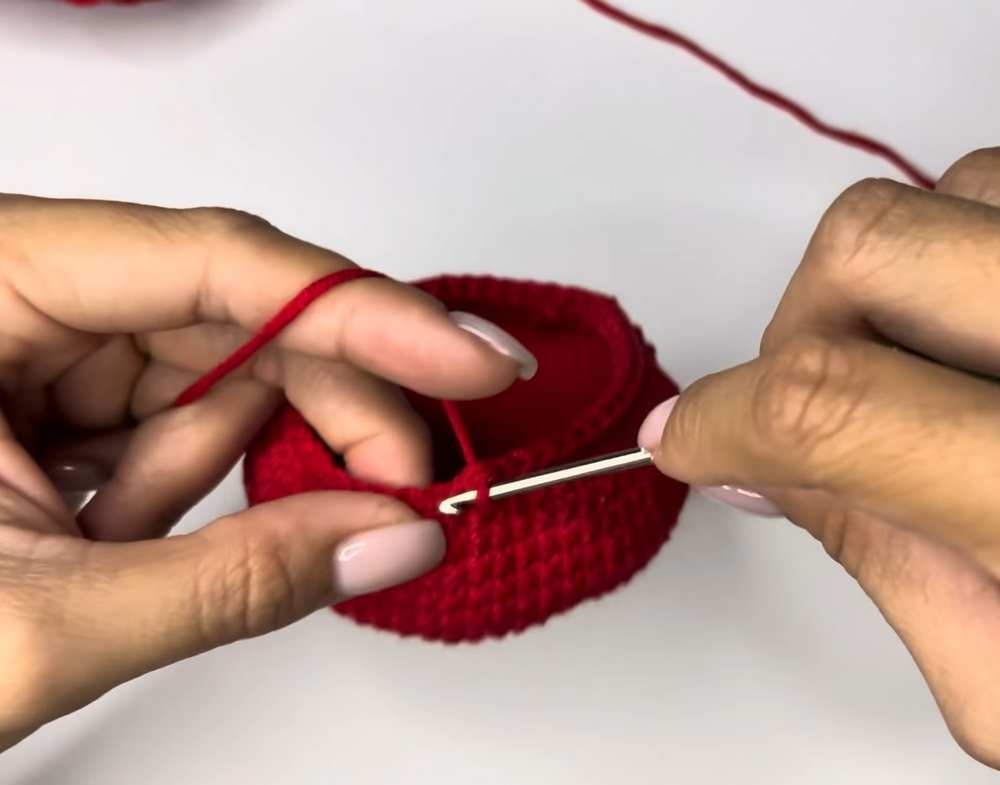
5. Assembly and Facial Details
Face: On the White mushroom stalk, use black yarn to embroider two small eyes (like little upside-down U’s or small lines) and a tiny “V” shaped mouth between them.
Cheeks: Use craft glue to attach the two pink rosy cheeks directly beneath/beside the eyes on the white base. (Alternatively, you can sew them on if you prefer not to use glue).
Leaf: Take the green leaf and use its long yarn tail to sew or securely tie it to the top center of the red mushroom cap.
Finish: Place the red cap on top of the white base to close your mushroom box!
(Note: To make a larger box, simply hold two strands of yarn together and use a 3.5mm or 4.0mm hook, following the exact same pattern!)
Learn with Tutorial
Save For Later: