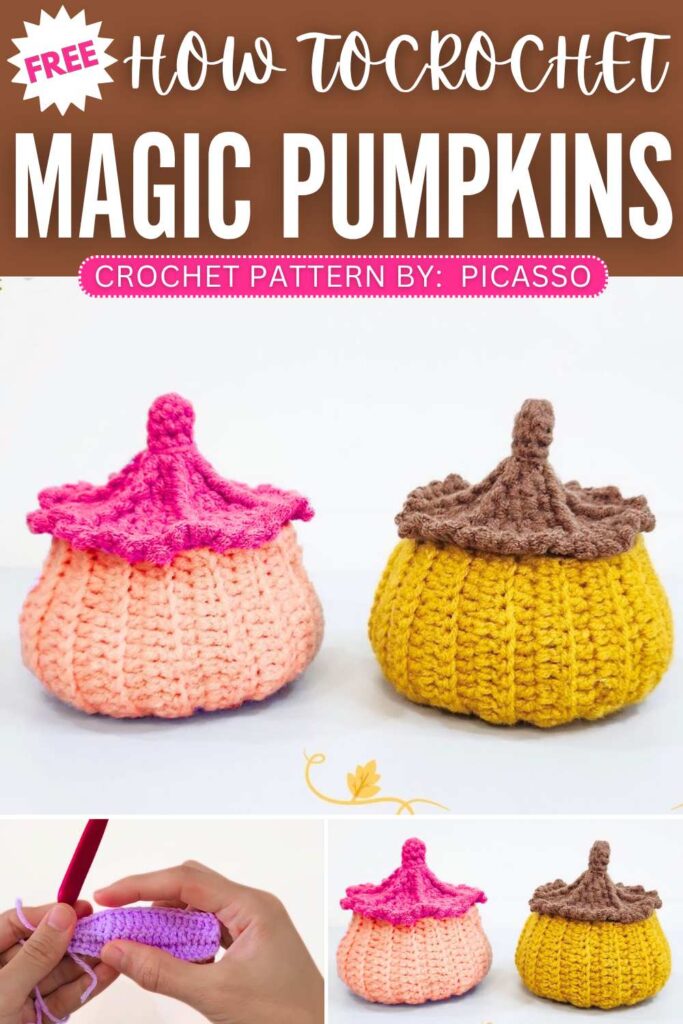
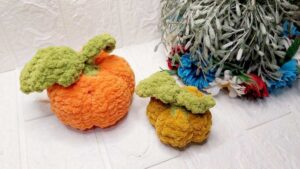
Free Crochet Magic Pumpkin Basket & 2-in-1 Amigurumi Pattern
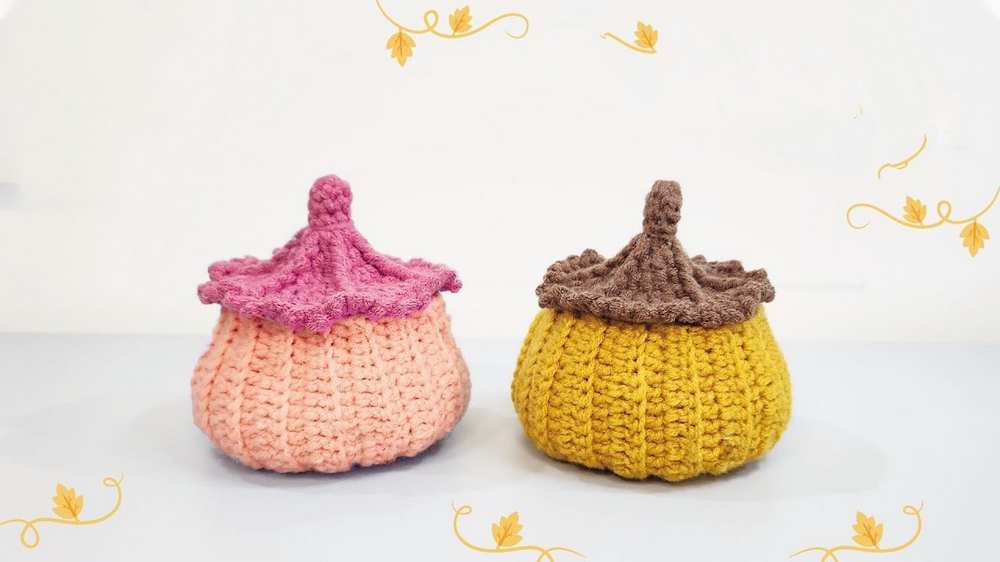
Today, let’s crochet this UNIQUELY-colored and uniquely-shaped pumpkin basket that I have named the “magic pumpkin” following this FREE pattern. You can crochet this pumpkin basket as a Halloween treat jar or dry fruit holder for fall’s daily routine. You can either crochet the acorn version which is in the brown and golden yellow or the pink version.
Both look ELEGANT! We shall crochet the same ribbed crochet pumpkin for the basket. We will crochet the ribbed lid by working in the rounds, too. Now, continue reading for the full crochet magic pumpkin pattern.
Crochet Magical Pumpkin Pattern: Written Instructions
Let’s crochet the magic pumpkin candy box or treat jar. It features a textured, ribbed pumpkin base that serves as a hollow container, paired with a matching ridged lid complete with a little stem on top.
It is a simple and festive container perfect for holding candies, small trinkets, or using as a autumn and Halloween table decoration.
Materials
Yarn: 4-ply milk cotton yarn (in pumpkin colors such as orange and green)
Crochet Hook: 2.5 mm
Tapestry Needle
Scissors
Abbreviations (US Terms)
MR: Magic Ring
ch: Chain
sc: Single crochet
hdc: Half double crochet
dc: Double crochet
fpdc: Front post double crochet
inc: Increase (2 sc in the same stitch)
dc inc: Double crochet increase (2 dc in the same stitch)
sl st: Slip stitch
BLO: Back loop only
st(s): Stitch(es)
Pattern Instructions
1. Pumpkin Body (Container Base)
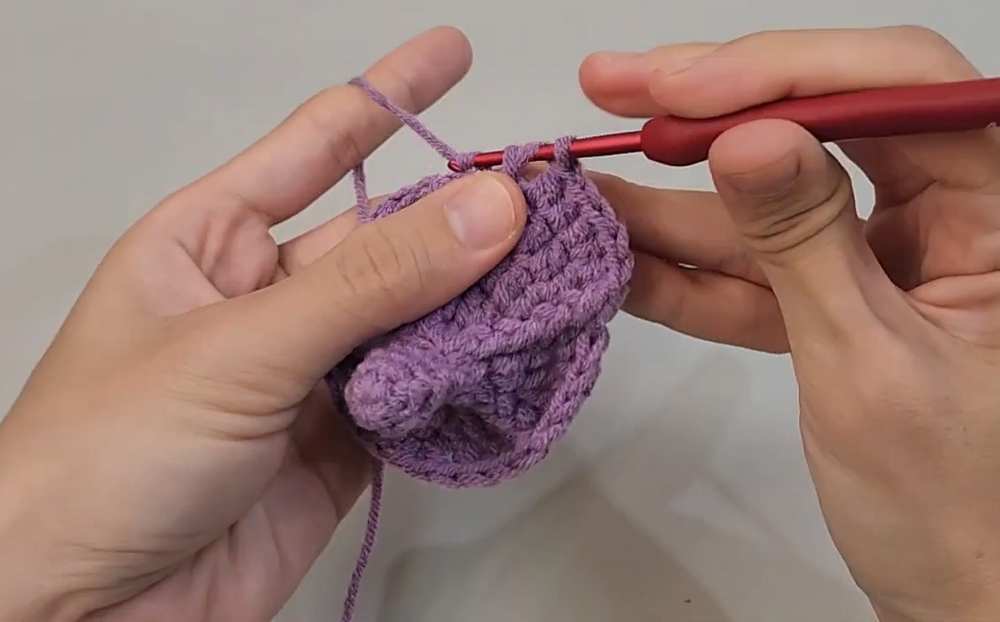
Row 1: Start with a slip knot, ch 22. Turn and start from the 3rd chain from the hook: work 4 hdc, 10 dc, 3 hdc, 2 sc, 1 sl st (20 sts).
Row 2 (BLO): ch 1, turn. Working in the back loops only, reverse the sequence: work 1 sl st, 2 sc, 3 hdc, 10 dc, 4 hdc (20 sts).
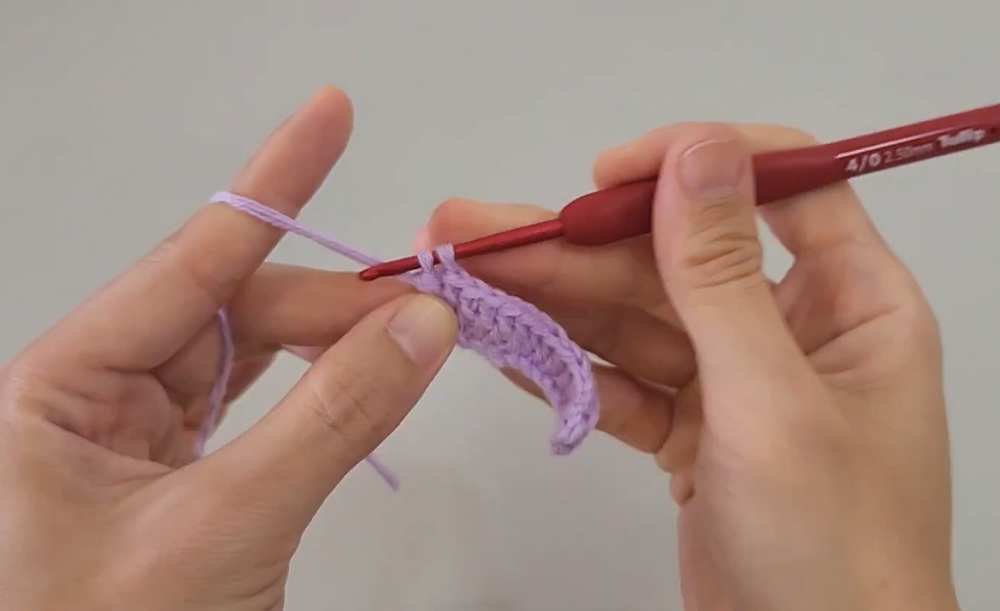
Row 3 (Both Loops): ch 1, turn. Working through both loops normally, repeat the Row 1 sequence: work 4 hdc, 10 dc, 3 hdc, 2 sc, 1 sl st (20 sts).
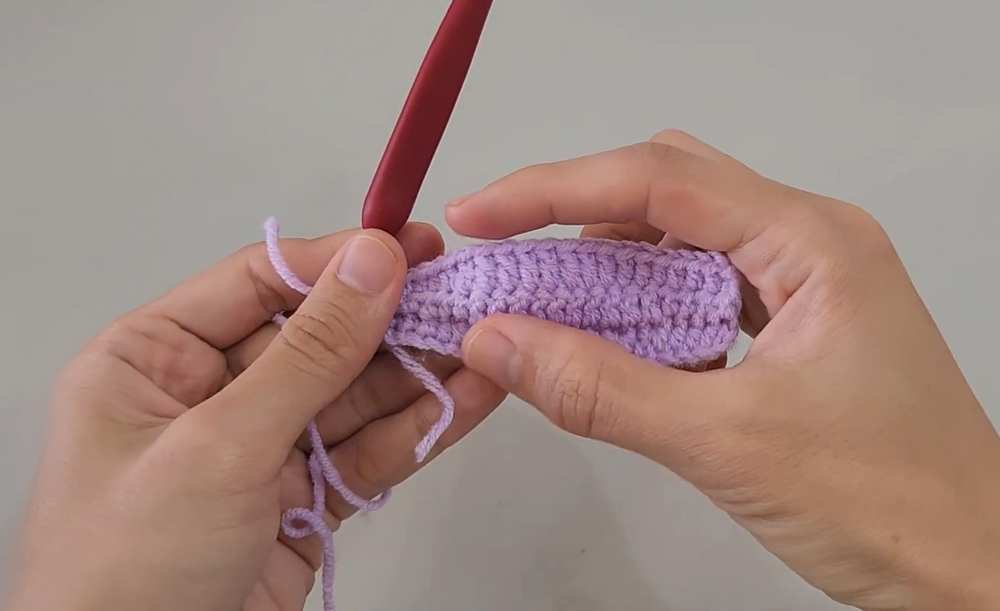
Rows 4–34: Repeat Rows 2 and 3 alternately to form the ribbed texture pattern until you complete Row 34.
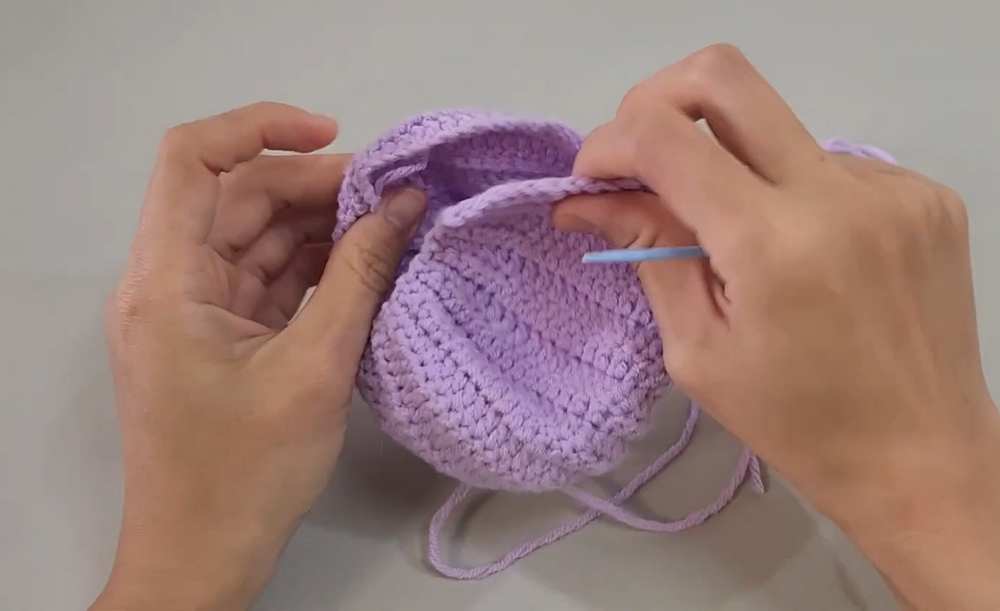
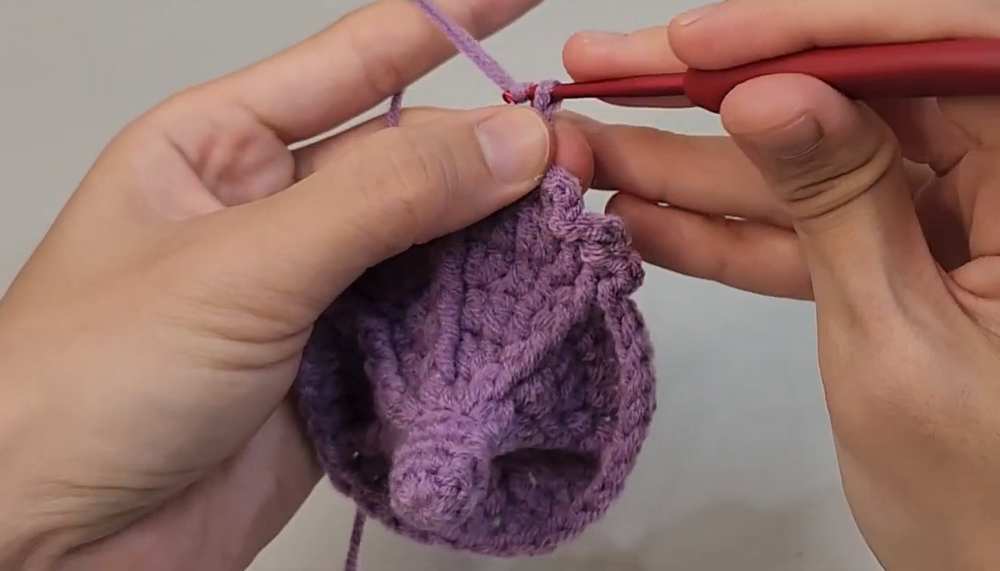
Assembly: Fasten off, leaving a long tail. Align the two side edges together and sew them up using a whip stitch to form a tube. Thread your yarn tail through the loops along the bottom opening edge, pull tight to completely close the bottom into a secure circle, and knot it inside. Turn it inside out to complete your container cup.
2. Pumpkin Lid (Hat)
Round 1: Start with a MR, work 6 sc into the ring. Join with a sl st to the first sc (6 sts).
Rounds 2–4: ch 1, sc in each st around, join with a sl st (6 sts). This creates the stem.
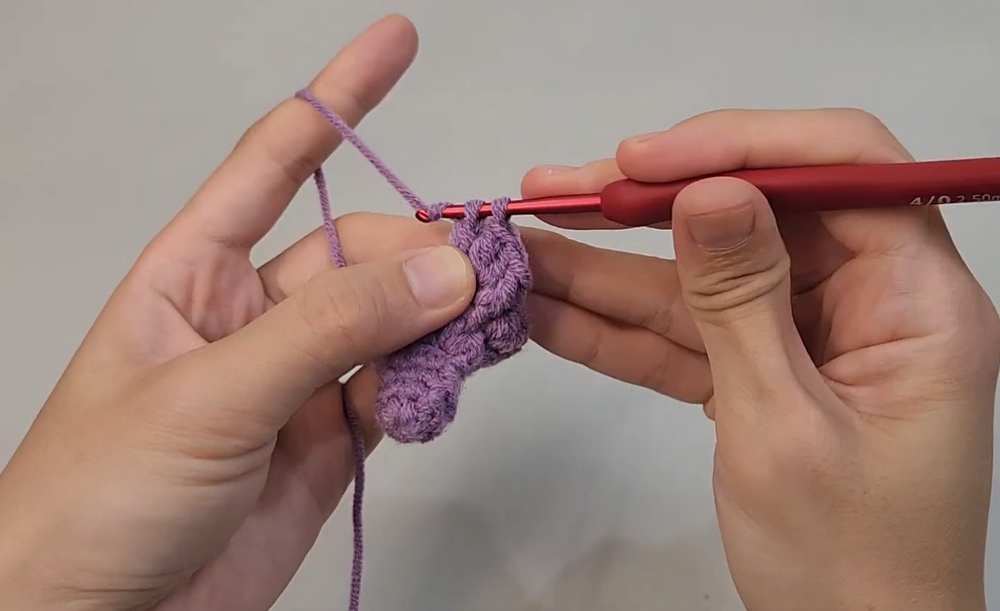
Round 5 (BLO): ch 1. Working in the back loops only, dc inc in each st around, join with a sl st (12 sts).
Round 6: ch 1. [1 fpdc, 1 dc inc] repeat 6 times around, join with a sl st (18 sts).
Round 7: ch 1. [1 fpdc, 1 dc, 1 dc inc] repeat 6 times around, join with a sl st (24 sts).
Round 8: ch 1. [1 fpdc, 2 dc, 1 dc inc] repeat 6 times around, join with a sl st (30 sts).
Round 9: ch 1. Work 2 dc, 1 dc inc, then repeat [4 sts (keeping your fpdc aligned on the ridges), 1 dc inc] 5 times around, finish with 2 dc, join with a sl st (36 sts).
Round 10 (Decorative Edging): [ch 3, sl st into the very next stitch] repeat all the way around the edge to create a ruffled border.
Finishing
Fasten off your yarn, weave in all remaining loose ends securely, and place the lid right on top of your pumpkin container base!
You may also like
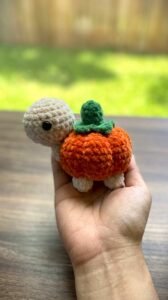
Crochet Pumpkin Baby Turtle Amigurumi for Fall & Halloween
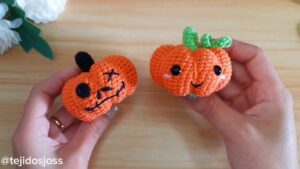
Tejidos: How to Crochet 2 CUTE Smiling Halloween Pumpkin Amigurumi

Free Crochet Small Smiling Pumpkin Plushie Pattern for Fall
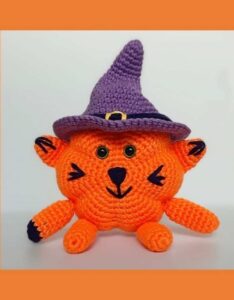
ToysIryna – Crochet Pumpkin Cat in a Witch Hat Amigurumi
Free Crochet Pumpkin Plushie Pattern for Fall & Halloween