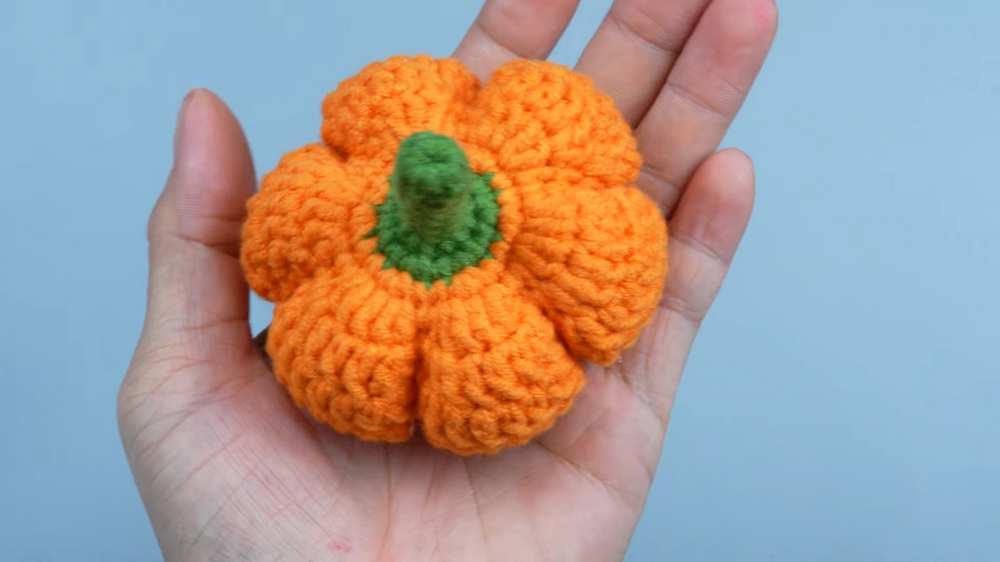
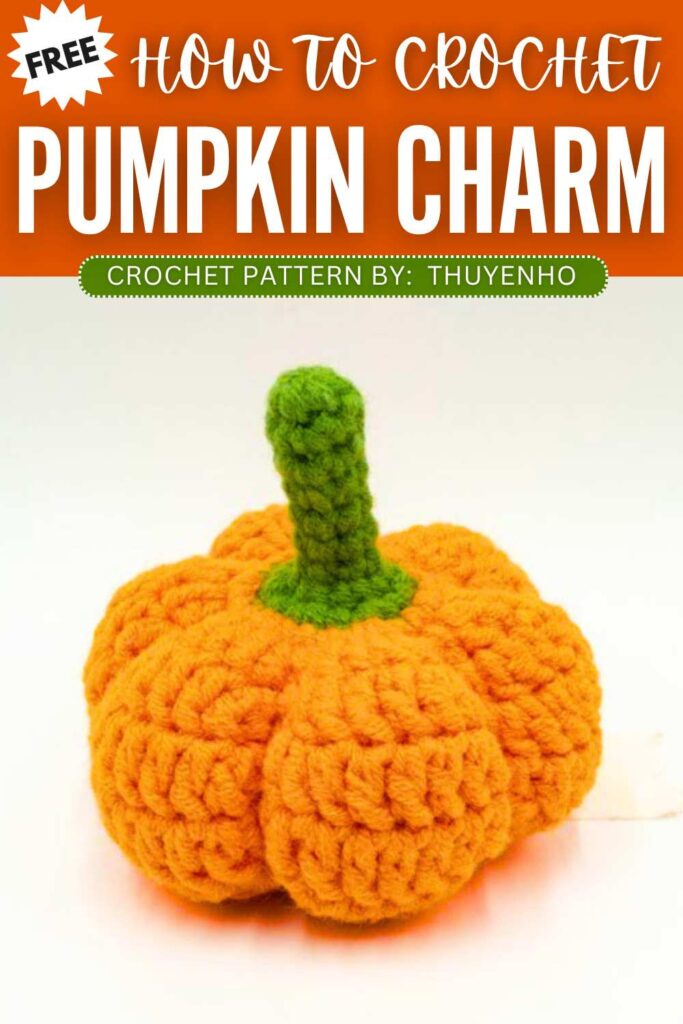
How to Crochet Mini No-Sew Pumpkin Amigurumi Pattern
Does “crocheting a pumpkin by sewing a rectangle” seems intimidating? If so, learn how to crochet this no-sew miniature pumpkin amigurumi keychain that only needs working in the rounds to crochet the whole pumpkin as a single piece. This pumpkin variation pattern is so clever that you don’t have to use the yarn to make the pumpkin wedges.
Just have two colors of cotton yarn and crochet this pumpkin amigurumi just like a normal no-sew amigurumi. We have a long pumpkin stem in green color that makes it look SO CUTE. You can also crochet the embroidery eyes and the mouth for Halloween.
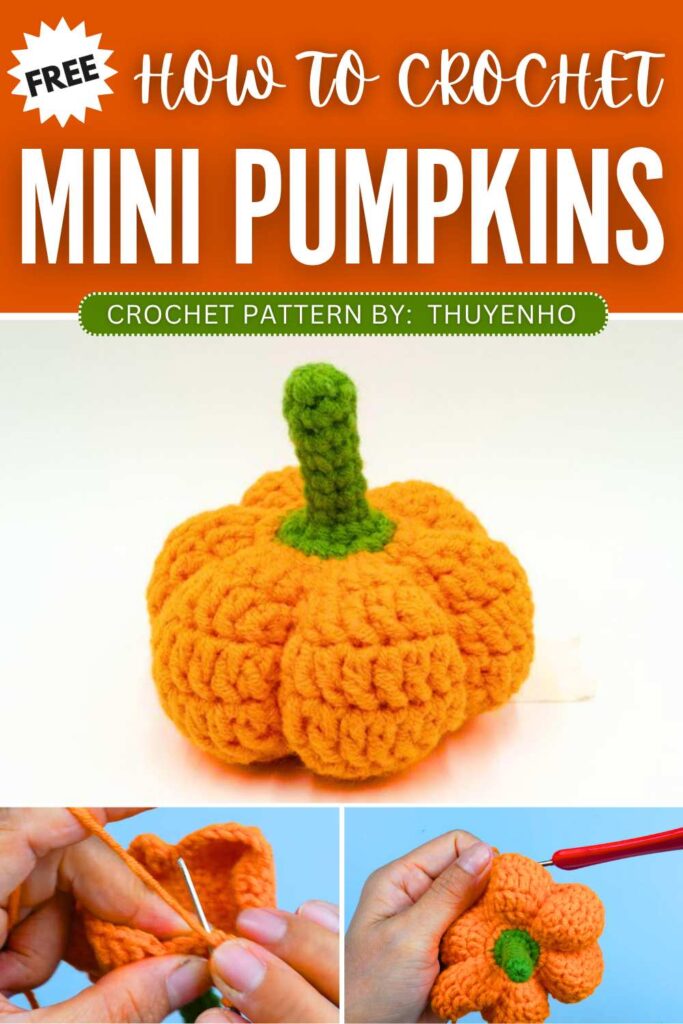
About designer: The designer of this pumpkin pumpkin is @ThuyenHoa – she crochets cute, small amigurumi and crochet accessories such as the hairclips, hats and much more. This crochet pumpkin is one of her “small crochet things” you can easily make in minutes.
Crochet Pumpkin Stitch Coaster Tutorial
Skill Level: Beginner – Intermediate
Why: Requires working in the rounds to crochet both the stem and the pumpkin part. You will also change the color to orange so the pumpkin may remain no-sew.
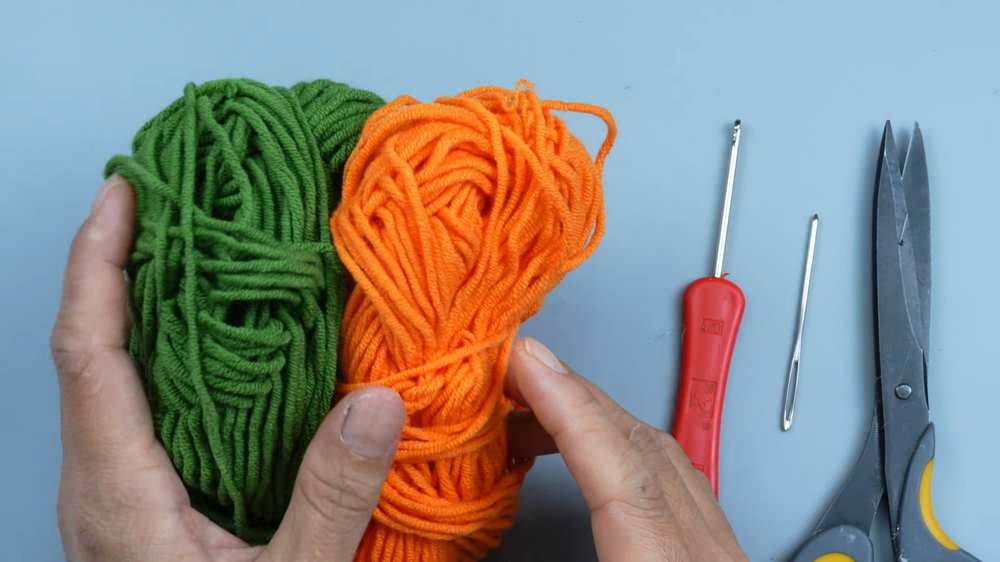
Materials
Yarn: Milk cotton 125g in Orange and Green
Crochet hook: 3.0 mm
Tapestry needle
Scissors
Fiberfill stuffing
Abbreviations
MR: Magic Ring
ch: Chain
sc: Single crochet
dc: Double crochet
inc: Single crochet increase (2 sc in the same stitch)
dc inc: Double crochet increase (2 dc in the same stitch)
dec: Single crochet decrease (sc 2 stitches together)
sl st: Slip stitch
st(s): Stitch(es)
Pattern Instructions
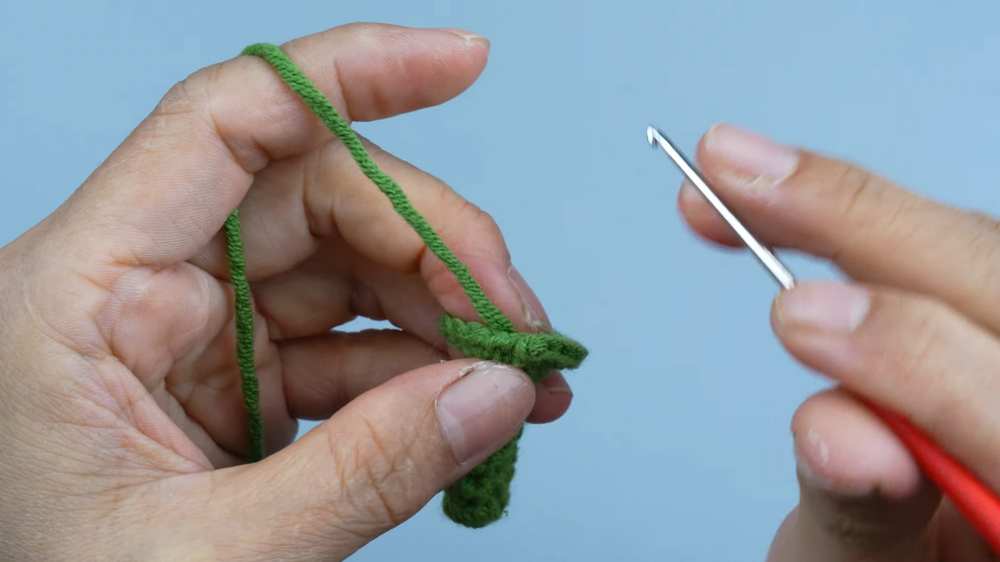
Stem (Using Green Yarn)
Round 1: Start with a MR, ch 1, work 6 sc into the ring, join with a sl st (6 sts).
Rounds 2-7: ch 1, sc in each st around, join with a sl st (6 sts).
Round 8: ch 1, inc in each st around, join with a sl st (12 sts).
Round 9: ch 1, [sc, inc] 6 times, join with a sl st (18 sts).
Pumpkin Body (Change to Orange Yarn)
Note: In the following rounds, you will be creating 6 “petals” or “segments” for the pumpkin. Fasten off the green yarn before continuing.
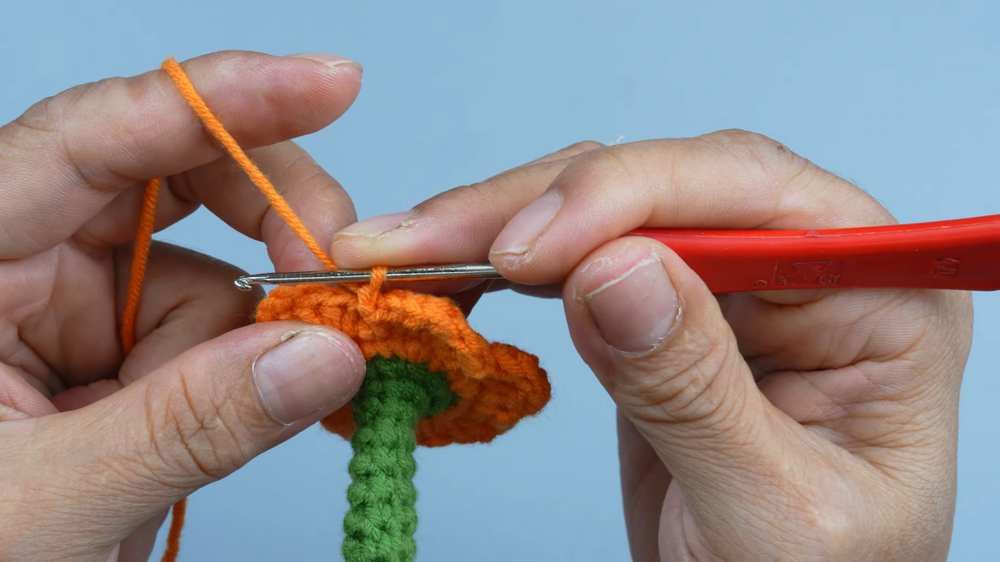
Round 10: ch 1, [sc in next st, 3 sc in the next st, sc in the next st] 6 times, join with a sl st (30 sts).
Round 11: ch 1, [sc in next st, dc inc in the next st, dc in the next st, dc inc in the next st, sc in the next st] 6 times, join with a sl st (42 sts).
Round 12: ch 1, [sc in next st, dc inc in the next st, dc in the next 3 sts, dc inc in the next st, sc in the next st] 6 times, join with a sl st (54 sts).
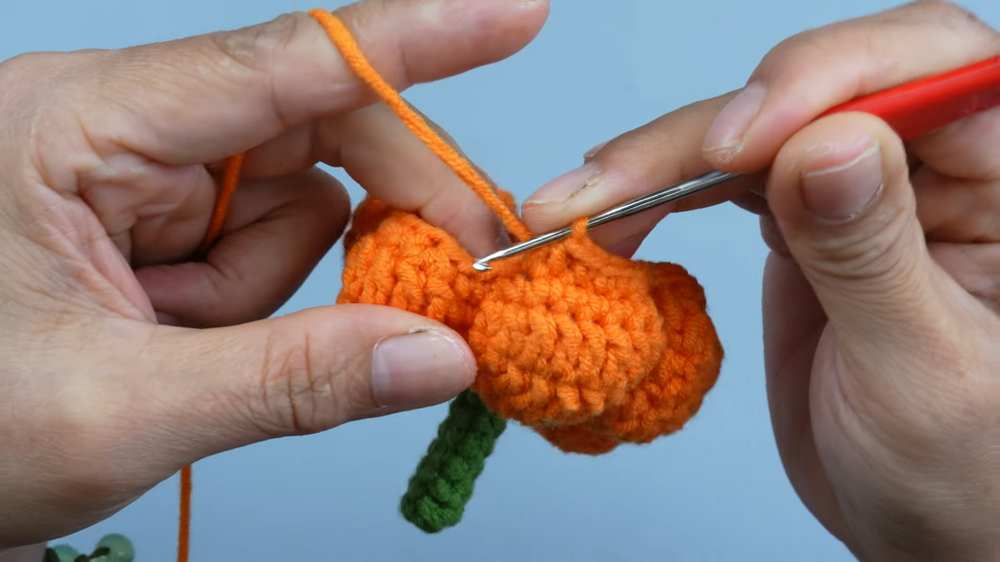
Round 13: ch 1, [sc in next st, dc inc in the next st, dc in the next 5 sts, dc inc in the next st, sc in the next st] 6 times, join with a sl st (66 sts).
Round 14: ch 1, [sc in next st, dc in the next 9 sts, sc in the next st] 6 times, join with a sl st (66 sts).
Round 15: ch 1, [sc in next st, dec, sc in the next 5 sts, dec, sc in the next st] 6 times, join with a sl st (54 sts).
Round 16: ch 1, [sc in next st, dec, sc in the next 3 sts, dec, sc in the next st] 6 times, join with a sl st (42 sts).
Round 17: ch 1, [sc in next st, dec, sc in the next st, dec, sc in the next st] 6 times, join with a sl st (30 sts).
Round 18: ch 1, dec all the way around, join with a sl st (15 sts).
Finishing
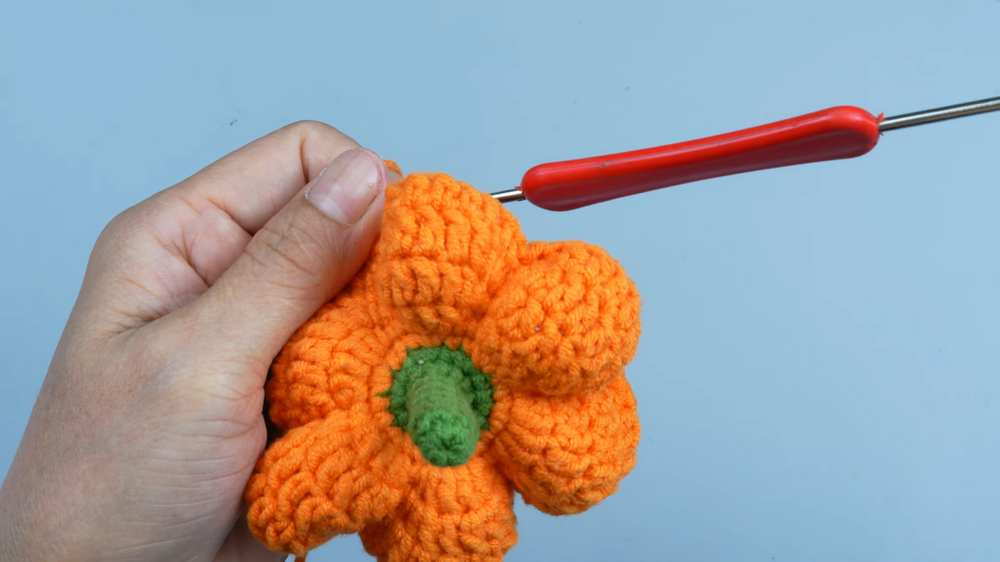
Fasten off, leaving a long tail for sewing.
Stuff the pumpkin firmly with fiberfill.
Thread the yarn tail onto a tapestry needle, weave it through the front loops of the remaining stitches.
Pull tight to close the bottom hole, knot securely, and hide the remaining yarn tail inside the pumpkin.
Learn with the Video Tutorial
Save for Later!
You may also like
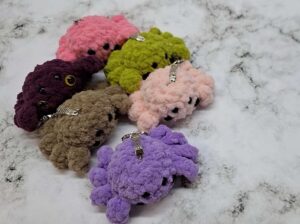
Crochet Miniature No-Sew Baby Spider Plushie Pattern Pattern
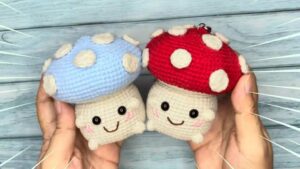
Free Crochet 2-in-1 No-Sew Baby Mushy Amigurumi & Box Pattern for Fall
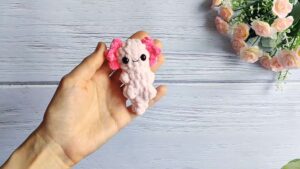
Free Crochet No-Sew Axolotl Plushie Pattern for Beginners
Love-Knitting: Free Crochet No-Sew Sitting Fox Plushie for Fall Decorations
How to Crochet 4 Kawaii Cat Plushies (Quick & No-Sew)