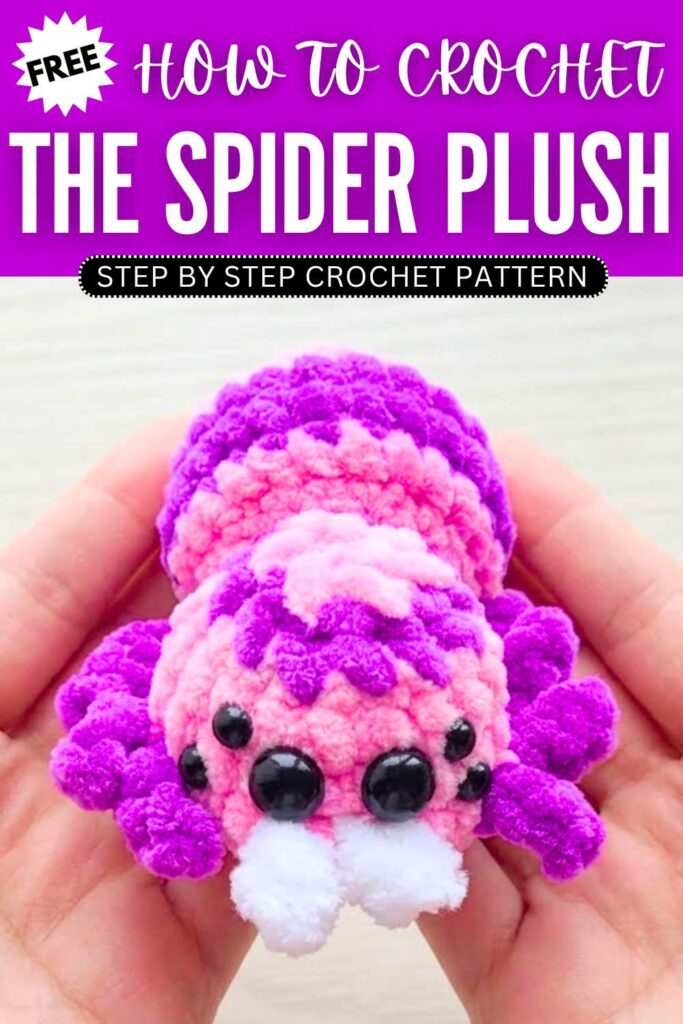
Free Crochet Colorful No-Sew Spider Plushie for Halloween
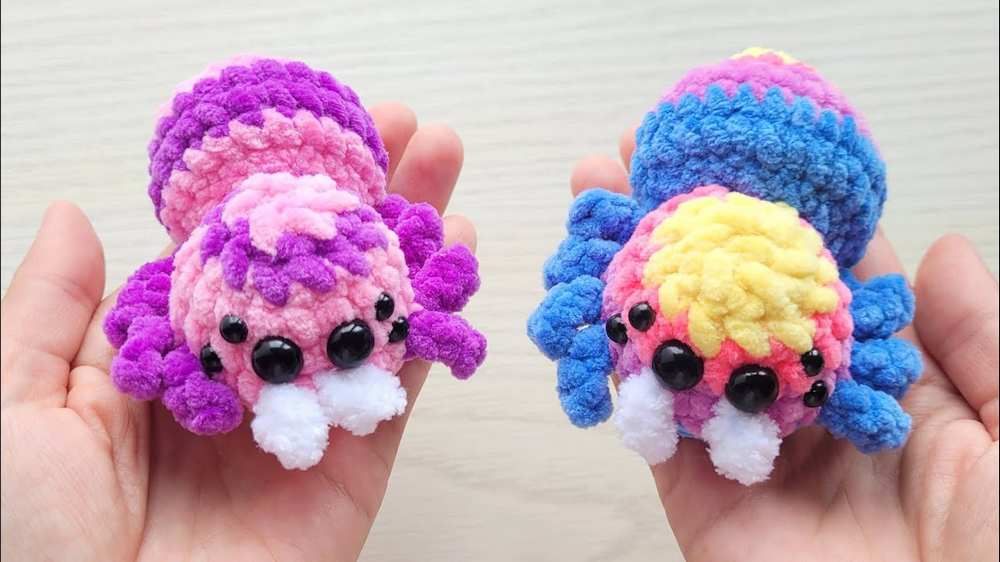
This Halloween, learn how to crochet this beautiful colorwork Spider plushie in any of 2 color combinations with this FREE written pattern. This crochet spider plush has 6 eyes of 2 sizes, 8 legs and a beautiful striped body. You will love the Chibi body of this crochet plush spider and also the white teeth. Choose from the yellow, pink and blue spider and the purple and pink plush.
Crochet Colorful No-Sew Spider Plushie

Just like the small spider plush, it measures only the 9 cm, so you can crochet it within 30 minutes. You will also find the colorwork instructions below which makes this pattern beginner-friendly. Now, continue reading for the full crochet striped spider plush pattern.
About the Designer: The designer behind this crochet spider plush again is @love-knitting –with her 1k plush and accessory tutorials, she is a master in crochet whose super bulky yarn series is my favorite.
No-Sew Colorwork Crochet Spider Plushie
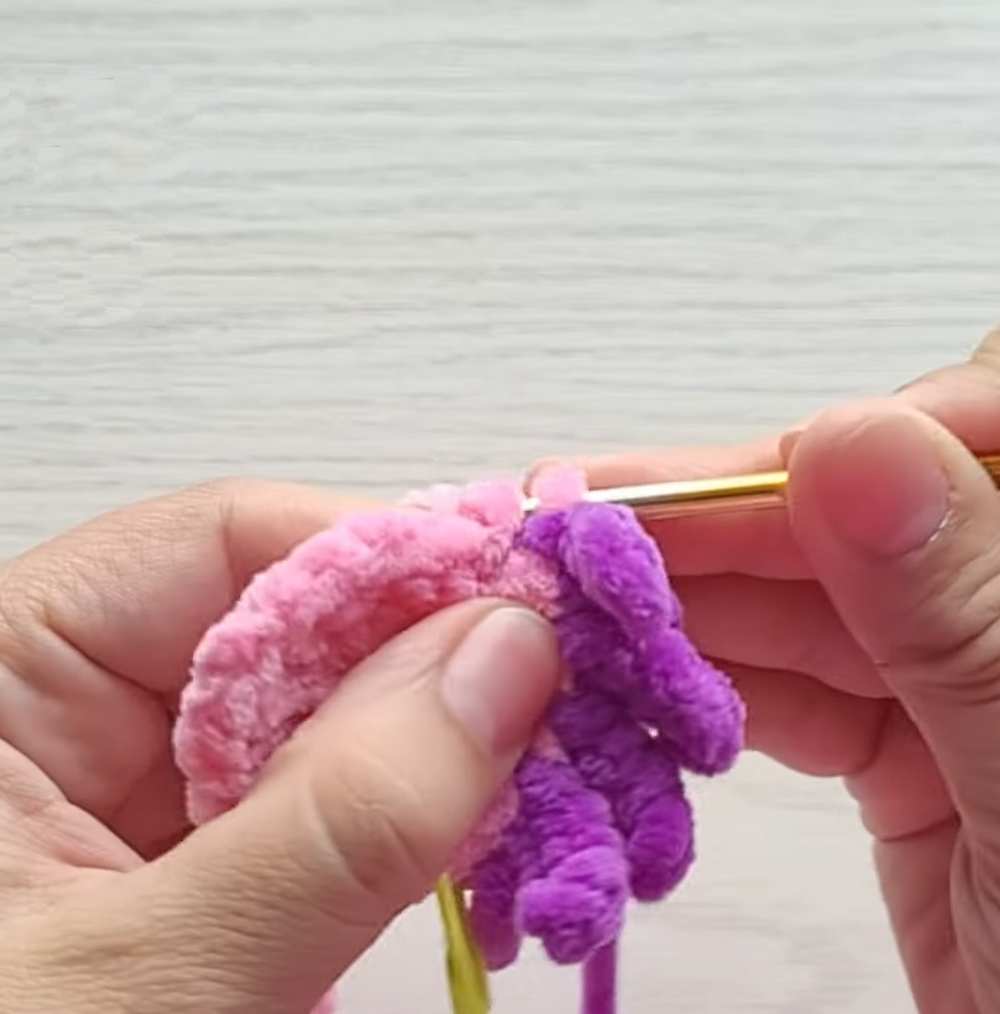
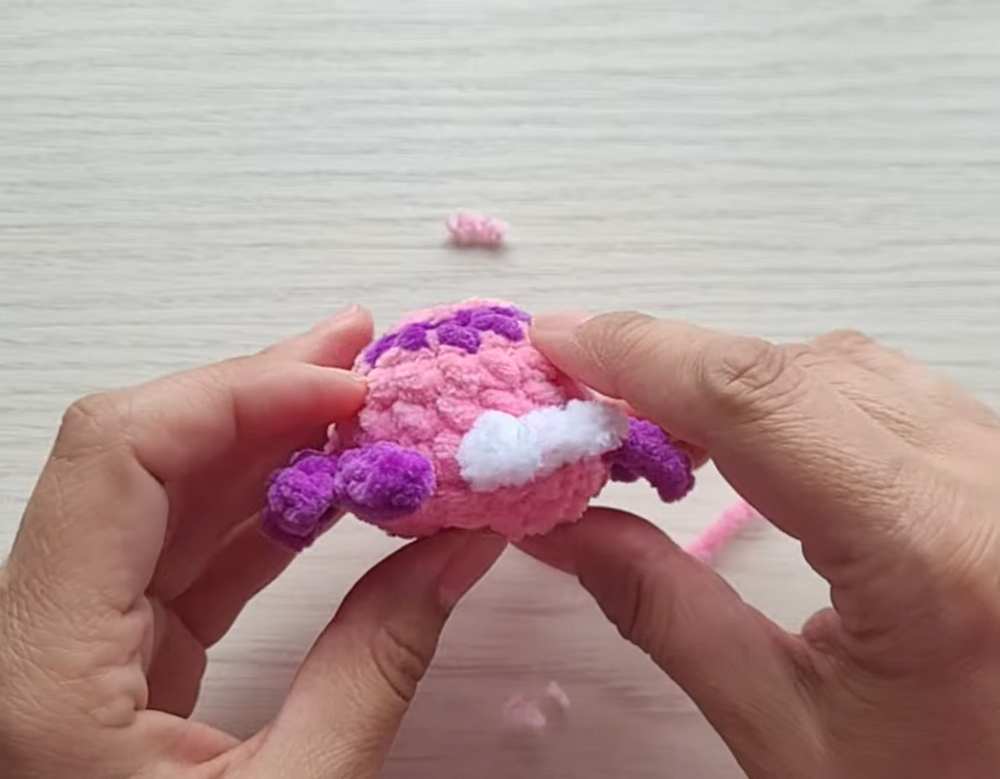
This fun and simple project creates a cute, small amigurumi spider using soft plush yarn. The spider is constructed in two main pieces: the front body (which serves as the head) and the back abdomen.
To keep sewing to an absolute minimum, all eight legs and two front feelers are crocheted directly into the main body as you work in the round.
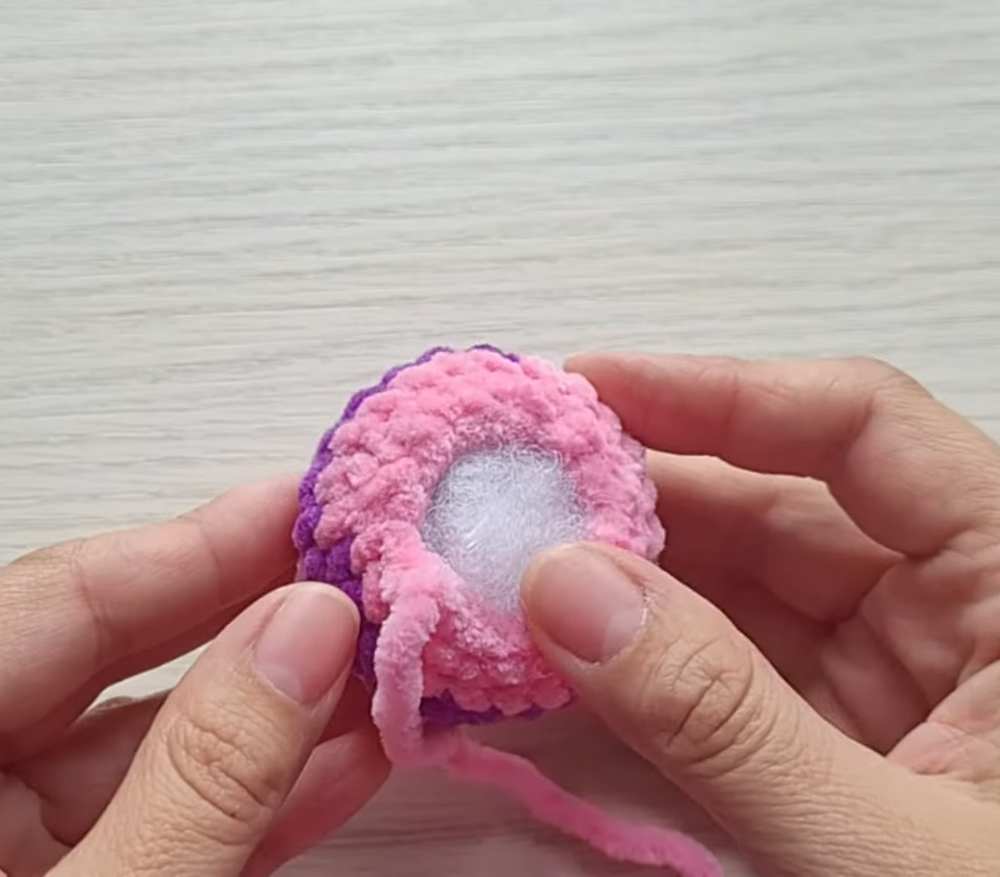
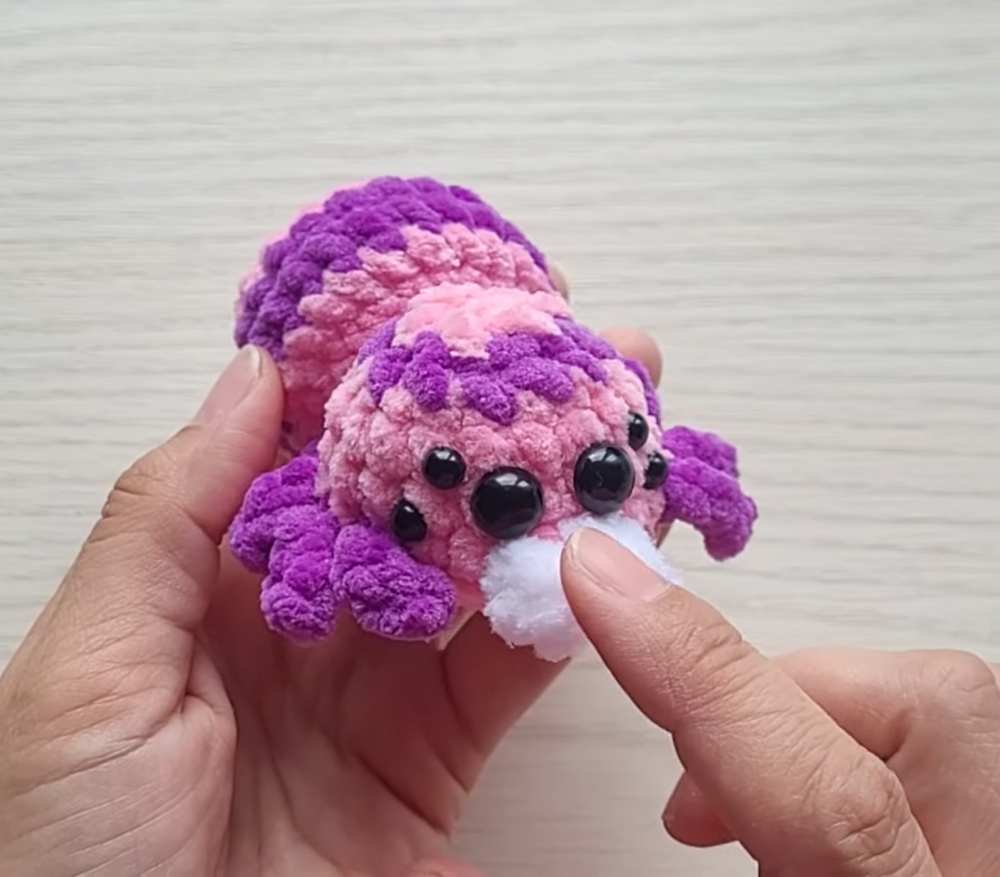
Once both pieces are fully stuffed, you simply sew the abdomen to the head and glue on some bead eyes to give it personality.
Measuring around 9 to 10 centimeters, this is a very quick craft and an excellent way to use up leftover yarn scraps!
Materials Needed
Plush yarn (100g / 120m) in a Main Color (MC) and a Contrasting Color (CC).
A small amount of fluffy white yarn (such as Alize Softy Plus) for the front feelers.
Crochet hook: 4.0 mm.
Toy stuffing (polyfill).
Black half-beads for the eyes (two 10 mm beads and two 6 mm beads).
Yarn needle for sewing.
Stitch marker.
Craft glue (for attaching the eyes).
Abbreviations (US Terms)
MR: Magic Ring
ch: chain
sc: single crochet
inc: increase (2 sc in the same stitch)
dec: decrease (crochet 2 stitches together)
sl st: slip stitch
st/sts: stitch/stitches
MC: Main Color
CC: Contrasting Color
[ … ] x times: Repeat the instructions inside the brackets the specified number of times.
Full Crochet Pattern
Part 1: Head and Front Body
Round 1: Using MC, make 6 sc in a Magic Ring. (6 sts)
Round 2: 6 inc. (12 sts)
Round 3: [1 sc, inc] 6 times. (18 sts)
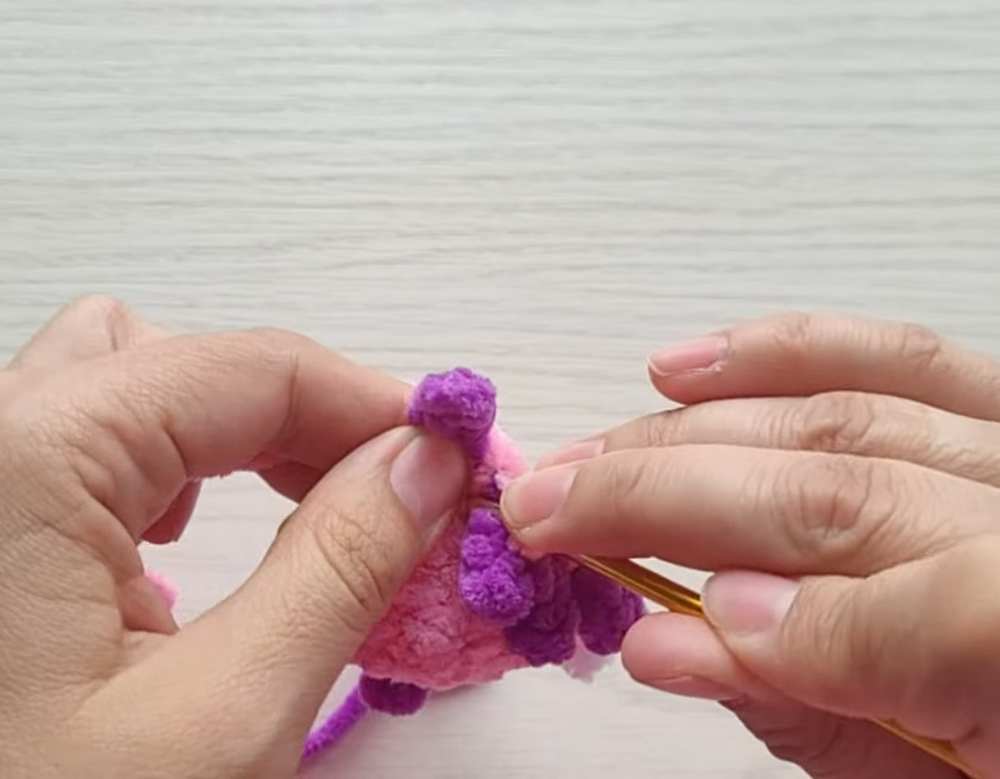
Round 4 (Creating Legs and Feelers): Note – You will switch to CC for the legs and White for the feelers. Change color on the last pull-through of the sc right before the leg/feeler, then switch back to MC right after to secure.
- 1 sc in MC.
1 sc in MC. Leg 1: ch 4, start in 3rd ch from hook, 3 sl st back down the chain. Sl st into the base st.
1 sc in MC. Leg 2: ch 4, 3 sl st back, sl st in base st.
1 sc in MC. Leg 3: ch 4, 3 sl st back, sl st in base st.
1 sc in MC. Leg 4: ch 4, 3 sl st back, sl st in base st.
2 sc in MC.
1 sc in MC (change to White). Feeler 1: ch 3, start in 2nd ch from hook, 2 sl st back, sl st in base st.
1 sc in MC (change to White). Feeler 2: ch 3, 2 sl st back, sl st in base st.
2 sc in MC.
1 sc in MC (change to CC). Leg 5: ch 4, 3 sl st back, sl st in base st.
1 sc in MC (change to CC). Leg 6: ch 4, 3 sl st back, sl st in base st.
1 sc in MC (change to CC). Leg 7: ch 4, 3 sl st back, sl st in base st.
1 sc in MC (change to CC). Leg 8: ch 4, 3 sl st back, sl st in base st.
3 sc in MC to finish the round. (Tie off the white yarn tails neatly on the inside).
Round 5: Push all legs and feelers to the outside so they don’t get trapped inside. 18 sc in MC. (18 sts)
Round 6 – 7: 18 sc. (18 sts). On the last stitch of Round 7, change to CC.
Round 8: Using CC, [1 sc, dec] 6 times. (12 sts). On the last stitch, change back to MC. Stuff the head firmly (shape it so the bottom is slightly flat and the top is rounded).
Round 9: Using MC, 6 dec. (6 sts).
Fasten off, weave the tail through the front loops of the remaining 6 stitches, pull tight to close the hole, and hide the yarn end inside the body.
Part 2: Abdomen / Tail
Round 1: Using MC, make 6 sc in a Magic Ring. (6 sts)
Round 2: [1 sc, inc] 3 times. (9 sts). On the last stitch, change to CC.
Round 3: Using CC, [2 sc, inc] 3 times. (12 sts). On the last stitch, change back to MC.
Round 4: Using MC, [1 sc, inc] 6 times. (18 sts)
Round 5: [2 sc, inc] 6 times. (24 sts). On the last stitch, change to CC.
Round 6 – 7: Using CC, 24 sc. (24 sts). On the last stitch of Round 7, change to MC.
Round 8: Using MC, 24 sc. (24 sts)
Round 9: 12 dec. (12 sts).
Fasten off, leaving a long tail for sewing.
Stuff the abdomen firmly.
Assembly
Position the open end of the abdomen securely against the back of the head piece.
Use the long yarn tail to sew the abdomen directly to the head, stitching neatly through the posts of both pieces in a circle.
Glue the half-bead eyes onto the front face area. Place the two larger 10 mm eyes towards the center, and the two smaller 6 mm eyes on the outer sides.
Video Tutorial to Learn Even Better
Save For Later: