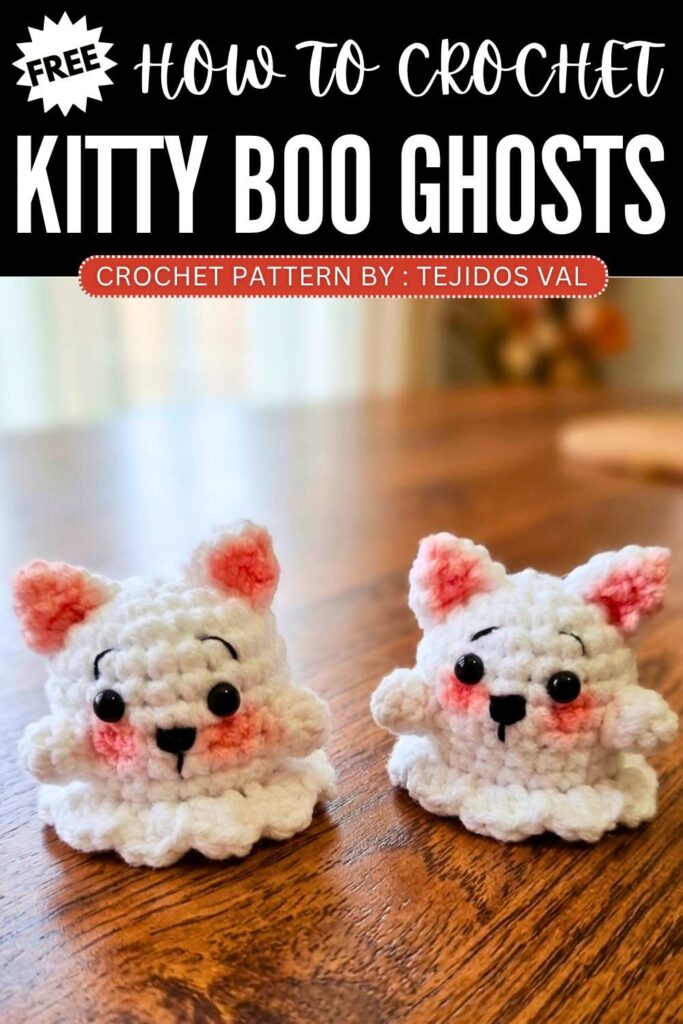
TejidosVal: Crochet Kitty Boo Ghost Amigurumi Pattern for Halloween
This Halloween, if you are looking for a quick but UNIQUE crochet ghost project, try this kawaii crochet kitty ghost amigurumi keychain! You can learn crocheting this irresistible Halloween present with a FREE written pattern and a tutorial as well. This is a small low-sew BOO ghost amigurumi with only addition of ears embroidery nose on the traditional ghost pattern. The ears and the cheeks of this ghost also has the blush which makes it look simply adorable.
Crochet Kitty Boo Ghost Amigurumi Pattern

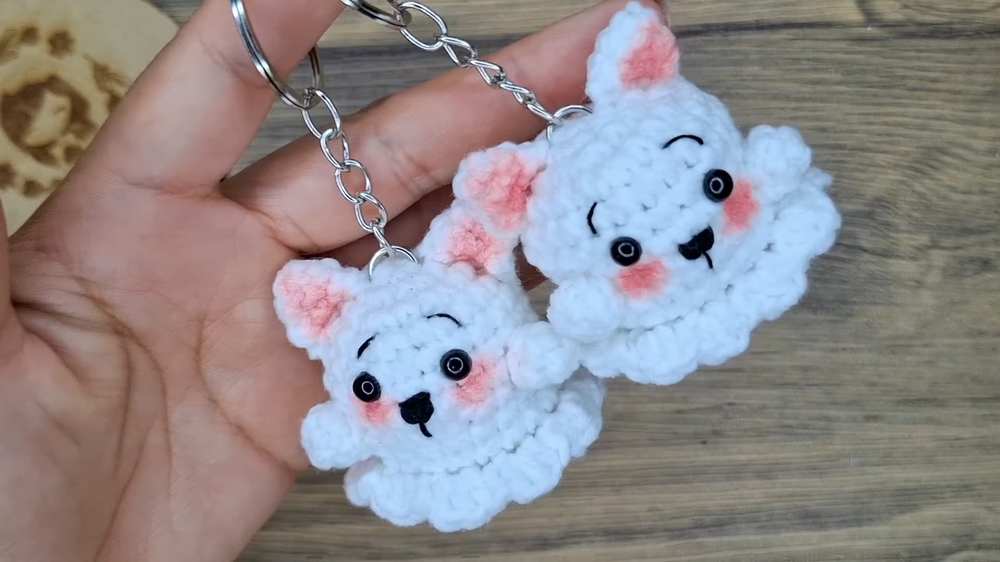
You can crochet this Kitty cat as a trick-or-treating bag hanging. You can also crochet a slightly bigger version of this crochet ghost using the plush yarn. It is definitely worth crocheting. So, continue reading for the full crochet kitty ghost amigurumi for the full pattern for beginners.
About the designer: The designer behind this crochet cat ghost amigurumi with a bow is @TejidosVal – she has one of the CUTEST library of crochet amigurumi and the dolls. All are admirable and quick to crochet!
How to Crochet Kitty Boo Ghost Amigurumi
This lovely little project makes a super cute “Ghost Cat” amigurumi! It is perfect for Halloween, Day of the Dead, or just as a sweet spooky charm all year round. It works up very quickly using basic stitches and very little yarn.
You will crochet the main ghost-shaped body, add a ruffled “skirt” at the bottom to give it that floating ghost effect, and then attach tiny cat ears and little paws. With a bit of black thread for a tiny nose and some pink blush for the cheeks, this little phantom kitty makes an absolutely adorable keychain or quick gift!
Materials Needed
Yarn: White lightweight/sport weight yarn (The creator uses a 51% acrylic / 49% cotton blend).
Crochet Hook: 2.00 mm
Safety Eyes: 5 mm
Black embroidery thread (for the nose, mouth, and eyebrows)
Pink blush or craft paint (for the cheeks and inner ears)
Keychain ring
Toy stuffing (fiberfill)
Scissors, tapestry needle, and stitch markers
Abbreviations (US Terms)
MR: Magic Ring
sc: single crochet
inc: increase (2 sc in the same stitch)
dec: decrease (sc 2 stitches together)
hdc: half double crochet
sl st: slip stitch
BLO: Back Loop Only
FLO: Front Loop Only
Triple inc: 3 sc in the same stitch
Triple dec: single crochet 3 stitches together (sc3tog – use the front loops for an invisible decrease)
st(s): stitch(es)
rnd(s): round(s)
Pattern Instructions
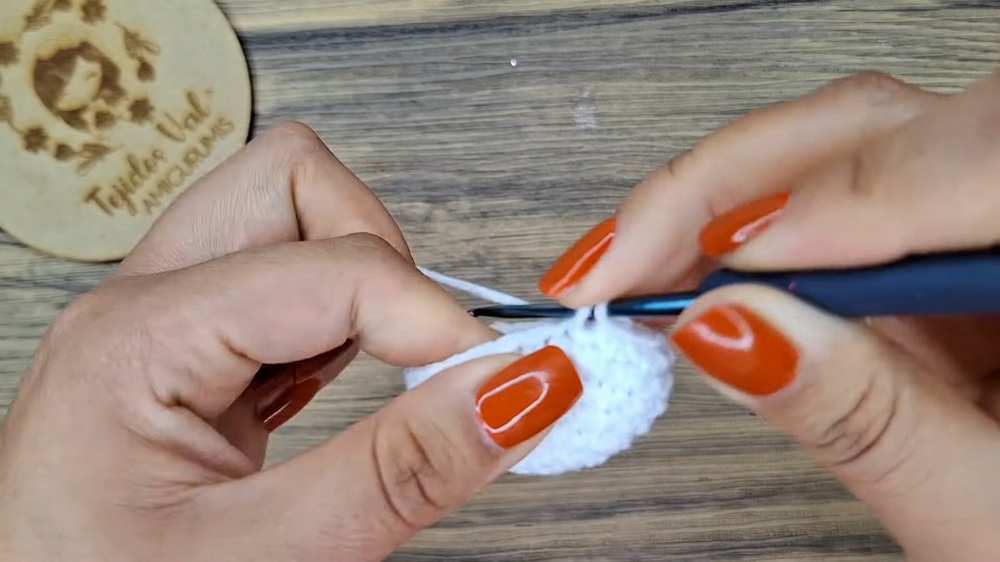
Body / Head
(Worked in continuous rounds in White yarn)
Rnd 1: 6 sc in a Magic Ring [6 sts]
Rnd 2: 6 inc [12 sts]
Rnd 3: (1 sc, 1 inc) repeat 6 times [18 sts]
Rnd 4: (2 sc, 1 inc) repeat 6 times [24 sts]
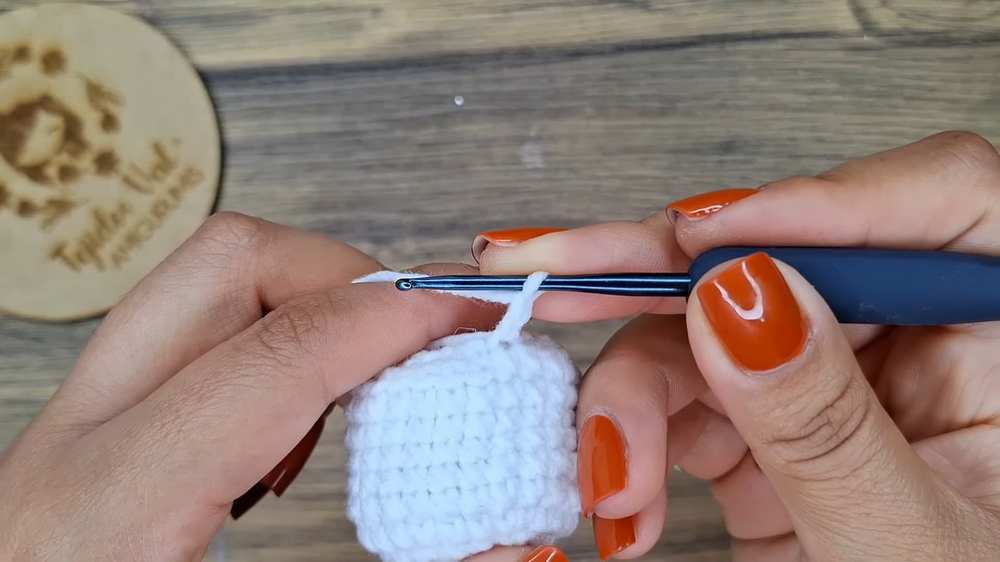
Rnds 5 to 6: 1 sc in each st around (2 rounds total) [24 sts]
Rnd 7: 11 sc, 1 Triple inc, 1 Triple inc, 11 sc [28 sts] (This creates a little bump for the snout)
Rnd 8: 11 sc, 1 Triple dec, 1 Triple dec, 11 sc [24 sts]
Rnds 9 to 10: 1 sc in each st around (2 rounds total) [24 sts]
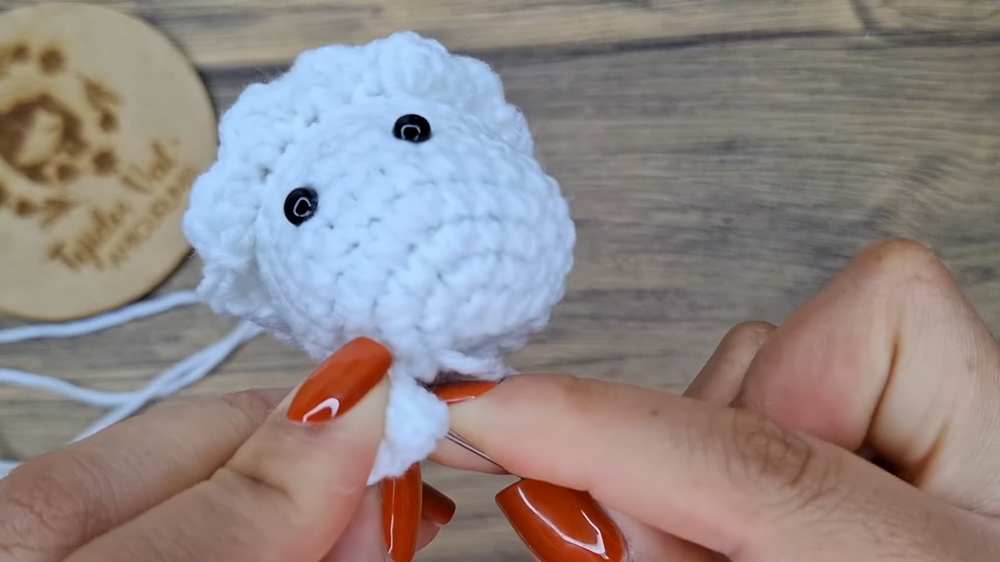
Eye Placement: Insert the 5 mm safety eyes between Rounds 5 and 6, spacing them about 2 to 3 stitches apart. Make sure the little snout (the increases/decreases you made in Rnds 7 & 8) is perfectly centered below the eyes.
Rnd 11: Working in BLO, 1 sc in each st around [24 sts]
Rnd 12: (1 sc, 1 dec) repeat 8 times [16 sts]
Stuff the body firmly with fiberfill.
Rnd 13: 8 dec [8 sts]
Fasten off, leaving a tail. Use your tapestry needle to weave the tail through the front loops of the remaining 8 stitches, pull tight to close the hole, and weave in the end.
The Ghost Skirt (Ruffles)
(Worked in the unworked front loops from Round 11 of the body)
Hold the body upside down and attach the white yarn to any FLO from Rnd 11.
Rnd 1: Chain 2 (does not count as a stitch). In the same stitch, work 3 hdc. Sl st into the next stitch, 3 hdc in the next stitch. Repeat from * to * all the way around.
Finish with a sl st in the last stitch, fasten off, and weave in the ends.
Arms (Make 2)
(Worked in White yarn)
Rnd 1: 6 sc in a Magic Ring [6 sts]
Rnd 2: 1 sc in each st around [6 sts]
Fasten off with a sl st and leave a long tail for sewing. Do not stuff. Pinch flat.
Ears (Make 2)
(Worked in White yarn)
Rnd 1: 4 sc in a Magic Ring [4 sts]
Rnd 2: (1 sc, 1 inc) repeat 2 times [6 sts]
Rnd 3: (1 sc, 1 inc) repeat 3 times [9 sts]
Fasten off with a sl st and leave a long tail for sewing. Do not stuff. Pinch flat into a triangle.
Assembly & Finishing Details
Attach the Ears: Sew the ears diagonally to the top sides of the head. Place them spanning Rounds 2, 3, and 4, about 4 stitches away from the eyes on either side.
Attach the Arms: Sew the flat arms diagonally to the sides of the body, starting about one stitch away from the eye and spanning two rounds downwards.
Facial Embroidery:
Thread your needle with black embroidery floss.
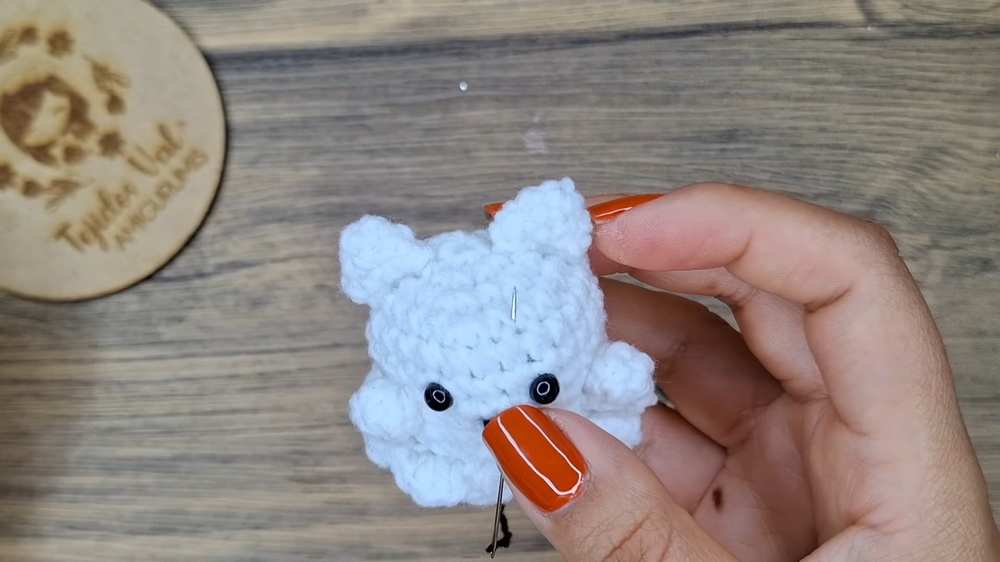
Embroider a small, filled-in triangle nose right between and slightly below the eyes (on the snout bump).
Stitch a small, straight vertical line down from the nose to make the mouth.
Add tiny, slanted eyebrows just above the eyes for a sweet expression.
Blush: Use a little makeup brush or a cotton swab to apply a tiny bit of pink blush underneath the eyes for cheeks, and inside the center of the little cat ears.
Attach Keychain: Sew your keychain ring securely to the very top center of the head (Round 1).
Enjoy your spooky little ghost cat!
Learn even Better with Video Tutorial
Save For Later: