
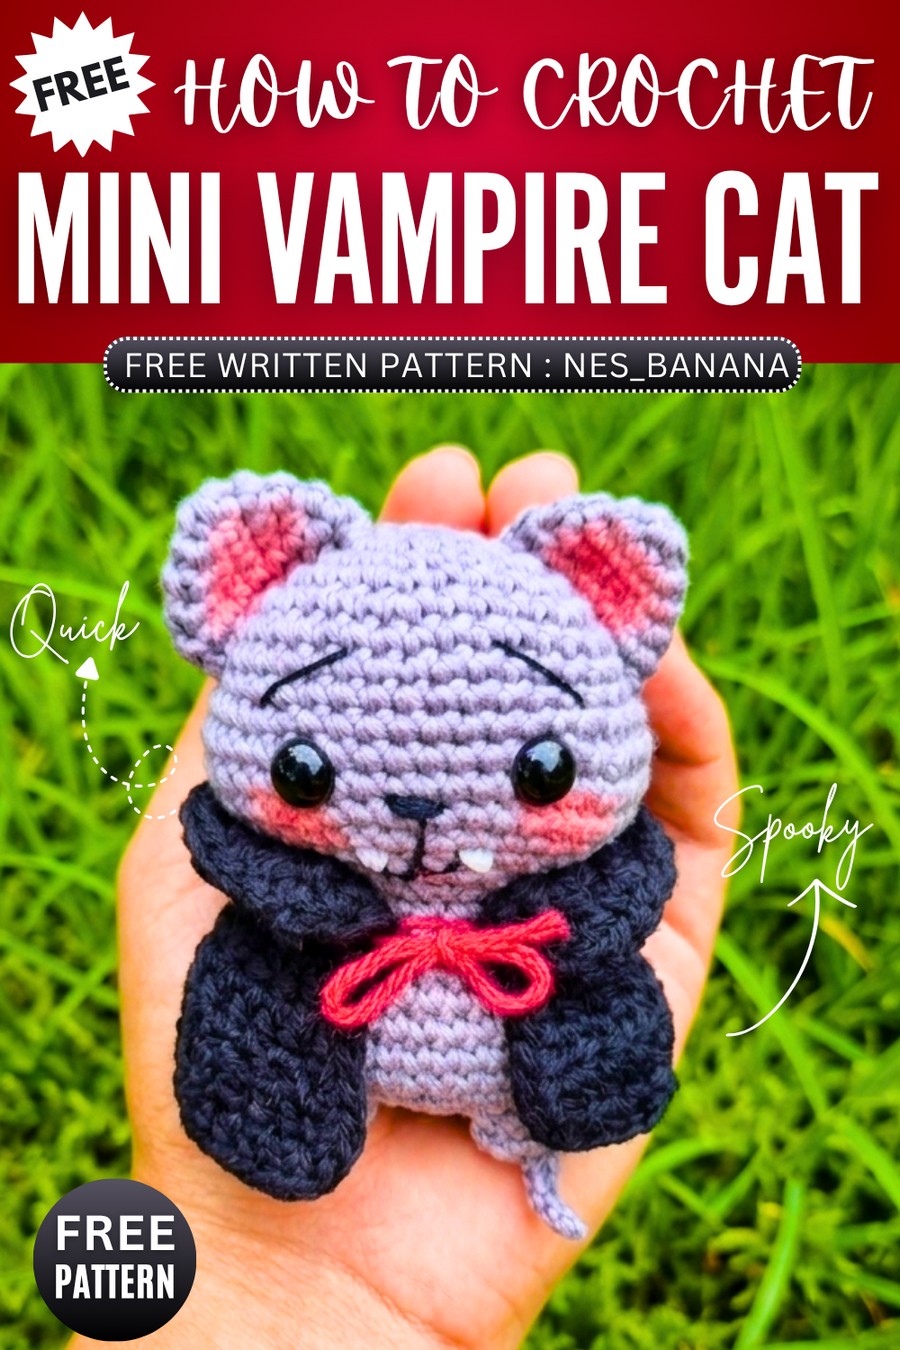
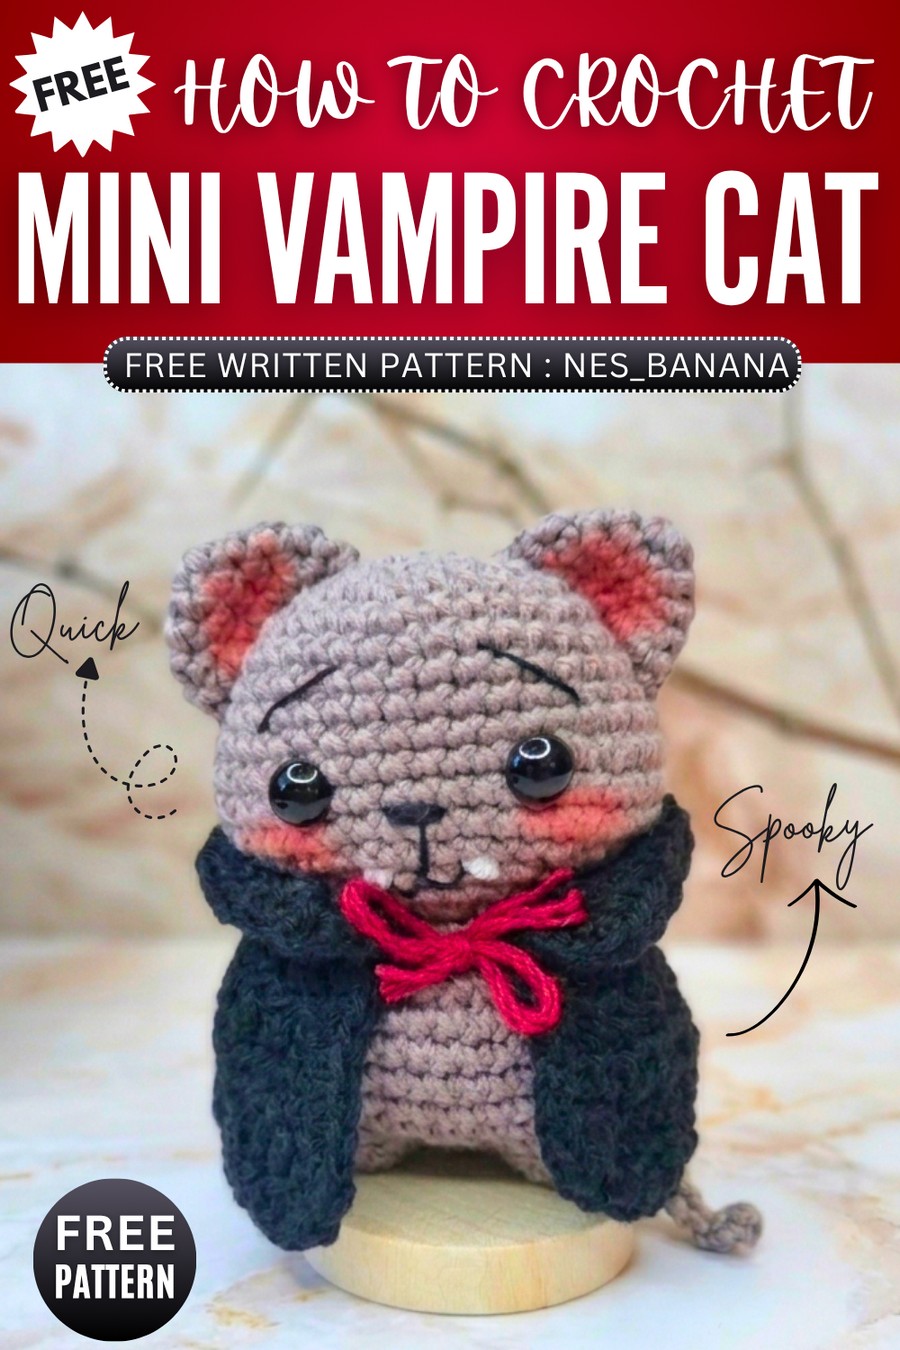
TejidosVal: Crochet Cat In A Vampire Cape Amigurumi Toy for Halloween
Learn how to crochet a low-sew little vampire cat amigurumi with this FREE written pattern and a tutorial as well. Our little blushing cat wears a vampire cape and it also has tiny vampire teeth. This is a part of crochet “Halloween cosplay” amigurumi series and one of my favorites! The crochet cape is also removeable. Since the pattern creates a medium-sized vampire kitty doll, you can also crochet it as kitty vampire plush.
This will make a huggable gift for little ones especially with a little blush applied on the cheeks. We shall also embroider the eyebrows and the nose, so be sure you are good at that skill. We shall use the joined-legs base for the body, which is quite common and well-practiced. So, be sure to crochet this cat plush with the pattern below.
About the designer: The designer behind this crochet vampire cat amigurumi with a bow is @TejidosVal – she has one of the CUTEST library of crochet amigurumi and the dolls. All are admirable and quick to crochet!
How to Crochet Cat Wearing A Vampire Cape
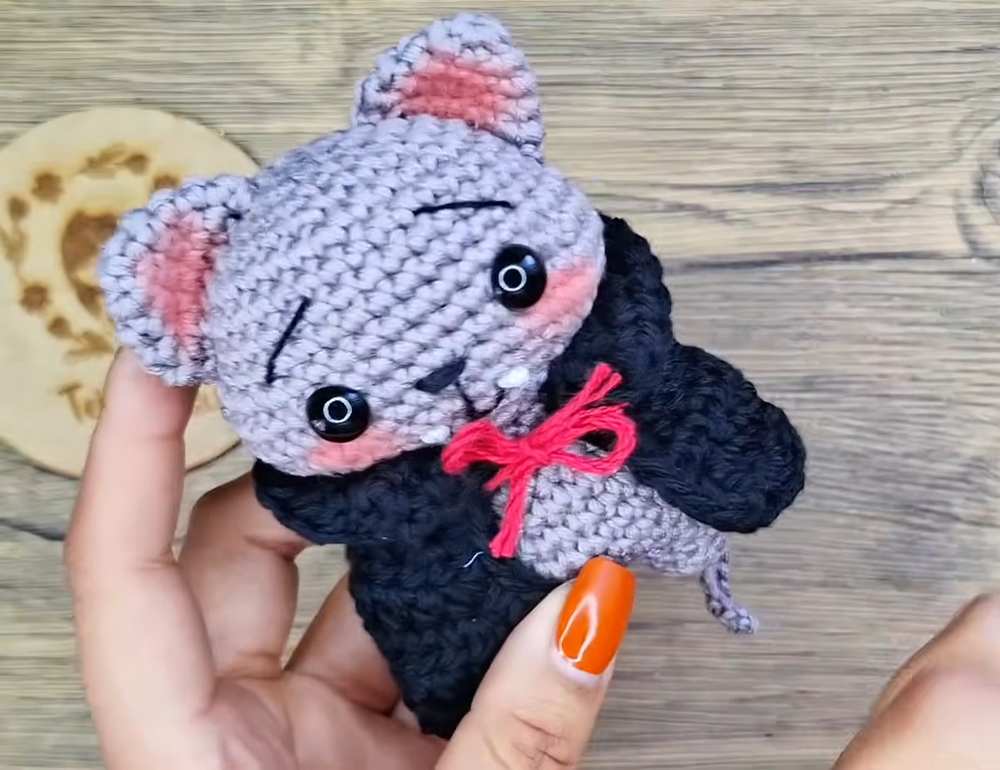
This project is an adorable, small amigurumi “Vampire Kitty” (or Michi Vampiro) that is perfect for Halloween! Standing about 11 cm tall, it’s a quick, beginner-friendly crochet project that uses very little yarn.
The kitty features cute, pronounced cheeks, tiny white fangs, a little tail, and a classic black vampire cape tied together with a red bow. It’s a wonderful project for anyone looking to add a spooky yet incredibly sweet touch to their plushie collection or Halloween decor!
Materials Needed
Cotton Yarn (Sport/Fingering weight):
Oxford Grey / Steel Grey (for the head, body, ears, arms, and tail)
Black (for the cape)
A tiny scrap of Red (for the cape tie)
Embroidery Thread: Black and White (for facial details)
Safety Eyes: One pair of 9 mm eyes
Crochet Hook: 2.0 mm
Stuffing: Fiberfill / Toy stuffing
Cosmetics/Paint: A little bit of blush or pink textile paint for the cheeks and ears
Tools: Scissors, tapestry needle, embroidery needle, and stitch markers
Abbreviations (US Terms)
MR = Magic Ring
ch = chain
sc = single crochet
hdc = half double crochet
inc = single crochet increase (2 sc in the same stitch)
hdc-inc = half double crochet increase (2 hdc in the same stitch)
dec = single crochet decrease (crochet 2 stitches together)
sl st = slip stitch
st(s) = stitch(es)
[ ] x … = repeat the instructions between the brackets the indicated number of times
( ) = total number of stitches at the end of the round/row
Pattern Instructions
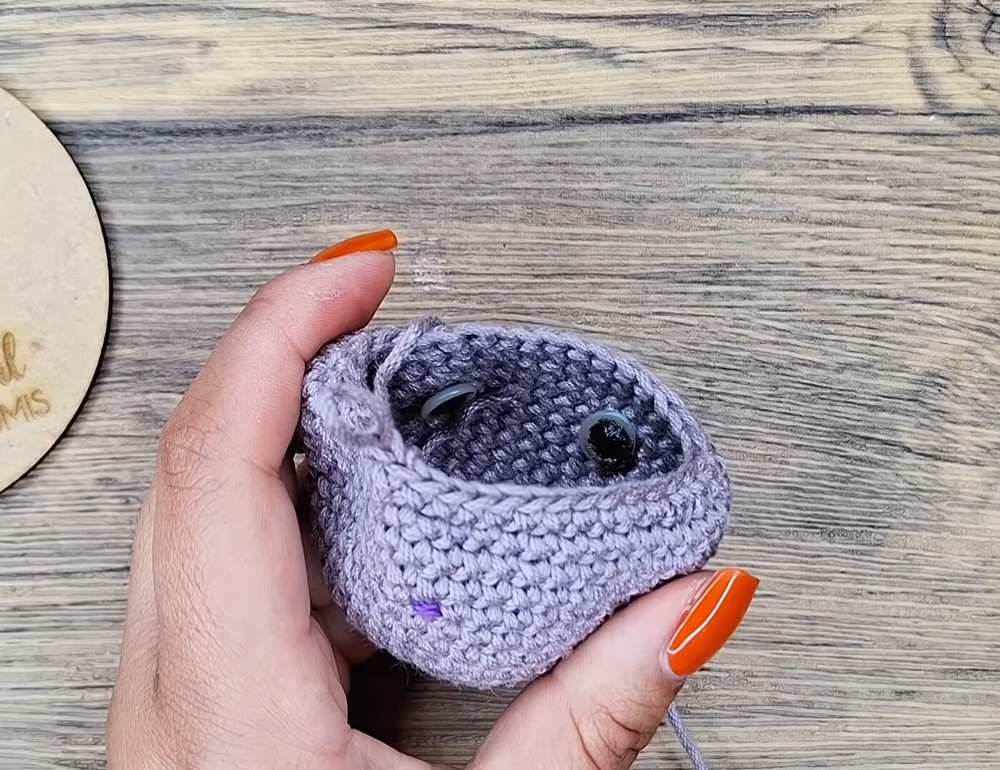
1. Head (Use Grey Yarn)
Round 1: MR with 6 sc (6)
Round 2: 6 inc (12)
Round 3: [1 sc, 1 inc] x 6 (18)
Round 4: [2 sc, 1 inc] x 6 (24)
Round 5: [3 sc, 1 inc] x 6 (30)
Round 6: [4 sc, 1 inc] x 6 (36)
Rounds 7 – 9: 36 sc (36) [3 rounds total]
Round 10: 8 sc, 5 inc, 10 sc, 5 inc, 8 sc (46) (The increases form the cheeks)
Rounds 11 – 13: 46 sc (46) [3 rounds total]
Round 14: 8 sc, 5 dec, 10 sc, 5 dec, 8 sc (36)
Eye Placement: Insert the 9 mm safety eyes between Rounds 12 and 13. To center them over the cheeks, find the first increase of Round 10, count 1 stitch outward and 1 row down. Leave approximately 5 visible stitches between the eyes.
Round 15: [4 sc, 1 dec] x 6 (30)
Round 16: [3 sc, 1 dec] x 6 (24)
Round 17: [2 sc, 1 dec] x 6 (18)
Finish with a sl st and fasten off, leaving a long tail for sewing. Stuff the head firmly, making sure to push stuffing out into the cheeks to maintain their shape.
2. Arms (Make 2 – Use Grey Yarn)
Round 1: MR with 7 sc (7)
Rounds 2 – 5: 7 sc (7) [4 rounds total]
Do not stuff the arms. Fold the top opening flat and close it by crocheting 3 sc through both front and back layers.
Fasten off, leaving a short tail (arms will be crocheted directly into the body later).
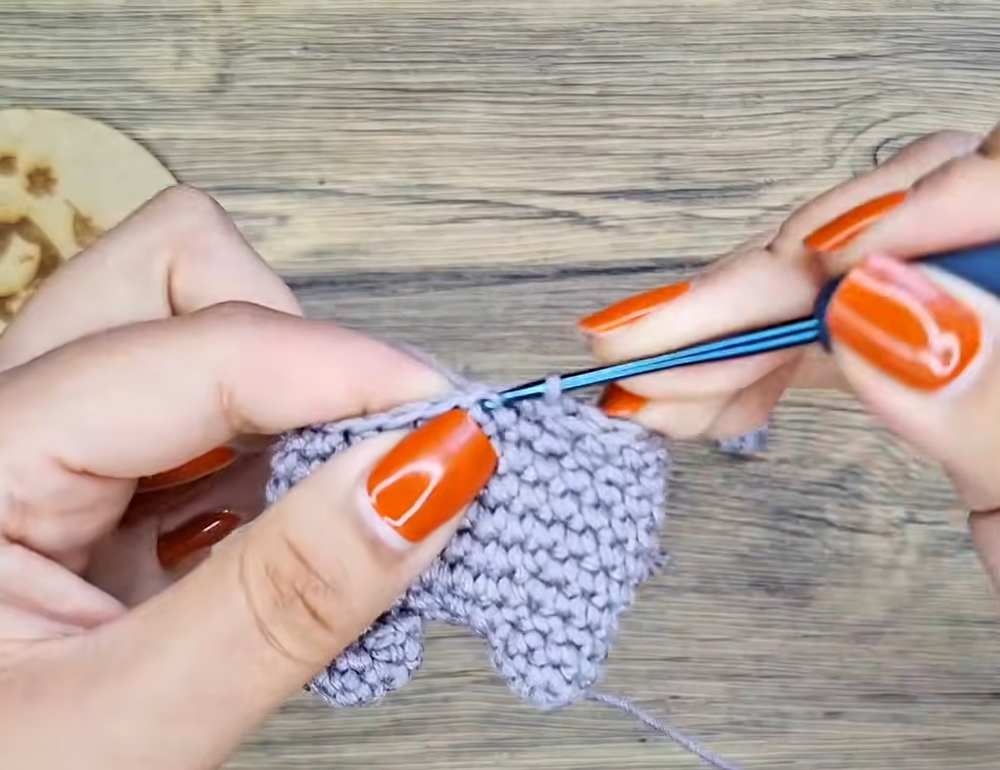
3. Ears (Make 2 – Use Grey Yarn)
Round 1: MR with 6 sc (6)
Round 2: [1 sc, 1 inc] x 3 (9)
Round 3: [2 sc, 1 inc] x 3 (12)
Round 4: [3 sc, 1 inc] x 3 (15)
Round 5: [4 sc, 1 inc] x 3 (18)
Finish with a sl st. Fasten off, leaving a long tail for sewing.
4. Legs & Body (Use Grey Yarn)
First Leg:
Round 1: MR with 6 sc (6)
Round 2: [1 sc, 1 inc] x 3 (9)
Round 3: 9 sc (9)
Finish with a sl st and fasten off.
Second Leg & Body Union:
Rounds 1 – 3: Repeat instructions for the First Leg, but do not fasten off.
Round 4 (Union): Ch 3. Insert hook into any stitch of the First Leg and make 1 sc (this is the new start of the round). Crochet the remaining 8 sc around the First Leg, crochet 3 sc along the ch-3, crochet 9 sc around the Second Leg, and crochet 3 sc along the other side of the ch-3. (24)
Round 5: [3 sc, 1 inc] x 6 (30)
Rounds 6 – 10: 30 sc (30) [5 rounds total]
Round 11: [3 sc, 1 dec] x 6 (24)
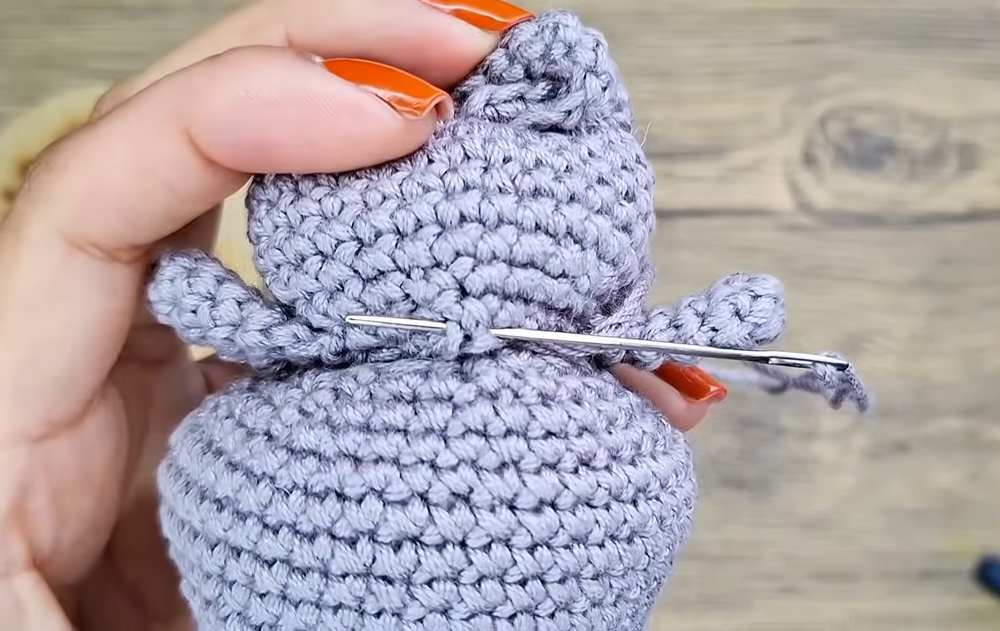
Round 12 (Attaching Arms): 5 sc along the back. Take the first arm, align it to the body, and crochet 4 sc through both the arm and body stitches. Crochet 8 sc across the front chest. Take the second arm, align it, and crochet 4 sc through both the arm and body stitches. Finish the round with 3 sc. (24)
Round 13: [2 sc, 1 dec] x 6 (18)
Finish with a sl st. Fasten off with a short tail (use the head’s long tail for sewing later). Stuff the body firmly.
5. Tail (Use Grey Yarn)
Leave a small starting tail, ch 15.
Starting in the 2nd ch from the hook, crochet 14 sc along the chain. (14)
Fasten off, leaving a tail. Attach the tail centrally to the back of the body between Rounds 6 and 7 by pulling the two yarn tails through the stitches and tying knots securely on the inside of the body.
6. Assembly & Facial Details
Sewing: Sew the head securely to the body. Sew the ears to the top sides of the head. Curve the ears slightly as you sew them on to give them character.
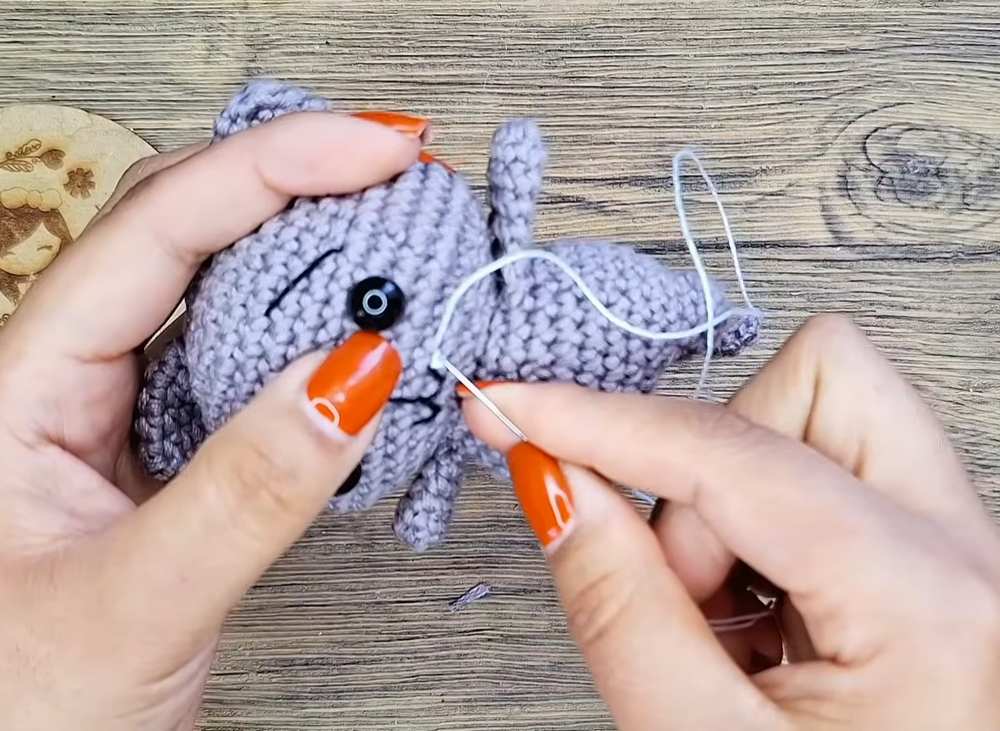
Nose & Mouth: Using black embroidery thread, embroider the nose 1 row below the eyes spanning 2 stitches across. Make a few horizontal passes. Drop the thread down to form a small “W” for the mouth, and connect it to the nose with a vertical line.
Eyebrows: Embroider diagonal eyebrows 3 lines above the eyes.
Fangs: Using white embroidery thread (or white paint), embroider tiny triangles at the outer edges of the “W” mouth.
Blush: Apply blush inside the ears and on the chubby cheeks beneath the eyes.
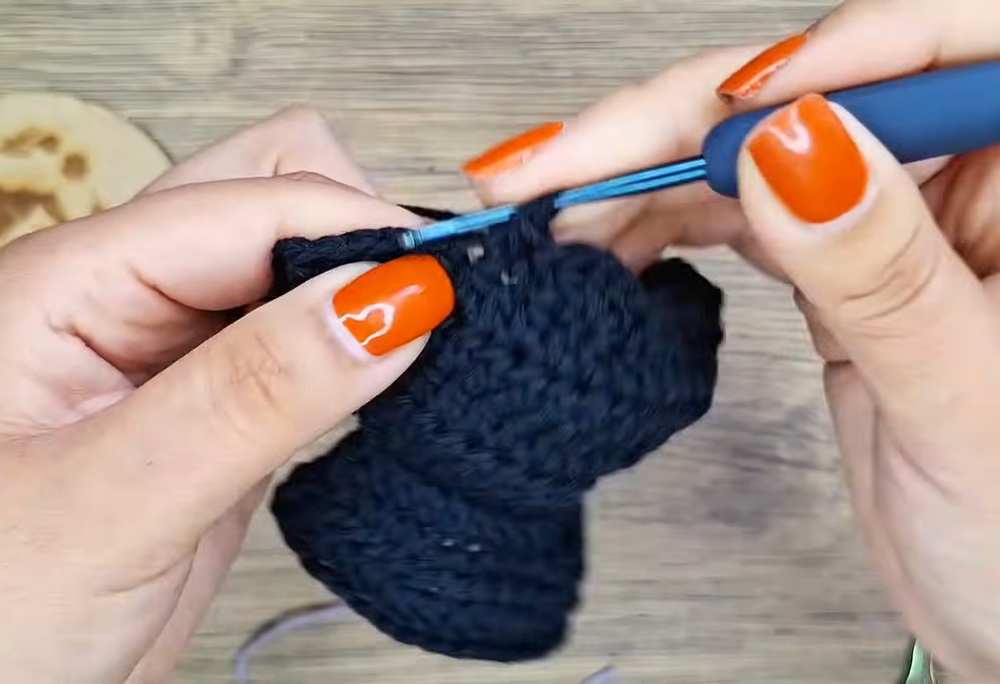
7. Vampire Cape (Use Black Yarn)
The main cape is worked in flat rows.
Row 1: Ch 21. Starting in the 2nd ch from the hook, 20 hdc. (20)
Row 2: Ch 2, turn. 1 hdc-inc, 18 hdc, 1 hdc-inc. (22)
Row 3: Ch 2, turn. 1 hdc-inc, 20 hdc, 1 hdc-inc. (24)
Row 4: Ch 2, turn. 1 hdc-inc, 22 hdc, 1 hdc-inc. (26)
Row 5: Ch 2, turn. 1 hdc-inc, 24 hdc, 1 hdc-inc. (28)
Ch 1, fasten off.
Cape Collar (Top Part): Attach black yarn to the first stitch of the starting chain (the top edge/neckline of the cape).
Row 1: Ch 2, 20 hdc across the top edge. (20)
Row 2: Ch 2, turn. [3 hdc, 1 hdc-inc] x 5. (25)
Row 3: Ch 2, turn. [4 hdc, 1 hdc-inc] x 5. (30)
Do not fasten off yet.
Cape Edging:
From where you finished the collar, crochet sc evenly down the side edge of the cape to give it a clean border.
Scalloped Hem (Bottom Edge): [Skip 1 st, crochet 4 hdc in the next st, skip 1 st, sl st into the next st]. Repeat this scallop pattern all the way across the bottom hem of the cape.
Crochet sc evenly up the other side edge of the cape. Stop when you reach the collar, sl st, and fasten off. Weave in all black ends.
Putting on the Cape: Take a single strand of red yarn. Thread it with a tapestry needle through the corners of the cape’s neckline, place it around the kitty’s neck, and tie it tightly into a tiny, neat bow at the front.
Enjoy your newly finished Michi Vampiro!
Tutorial to Learn Even Better