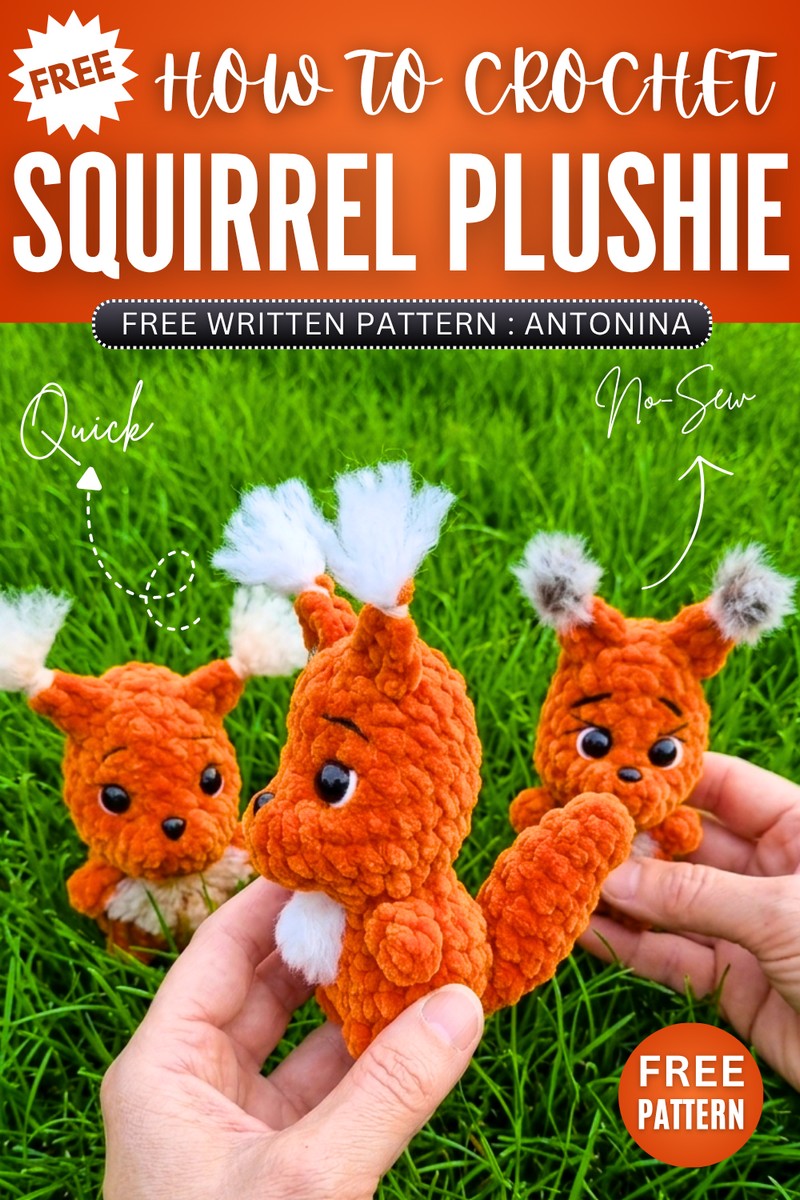
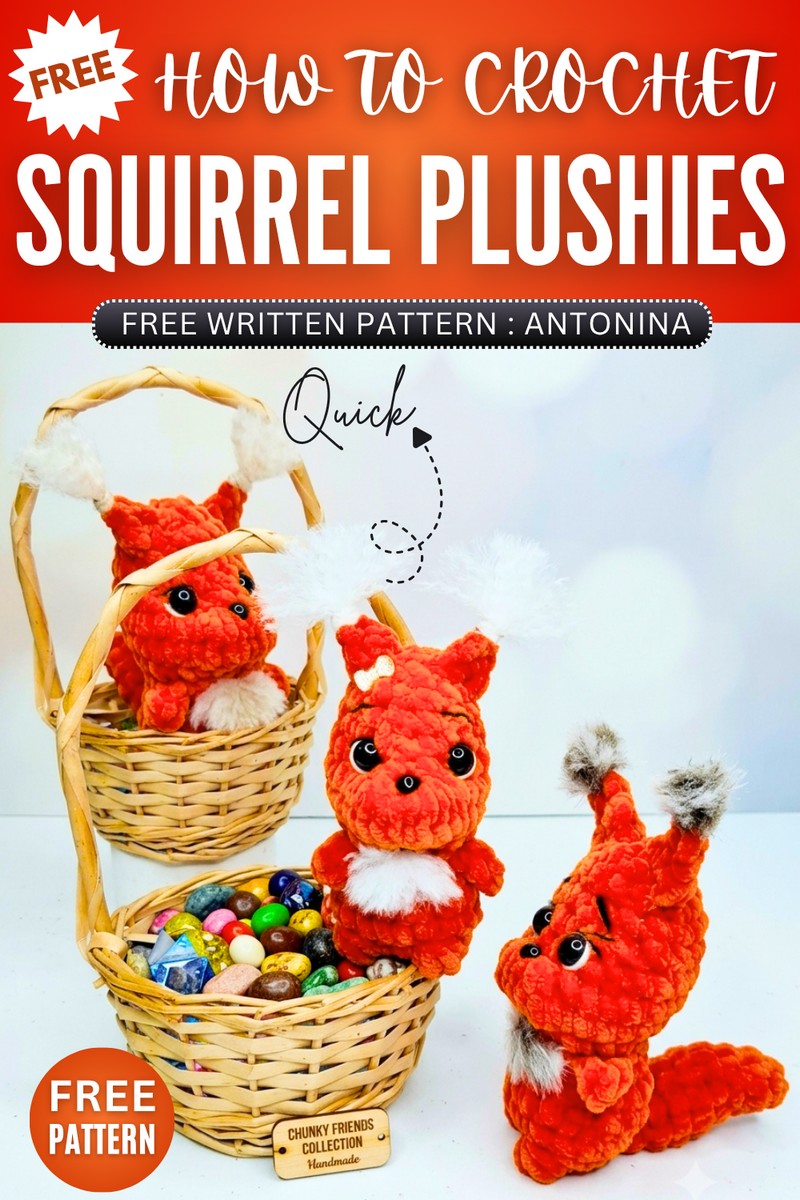
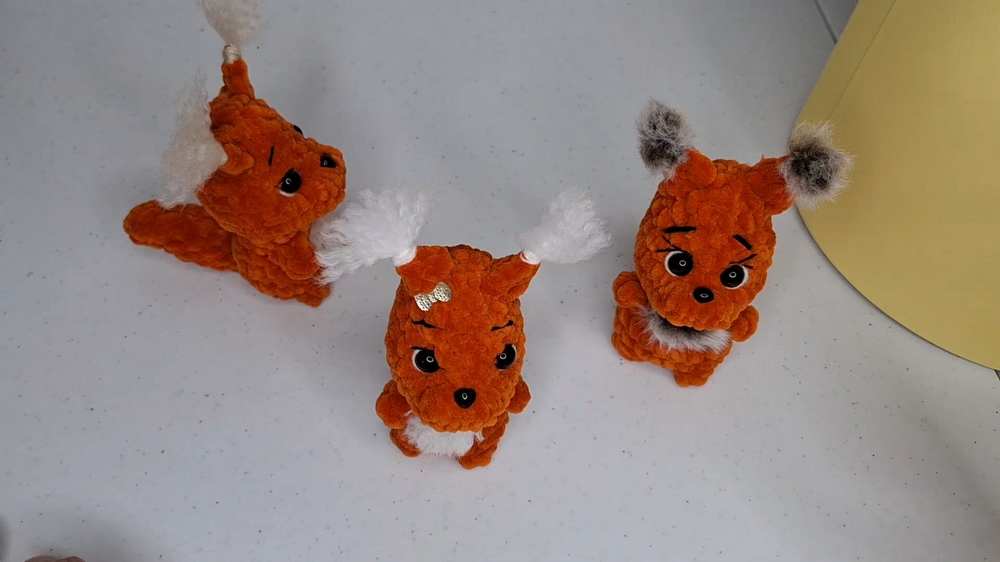
Free Crochet Low-Sew Baby Squirrel Plush Amigurumi Pattern for Fall
This year, let’s crochet an oh-so cute & no-sew baby squirrel plushie for fall with this FREE pattern. This is a UNIQUE kawaii character squirrel plush featuring ponies on the head and the fur on belly made of white fuzzy yarn just like the fox plushie. You can also crochet a small acorn plush for your crochet squirrel and put it over your crochet table as a desk buddy or make your Thanksgiving basket, its home.
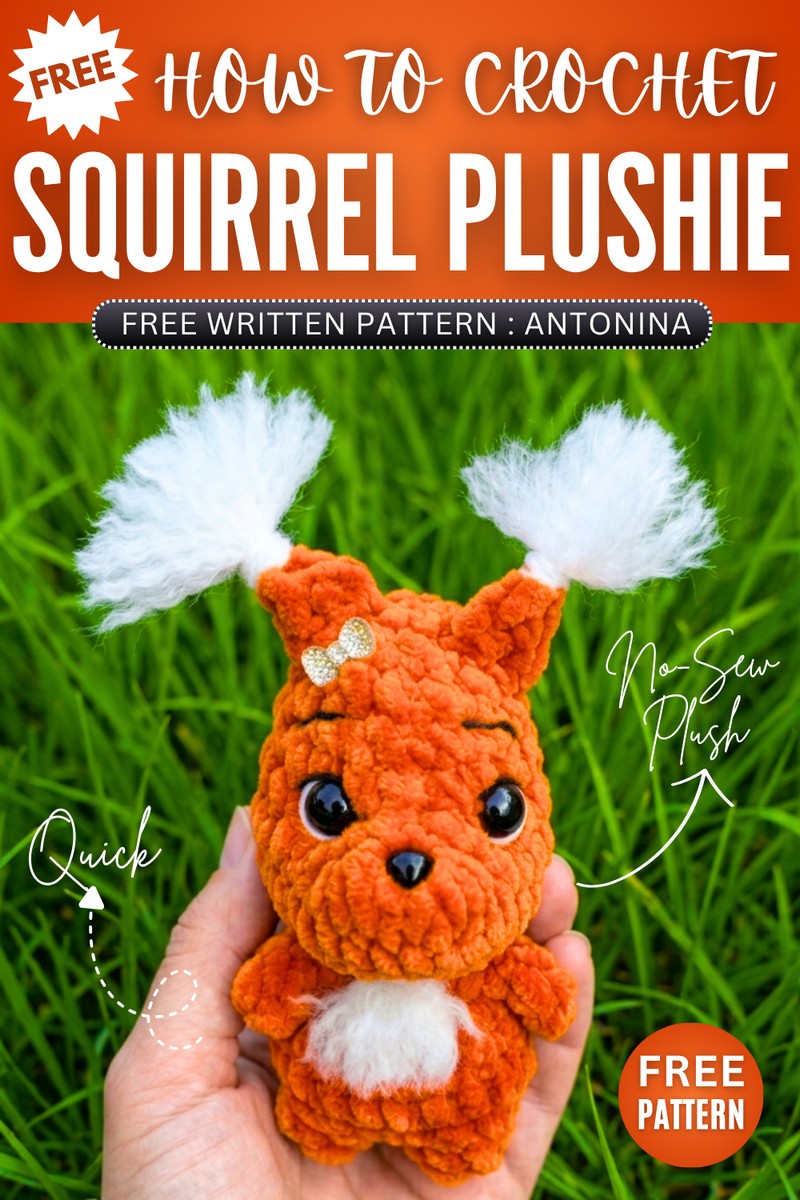
You can either crochet the girl (with bow) or boy version of this crochet squirrel, following the same pattern. You will especially love the eyebrow and eyelash embroidery of this crochet squirrel plush for absolute beginners and fall. It can sit without support thanks to its no-sew body and the stuffed tail. Now, continue reading for the full pattern.
About the designer: The designer behind this crochet cute squirrel plush is @antoninadegtyaryova – she recently came in collaboration with us and we have been loving her crochet plushies for fall! You will love her crochet animal plush that are quick and easy to crochet and great for selling at the craft fairs.
How to Crochet Kawaii Squirrel Plush
This project creates a soft, squishy amigurumi squirrel using fluffy plush yarn. The design features a chunky, slightly bottom-heavy body, a long, curvy tail, and fun, brushed-out yarn tufts for the ears and chest (to mimic a squirrel’s fuzzy details).
This squirrel works up quickly using simple stitches and some built-in bobble-stitch legs. The finishing touches. like brushing out regular acrylic yarn to create the ear tufts and chest fluff, give this piece an extra touch of cuteness, leaving lots of room for personalization in colors and facial expression!
Materials Needed
Main Yarn: Plush/chenille yarn (like Himalaya Dolphin Baby or similar) in Orange/Squirrel color (100g/120m).
Detail Yarn: Sport/DK weight acrylic yarn (like “Pehorka Children’s Novelty”) in White, Dark Brown, or Beige (for the ear tufts and chest fluff). The creator uses White for a “bow-like” ear effect, but suggests brown/beige for a realistic look.
Crochet Hook: 4.0 mm.
Safety Eyes: 9 mm or 10 mm.
Safety Nose: Plastic triangle/oval nose to glue on.
Fiberfill stuffing.
Yarn needle (for face sculpting and sewing).
Stitch markers.
Strong, thin thread (for face sculpting/eye indents).
Small pet slicker brush or comb (to brush out the acrylic yarn for the tufts).
Abbreviations
ch: chain
sc: single crochet
inc: increase (2 sc in one stitch)
dec: decrease (invisible decrease recommended)
hdc: half double crochet
dc: double crochet
sl st: slip stitch
Bobble: 4-dc bobble stitch (yarn over, insert hook, pull up loop, yarn over, pull through 2 loops on hook—repeat 4 times in the same stitch. Yarn over, pull through all 5 loops on hook).
picot: ch 2, sl st into the first ch or back loops of the stitch.
st(s): stitch(es)
Full Crochet Pattern
Body and Head (One Piece)
Round 1: Ch 5. Starting in the 2nd ch from the hook: 1 inc, 2 sc, 4 sc in the last ch. Working down the opposite side of the chain: 2 sc, 1 inc. (12 sts)
Round 2: 1 inc, 1 Bobble (Leg), 2 inc, 1 Bobble (Leg), 3 inc, 2 sc, 2 inc. (20 sts)
Round 3: 20 sc around. (20 sts)
Round 4: 1 dec, 7 sc, 1 dec, 9 sc. (18 sts)
Round 5: [1 sc, 1 dec] repeat 6 times. (12 sts)
Round 6 (Adding Arms): * We will make the arms using slip stitches and chains right on the body.
First Arm: sl st into the next st. ch 3. Down the ch: 1 hdc, 1 sc. sl st back into the base stitch.
4 sc along the body.
Second Arm: sl st into the next st. ch 3. Down the ch: 1 hdc, 1 sc. sl st back into the base stitch.
6 sc along the body. (12 sc sts around, not counting the arms)
Round 7: 12 sc around. (Make sure to fold the arms forward and crochet in the stitch behind the arms). (12 sts)
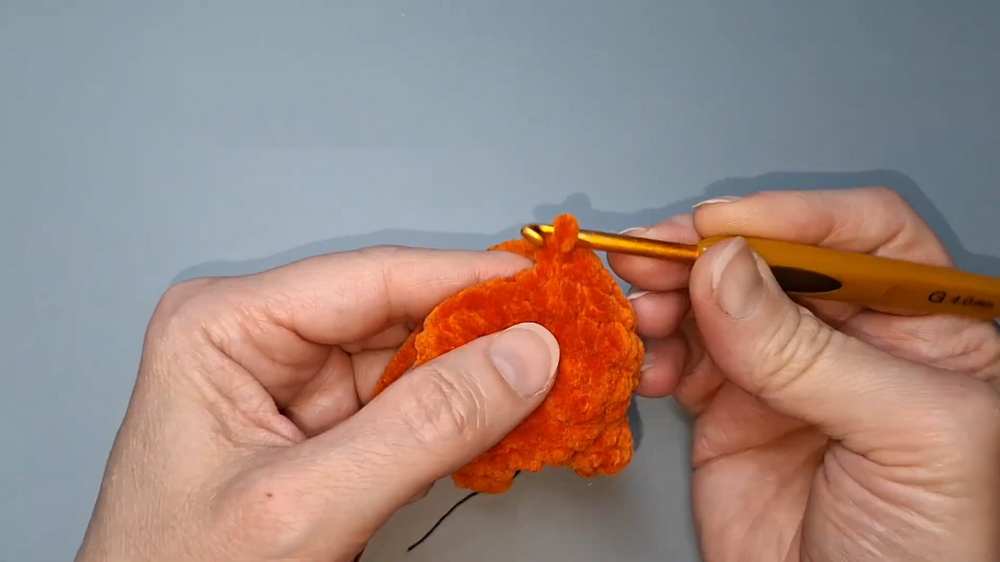
Round 8 (Start of Head): [1 inc] in each st around. (24 sts)
Round 9 (The Muzzle): 5 sc.
Next 4 stitches are the muzzle made of HDC increases: [hdc inc] 4 times.
15 sc to the end. (28 sts)
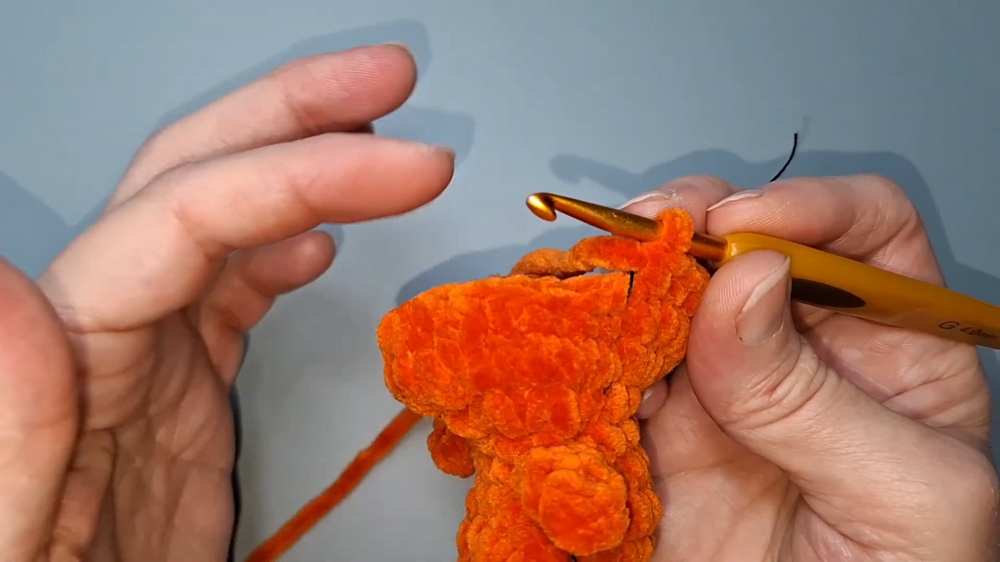
Round 10: 5 sc.
Next, decrease over the muzzle using 4-together decreases:
sc4tog (yarn over, pull up a loop in the next 4 sts, yarn over and pull through all loops).
sc4tog over the next 4 sts.
15 sc to the end. (22 sts)
Round 11: 3 sc, 1 dec, 2 sc, 1 dec, 13 sc. (20 sts)
Round 12: 1 dec, 6 sc, 1 dec, 10 sc. (18 sts)
Round 13: [1 sc, 1 dec] repeat 6 times. (12 sts)
Round 14: 12 sc around. (12 sts) * Note: This round elongates the head. Skip this round if you want a rounder head.
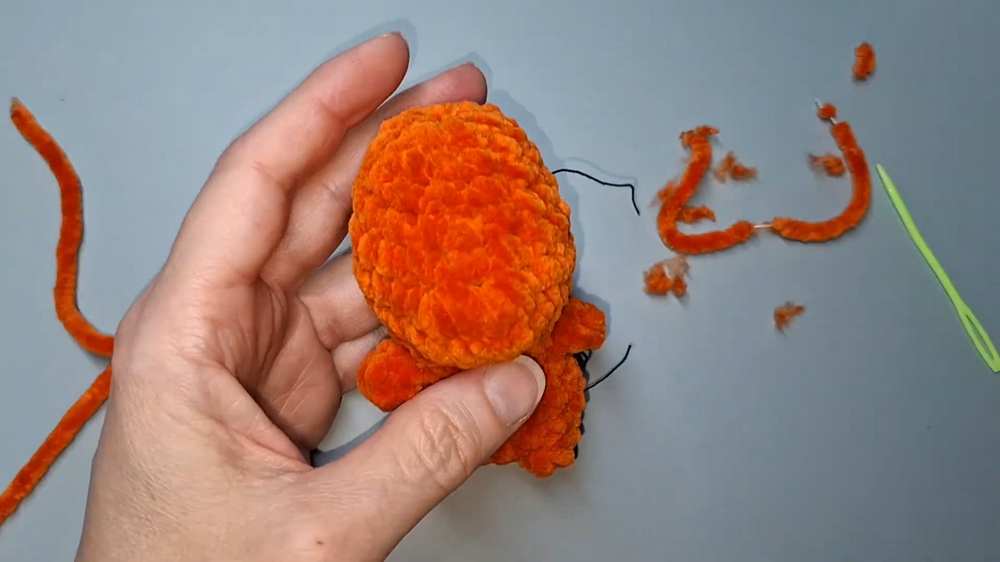
Stuff the body firmly, shaping the bottom.
Round 15: [1 dec] 6 times. (6 sts)
Finish: Fasten off, weave yarn through the front loops to close the hole, and hide the end inside.
The Tail
Round 1: Ch 2. Make 6 sc in the 2nd ch from the hook. (6 sts)
Turn inside out so the right side faces outward.
Round 2: [1 inc] 2 times, [1 dec] 2 times. (6 sts)
Round 3: [1 sc, 1 inc] repeat 3 times. (9 sts)
Rounds 4 – 6: 9 sc around. (9 sts for 3 rounds)
Round 7: [1 sc, 1 dec] repeat 3 times. (6 sts)
Finish: Stuff lightly (mostly at the base). Flatten the opening and crochet 2 sc across both edges to close it. Leave a tail for sewing.
Attachment: Sew the tail to the back bottom of the body (around Rounds 1/2), making sure it points upward along the back. Tack the middle of the tail to the upper back (2 rows higher) with a hidden stitch to keep it standing up.
Ears (Crocheted directly onto the head)
Step 1: Locate a spot high up on the head. Insert your hook, pull up the Orange yarn, and ch 1.
Step 2: In the row immediately above it: Make 1 hdc and 1 dc in the same stitch.
Step 3: Ch 2, picot (sl st into the base of the ch).
Step 4: Make 1 hdc in the same stitch on the head.
Step 5: Sl st into the row below to anchor it. Fasten off and hide the ends. Repeat on the other side for the second ear.
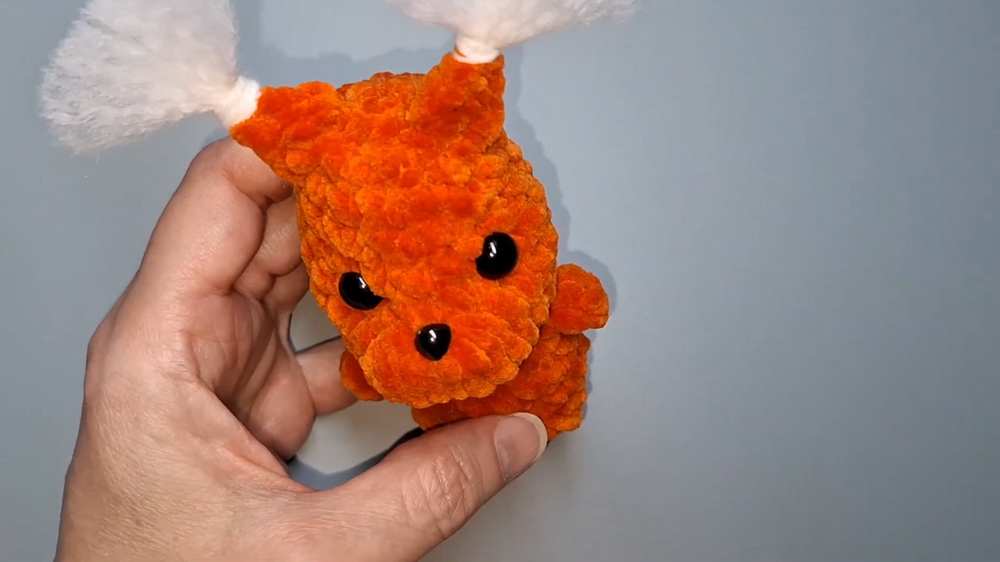
Face Assembly & Detailing
Eye Sculpting: Use strong thin thread. Go up from under the chin to the inner corner of where the eye will be. Go across one stitch, and down back to the chin. Pull tight to create a socket. Repeat for the other eye and knot securely.
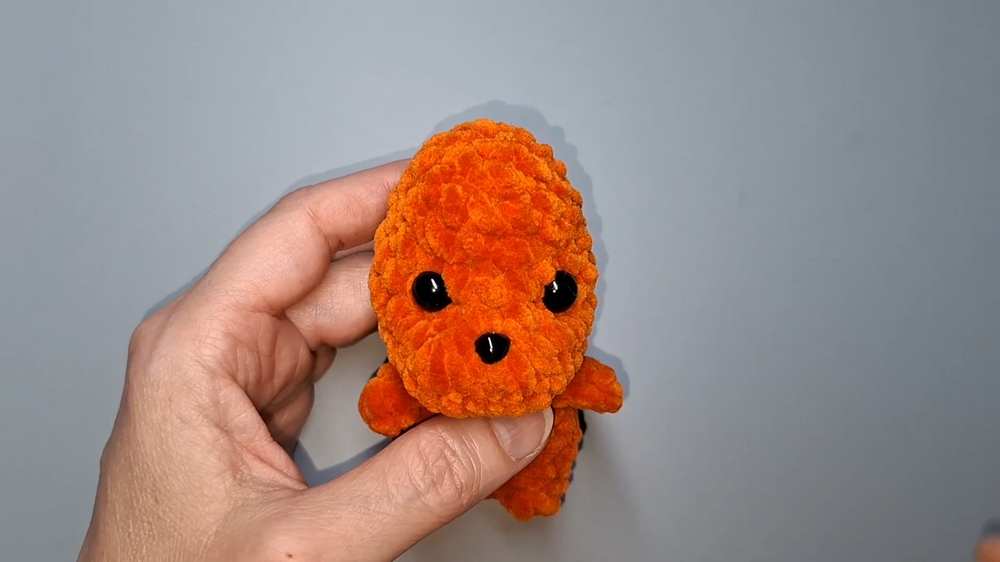
Eyes & Nose: Glue or attach the safety eyes into the sockets. Glue the nose to the tip of the muzzle.
Ear Tufts: Cut a few strands of the acrylic yarn. Fold them in half, pull the loop through the tip of the ear with your hook, and pull the tails through the loop to knot them (like a fringe). Trim to your desired length and use a pet brush to fluff them out.
Chest Fluff: Take a bundle of acrylic yarn, tie a knot tightly in the center. Brush it out so it’s fluffy and trim it to shape. Sew or securely tie the center knot directly under the chin onto the chest.
Embroidery: Use white yarn to embroider highlights around the outer edges of the eyes, and dark thread to add little eyebrows high up on the forehead.
Video Tutorial to Learn
Save for Later!