
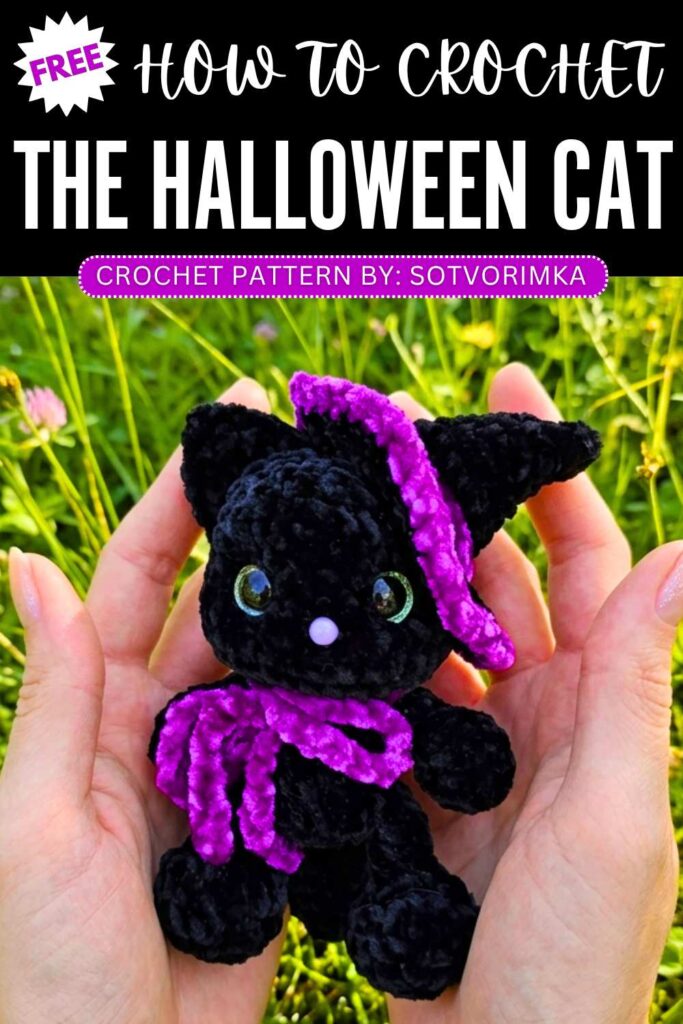
Sotvorimka: Crochet Low-Sew Halloween Black Cat Plushie in a Witch Hat
Learn how to crochet an oh-so CUTE black cat in a witch hat plush for Halloween with this FREE pattern. This small black cat snuggle for Halloween looks simply adorable in the witch hat worn at an angle and the big glitter safety eyes (recommended for black plushies). It also wears a matching knotted bow in purple and has a pink plastic nose.
Crochet Low-Sew Halloween Black Cat
This is a low-sew cat plush that works fast with the super bulky yarn. You can also crochet it with a pumpkin plush and let it hold one. Even with the plush yarn, you will end up with a 15 cm cat that is so soft to take a hold of. Anyway, continue reading for the full crochet pattern to make this Halloween doll.
About the designer: The designer behind this crochet Halloween black cat is @sotvorimka – She designs the CUTEST character and animal plushie and I fell in love with her crochet plushies immediately. You will love her seasonal crochet plushies, in particular.
How to Crochet Black Cat in a Witch Hat Plush
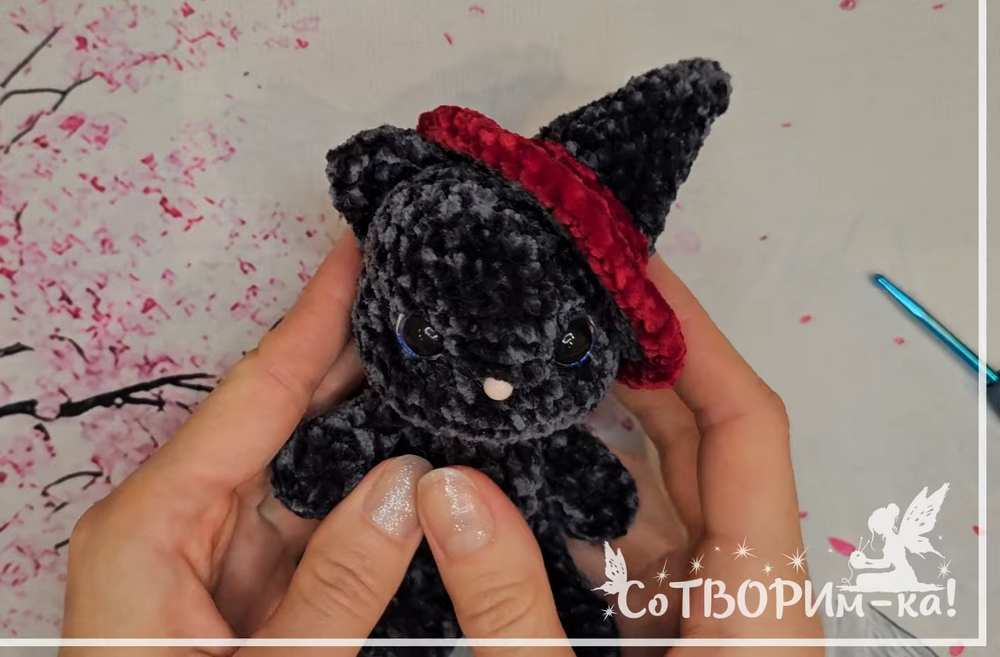
This crochet project is a small toy cat that wears a witch hat. You use soft yarn and a crochet hook to make this toy cat.
The cat is small, and it measures about 12 to 15 centimeters tall without the hat. You can make the hat stay on the head by sewing it down, or you can make the hat come off. This project is good for people who like to make cute toys with yarn.
Materials
Plush yarn in two colors (Main color like dark gray or black, and accessory color like red)
Crochet hook size 4 mm
A small bead for the nose
A smaller crochet hook to help put the nose bead in place
Safety eyes size 12 mm
Fiberfill stuffing to fill the toy
Needle and strong thread to sew the parts together and style the face
A small stick to help push the stuffing into small parts
Abbreviations
MR: Magic Ring
sc: Single Crochet
inc: Increase (make two stitches in one stitch)
dec: Decrease (make two stitches into one stitch)
ch: Chain stitch
sl st: Slip stitch
BLO: Back Loops Only
FLO: Front Loops Only
Pattern Instructions
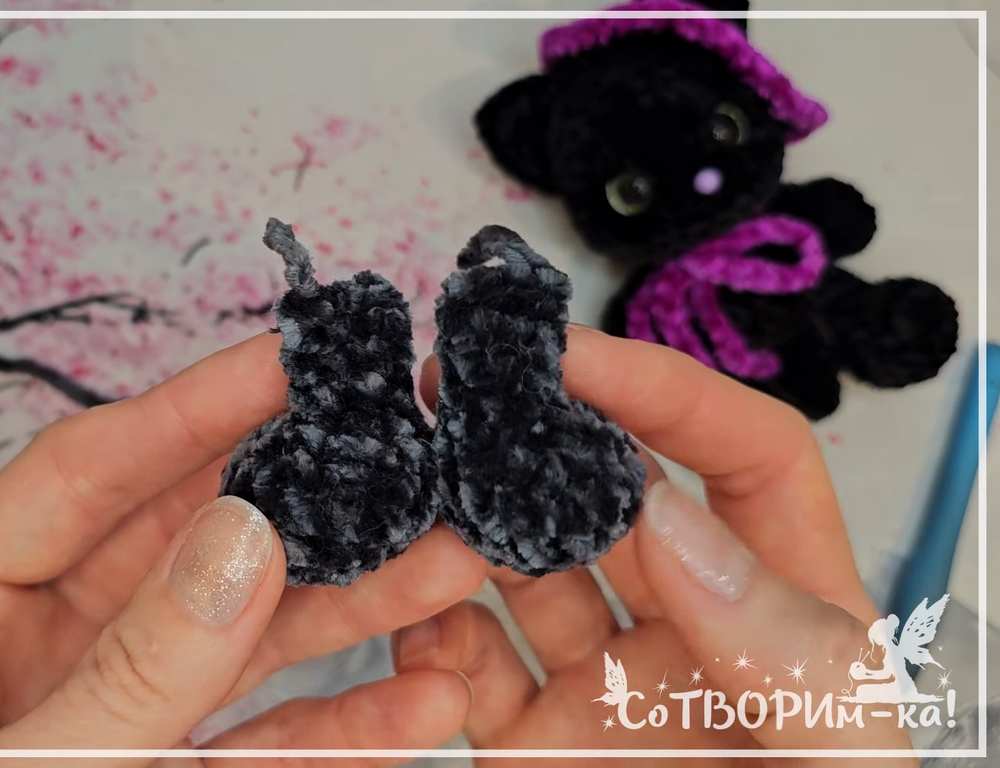
Legs (Make 2)
Round 1: Make 8 sc in a MR.
Round 2: Make 8 inc. (16 stitches)
Round 3 to Round 4: Make 16 sc around. (16 stitches)
Round 5: Make 2 sc, then make 6 dec, then make 2 sc. (10 stitches)
Round 6: Make 2 sc, then make 3 dec, then make 2 sc. (7 stitches)
Round 7 to Round 8: Make 7 sc around. (7 stitches)
Put stuffing only inside the bottom part of the leg.
Round 9: Make 3 sc, then make 1 dec, then make 2 sc. (6 stitches)
Round 10: Make 1 sc to change the starting point, fold the leg flat, and make 3 sc through both sides together to close the opening. Cut the yarn and secure it.
Arms (Make 2)
Round 1: Make 6 sc in a MR.
Round 2: Repeat (1 sc, 1 inc) three times. (9 stitches)
Round 3: Make 9 sc around. (9 stitches)
Round 4: Repeat (1 sc, 1 dec) three times. (6 stitches)
Round 5 to Round 7: Make 6 sc around. (6 stitches)
You can put a little stuffing in the bottom part if you want.
Round 8: Fold the arm flat and make 3 sc through both sides together to close the opening. Cut the yarn and secure it.
Tail (Make 1)
Round 1: Make 3 sc in a MR.
Round 2: Make 3 inc. (6 stitches)
Round 3: Repeat (1 sc, 1 inc) three times. (9 stitches)
Round 4 to Round 7: Make 9 sc around. (9 stitches)
Round 8: Repeat (1 sc, 1 dec) three times. (6 stitches)
Round 9: Make 1 dec, then make 1 sc, fold the tail flat, and make 2 sc through both sides together to close the opening. Cut the yarn and secure it.
Ear (Make 1 or 2)
Note: If you want to sew the hat down forever, make only 1 ear. If you want the hat to come off, make 2 ears.
Row 1: Make 3 sc, make 1 ch, and turn your work. (3 stitches)
Row 2: Make 3 sc, make 1 ch, and turn your work. (3 stitches)
Row 3: Make 1 sc, make 1 inc, make 1 sc, make 1 ch, and turn your work. (4 stitches)
Row 4: Make 1 sc, make 1 inc, make 2 sc, make 1 ch. (5 stitches)
Now crochet around the edges of the ear: Make 2 sc into the first corner stitch, crochet up to the top point. In the top stitch, make 1 sc, make 2 ch, and make 1 sc all in that same top stitch. Crochet down the other side, and make 2 sc in the last stitch. Cut the yarn and leave a long tail for sewing.
Witch Hat (Make 1)
Use the main color yarn:
Round 1: Make 4 sc in a MR.
Round 2: Make 4 sc around. (4 stitches) Turn the piece right-side out.
Round 3: Repeat (1 sc, 1 inc) two times. (6 stitches)
Round 4: Repeat (1 sc, 1 inc) three times. (9 stitches)
Round 5: Make 9 sc around. (9 stitches)
Round 6: Repeat (2 sc, 1 inc) three times. (12 stitches)
Round 7: Make 12 sc around. (12 stitches)
Round 8: Repeat (2 sc, 1 inc) four times. (16 stitches)
Round 9: Repeat (3 sc, 1 inc) four times. (20 stitches) Change to the second color yarn on the last stitch.
Round 10: Hold both yarn colors together and make 20 sc. Make a sl st at the end using only the second color. Do not cut the main color yarn.
Round 11: Work in BLO with the second color and make 20 sc. Change back to the main color yarn on the last stitch.
Round 12: Work in FLO with the main color and repeat (1 sc, 1 inc) ten times. (30 stitches) Tie and cut the second color yarn tails.
Round 13: Repeat (4 sc, 1 inc) six times. (36 stitches)
Round 14: Make 2 sc, make 1 inc, then repeat (5 sc, 1 inc) five times, then make 3 sc. (42 stitches) Change to the second color on the last stitch. Cut the main color yarn.
Round 15: Repeat (6 sc, 1 inc) six times around while hiding the yarn tails inside the stitches. (48 stitches) Make 1 sl st to finish, cut the yarn, and hide the tail.
Body and Head (Make 1)
Use the main color yarn:
Round 1: Make 8 sc in a MR.
Round 2: Make 8 inc. (16 stitches)
Round 3: Make 16 sc around. (16 stitches)
Round 4: In this round, you add the legs and tail. Put the first leg against the body with toes pointing left, make 3 sc through both the leg and body together. Make 6 sc along the body. Put the second leg against the body with toes pointing right, make 3 sc through both the leg and body together. Make 1 sc along the body. Put the tail against the body, make 2 sc through both the tail and body together. Make 1 sc along the body. (16 stitches)
Round 5 to Round 6: Make 16 sc around. (16 stitches)
Round 7: Make 3 sc, make 3 dec, then make 7 sc. (13 stitches)
Round 8: Make 3 sc, make 2 dec, then make 6 sc. (11 stitches)
Round 9: In this round, you add the arms. Make 3 sc through the first arm and body together, make 3 sc across the front chest, make 3 sc through the second arm and body together, then make 2 sc along the back. (11 stitches)
Round 10 (Head starts here): Make 11 inc. (22 stitches)
Round 11: Repeat (1 sc, 1 inc) eleven times. (33 stitches)
Round 12 to Round 13: Make 33 sc around. (33 stitches)
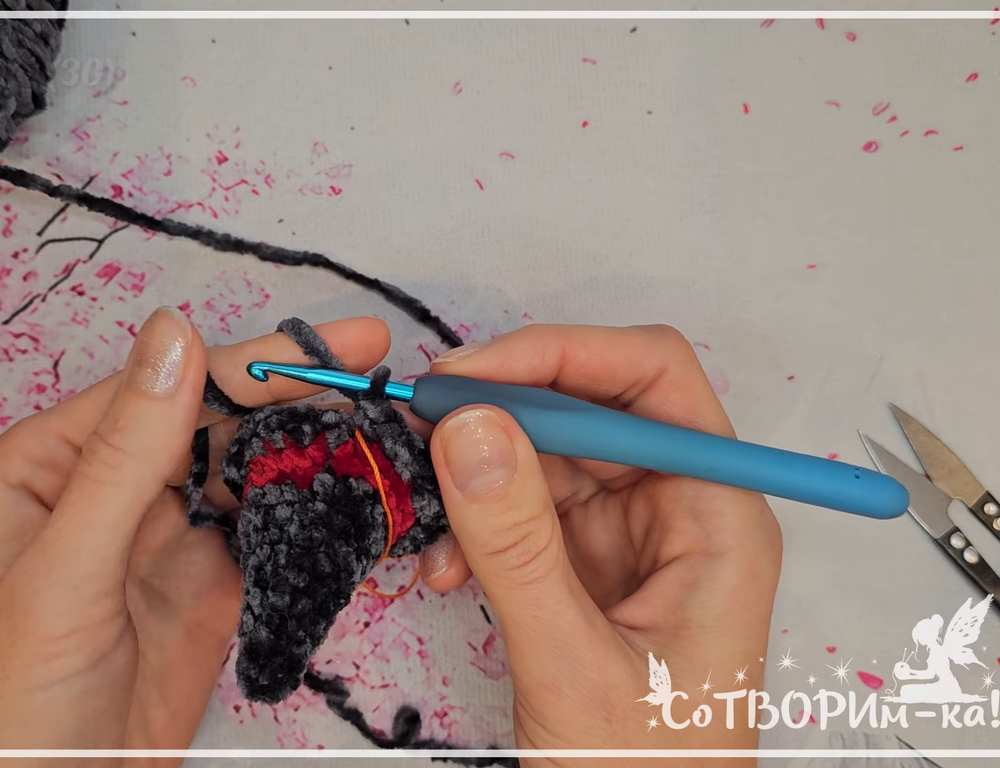
Round 14: Fold the head to locate the sides. Make 3 dec on the first side. Make 11 sc across the front, but place the nose bead at the 6th stitch (middle stitch). To attach the bead, use a smaller hook to pull the yarn loop through the bead, then make a sl st. Continue making the remaining front stitches. Make 3 dec on the second side. Make sc stitches until the end of the round. (27 stitches)
Round 15 to Round 18: Make 27 sc around. (27 stitches)
Round 19: Repeat (7 sc, 1 dec) three times. (24 stitches)
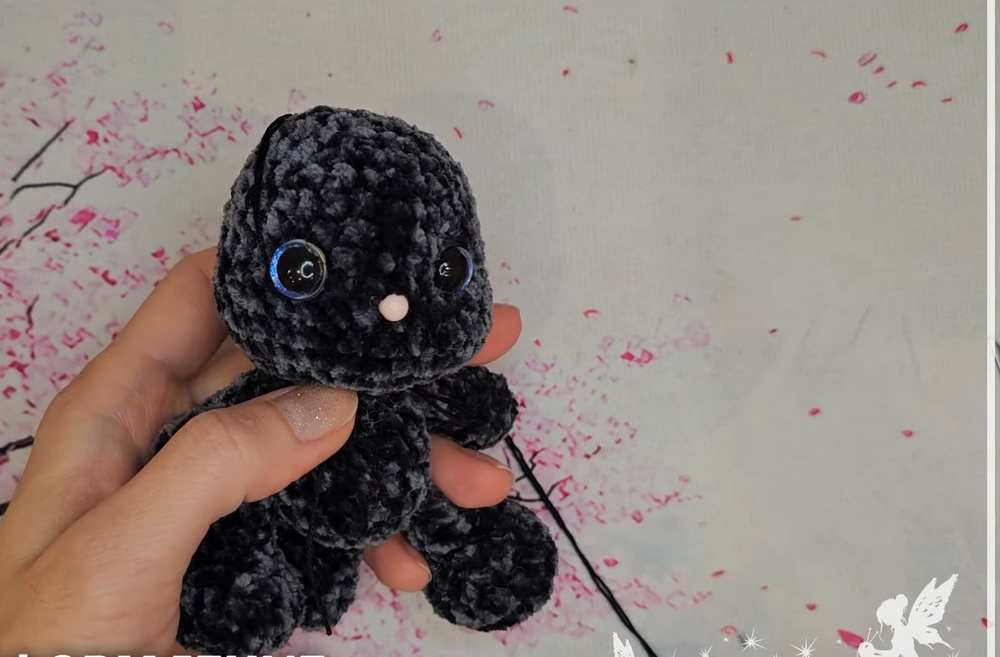
Put stuffing inside the body now. Put the 12 mm safety eyes 1 row above the nose bead. Melt the plastic back pins of the eyes carefully with heat to make them secure.
Round 20: Repeat (2 sc, 1 dec) six times. (18 stitches)
Round 21: Repeat (1 sc, 1 dec) six times. (12 stitches)
Put stuffing inside the head completely. Push it to the sides first, then fill the center.
Round 22: Make 6 dec. (6 stitches)
Cut the yarn, leave a tail. Pull the yarn through the front loops of the 6 stitches, pull tight to close the hole, tie a knot, and hide the thread inside the head.
Face Details and Assembly
Use a needle and yarn to sculpt the face. Insert the needle at the bottom of the head under the eye, bring it out at the side center of the eye, pull tight to create an indent, and tie a knot. Repeat this step for both eyes so they look the same.
Use white yarn to stitch lines right underneath the eyes to look like the white part of the eyes.
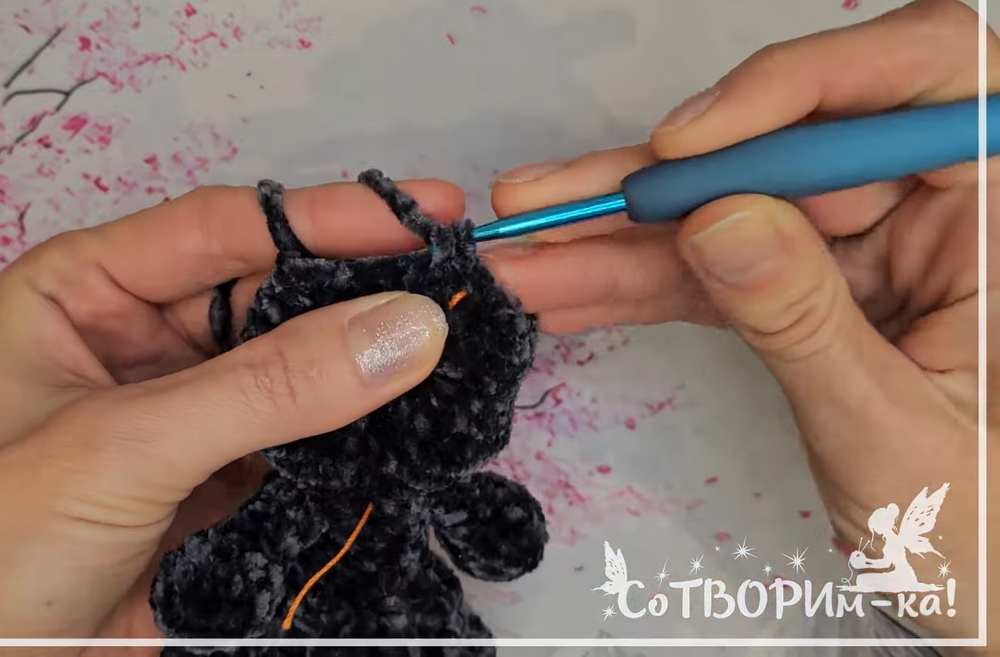
Sew the ear (or both ears) onto the top of the head. If you made only 1 ear, sew the witch hat to the other side of the head so it looks like the second ear.
Make a neck cord: Make 70 ch stitches using the second color yarn. Tie this cord around the neck like a small scarf.
Video Tutorial to Learn Even Better