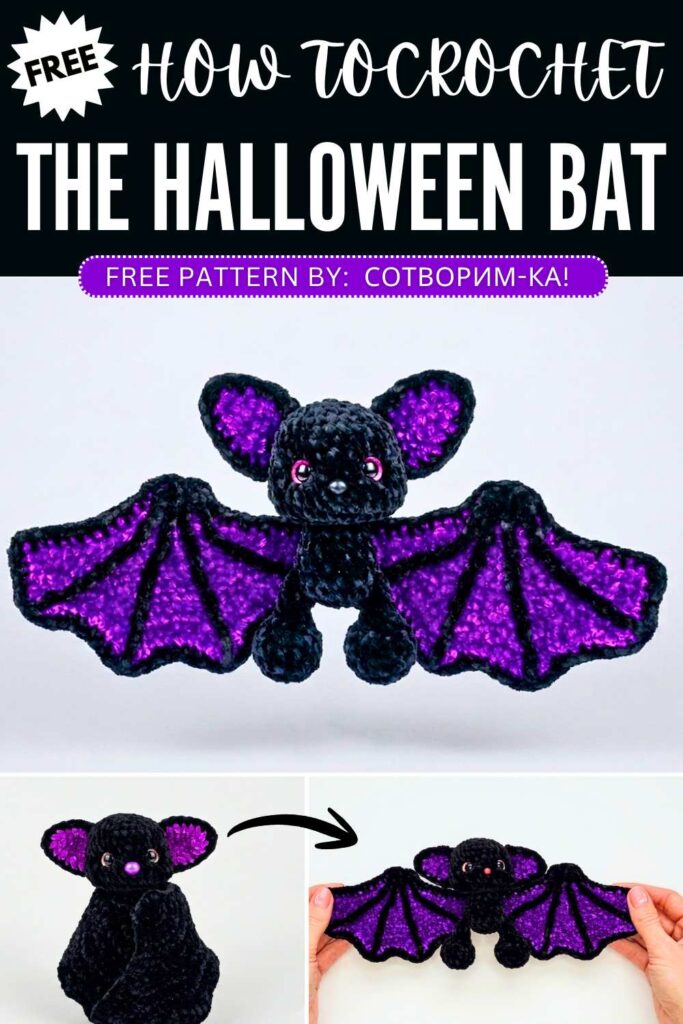
Sotvorimka: Free Crochet Foldable Wings Bat Plushie in Purple
Here is the FREE pattern to crochet the purple version of the crochet long-winged flying bat plushie with the moveable wings and NICE wing embroidery. This has the same black body but the purple wings. You can easily crochet this bat plush won’t take more than 1 hour to crochet this purple bat plushie. This will make a NICE Halloween hanging and this plush requires the same as the black cat and the fox plush.
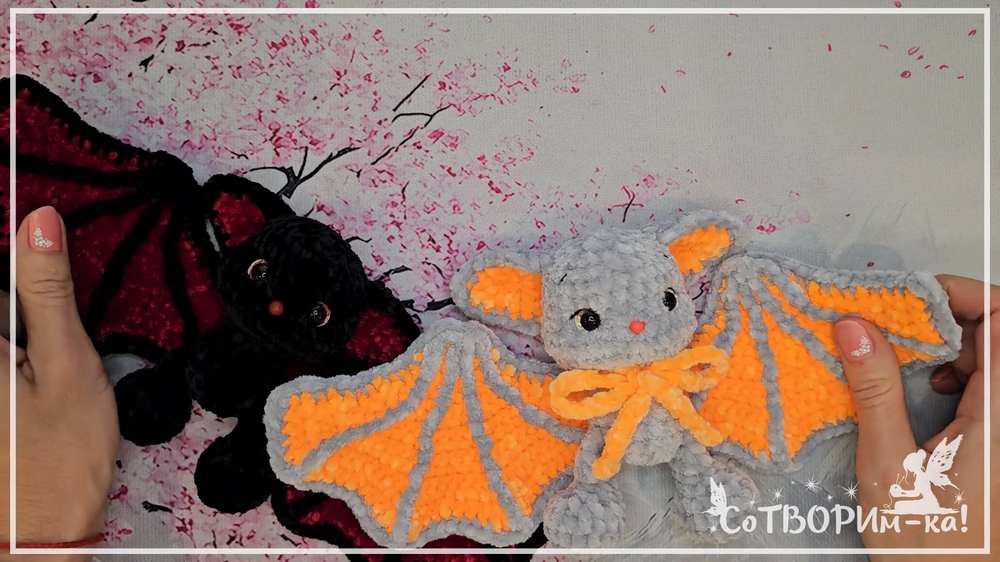
Crochet Foldable Wings Bat Plushie
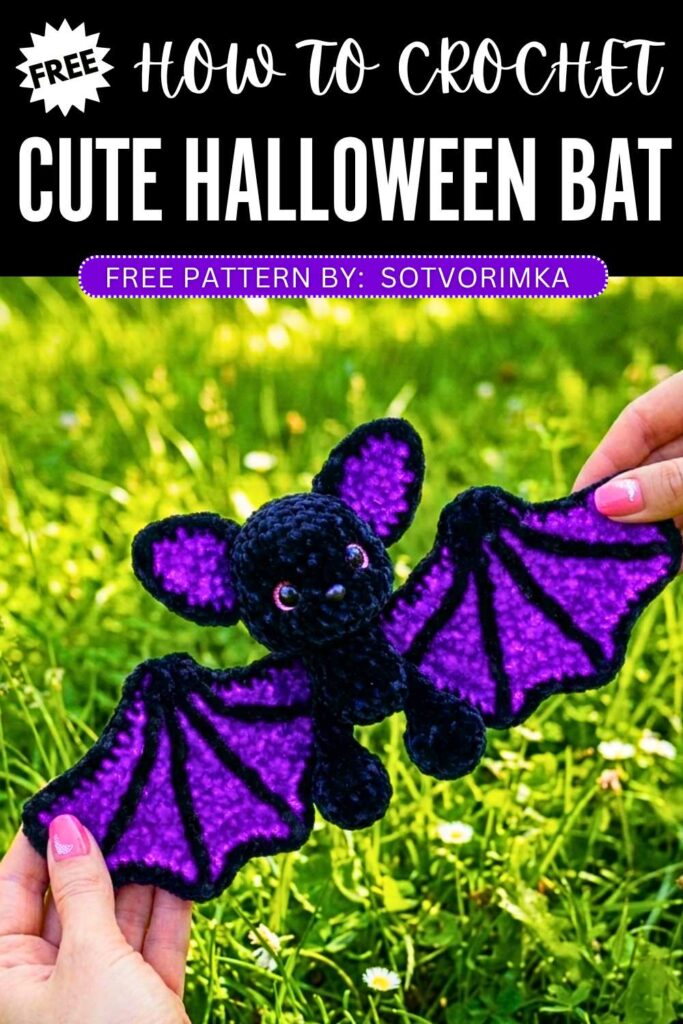
While the red velvet bat plush looked EQUALLY elegant, you will definitely fall in love with this version, too. You can pose the wings in different ways such as to crochet the cave hanging bat version. So, continue reading for the full crochet velvet bat plush.
About the designer: The designer behind this crochet purple bat plush is @sotvorimka – She designs the CUTEST character and animal plushie and I fell in love with her crochet plushies immediately. You will love her seasonal crochet plushies, in particular.
Cute Baby Bat Plushie Crochet Pattern
This adorable, soft, and small bat plushie is worked by crocheting separate parts (legs, ears, and wings) and joining them to a one-piece body and head.
Materials Needed
Yarn: Main color (MC) and contrasting color (CC) in your choice of plush or standard yarn.
Hooks: 4.0 mm crochet hook (plus a smaller hook to help attach the nose bead).
Eyes: 10 mm safety eyes.
Nose: 1 accent bead.
Notions: Fiberfill stuffing, black and white embroidery thread, sewing needle, and scissors.
Abbreviations (US Terms)
MR: Magic ring
ch: Chain
sc: Single crochet
dc: Double crochet
inc: Single crochet increase (2 sc in one stitch)
dec: Single crochet decrease (sc 2 together)
sl st: Slip stitch
st(s): Stitch(es)
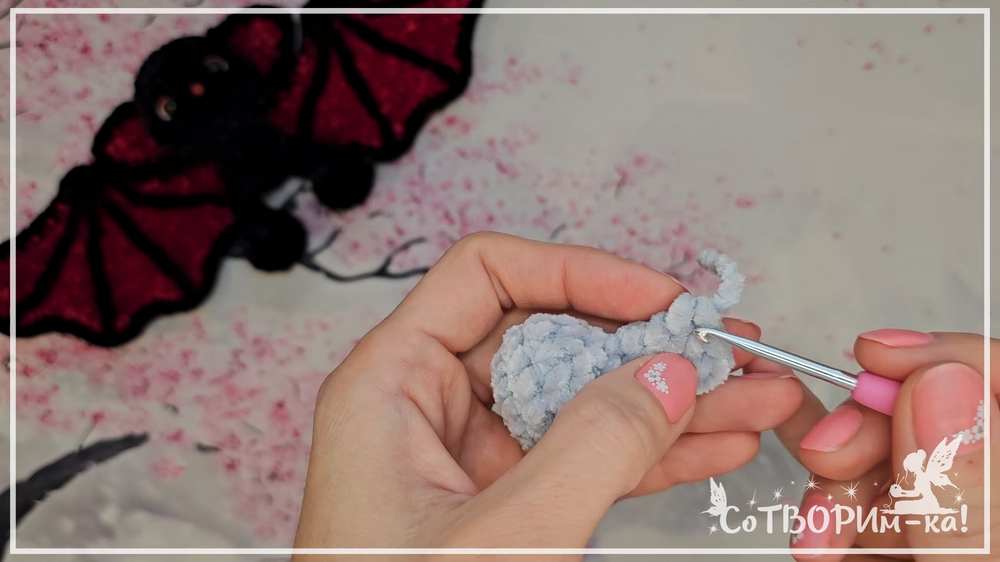
Legs (Make 2)
Use Main Color (MC).
Round 1: 8 sc in MR (8)
Round 2: 8 inc (16)
Rounds 3–4: 16 sc (16)
Round 5: 2 sc, 6 dec, 2 sc (10)
Round 6: 2 sc, 3 dec, 2 sc (7)
Rounds 7–8: 7 sc (7)
Lightly stuff the bottom section of the foot.
Round 9: 3 sc, 1 dec, 2 sc (6)
To Finish: Press the top opening flat. Work 3 sc directly through both layers to seal the edge closed. Fasten off.
Ears (Make 2)
Inner Ear
Use Contrasting Color (CC). Worked in rows.
Row 1: 3 sc in MR, ch 1, turn (3)
Row 2: 1 sc, inc, 1 sc, ch 1, turn (4)
Row 3: 4 sc, ch 1, turn (4)
Row 4: inc, 2 sc, inc, ch 1, turn (6)
Row 5: 6 sc, ch 1, turn (6)
Row 6: inc, 4 sc, inc (8)
Fasten off.
Outer Ear
Use Main Color (MC).
Rows 1–6: Repeat the exact same steps as the Inner Ear, but do not cut the yarn at the end of Row 6.
Assembly & Edging
Place the Inner Ear on top of the Outer Ear (wrong sides facing together). Crocheting through both layers simultaneously to join them:
Work sc evenly around the sides.
Place 3 sc into the very top tip stitch to create a sharp point.
Fasten off, leaving a long yarn tail for sewing.
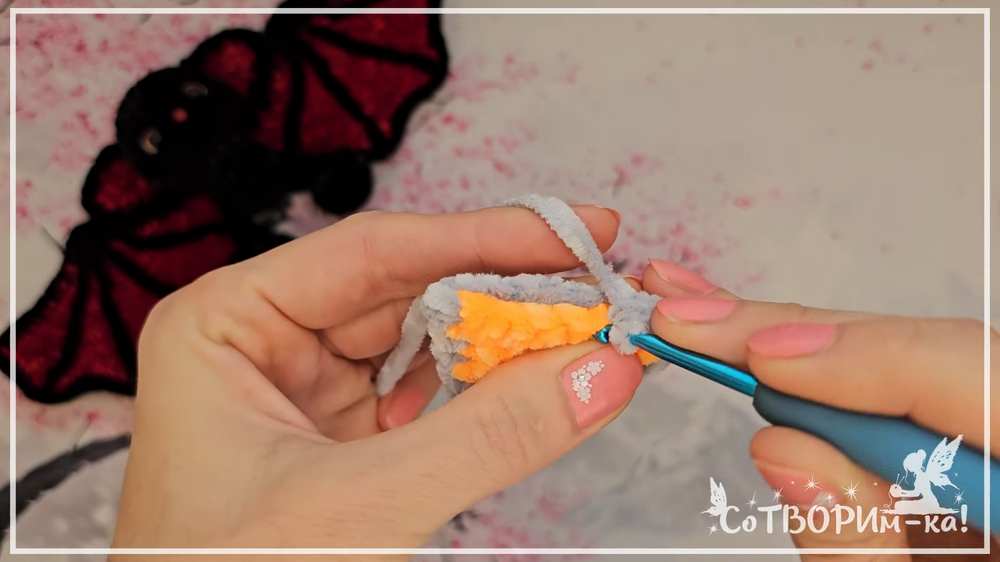
Wings (Make 2)
Inner Wing
Use Contrasting Color (CC). Worked in rows.
Row 1: 4 sc in MR, ch 1, turn (4)
Row 2: 4 sc, ch 1, turn (4)
Row 3: 1 sc, 2 inc, 1 sc, ch 1, turn (6)
Row 4: (1 sc, inc) 3 times, ch 1, turn (9)
Row 5: 9 sc, ch 1, turn (9)
Row 6: inc, (3 sc, inc) 2 times, ch 1, turn (12)
Row 7: 1 sc, (inc, 2 sc) 3 times, inc, 1 sc, ch 1, turn (16)
Row 8: 16 sc, ch 1, turn (16)
Row 9: 2 sc, (inc, 3 sc) 3 times, inc, 1 sc, ch 1, turn (20)
Row 10: 2 sc, (inc, 4 sc) 3 times, inc, 2 sc, ch 1, turn (24)
Row 11: 3 sc, (inc, 5 sc) 3 times, inc, 2 sc, ch 1, turn (28)
Row 12: 3 sc, (inc, 6 sc) 3 times, inc, 3 sc, ch 1, turn (32)
Row 13: 4 sc, [2 dc in next st, 7 sc] 3 times, 2 dc in next st, 3 sc, ch 1, turn (36)
Row 14: 4 sc, [3 dc in the same st, 3 sc, dec, 3 sc] 3 times, 3 dc in the same st, 4 sc.
Fasten off.
Outer Wing
Use Main Color (MC).
Rows 1–14: Repeat the exact same steps as the Inner Wing, but do not cut the yarn at the end of Row 14.
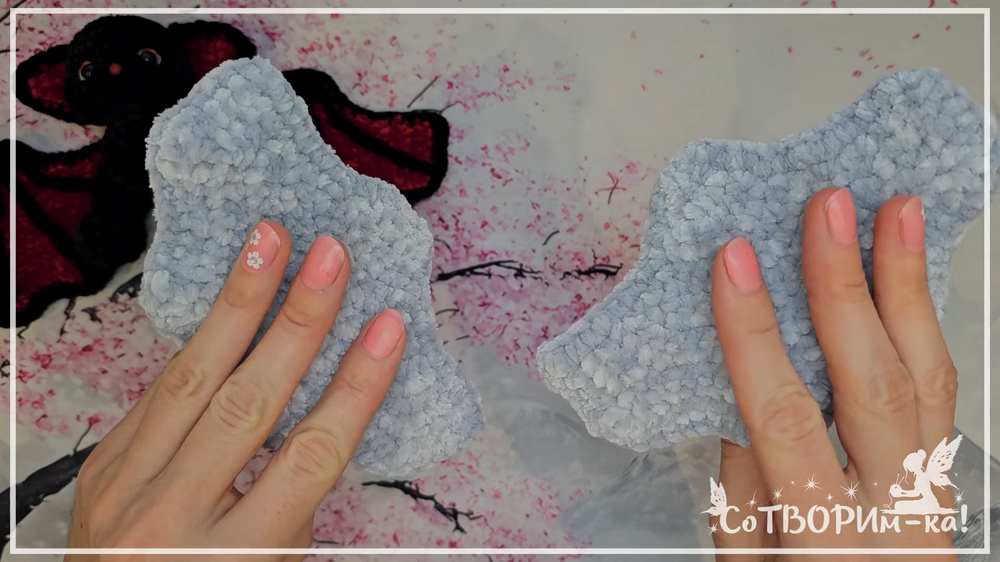
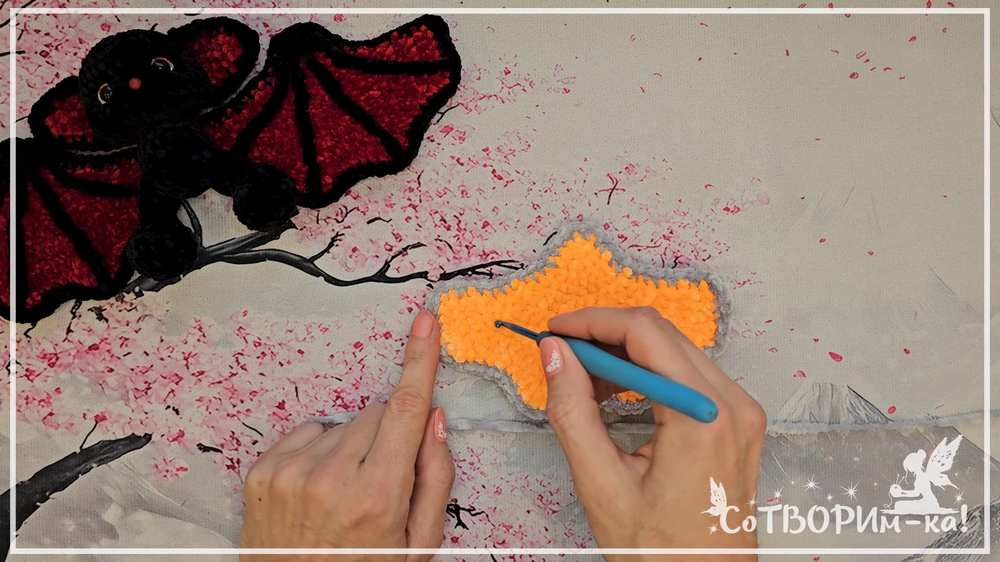
Assembly & Detailing
Place the Inner Wing and Outer Wing back-to-back. Crocheting through both layers to join them:
Work sc evenly along the edges.
Add extra sc stitches at the sharp tips to keep them defined.
Fasten off, leaving a long tail for sewing.
Detailing: Use a yarn needle and CC yarn to embroider classic ribbed “bat wing” lines radiating from the center base to the points on the inner side.
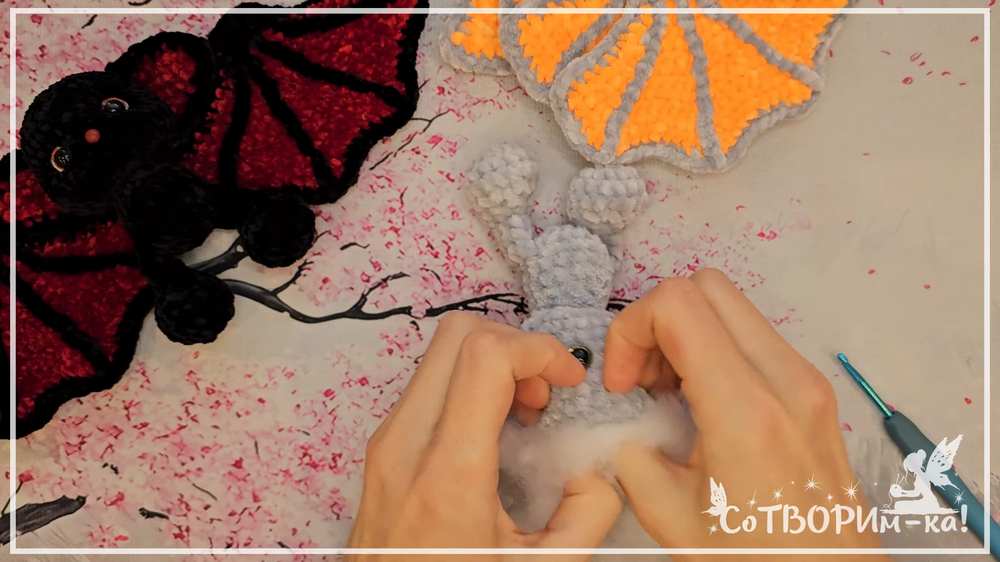
Body & Head (One Piece)
Use Main Color (MC). Worked in continuous rounds.
The Body
Round 1: 8 sc in MR (8)
Round 2: 8 inc (16)
Round 3: 16 sc (16)
Round 4 (Leg Attachment): Crochet 3 sc through the flat top of the first leg and the body together. 6 sc across the body. Crochet 3 sc through the flat top of the second leg and the body together. 4 sc across the body (16)
Rounds 5–6: 16 sc (16)
Round 7: 3 sc, 3 dec, 7 sc (13)
Round 8: 3 sc, 2 dec, 6 sc (11)
Round 9: 11 sc (11)
Do not cut yarn. Move straight into the head instructions below.
The Head
Round 10 (Head R1): 11 inc (22)
Round 11 (Head R2): (1 sc, inc) 11 times (33)
Rounds 12–13 (Head R3–4): 33 sc (33)
Round 14 (Head R5): Work 3 dec along the left side. Locate the center front stitch: use your smaller hook to pull a loop of your working yarn through the nose bead, then secure it with a sl st. Work 3 dec along the right side. Sc in all remaining stitches around (27)
Rounds 15–18 (Head R6–9): 27 sc (27)
Round 19 (Head R10): (7 sc, dec) 3 times (24)
Face Setup & Stuffing: Insert your 10 mm safety eyes 1 row above the bead nose, leaving a gap of 5 stitches between them. Firmly stuff the body now.
Round 20 (Head R11): (2 sc, dec) 6 times (18)
Round 21 (Head R12): (1 sc, dec) 6 times (12)
Finish stuffing the head firmly.
Round 22 (Head R13): 6 dec (6)
To Finish: Fasten off, weave the tail through the front loops of the remaining 6 stitches, pull tight to close the hole, and bury the yarn end inside the head.
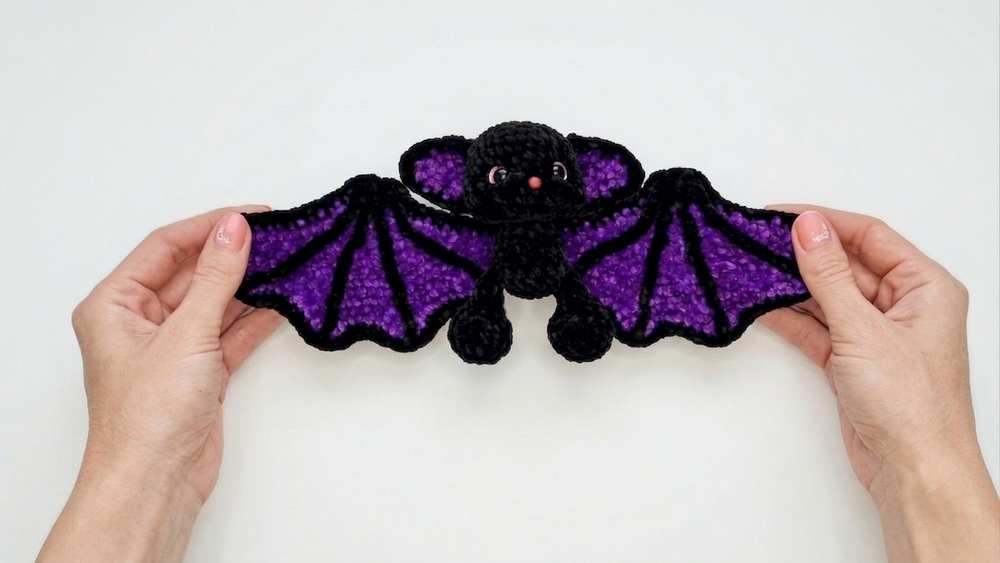
Final Assembly
Ears: Position and sew the ears securely to the top of the head.
Wings: Sew the wings diagonally onto the back of the body so they frame the plushie nicely.
Sculpting: Use strong thread to pull the inner corners of the safety eyes slightly inward and backward toward the base of the head to give the face a contoured, expressive look.
Embroidery:
Thread your white embroidery floss to sew a little crescent highlight on the outer side of each safety eye.
Use black embroidery floss to stitch on cute eyebrows or tiny eyelashes just above the eyes.
Pin For Later: