
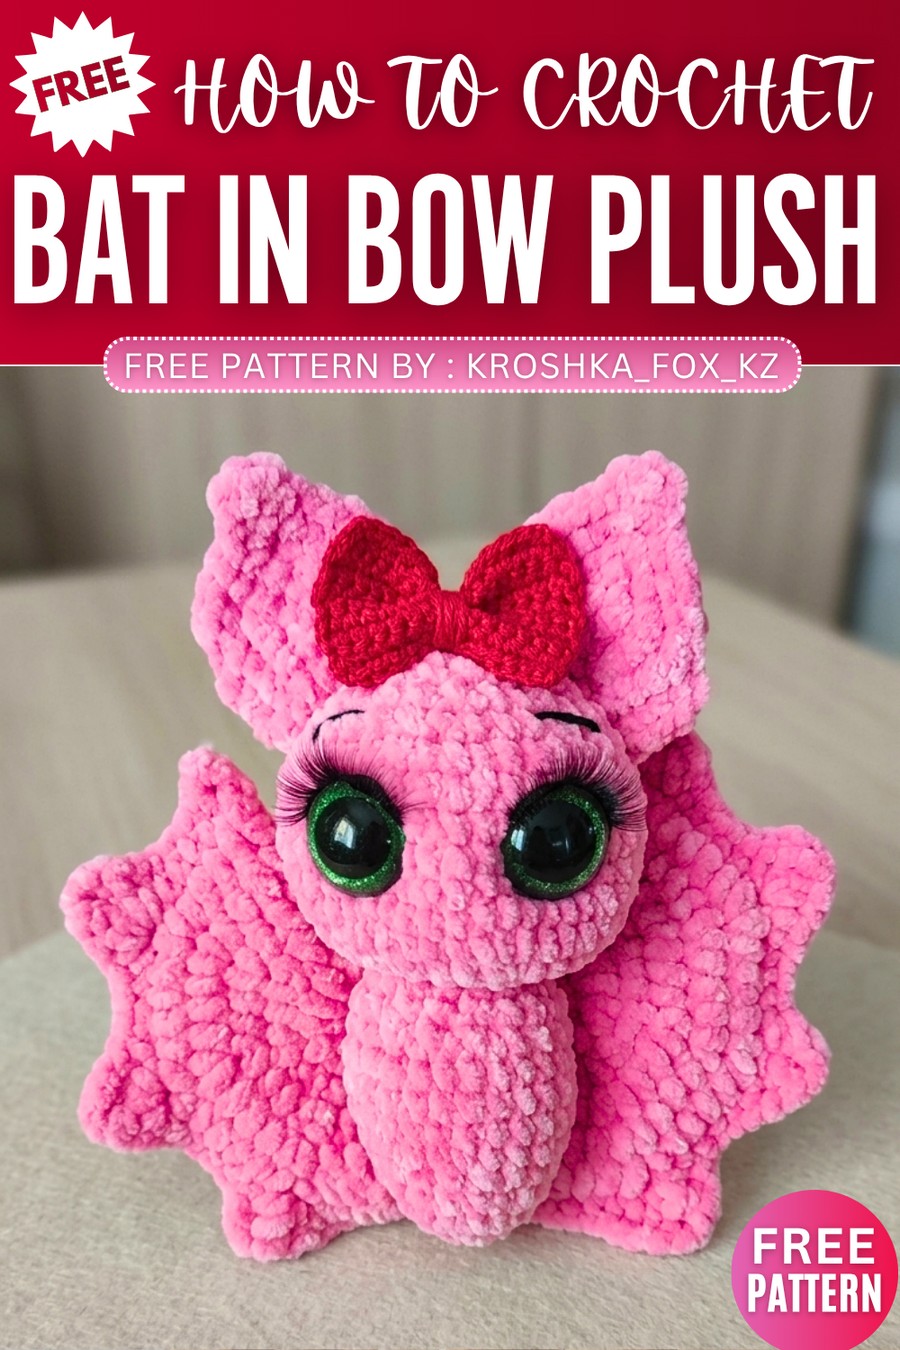
Kroshka: Crochet Halloween Baby Bat Plushie with Bow & Long-Eyelash
Today, let’s crochet the CUTEST bat plushie, I have presented so far! Introducing, the crochet kawaii baby bat plushie for Halloween that has big (yes, bigger than usual) glitter eyes with long eyelashes and a red bow tie on the head! This is undoubtedly the CUTEST bat plushie design I have covered so far. This is also a low-sew crochet bat plush and you will also find a tutorial to learn crocheting it as a beginner.
Crochet Halloween Baby Bat Plushie
You can easily crochet this bat plush as a present for a baby girl within an hour. I have already shared many bat plushie tutorials and few written patterns as well, but if you want to gift something to a little one, this crochet bat plush would be my ultimate recommendation. So, continue reading for the full pattern to crochet this plush.
How to Crochet Another Baby Bat in a Bow
This project creates a cuddly, adorable Amigurumi bat that makes for the perfect Halloween companion! Instead of being spooky, this plush bat features large, expressive eyes with lovely eyelashes, cute little folded wings, and a charming bow on its head.
It is created primarily using soft, chunky plush yarn, making it extremely huggable and a fantastic, quick project for the spooky season.
Materials Needed
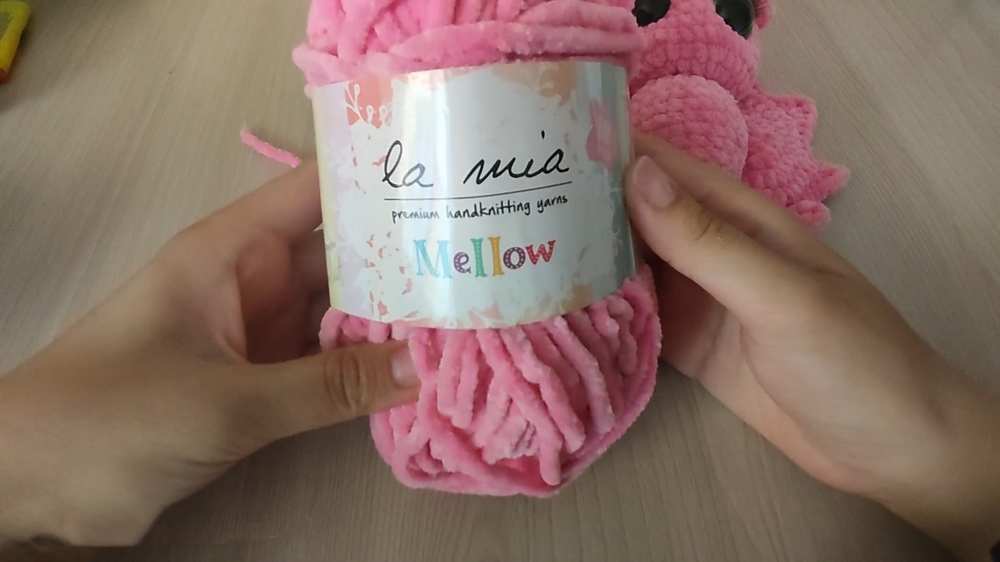
Plush Yarn (Chunky/Bulky): Pink (or any color you prefer for the bat).
Fine/Sport Weight Yarn (e.g., YarnArt Jeans): A contrasting color like red or dark pink for the bow.
Acrylic Yarn: Black (for embroidering the eyebrows) and Pink (for eye indentations/sculpting).
Crochet Hooks: 4.0 mm (for the plush yarn parts) and 2.0 mm (for the bow).
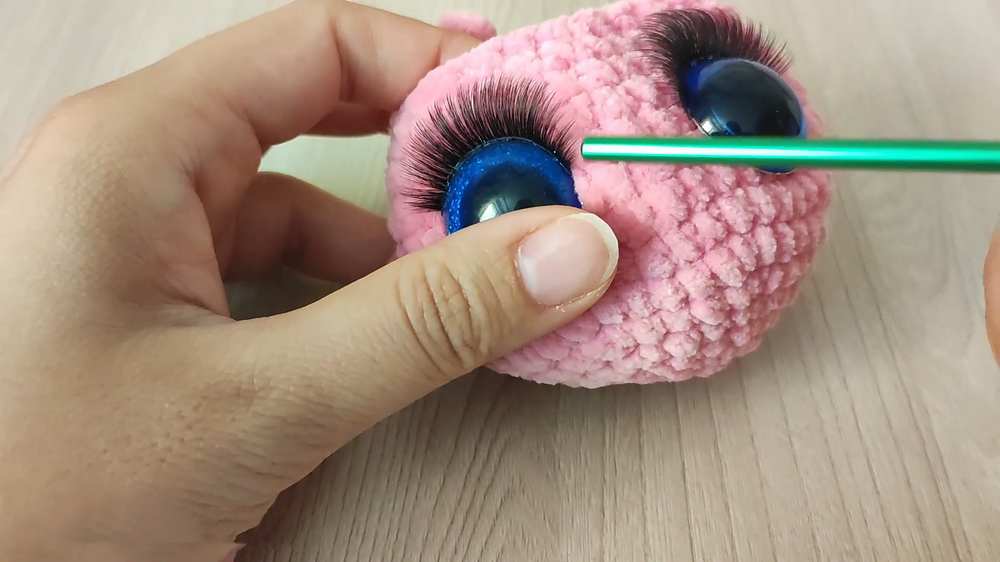
Safety Eyes: 25 mm.
Fake Eyelashes & Glue (Glue the eyelashes to the safety eyes before starting so they have time to dry).
Stuffing: Fiberfill / Hollowfiber.
Tools: Stitch markers, scissors, and a yarn needle for sewing.
Abbreviations (US Terms)
MR – Magic Ring
ch – Chain
sc – Single Crochet
hdc – Half Double Crochet
dc – Double Crochet
inc – Increase (2 sc in one stitch)
hdc-inc – Half Double Crochet Increase (2 hdc in one stitch)
dec – Decrease (sc 2 together)
sl st – Slip Stitch
st(s) – Stitch(es)
[…] – Sequence of stitches to be worked into the same stitch
Pattern Instructions
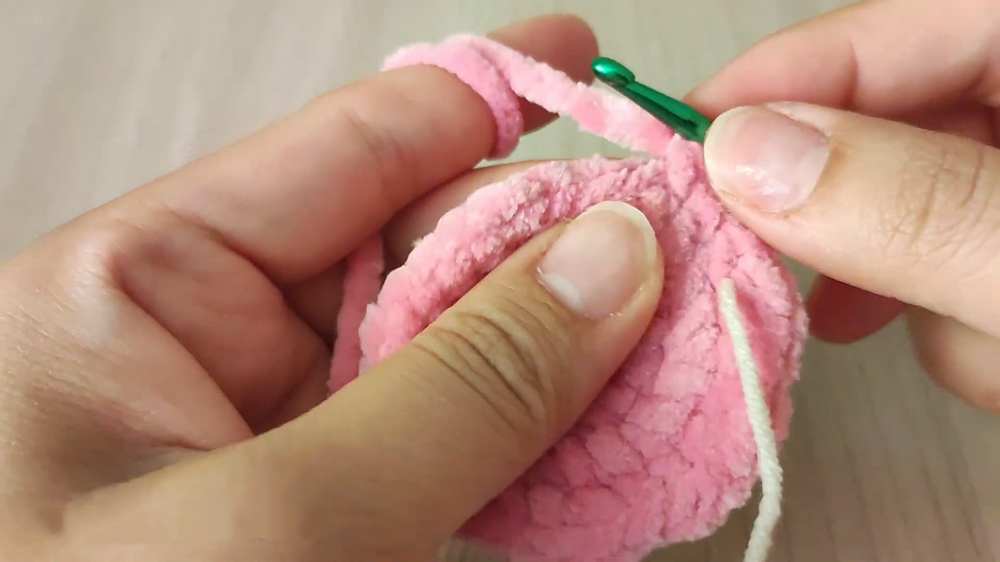
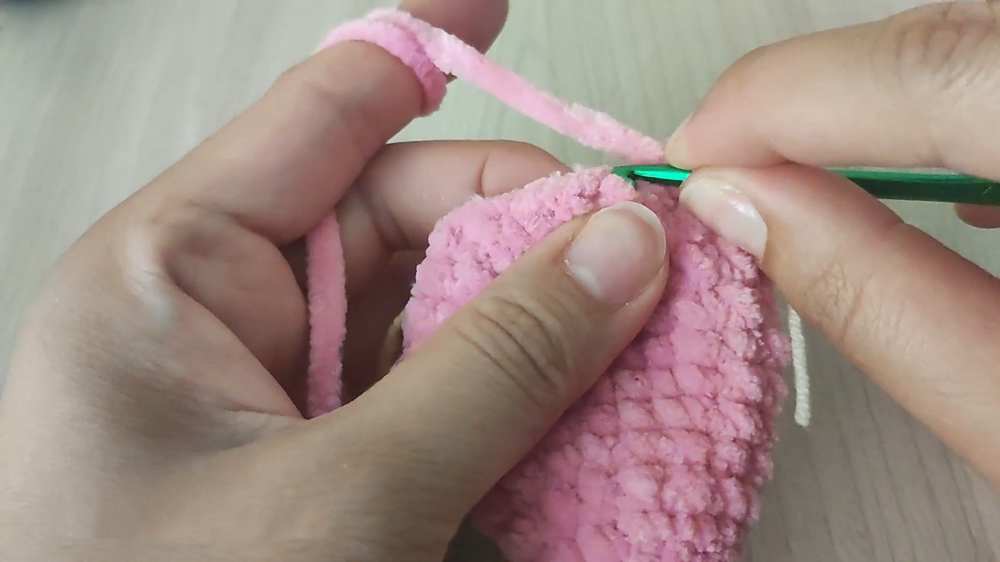
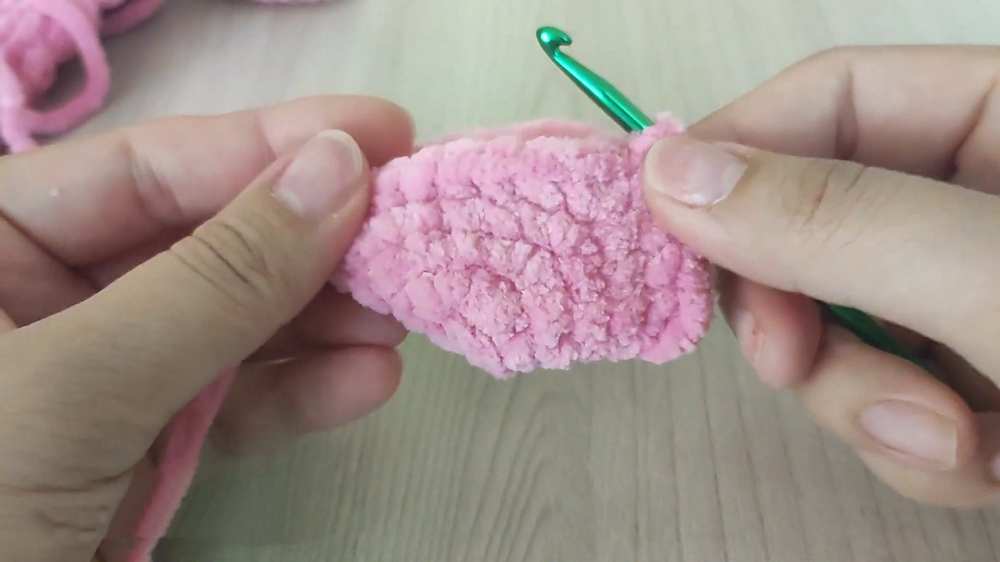
- 1. Head (Use 4.0 mm hook & Plush Yarn)
Note: The head is crocheted from the bottom up.
Rnd 1: 7 sc in MR, or ch 2 and work 7 sc in the 2nd ch from hook (7)
Rnd 2: 7 inc (14)
Rnd 3: (1 sc, inc) x 7 (21)
Rnd 4: (2 sc, inc) x 7 (28)
Rnd 5: (3 sc, inc) x 7 (35)
Rnd 6: (4 sc, inc) x 7 (42)
Rnds 7-9: 42 sc (42) [3 rounds]
Rnd 10: (5 sc, dec) x 6 (36)
Rnds 11-12: 36 sc (36) [2 rounds]
Rnd 13: (4 sc, dec) x 6 (30)
Rnd 14: (3 sc, dec) x 6 (24)
Insert the safety eyes (with glued eyelashes) between Rounds 9 and 10. The distance between the eyes should be 5 stitches.
Rnd 15: (2 sc, dec) x 6 (18)
Stuff the head firmly with fiberfill.
Rnd 16: (1 sc, dec) x 6 (12)
Add extra stuffing if needed.
Rnd 17: 6 dec (6)
Fasten off, weave the yarn tail through the front loops of the remaining 6 stitches, and pull tight to close the hole. Hide the yarn tail.
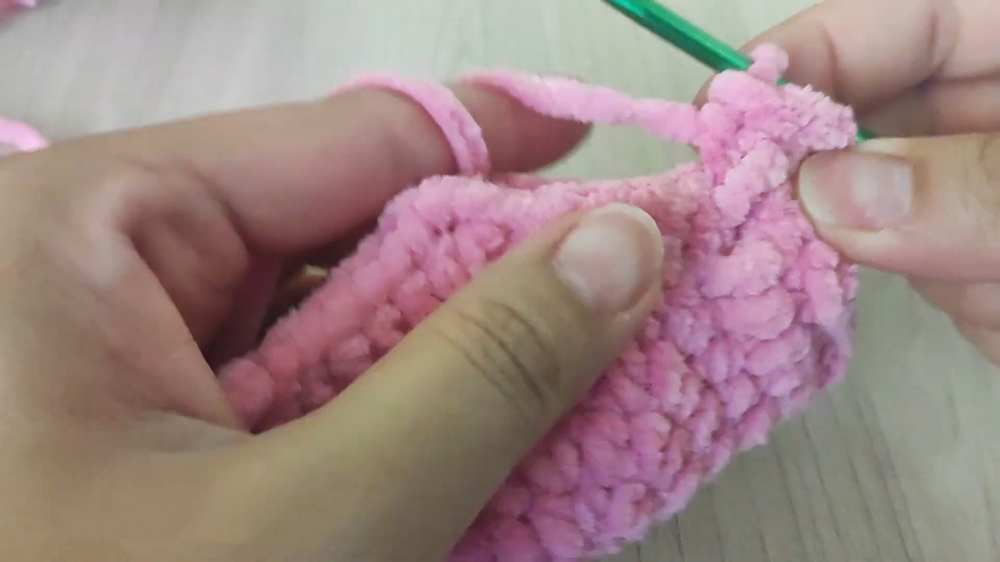
2. Body (Use 4.0 mm hook & Plush Yarn)
Rnd 1: 6 sc in MR (6)
Rnd 2: 6 inc (12)
Rnd 3: (inc, 3 sc) x 3 (15)
Rnd 4: (inc, 4 sc) x 3 (18)
Rnd 5: 18 sc (18)
Rnd 6: (2 sc, inc) x 6 (24)
Rnds 7-9: 24 sc (24) [3 rounds]
Rnd 10: 9 sc, 3 dec, 9 sc (21) Note: Place a marker on the middle decrease; this marks the center of the bat’s belly.
Rnd 11: 21 sc (21)
Rnd 12: (dec, 5 sc) x 3 (18)
Rnd 13: dec, 1 sc, (dec, 3 sc) x 3 (14)
Sl st into the first st, fasten off, and leave a long tail for sewing. Stuff the body firmly.
3. Ears (Make 2 using 4.0 mm hook & Plush Yarn)
Rnd 1: 6 sc in MR (6)
Rnd 2: 6 inc (12)
Rnd 3: (3 sc, 3 sc in the next st) x 3 (18)
Rnd 4: 4 sc, 3 sc in the next st, (5 sc, 3 sc in the next st) x 2, 1 sc (24)
Rnd 5: 5 sc, 3 sc in the next st, (7 sc, 3 sc in the next st) x 2, 2 sc (30)
Work 2 extra sc to shift the starting point.
Fold the ear in half flat. Crochet through both layers with 4 sc to close the tip of the ear, then sl st into the next st.
Fasten off and leave a long tail for sewing.
4. Wings (Make 2 using 4.0 mm hook & Plush Yarn)
Rnd 1: 8 sc in MR (8)
Rnd 2: 8 hdc-inc (16)
Rnd 3: (1 hdc, hdc-inc) x 8 (24)
Rnd 4: (2 hdc, hdc-inc) x 8 (32)
Rnd 5: (3 hdc, hdc-inc) x 8 (40)
Rnd 6: (4 hdc, [1 hdc, ch 2, 1 hdc] in the next st) x 7, 4 hdc, 1 sc (54)
Folding and Edging the Wing:
Fold the circular piece in half. You will now crochet through both sides to close the wing and create the scalloped edge.
Work 6 sc. In the first ch-2 space, work: [1 hdc, 1 dc, ch 2, 1 dc, 1 hdc].
Work 6 sc. In the next ch-2 space, work: [1 hdc, 1 dc, ch 2, 1 dc, 1 hdc].
Work 6 sc. In the next ch-2 space, work: [1 hdc, 1 dc, ch 2, 1 dc, 1 hdc].
Work 4 sc. In the final ch-2 space, work: [1 hdc, 1 dc].
Fasten off and hide the yarn tail inside the wing.
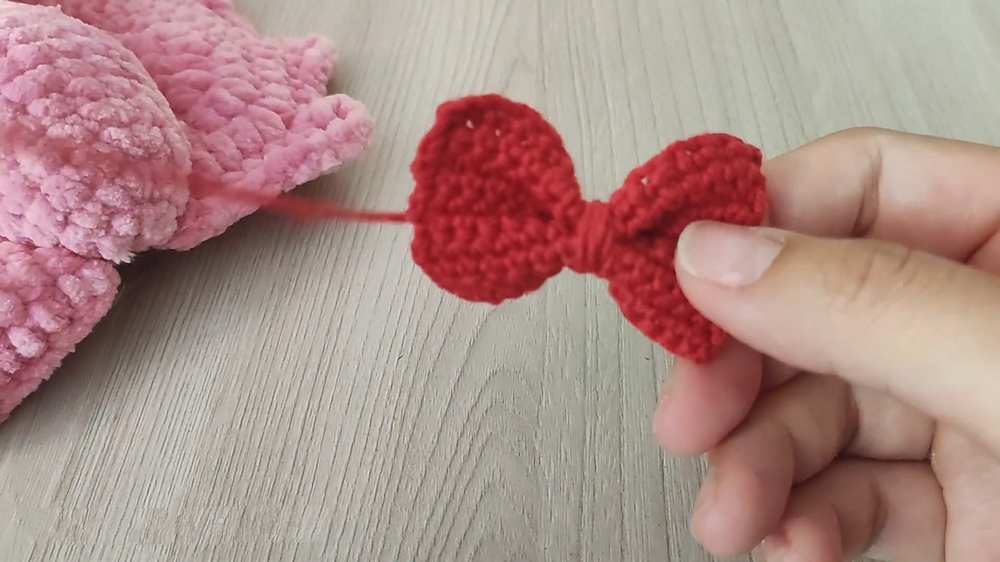
5. Bow (Use 2.0 mm hook & Sport Weight Yarn)
Row 1: Ch 15. Starting in the 2nd ch from the hook, work 14 sc (14). Ch 1, turn.
Rows 2-10: 14 sc (14). Ch 1, turn.
Fasten off, leaving a very long tail. Wrap the tail tightly around the middle of the crocheted rectangle multiple times to pinch it into a bow shape. Tie it securely to hold the shape, and leave the remaining tail to sew it to the head.
Assembly & Finishing Touches
Eye Indentations: Thread a long needle with pink yarn and sculpt the eyes to pull them slightly deeper into the head for a cuter expression.
Eyebrows: Use black acrylic yarn to embroider short, slightly angled eyebrows just above the eyes.
Attach Body to Head: Sew the body to the bottom of the head. Ensure the belly (the side with the 3 decreases from Round 10) is facing straight forward.
Attach Wings: Find the center back of the body. Sew the straight edge of the wings to the back, placing them about 3 stitches away from the center line on each side.
Attach Ears: Sew the ears to the top sides of the head. Start sewing each ear about 3 stitches away from the outer edge of the eye. The space between the two ears across the very top of the head should be about 4 stitches.
Attach Bow: Use the remaining long yarn tail from the bow to sew it slightly off-center in front of one ear. Hide any remaining yarn tails inside the body.
Looking for a Tutorial? Crochet Bat Plush, Here!