
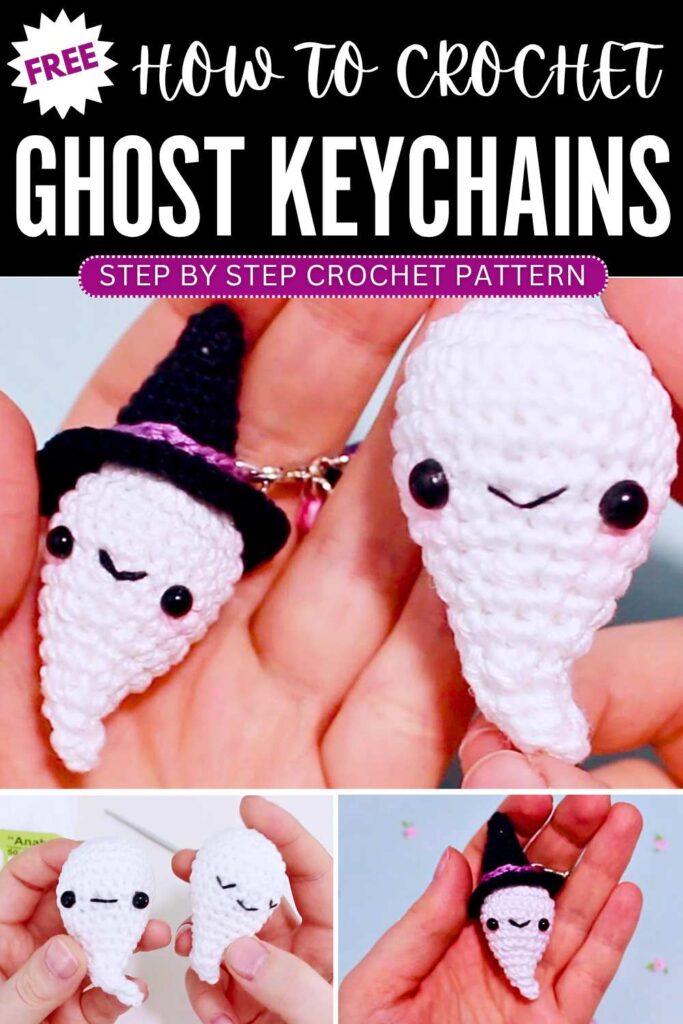
Emily: Free Crochet Miniature Baby Ghost in a Witch Hat Pattern
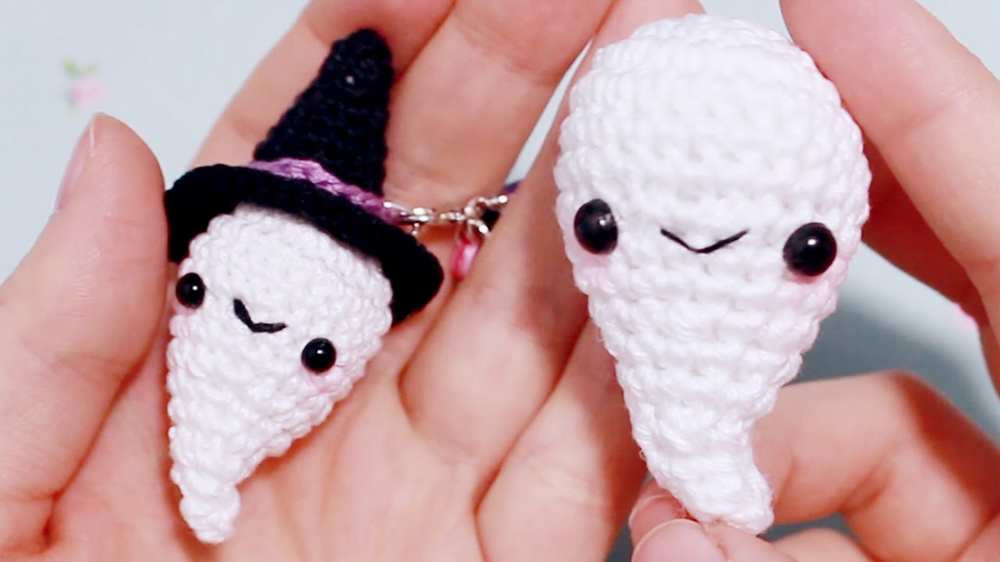
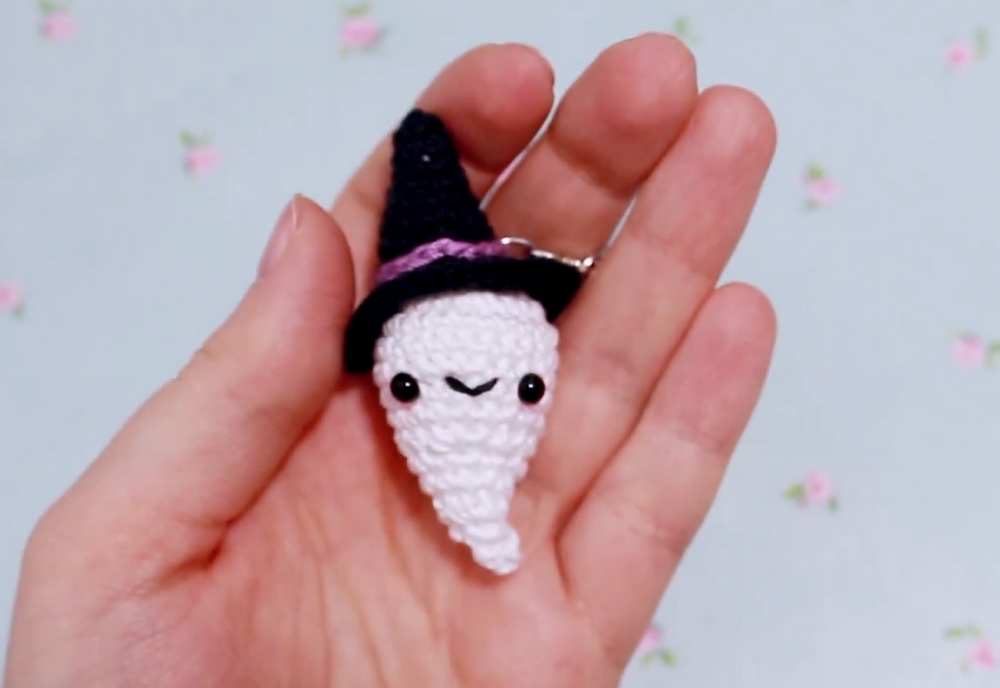
This Halloween, crochet this REALLY cute miniature baby ghost amigurumi wearing a witch following this FREE written pattern. This crochet ghost has a curved, pointy little tail that makes it look UNIQUE and adorable. You can crochet it as a trick-or-treating bag keychain finished with an embroidery smile. With the black and purple witch hat, it will look even cuter than the orange witch hat.
Miniature Baby Ghost in a Witch Hat
You can attach the witch hat at different angles and also crochet this miniature ghost using the plush yarn. It works up fast and you won’t need more than 25 minutes to crochet this ghost amigurumi set for Halloween. I have also added the witch hat pattern in the end as well as the video tutorial.
About the designer: The designer behind this crochet miniature baby ghost is @Emily – she crochets all things CUTE and teach them in a REALLY easy way. You will also find the yarn reviews on her library!
How to Crochet Miniature Baby Ghost like a Droplet
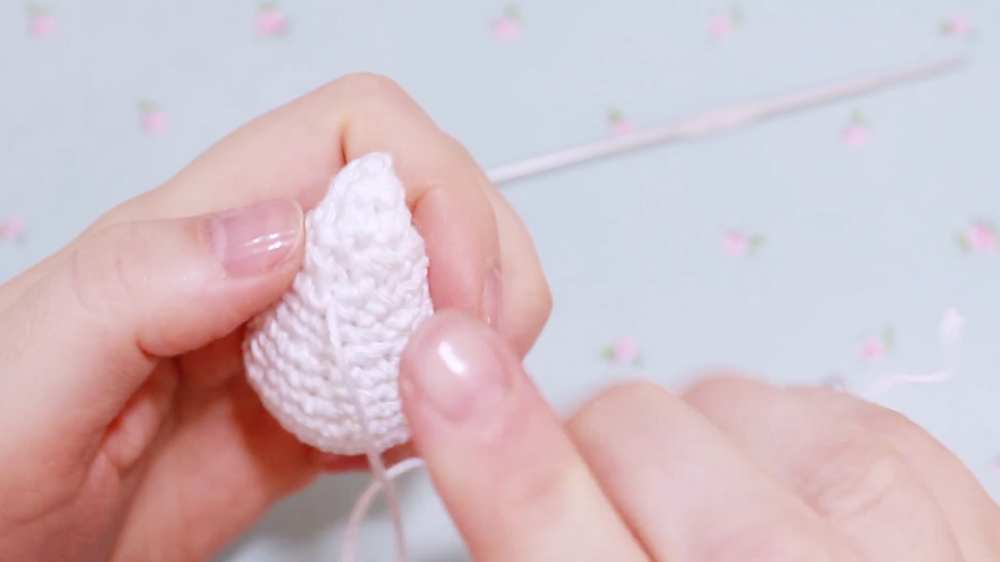
This project is a quick and adorable amigurumi ghost, perfect for Halloween! It’s crocheted in a simple, continuous piece starting from the rounded head and tapering down to a curved, pointy little tail.
Because it only requires basic stitches, increases, and decreases, it works up very fast and makes a great base for customizing with fun expressions.
Materials
Orange, white and black yarn (Lily or similar weight)
1.9 mm crochet hook
Scissors
Tapestry needle
- Purple embroidery yarn
- Safety beads
Abbreviations
MR: Magic Ring
sc: single crochet
inc: increase (2 sc in one stitch)
dec: decrease (sc 2 together)
sl st: slip stitch
ch: chain
Base Ghost Pattern
(Note: Work joined rounds method by doing a sl st and ch 1 at the end of each round to keep the seam straight. You can follow that method or simply crochet in a continuous spiral).
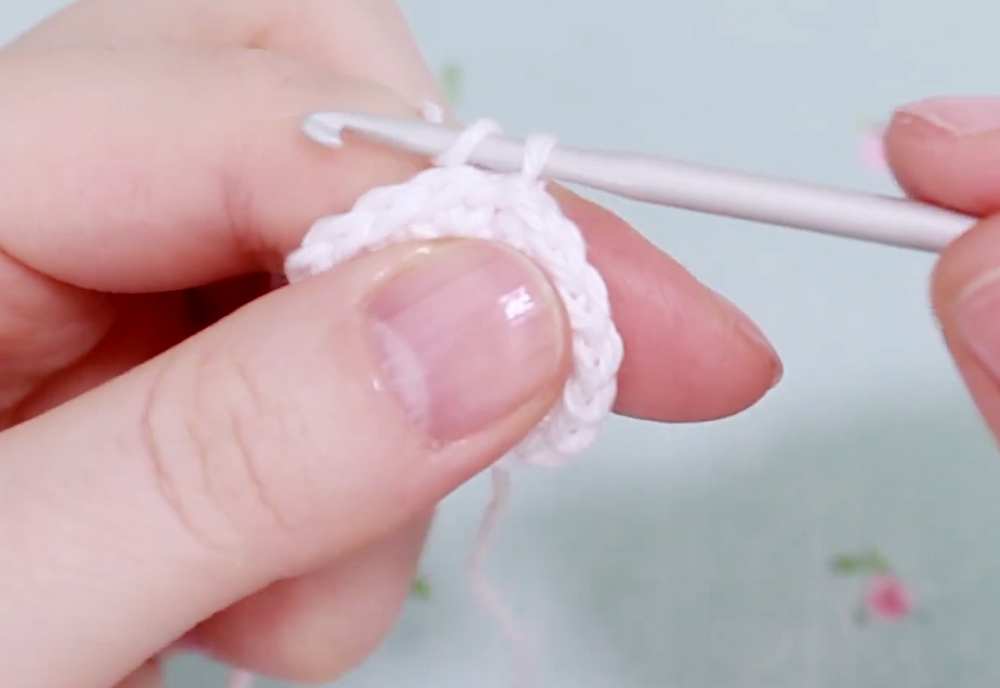
Round 1: 6 sc in MR (6)
Round 2: inc in every stitch around (12)
Round 3: (1 sc, inc) repeat 6 times (18)
Round 4: (2 sc, inc) repeat 6 times (24)
Round 5 – 7: 1 sc in each stitch around (24)
You will crochet 3 rounds of 24 stitches.
Round 8: (2 sc, dec) repeat 6 times (18)
Round 9 – 10: 1 sc in each stitch around (18)
You will crochet 2 rounds of 18 stitches.
Round 11: (1 sc, dec) repeat 6 times (12)
Tip: If you are embroidering a mouth, do it now around Round 8 before the opening gets too small.
Round 12 – 13: 1 sc in each stitch around (12)
- You will crochet 2 rounds of 12 stitches. Stuff the top of the ghost firmly at this point.
Round 14: dec 6 times (6)
Round 15: 1 sc in each stitch around (6)
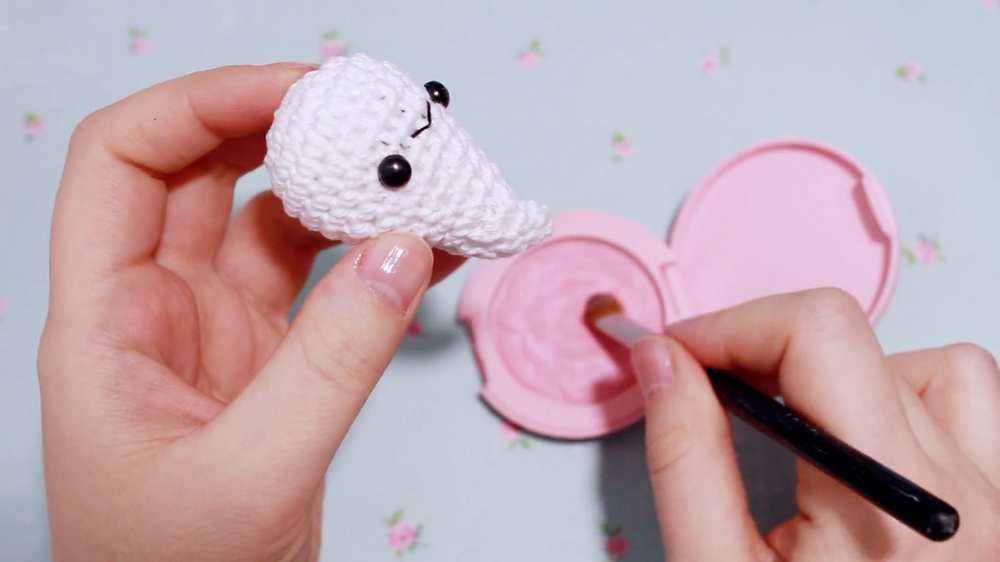
Stuff the remaining tail section. You can use a stick or tweezers to push the stuffing down.
Round 16: dec 3 times (3)
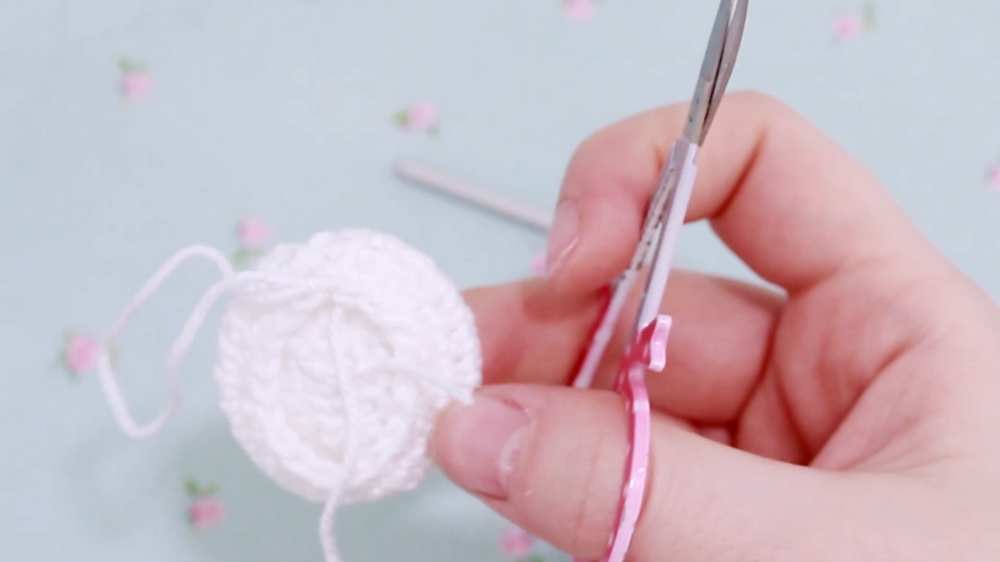
Finishing: Fasten off, leaving a long tail. Weave the yarn tail through the remaining front loops and pull tight to close the hole. To give the ghost a cute bent tail, thread the yarn needle back through the tail a few rows up, pull slightly to curve the tip to one side, and knot it securely to hold the shape. Weave in the end. Insert your safety eyes (the creator glues the stems in if adding them late) and add blush to the cheeks if desired.
Cone
Row 1: 4 sc in MR (4)
Row 2: (ch 1, sc, inc) x 2 (6)
Row 3: (ch 1, 2 sc, inc) x 2 (9)
Row 4: 9 sc (9)
Row 5: (ch 1, 2 sc, inc) x 3 (12)
Row 6: (ch 1, 3 sc, inc) x 3 (15)
Row 7: 15 sc (15)
Row 8: (ch 1, 4 sc, inc) x 3 (18)
Row 9-10: 18 sc (18)
Brim
Row 11: (In FLO) (ch 1, 2 sc, inc) x 6 (24)
Row 12: (ch 1, 3 sc, inc) x 6 (30)
Row 13: (ch 1, 4 sc, inc) x 6 (36)
Row 14: 2 sc, inc, (5 sc, inc) x 5, 3 sc (42)
Learn with the Tutorial Even Better