
Crochet Miniature No-Sew Baby Spider Plushie Pattern Pattern
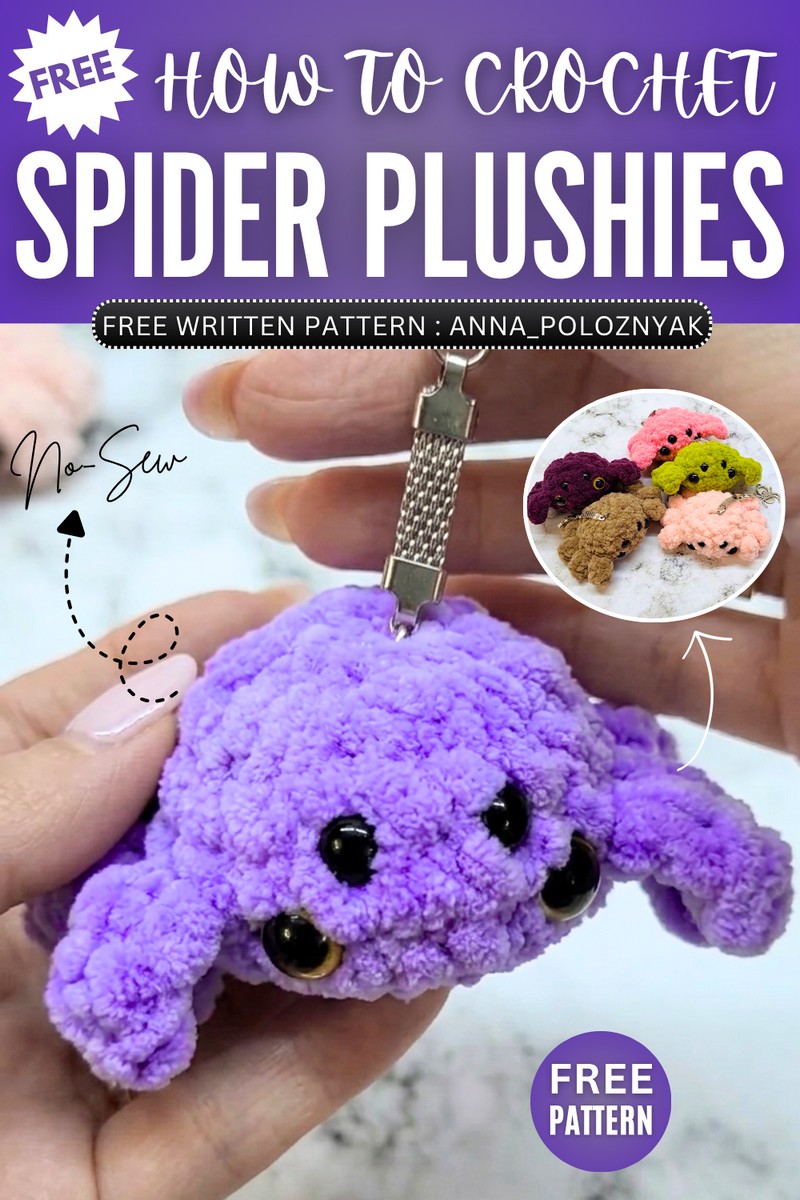
Learn how to crochet a no-sew and quick jumping spider plushie with this FREE pattern for Halloween. This crochet spider has a set of 4 eyes which make it look spooky and you can crochet it in any color from purple to black to green and even pink. You can crochet these miniature spider plush as bag charms for kids’ trick or treating totes. Even with the super bulky yarn, you will end up with little crochet spider plushies that are perfect for selling at the craft fairs.
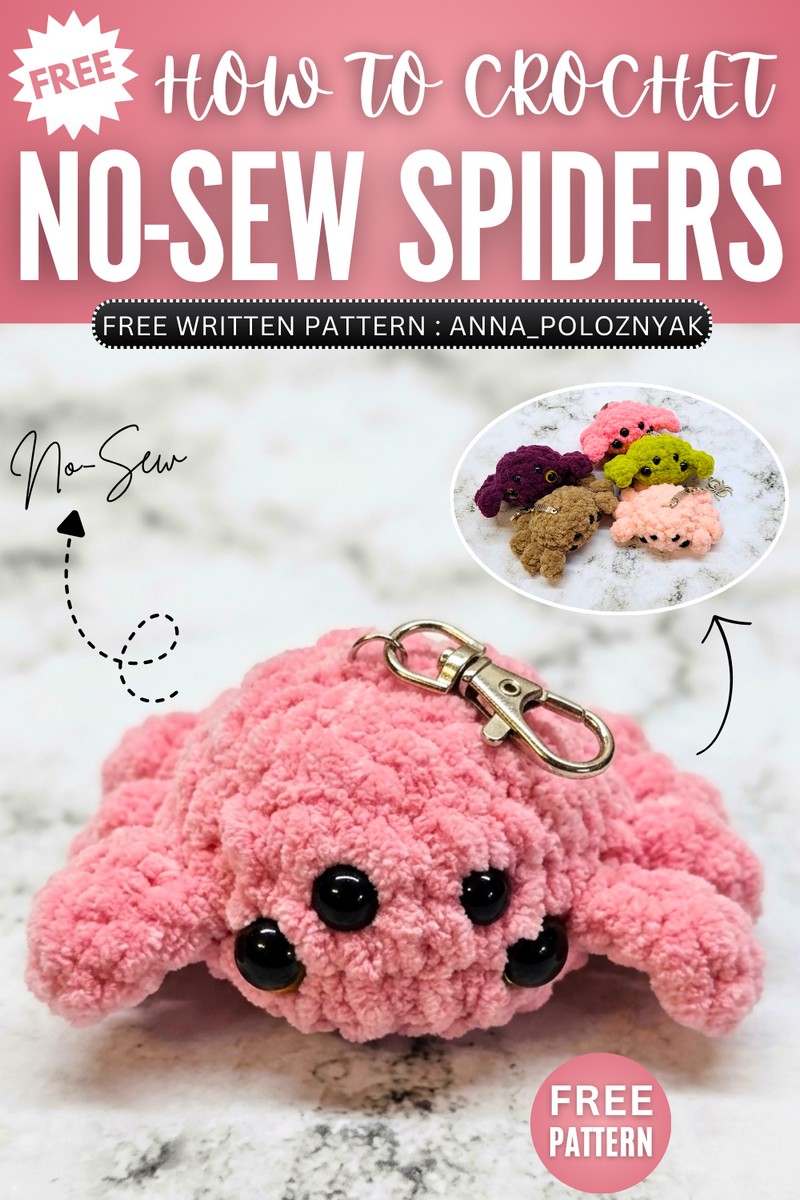
You can use round black eyes for the top set of eyes and the glitter eyes for the bottom set. Crocheting these spider plush will be easier as you need basic stitches and amigurumi techniques. So, let’s continue to the pattern.
How to Crochet Mini No-Sew Spider in Just 7 Rounds
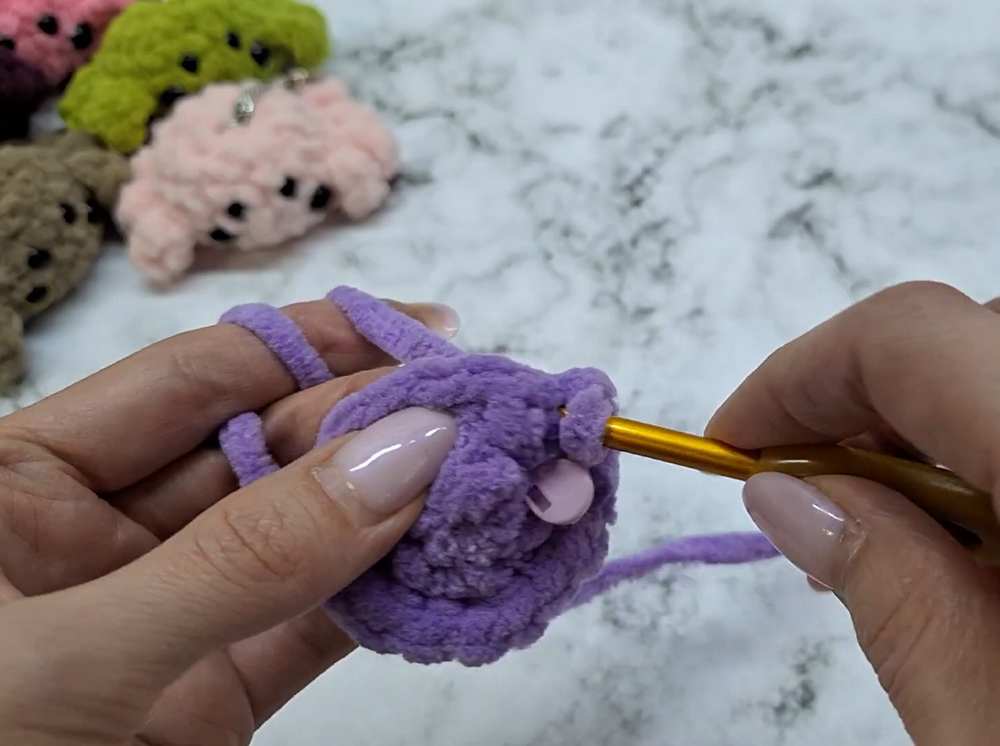
This project is a quick, beginner-friendly crochet pattern for a cute, plushy spider. The spider is worked in a continuous round using velvet-style yarn, making it very soft to the touch.
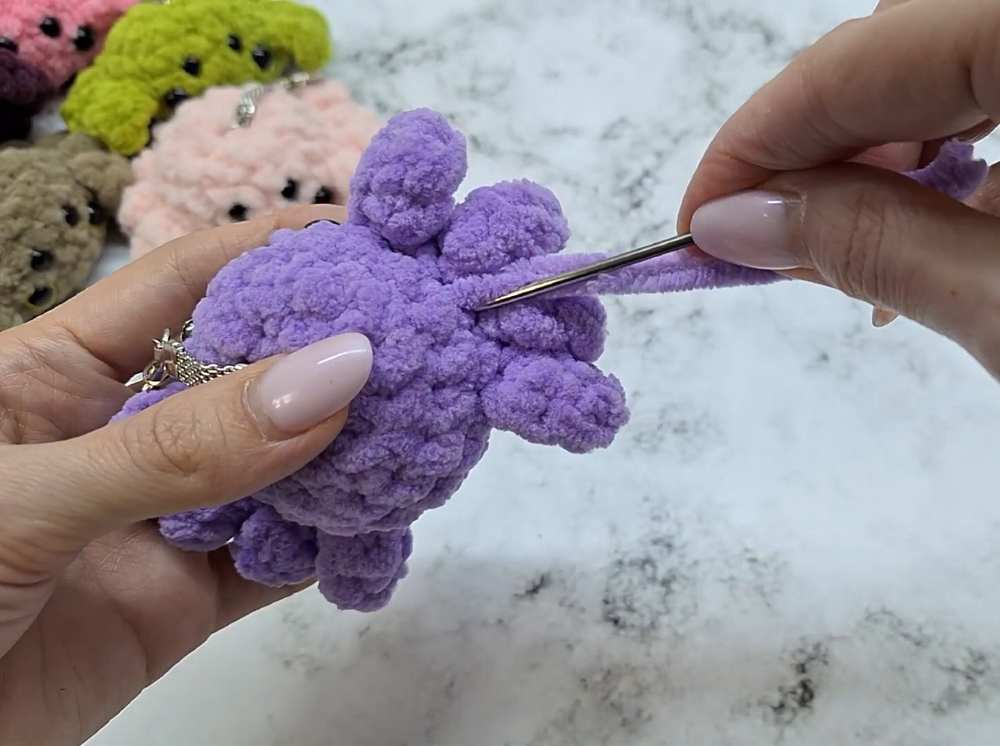
It features eight little legs crocheted directly into the body rows, eliminating the need to sew them on separately.
After stuffing and closing, the body is cinched to create a flat bottom, allowing the spider to sit nicely. You can finish it off by attaching a keychain or a loop to use it as an accessory.
Materials
Velvet or plush yarn (such as Alize Velluto)
Crochet hook (size 5 mm)
Safety eyes (two 10 mm and two 8 mm)
Fiberfill (stuffing)
Keychain hook or string for hanging (optional)
Scissors
Yarn needle

Abbreviations
MR: Magic ring
sc: Single crochet
inc: Increase (2 sc in one stitch)
dec: Decrease (single crochet 2 together)
Full Pattern
Spider Body
R1: 6 sc in MR. (6)
R2: 6 inc. (12)
R3: (1 sc, 1 inc) repeat 6 times. (18)
R4: 2 sc, (ch 4, start in 2nd ch from hook: 3 sc, then sc in next st on body) – Repeat this sequence 4 times to make the first 4 legs. Then, 6 sc along the body. Next, (ch 4, start in 2nd ch from hook: 3 sc, then sc in next st on body) – Repeat this sequence 4 times to make the last 4 legs. Finish the row with 2 sc. (18)
R5: 18 sc. (18)

Eye Placement: Insert the 10 mm eyes near the front legs and the 8 mm eyes one row above. Secure with backings.
R6: (1 sc, 1 dec) repeat 6 times. (12)
Stuff the spider firmly with fiberfill.
R7: 6 dec. (6)
Fasten off, leaving a long tail for cinching.
Assembly and Finishing
Use your yarn needle to weave the remaining yarn through the front loops of the last 6 stitches to close the opening.
To create the flat bottom and cinch the shape, insert your needle into the center bottom of the spider and pull it up to the center top. Gently pull to create a slight indentation.
If attaching a keychain, secure the metal loop or string through the top of the spider during this final step.
Weave in any remaining ends and shape the legs as desired.