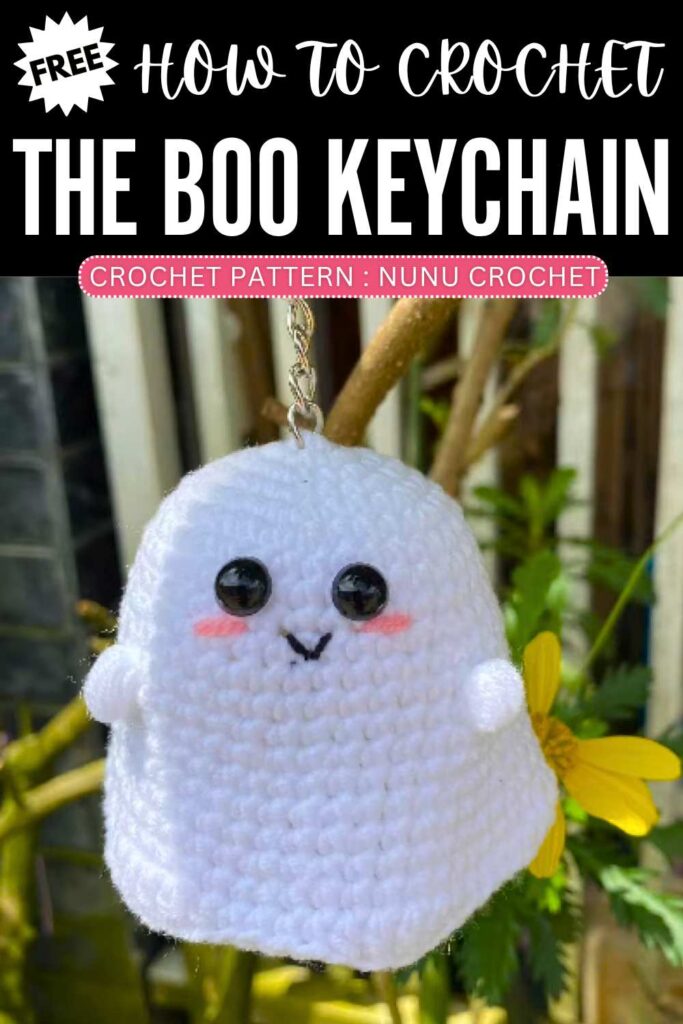
Crochet CUTEST BOO Ghost Keychain Pattern for Halloween
Learn how to crochet the CUTEST smiling baby ghost keychain I have covered so far with this pattern for Halloween. This is the same baby ghost puppet inside which you can put an LED to turn into a glow-in-dark hanging for Halloween night party. However, the small BOO bobble stitch arms, the blush, bigger eyes and embroidery smile make it the KAWAIEST.
Crochet CUTEST BOO Ghost Keychain Pattern
This is a practically no-sew white ghost puppet and you can crochet it within 30 minutes. You can also use it as a Halloween present cover. The pattern below makes a much more life-like boo ghost wavy shape, kids will LOVE this crochet ghost keychain. Beginners can also crochet this ghost plush.
About the designer: The designer behind this crochet baby ghost is @Nunucrochet – she crochets lovely accessories especially including the flowers. But, for Halloween, she prepared this oh-so cute ghost puppet that is a must-have for all of you!
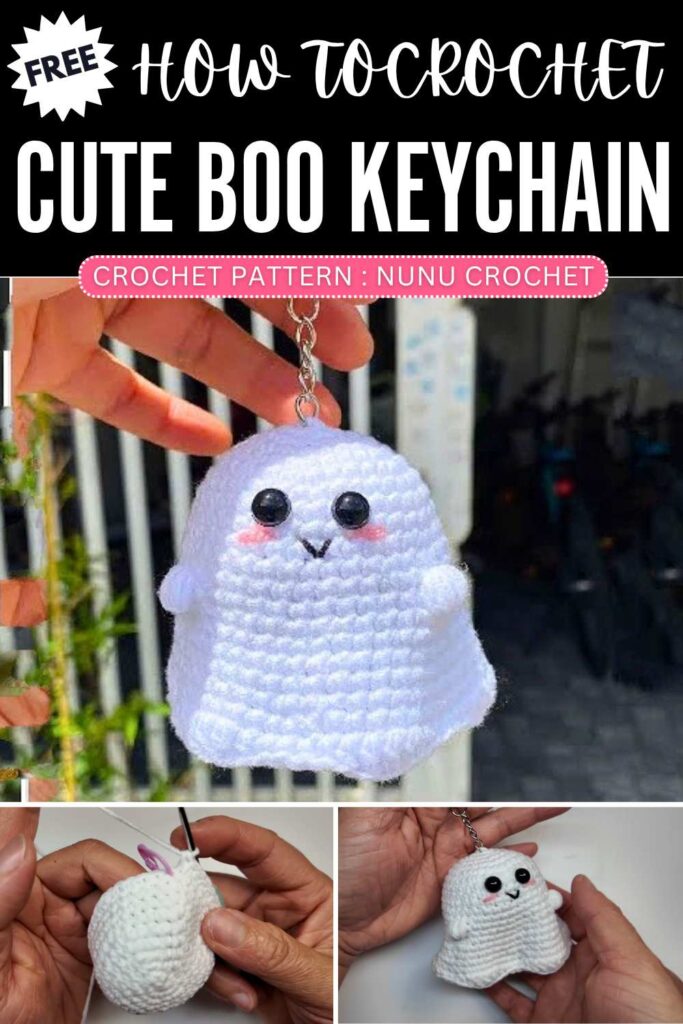
How to Crochet SMILING & BLUSHING Ghost Keychain Pattern
This project is an adorable, beginner-friendly amigurumi Halloween ghost that can be used as a festive decoration or a cute keychain companion. It is crocheted in one piece from the top down using white yarn in a continuous spiral, which means there is no seam.
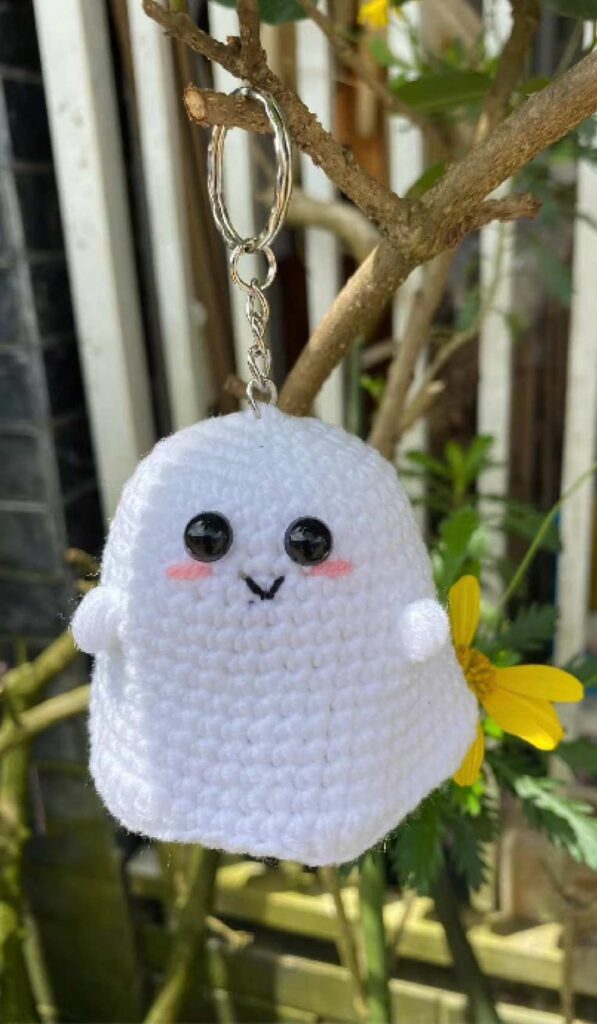
The pattern features two little arms created directly into the rounds using textured bobble stitches, eliminating the need to sew separate limbs. The bottom finishes with a beautiful, flowing wavy skirt that gives the ghost a floating appearance.
To bring the ghost to life, you simply add safety eyes, embroider a happy little smile, and create fluffy pink cheeks.
Materials
White yarn (such as Baby Yarn Size 1)
Scrap black yarn (for the embroidered mouth)
Scrap pink yarn (for the cheeks)
2.3 mm crochet hook
Two small safety eyes or flat-backed beads
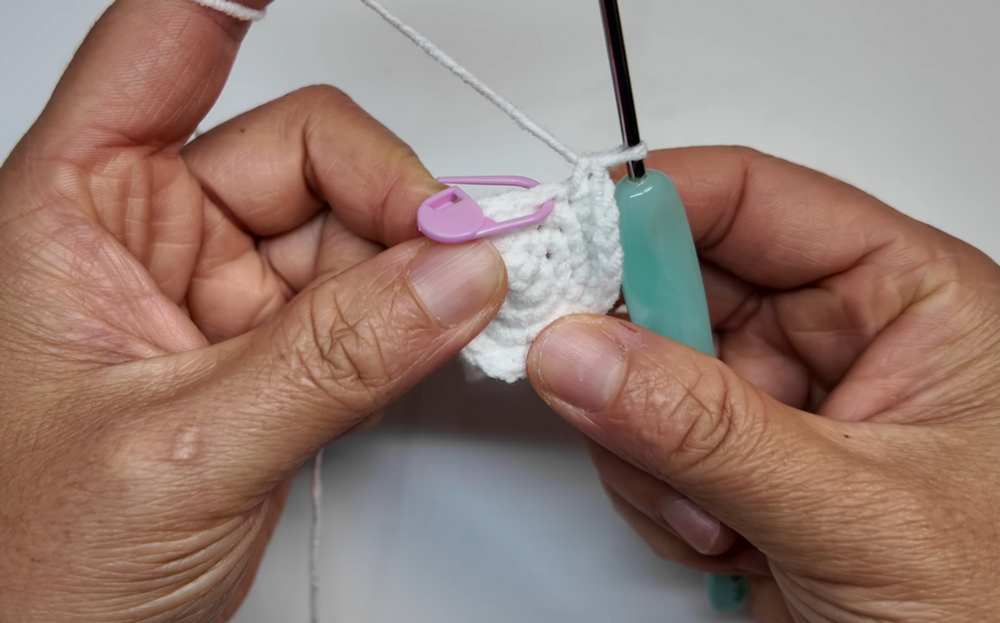
Stitch marker
Scissors
Yarn needle
Craft glue (optional, for safety eyes)
Abbreviations (US Terms)
MR: Magic ring
ch: Chain
sc: Single crochet
hdc: Half double crochet
dc: Double crochet
inc: Increase (2 single crochets in the same stitch)
Bobble: Bobble stitch arm (Yarn over, insert hook into the stitch, pull up a loop. Repeat this into the same stitch 6 times total until you have multiple loops on your hook. Yarn over and pull through all loops, then chain 1 to close the stitch).
R: Round
Full Pattern
Ghost Body
R1: 6 sc in MR. (6)
R2: 6 inc. (12)
R3: (1 sc, 1 inc) x 6. (18)
R4: (2 sc, 1 inc) x 6. (24)
R5: (3 sc, 1 inc) x 6. (30)
R6: (4 sc, 1 inc) x 6. (36)
R7 to R9: sc all around. (36)
R10: (5 sc, 1 inc) x 6. (42)
R11 to R12: sc all around. (42)

R13 (Arm Round): 14 sc, 1 Bobble stitch in the next stitch (first arm), 12 sc, 1 Bobble stitch in the next stitch (second arm), 14 sc. (42)
R14: (6 sc, 1 inc) x 6. (48)
R15 to R17: sc all around. (48)
R18: (7 sc, 1 inc) x 6. (54)
R19: sc all around. (54)
R20 (Wavy Skirt Bottom Boundary)
In this final round, you will create the rippled edge by repeating a wave sequence all the way around the 54 stitches.
Sequence block: 1 sc, 1 hdc in each of the next 2 stitches, 1 dc in each of the next 3 stitches, 1 hdc in each of the next 2 stitches, 1 sc.
Repeat this 9-stitch sequence block 6 times total around the body.
Fasten off, cut the yarn, and weave in your ends securely.
Decorations and Assembly
Eyes: Attach your safety eyes on Round 6. Space them evenly across the face, roughly 4 stitches apart, centering them beautifully between the alignment of the two arms.
Cheeks: Thread a needle with your pink yarn and insert it right beneath the outer corner of each eye. Stitch across one loop, tie a knot on the inside, and clip the thread. Gently use the tip of your hook or needle to fray and fluff out the pink yarn fibers so they look like soft, blushing cheeks.
Mouth: Use your black yarn to stitch a small, curved “V” or “U” shaped smiling mouth directly centered between the eyes.
Keychain Option: If you wish to turn the ghost into a charm, pull a loop of yarn through the very top magic ring, tie a sturdy knot on the inside, and attach your keychain hardware.
Video Tutorial to Learn Even Better
Save For Later: