Crochet Quirky Pumpkin Amigurumi Pattern for Halloween
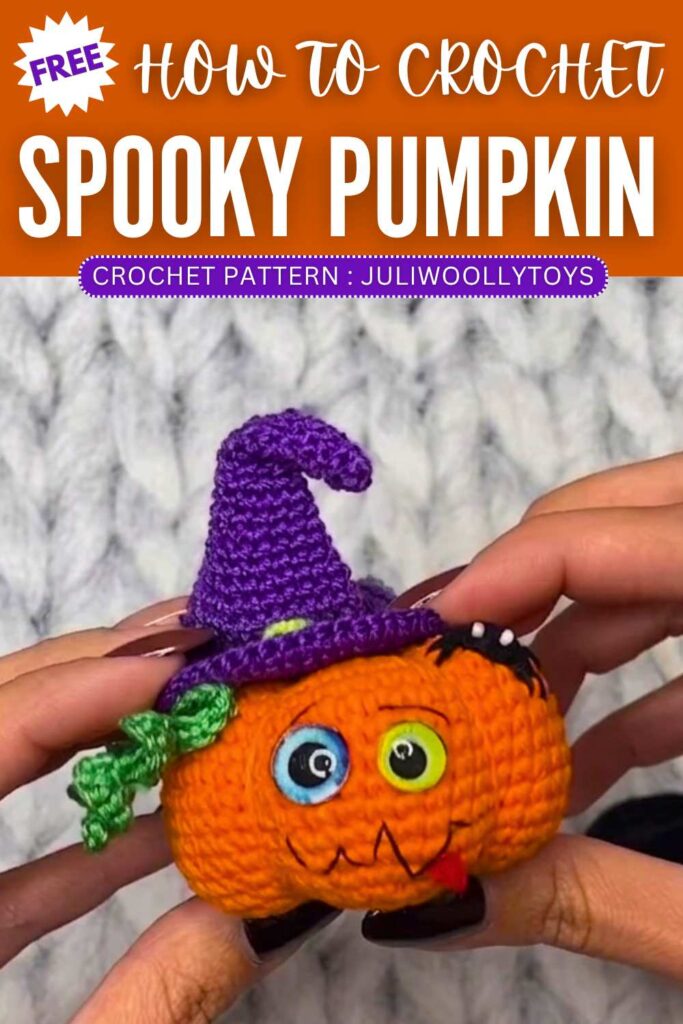
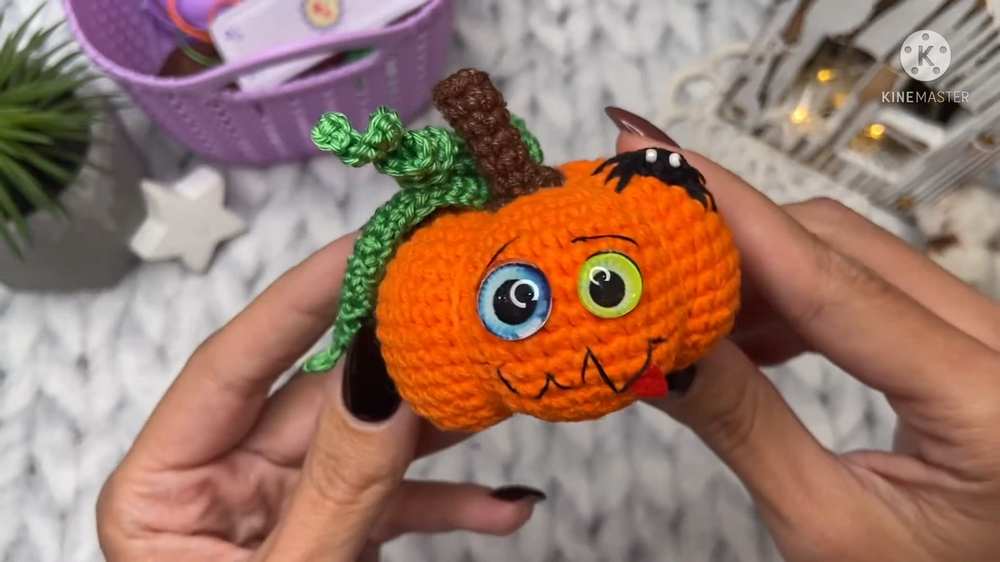
I have shared TONS of crochet pumpkin amigurumi with no character! But for Halloween, I highly recommend crocheting this quirky amigurumi pumpkin wearing a witch hat with a FREE pattern for absolute beginners. This little-spooky crochet stuffed pumpkin has eyes in two colors and sizes which makes it look a funny. Also, a random zig-zag mouth embroidery and a small crochet spider crawling it.
Crochet Quirky Pumpkin Amigurumi Pattern
All these features makes this crochet pumpkin amigurumi the CUTEST decoration to welcome the guests for Halloween party. It matches the entire theme of Halloween – spooky and quirky. You can crochet the witch hat in either black or purple; it will look CUTE both the ways. Anyway, below is the pattern.
About the designer: The designer behind this crochet quirky pumpkin amigurumi is @Juliwoollytoys – She has dedicated herself to teaching crocheting amigurumi toys and various accessories. She has step-by-step tutorials designed to crochet animals and seasonal decorations.
Crochet Funny Pumpkin Amigurumi Pattern for All Skill Levels
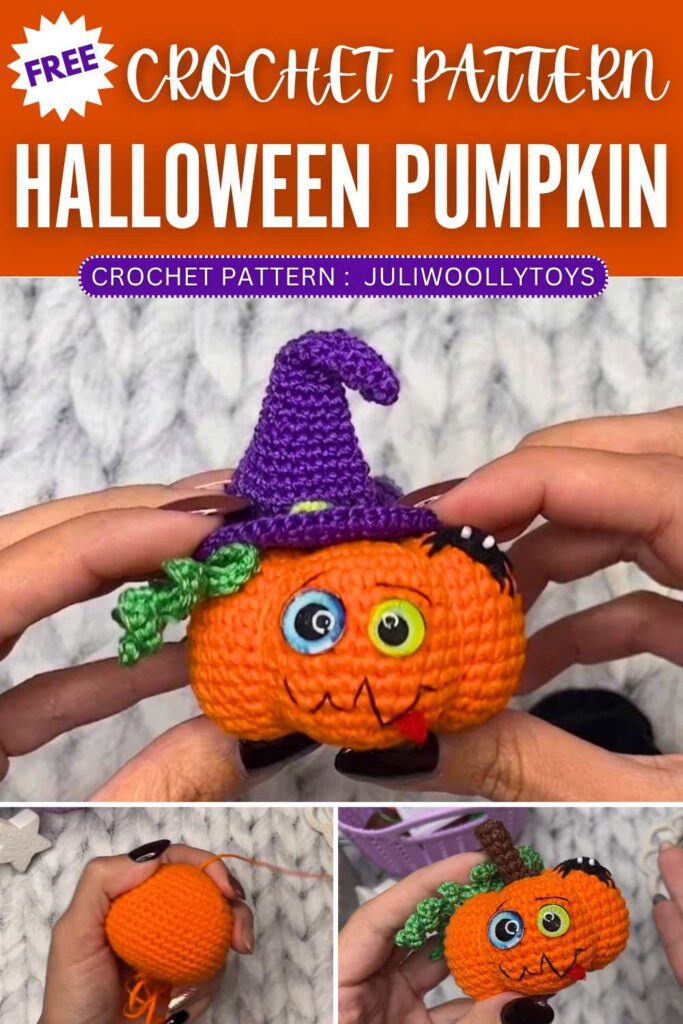
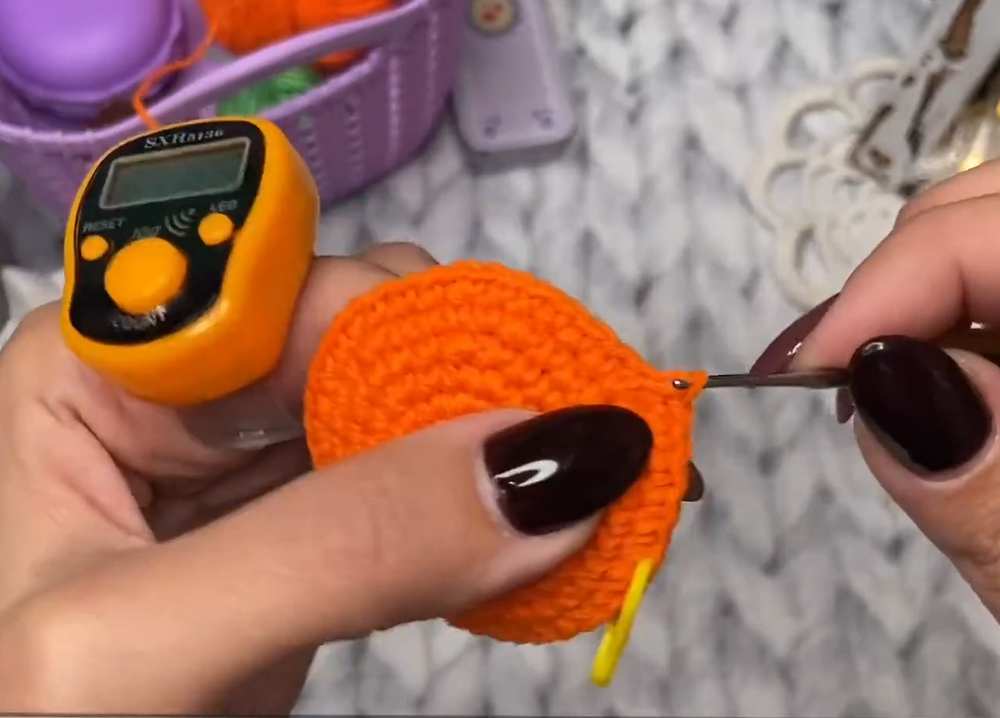
This is a fun, beginner-friendly amigurumi crochet tutorial for making a festive pumpkin. You start by crocheting the main pumpkin body with orange yarn, increasing stitches to create a round shape and decreasing to close it, then stuffing it before adding tightening lines to form the signature pumpkin segments.
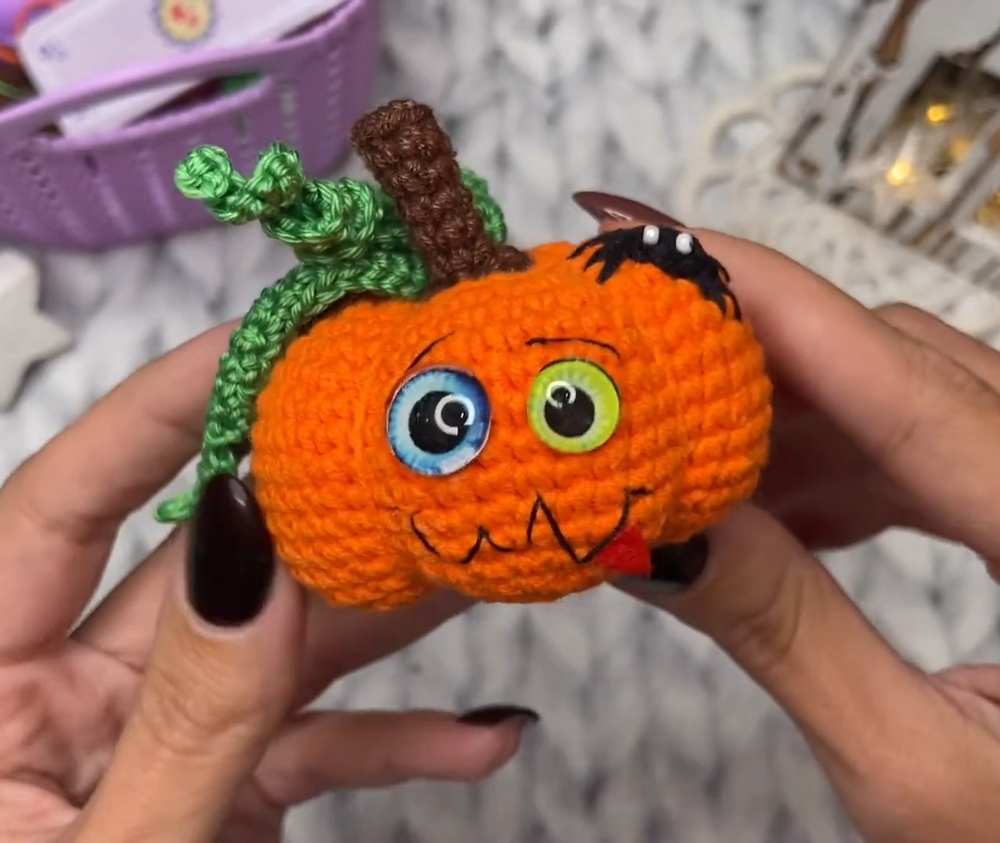
Next, you crochet a simple brown stem and a wavy green leaf with curling vines, attaching them to the top of the pumpkin.
Finally, the tutorial offers an optional, playful Halloween twist: giving the pumpkin an expressive face using glass cabochon eyes, a tiny felt tongue, black embroidery thread for the mouth and eyebrows, and even adding a cute, tiny black spider on its side!
Materials
Yarn in Orange, Brown, Green (and optionally Black for the spider) – the creator uses YarnArt Jeans
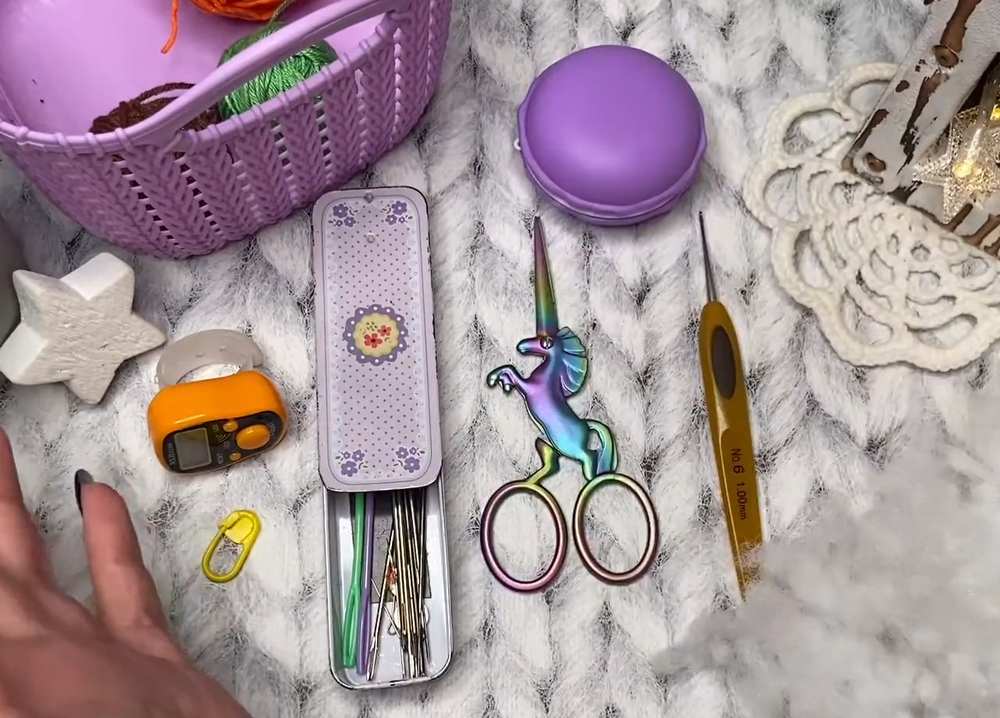
Crochet hook (1.5 mm)
Fiberfill (stuffing)
Scissors
Tapestry/yarn needle (including a long one for sculpting the pumpkin segments)
Stitch marker
Glass cabochon eyes (optional, for a face)
Clear craft glue (optional, for eyes and felt)
Tiny piece of felt in pink or red (optional, for the tongue)
Black sewing thread (optional, for embroidering details)
Small beads (optional, for the spider’s eyes)
Abbreviations
MR: Magic Ring
sc: Single crochet
inc: Increase (2 single crochets in the same stitch)
dec: Decrease (single crochet 2 stitches together)
ch: Chain
sl st: Slip stitch
BLO: Back loop only
R: Round / Row
Full Written Pattern
Pumpkin Body (Orange Yarn)
R1: 6 sc in MR (6)
R2: 6 inc (12)
R3: (1 sc, 1 inc) repeat 6 times (18)
R4: (2 sc, 1 inc) repeat 6 times (24)
R5: (3 sc, 1 inc) repeat 6 times (30)
R6: (4 sc, 1 inc) repeat 6 times (36)
R7: (5 sc, 1 inc) repeat 6 times (42)
R8: (6 sc, 1 inc) repeat 6 times (48)
R9 – R15: 48 sc (48) (7 rounds total)
R16: (6 sc, 1 dec) repeat 6 times (42)
R17: (5 sc, 1 dec) repeat 6 times (36)
R18: (4 sc, 1 dec) repeat 6 times (30)
R19: (3 sc, 1 dec) repeat 6 times (24)
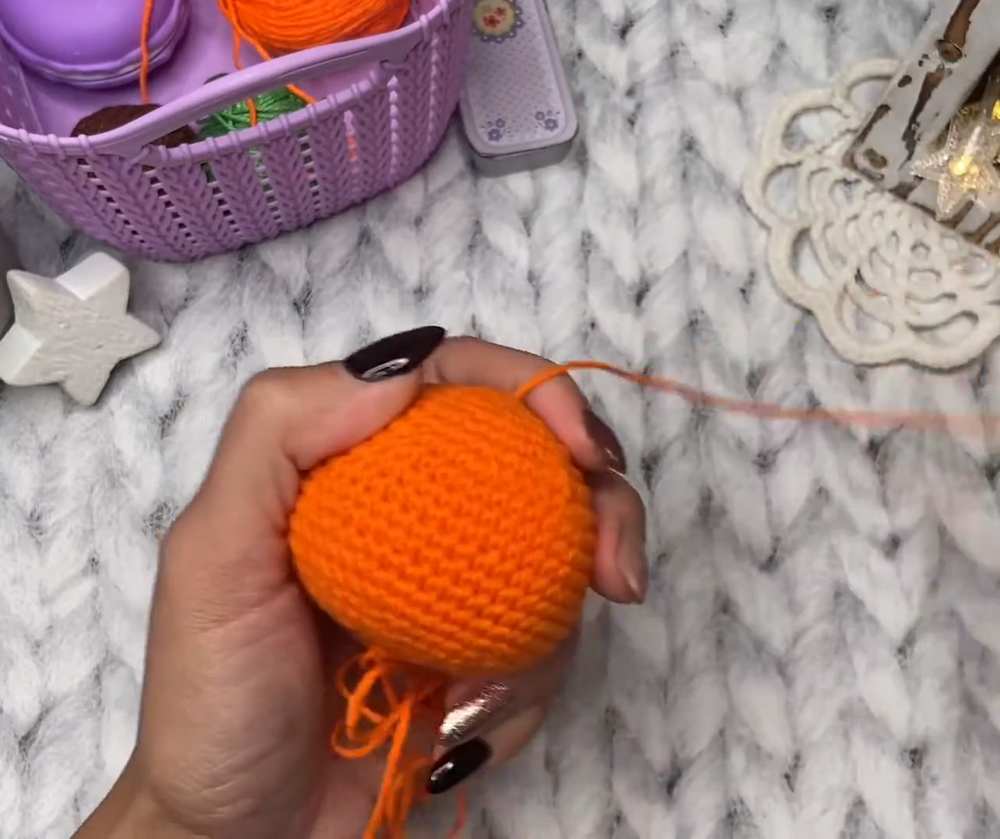
Stuff the pumpkin firmly with fiberfill.
R20: (2 sc, 1 dec) repeat 6 times (18)
R21: (1 sc, 1 dec) repeat 6 times (12)
R22: 6 dec (6)
Fasten off, leaving a very long tail.
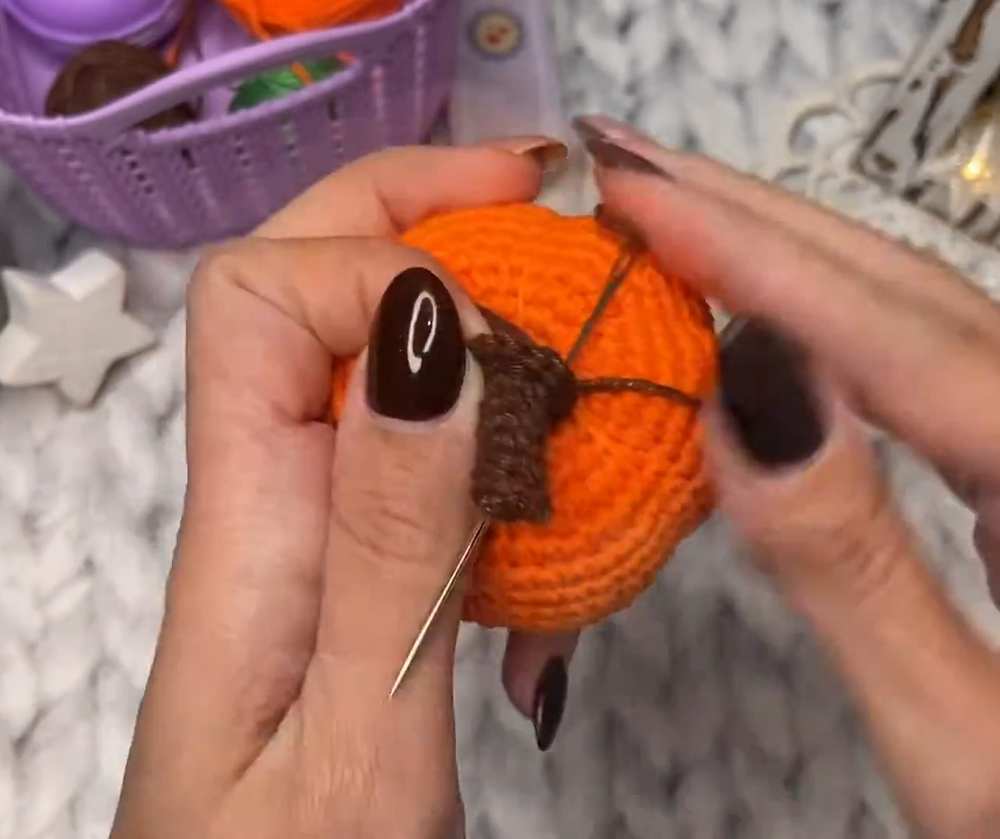
Sculpting: Using a long needle, thread the long tail through the center bottom of the pumpkin to the center top, pulling the yarn tightly along the outside to create a segment. Repeat this process around the pumpkin to create 6 even segments. Secure the yarn.
Stem (Brown Yarn)
R1: 6 sc in MR (6)
R2: 6 sc in BLO (6)
R3 – R7: 6 sc (6) (5 rounds total)
R8: 6 inc (12)
Fasten off, leaving a tail for sewing. Sew to the top center of the pumpkin.
Leaf and Vines (Green Yarn)
Foundation: Chain 12.
R1: Starting in the 2nd chain from the hook, crochet sc along the chain. In the last chain (the very first one made), crochet 4 sc to turn the corner. Continue sc along the opposite side of the chain, stopping 2 stitches before the end.
R2: Ch 1, turn. Sc along the edge. When you reach the 2 center stitches at the tip, put 1 inc in each of the two center stitches. Continue sc down the other side, stopping 2 stitches before the end.
R3+: Repeat the process of R2 (ch 1, turn, sc, do two increases at the tip, leave the last 2 stitches unworked) until the leaf reaches your desired size.
Vines: Without cutting the yarn, sl st your way down to the center base of the leaf. Chain 30 to 40 stitches (depending on how long you want the vine). Starting in the 2nd chain from the hook, crochet 2 sc in each chain all the way back to the base (this forces the vine to curl). You can make multiple curling vines of different lengths.
Fasten off, leave a long tail, and sew the leaf/vines next to the stem on the pumpkin.
Spider (Optional, Black Yarn)
R1: 6 sc in MR (6). Pull tight and fasten off, leaving a tail.
Sew the small black circle to the side of the pumpkin.
Using black thread, sew 4 straight lines on each side of the circle to create legs.
Attach two tiny beads for eyes.
Face Assembly (Optional)
Glue on two mismatched glass eyes to give the pumpkin a crazy, fun look.
Use black thread to embroider eyebrows (at different angles/heights) and a simple line for the mouth.
Cut a tiny half-circle of pink/red felt and glue it below the mouth line to make a tongue.
Video Tutorial to Learn Even Better
Save For Later: