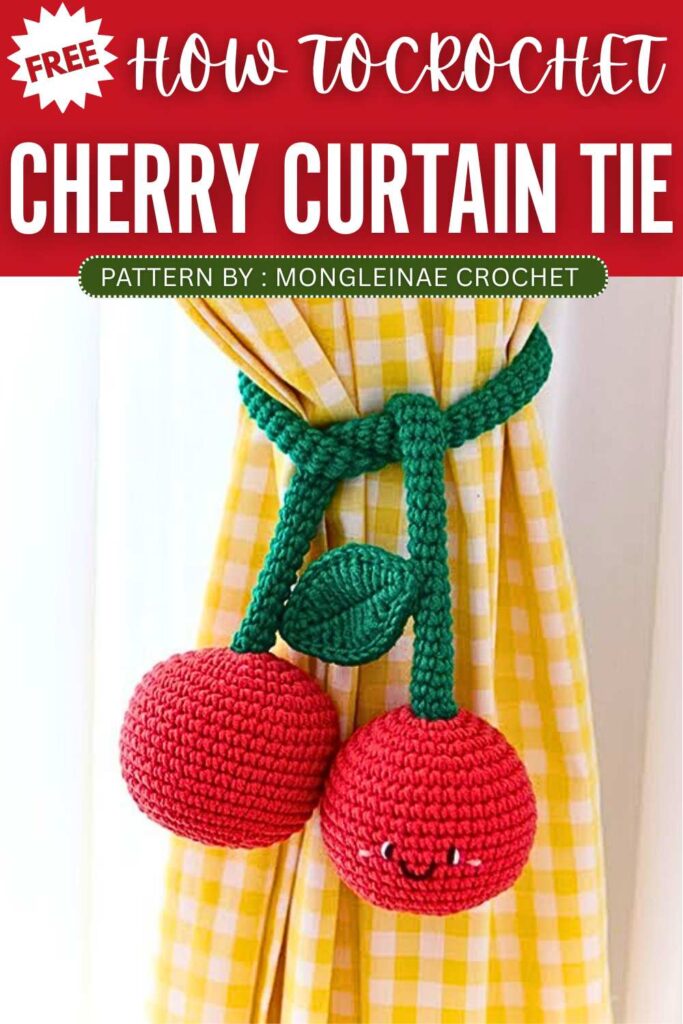
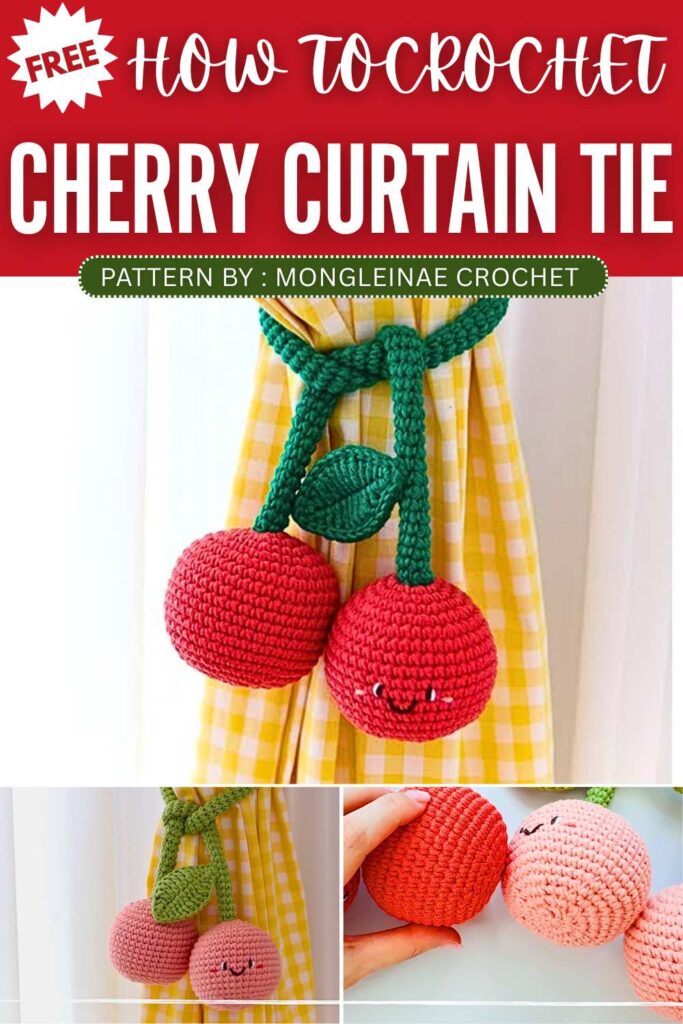
Crochet Cherry Curtain Tie Pattern For Home Decorations
Beautify your home aesthetics with this cute crochet cherry curtain tie project. It turns simple yarn work into a pair of bright cherries with smiling faces, joined by a strong cord and green leaves. These handmade ties help hold curtains neatly while also decorating your room. They add a fresh, fruity touch and make any space look more cheerful and fun.
Crochet Cherry Curtain Tie Pattern
The designer of this pattern is @mongleinae. She makes themed crochet pouches and little decorations that are always elegant and gift-ready. In one word, she is among the most CREATIVE crochet designers whose work I have covered so far. Just take a look at her octopus pouch!
Be sure to subscribe to her channel for more of creative crochet patterns and to support her
Step by Step Pattern:
Materials List
Yarn: Red or Pink (for cherries), Green (for stem/leaves), small amounts of Black, White, and Pink (for face).
Hook: 3.0mm (5/0) or suitable size for your yarn.
Other: Fiberfill stuffing, tapestry needle, scissors, and stitch markers (essential as this is worked in continuous rounds).
Abbreviation List
MR: Magic Ring
sc: Single crochet
inc: Increase (2 sc in one stitch)
dec: Decrease (Invisible decrease)
st(s): Stitch(es)
ch: Chain
sl st: Slip stitch
hdc: Half double crochet
dc: Double crochet
tr: Treble crochet (Double-triple crochet)
Step-by-Step Pattern
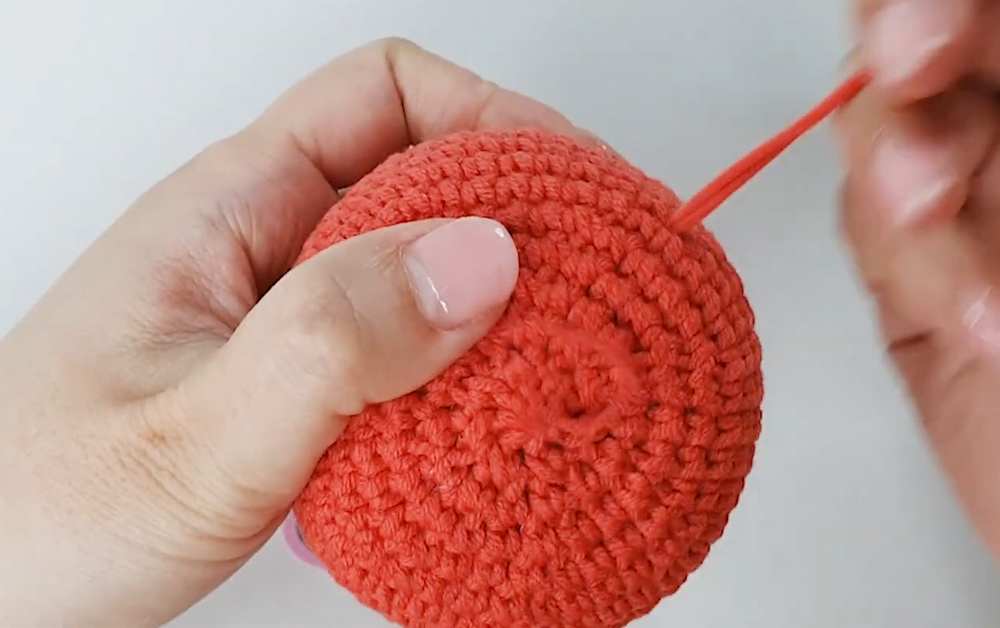
Part 1: Cherry Fruit (Make 2)
Worked in continuous rounds. Do not join with a slip stitch unless noted.
R1: MR, 7 sc (7)
R2: 7 inc (14)
R3: (1 sc, inc) x7 (21)
R4: (2 sc, inc) x7 (28)
R5: (1 sc, inc, 2 sc) x7 (35)
R6: (4 sc, inc) x7 (42)
R7–15: 42 sc around (42)
R16: (4 sc, dec) x7 (35)
R17: (3 sc, dec) x7 (28)
R18: (2 sc, dec) x7 (21). Add stuffing here.
R19: (1 sc, dec) x7 (14). Finish stuffing.
R20: 7 dec (7). Fasten off and weave through front loops to close.
Face Details: Embroider eyes on Round 11 (4 sts apart). Add a small “V” mouth between them. Add white highlights to the eyes and pink blush lines nearby.
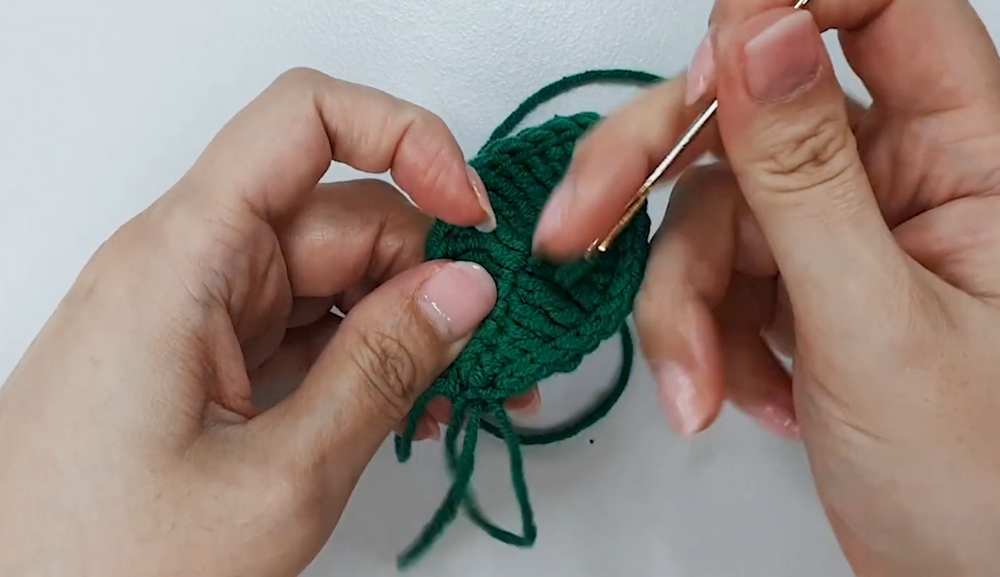
Part 2: Double-Layered Leaf
Make two identical leaves and join them.
Ch 14.
Starting in 2nd ch from hook: 2 sc, 1 hdc, 1 dc, 6 tr, 1 dc, 1 hdc.
In the last ch: 3 sc (to turn).
Work along the other side of the chain: 1 hdc, 1 dc, 6 tr, 1 dc, 1 hdc, 2 sc. Sl st to join.
Joining: Place two leaves back-to-back. Sl st through both layers all the way around the edge. Fasten off leaving a tail for sewing.
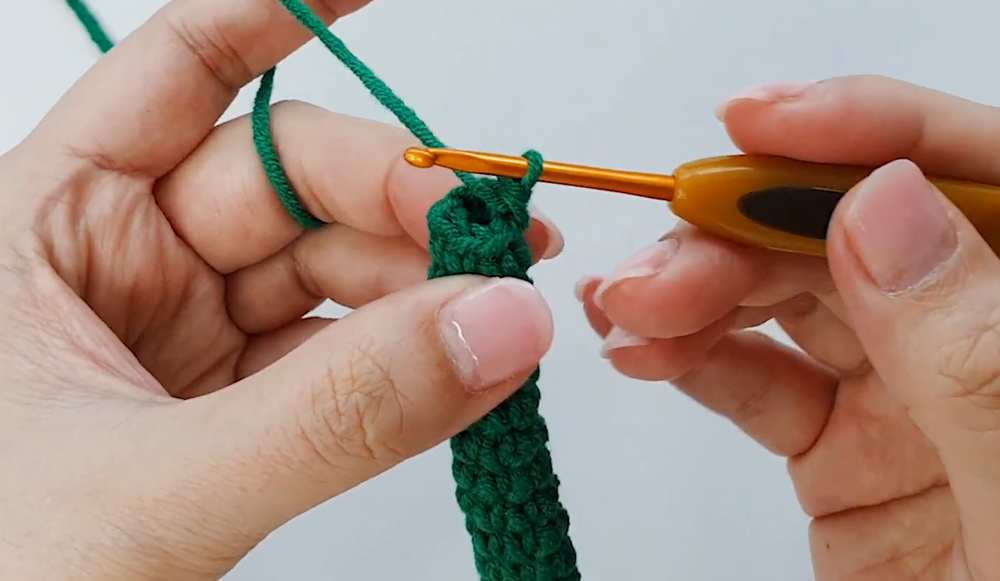
Part 3: The Stem (I-Cord Style)
Leave a 30cm tail, then Ch 7.
Flip the chain over to find the back bumps. Fold the chain in half to join the first ch with a sc.
Continue working sc in a continuous spiral into every stitch. This will form a narrow tube.
Continue until the stem is approximately 50cm long (or your desired length for your curtains).
Fasten off leaving a 30cm tail.
Part 4: Assembly
Connecting Cherries: Using the long tails at each end of the stem, sew one cherry fruit to each end. Secure them to the top center (Round 1) of the cherry.
Attaching Leaf: Position the leaf near the center of the stem (or slightly off-center for a natural look). Sew the base of the leaf securely around the stem.
Finishing: Ensure all yarn ends are hidden inside the cherries or the stem.
To use: Loop the stem around your curtain and tuck one cherry through the loop created by the stem’s fold to hold it in place.
Video Tutorial:
You may also like
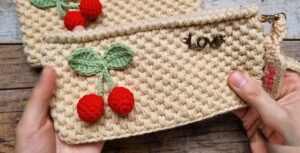
Crochet Cherry Wallet & Handbag Pattern

13 Free Crochet Cherry Blossom Tutorials (Crochet A Sakura)
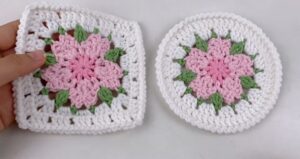
How to Crochet Cherry Blossom Granny Square & Coaster
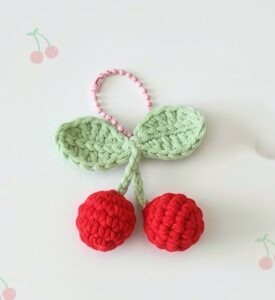
Free Crochet Cherry Keychain Written Pattern
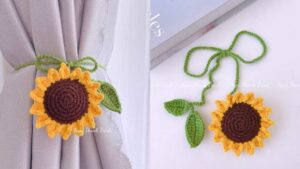
Free Crochet Sunflower Curtain Tie Pattern