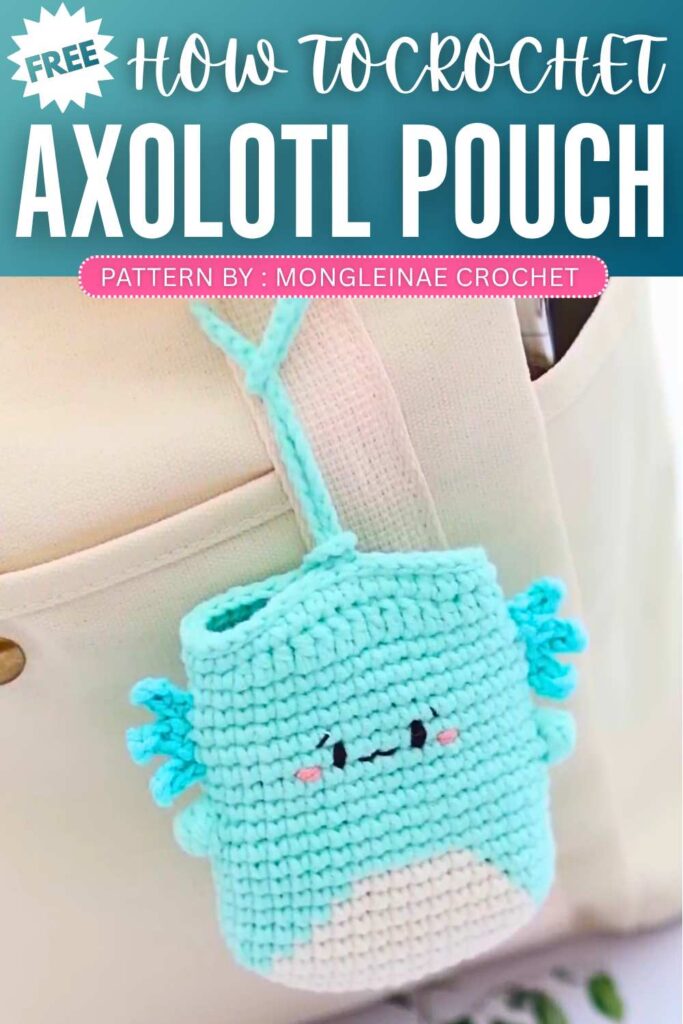
Crochet Axolotl Pouch Bag Pattern For Summer
Carry your small goods in a cute way with this mini axolotl crochet pouch. It is made to hold items like cards or coins and can also be used as a bag charm. The design has pink frilled gills, a small tail, and tiny limbs for a playful look. A wooden button keeps it closed, while soft textured details add charm, making it useful for daily use or small handmade gifts.
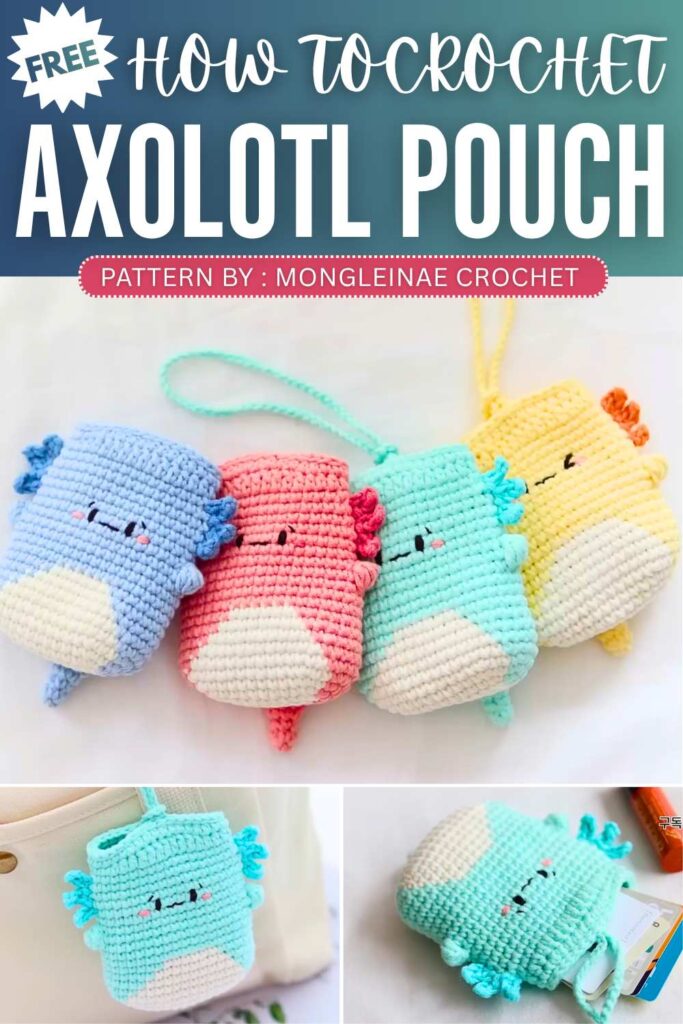
The designer of this pattern is @mongleinae. She makes themed crochet pouches and little decorations that are always elegant and gift-ready. In one word, she is among the most CREATIVE crochet designers whose work I have covered so far. Just take a look at her octopus pouch!
Be sure to subscribe to her channel for more of creative crochet patterns and to support her
Step by Step Pattern:
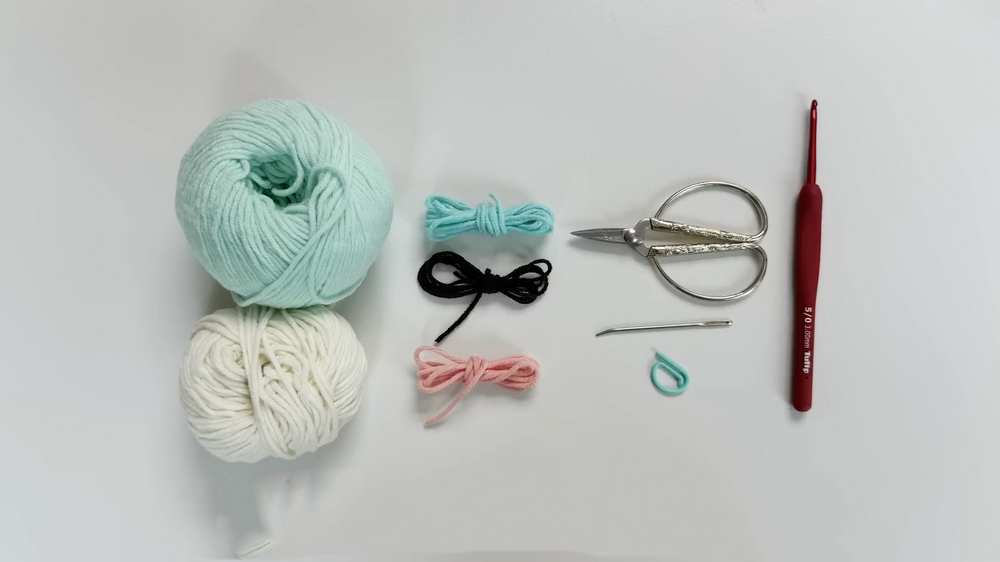
Materials Needed
Yarn: Main body color, accent color (for gills), and face detail yarn.
Hook: 3.0mm (Size 5/0).
Other: Button (wood or large plastic), scissors, tapestry needle, stitch markers.
Abbreviation List
MR: Magic Ring
Ch: Chain
Sc: Single crochet
Inc: Increase (two sc in one stitch)
Dec: Decrease (sc two stitches together)
Sl st: Slip stitch
Hdc: Half double crochet
Dc: Double crochet
St(s): Stitch(es)
Bobble: Bobble stitch (used for arms)
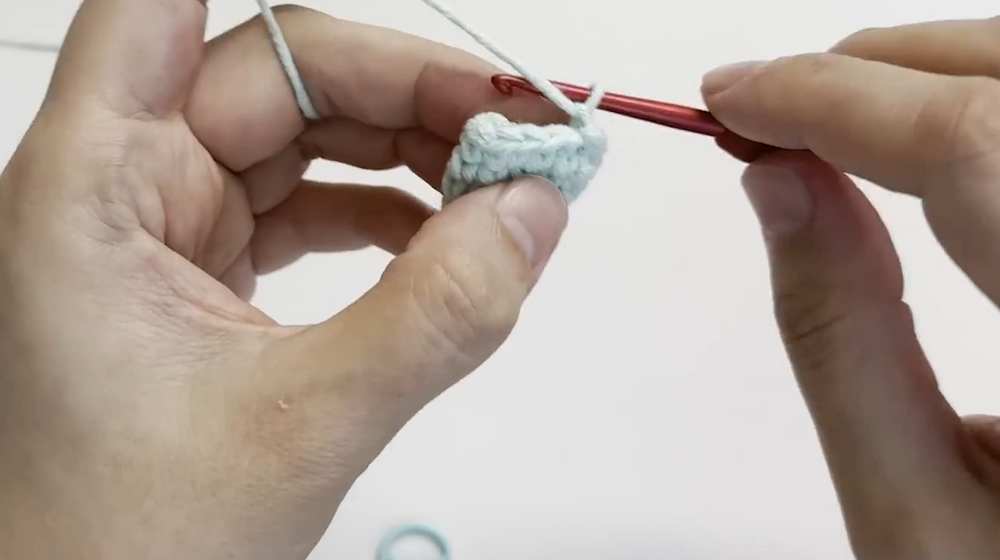
1. Tail Pattern
Round 1: MR, 5 sc. Sl st to first sc, ch 1. (5 sts)
Round 2: 5 sc. Sl st, ch 1. (5 sts)
Round 3: 2 sc, 1 inc, 2 sc. Sl st, ch 1. (6 sts)
Round 4: (1 sc, 1 inc) x 3. Sl st, ch 1. (9 sts)
Rounds 5-6: Sc in each st around. (9 sts)
Round 7: (2 sc, 1 inc) x 3. Sl st, ch 1. (12 sts)
Round 8: Sc in each st around. Sl st. (12 sts)
Fasten off and tuck the tail end inside.
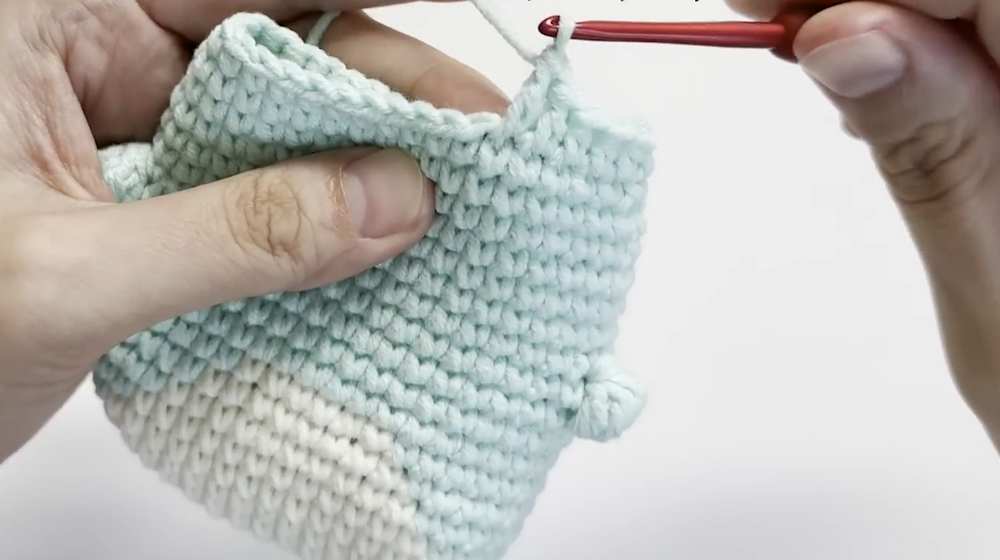
2. Main Body & Pouch Pattern
The body is worked starting with a chain and increases to form an oval base.
Round 1: Ch 11. Starting in 2nd ch from hook, inc, 8 sc, 3 sc in last ch. Turn to work other side of chain: 9 sc. Sl st, ch 1. (22 sts)
Round 2: (inc) x 2, 8 sc, (inc) x 3, 8 sc, 1 inc. Sl st, ch 1. (28 sts)
Round 3: (1 sc, 1 inc) x 2, 8 sc, (1 sc, 1 inc) x 3, 9 sc, 1 inc. Sl st, ch 1. (34 sts)
Round 4: (2 sc, 1 inc) x 2, 8 sc, (2 sc, 1 inc) x 3, 10 sc, 1 inc. Sl st, ch 1. (40 sts)
Rounds 5-6: Sc in each st around. (40 sts)
Round 7 (Join Tail): 13 sc, join tail by crocheting through 6 sts of the tail and body together, 21 sc. (40 sts)
Rounds 8-12: Sc in each st around. (40 sts)
Round 13 (Arms): 3 sc, 1 bobble (arm), 18 sc, 1 bobble (arm), 17 sc.
Round 14: Sc around, decreasing once on each side (above the arms). (38 sts)
Rounds 15-17: Sc in each st around. (38 sts)
Round 18: Sc around, decreasing once on each side. (36 sts)
Round 19: Sc in each st around. (36 sts)
Round 20: Sc around, decreasing once on each side. (34 sts)
Round 21 (Shaping the Opening): 3 sc, 3 hdc, 8 dc, 3 hdc, 3 sc, 3 hdc, 8 dc, 3 hdc.
Round 22: 5 sc, 10 hdc, 7 sc, 10 hdc, 2 sc.
Final Row: Sl st around the entire top edge to stabilize the opening. Fasten off and weave in ends.
3. Assembly & Details
Gills (Make 6 – 3 on each side)
Attach accent yarn 2 rows above the arms.
For each gill branch: Ch 4, starting in 2nd ch from hook, 3 sc. Sl st back into the body. Repeat for 3 branches on each side.
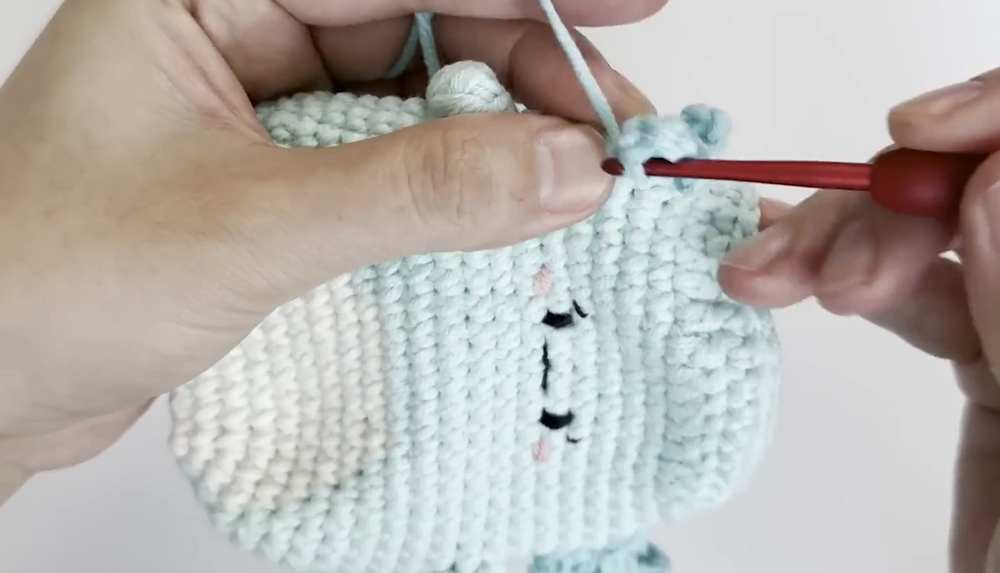
Face
Eyes: Embroider eyes between Rounds 6 and 7 of the head section (approx. 2 sts wide).
Blush: Add a small pink stitch under each eye.
Mouth: Embroider a small “v” or curved line between the eyes.
Button & Closure
Sew the button to the back of the pouch (on the center of the dc section).
Loop: On the front center, attach yarn and Ch 12 (or enough to fit over your button), sl st back into the same spot.
Optional Strap
Attach yarn to the top corner and Ch 60 (or desired length) for a carrying loop. Sl st to the same side and fasten off.
Video Tutorial:
You may also like
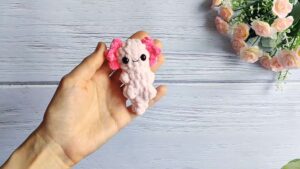
Free Crochet No-Sew Axolotl Plushie Pattern for Beginners
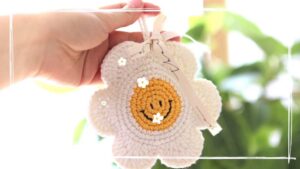
Crochet Smile Daisy Pouch & Applique Pattern
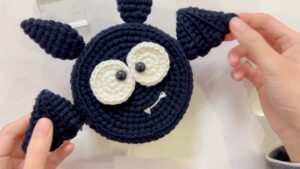
Crochet Bat Trick-or-Treating Pouch for Halloween Pattern (Crossbody Bag )

Crochet Pineapple Drawstring Pouch Patterns
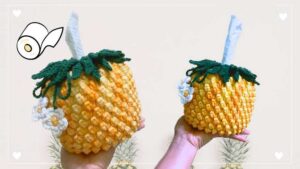
5 Free Crochet Pineapple Pouch & Amigurumi Patterns
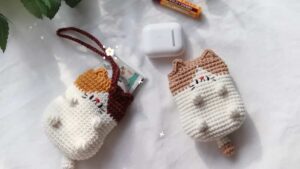
Crochet Cat Pouch & Bag Charm Pattern Free