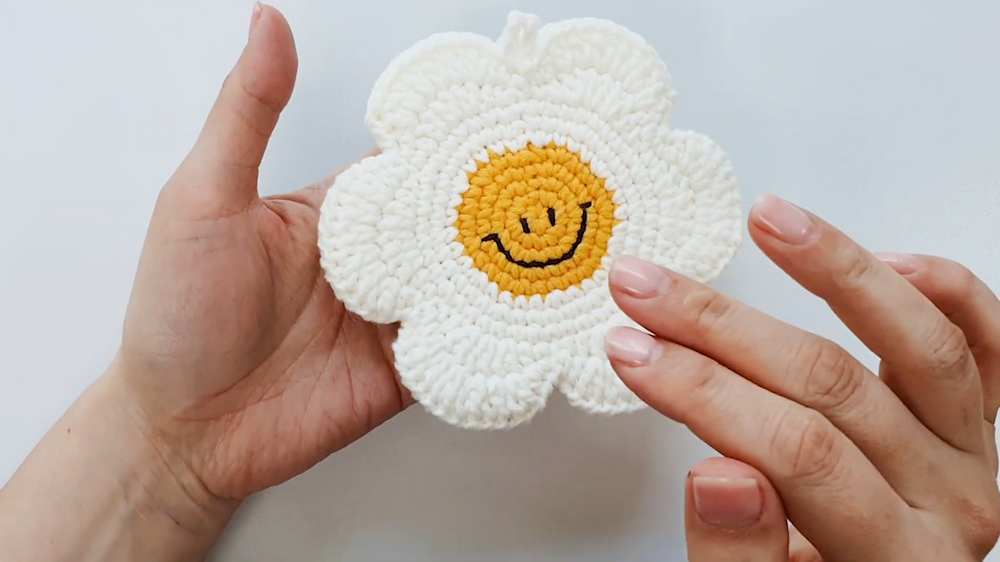
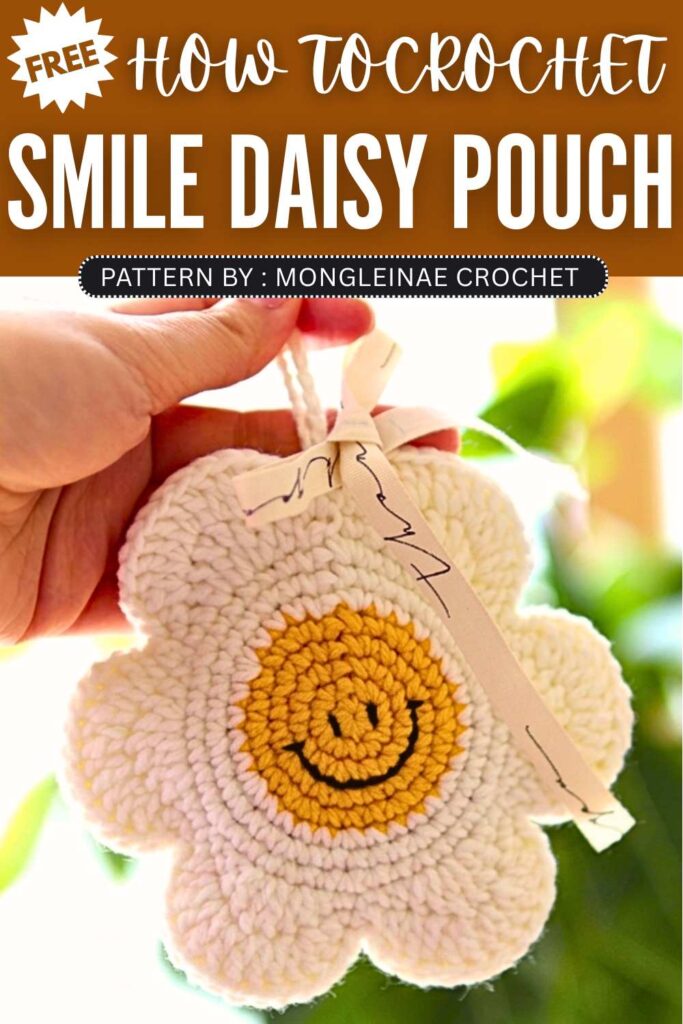
Crochet Smile Daisy Pouch & Applique Pattern
Crochet Smile Daisy Pouch Pattern
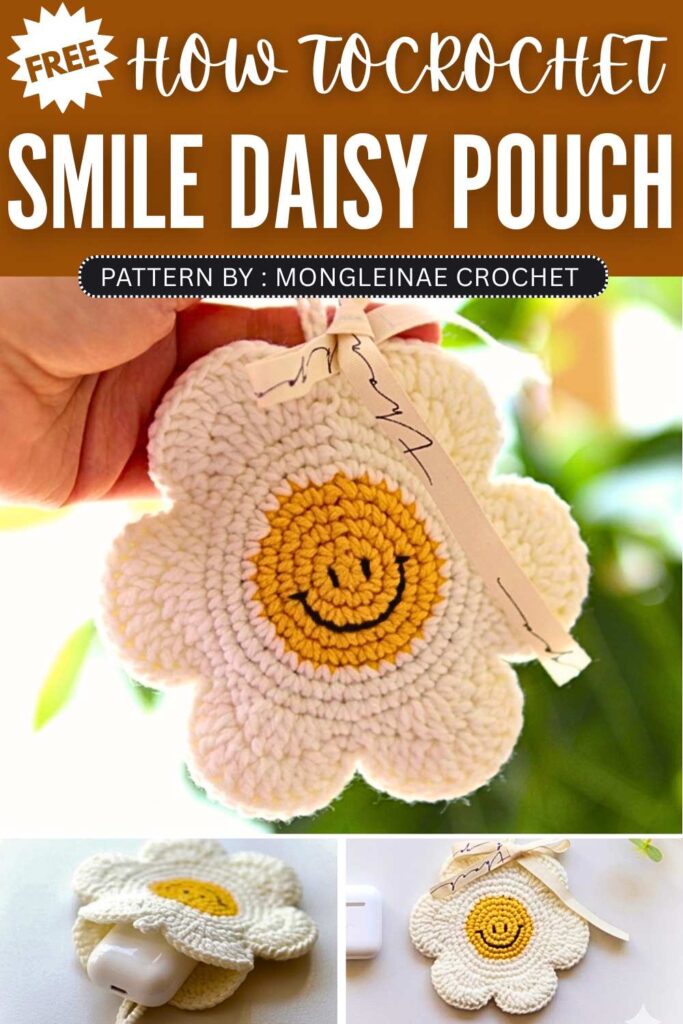
The designer of this pattern is @mongleinae. She makes themed crochet pouches and little decorations that are always elegant and gift-ready. In one word, she is among the most CREATIVE crochet designers whose work I have covered so far. Just take a look at her octopus pouch!
Be sure to subscribe to her channel for more of creative crochet patterns and to support her
Step by Step Pattern:
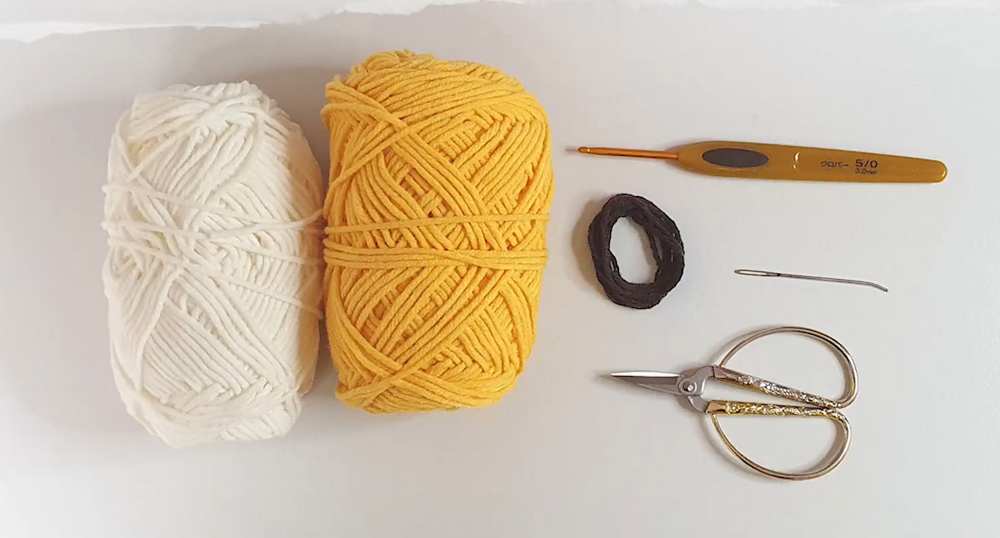
Materials List
Yarn: Yellow (center), White (petals), and Black (face details).
Hook: Recommended size for your yarn (commonly 2.5mm – 3.5mm for this type of project).
Tools: Scissors, Tapestry needle, and an optional steam iron for finishing.
Abbreviations List
MR: Magic Ring
st: Stitch
ch: Chain
sc: Single crochet
inc: Increase (2 sc in the same stitch)
sl st: Slip stitch
hdc: Half double crochet
dc: Double crochet
dc inc: Double crochet increase (2 dc in the same stitch)
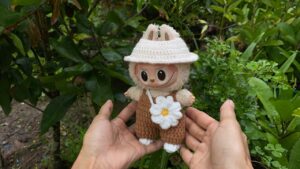
Sunflower Smile Pouch Pattern
Part 1: The Center (Make 2)
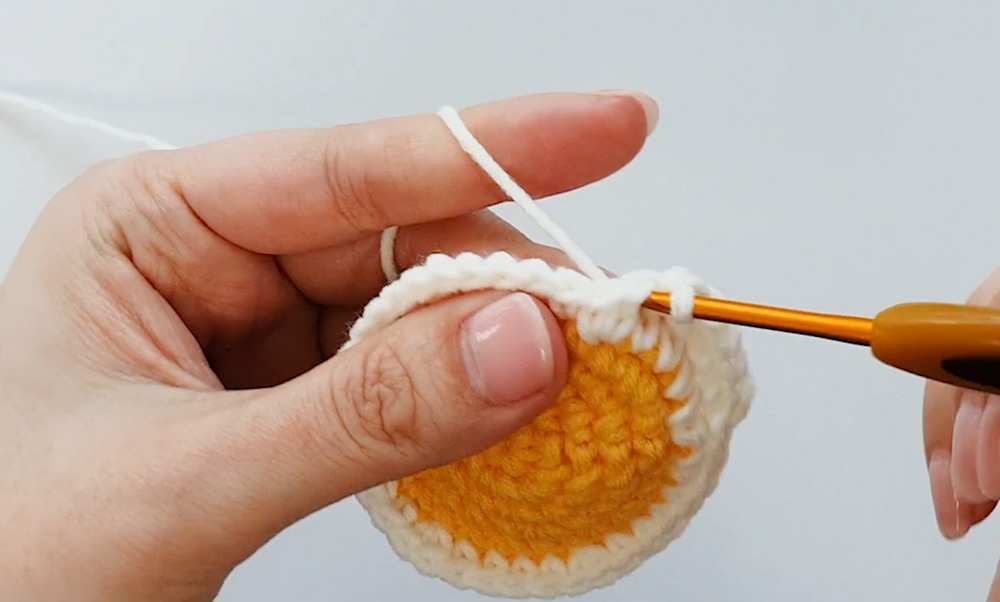
Use Yellow yarn for Rounds 1–5, switching to White yarn at the end of Round 5.
Round 1: Start with a MR (Magic Ring). 6 sc into the ring. Join with a sl st to the first sc, ch 1. [6 sts]
Round 2: 6 inc around. Join with a sl st, ch 1. [12 sts]
Round 3: (1 sc, 1 inc) x 6. Join with a sl st, ch 1. [18 sts]
Round 4: (2 sc, 1 inc) x 6. Join with a sl st, ch 1. [24 sts]
Round 5: (1 sc, 1 inc, 2 sc) x 6 (this staggers the increases for a perfectly round shape). On the last stitch, change to White yarn. Join with a sl st, ch 1. [30 sts]
Round 6: (4 sc, 1 inc) x 6. Join with a sl st, ch 1. [36 sts]
Round 7: (2 sc, 1 inc, 3 sc) x 6. Join with a sl st, ch 1. [42 sts]
Round 8: (6 sc, 1 inc) x 6. Join with a sl st, ch 1. [48 sts]
Part 2: The Flower Petals
Worked in White yarn. You will create 6 petals total around the 48
stitches of the base.
Round 9 (Petal Base):
Sequence per petal: 1 sc, 1 hdc, 3 dc inc (6 dc total over 3 sts), 1 hdc, 1 sc, 1 sl st.
Repeat this 8-stitch sequence 6 times total around the circle.
Round 10 (Petal Shaping):
Sequence per petal (worked into the stitches of Round 9): 1 sc into the sc, 1 hdc into the hdc, 6 dc inc (12 dc total over the 6 dc), 1 hdc into the hdc, 1 sc into the sc, sl st directly into the previous sl st.
Repeat for all 6 petals. Fasten off.

Part 3: Straps & Assembly
Back Piece Strap: On your first finished flower, ch 40 (or your desired crossbody/shoulder length), sl st back into the starting point to secure it, and fasten off.
Front Piece Loop: On your second finished flower, ch 7, sl st back into the starting point, and fasten off. This creates a neat little button-style loop for the long strap to pass through.
Face Embroidery: Using black yarn, embroider two happy eyes on Round 1 of the front piece. Sew a little curved smile two rows below the eyes.
Joining the Pieces: Place the two flowers wrong-sides together, aligning the top strap and loop perfectly. Using a tapestry needle and white yarn, sew the outer edges of the bottom 4 petals together. Leave the top 2 petals un-sewn so you can easily slide your phone or items inside.
💡 Pro Tip: Give the petals a quick, gentle steam with an iron (or the steam setting on a garment steamer) when you’re done. It relaxes the yarn fibers instantly, making the petals lie completely flat and giving it a gorgeous, boutique-quality finish!
.
Video Tutorial:
You may also like
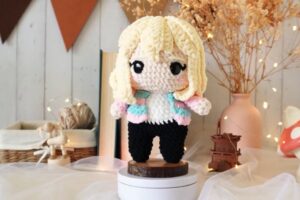
13 Favorite Free Crochet Doll Patterns (Gift & Bring Smile)
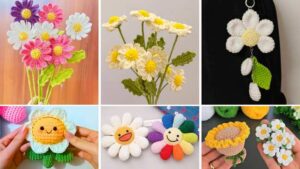
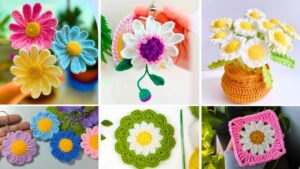
12 Free Crochet Daisy Patterns for Spring
How to Crochet Labubu Accessories (Overalls + Daisy Pouch)
Crochet Labubu Flower Headband And 2 Dresses (Daisy & Tulip Version)
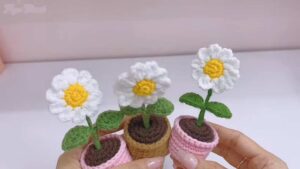
Free Crochet Daisy Flower Pot Pattern
20 Free Crochet Daisy Keychain Tutorials for Spring