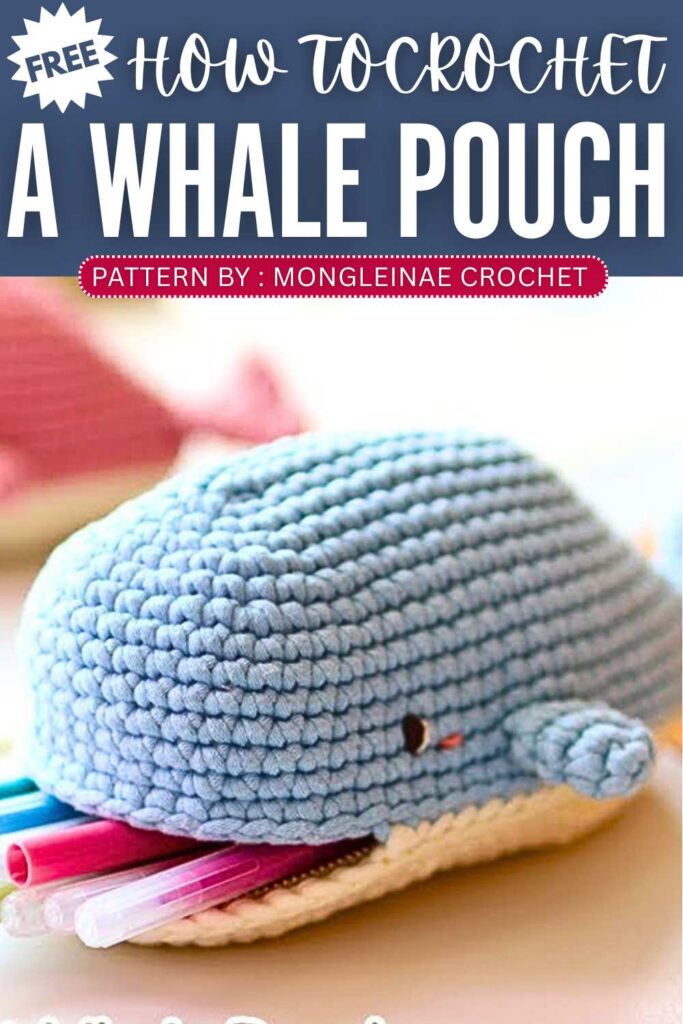
Crochet Whale Pouch Bag Pattern For Summer
Crochet a cute whale pouch that is fun and useful at the same time. The whale’s mouth opens with a zipper and can hold small things like makeup or pens. Soft yarn and simple shaping give it a nice whale look with fins and a round body. Small details like blush cheeks and sleepy eyes make it more cute, and it also works well as a small storage bag or decoration.
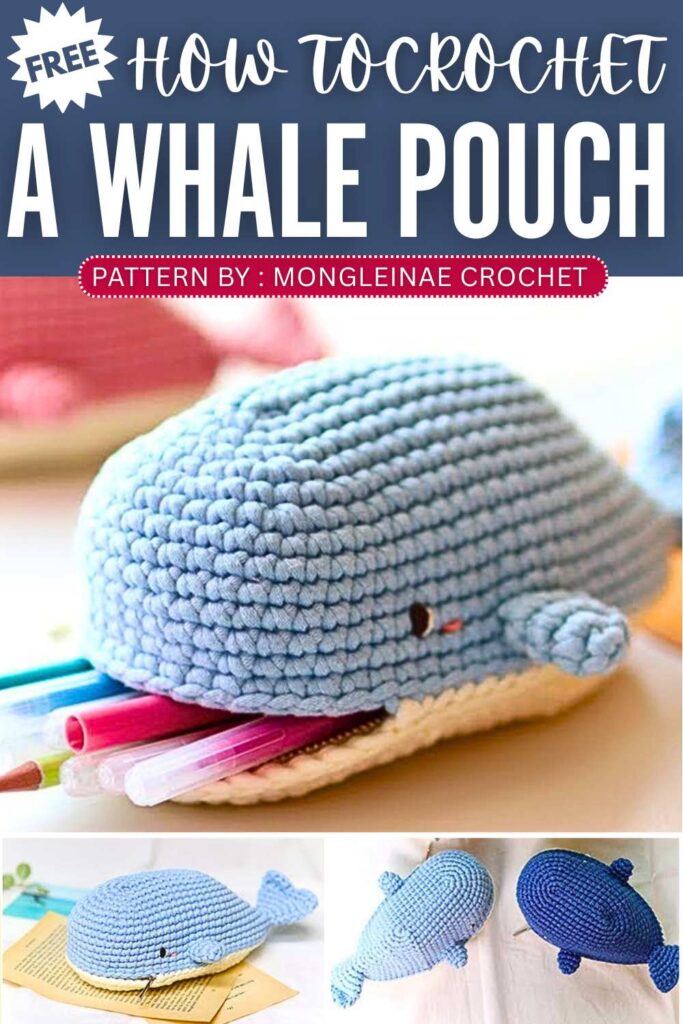
The designer of this pattern is @mongleinae. She makes themed crochet pouches and little decorations that are always elegant and gift-ready. In one word, she is among the most CREATIVE crochet designers whose work I have covered so far. Just take a look at her octopus pouch!
Be sure to subscribe to her channel for more of creative crochet patterns and to support her
Step by Step Pattern:
Materials List
Main Yarn: Thick yarn (e.g., “Somi” brand) in your choice of color (Blue, Pink, etc.).
Secondary Yarn: White or Cream for the belly.
Small Amount of Yarn: Black and Pink for facial features.
Hook: 4.0mm (7/0).
Hardware: Zipper (matching the pouch size), general sewing needle, and thread.
Accessories: Stitch markers, scissors, tapestry needle, and clips or pins for the zipper.
Abbreviations List
ch: Chain
sc: Single crochet
inc: Increase (2 sc in the same stitch)
3-sc inc: 3 single crochets in the same stitch
sl st: Slip stitch
st(s): Stitch(es)
hdc: Half double crochet
Step-by-Step Pattern
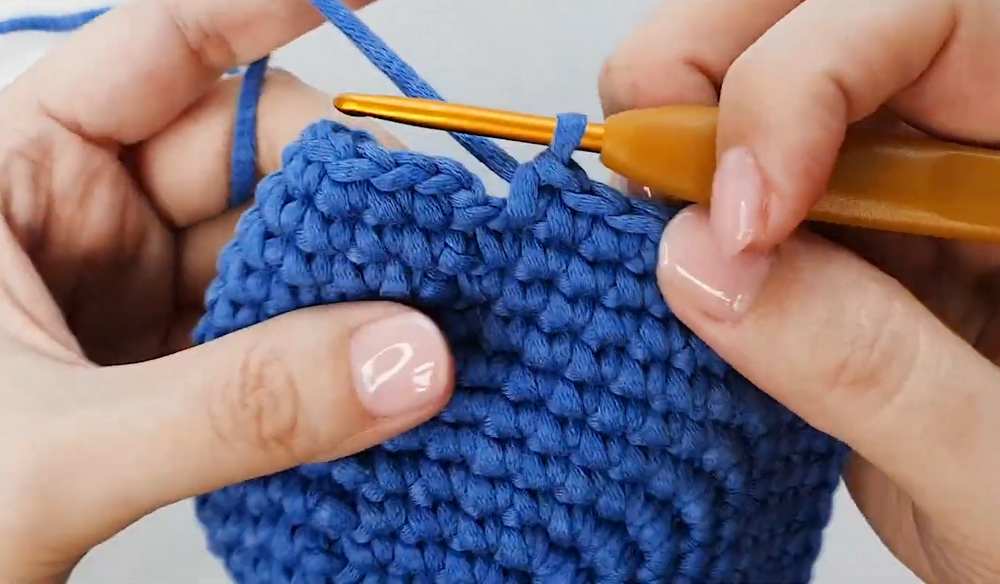
Part 1: Whale Body (Back Piece)
Ch 13. Skip 2 chains; starting from the 3rd chain (using the back bumps/ridge), sc 10. In the last chain, 3-sc inc.
Continue on the other side of the chain: sc 10. In the remaining space of the starting chain, sc 4. Join with sl st.
Rounds 2–7: Continue working in rounds, increasing at the head and tail sections. Increase at the head to broaden the shape and use 2 increases at the tail section for the dorsal transition.
Rounds 8–14: Maintain the shape without further increases at the head, focusing on length and tapering toward the tail. Fasten off and weave in ends.
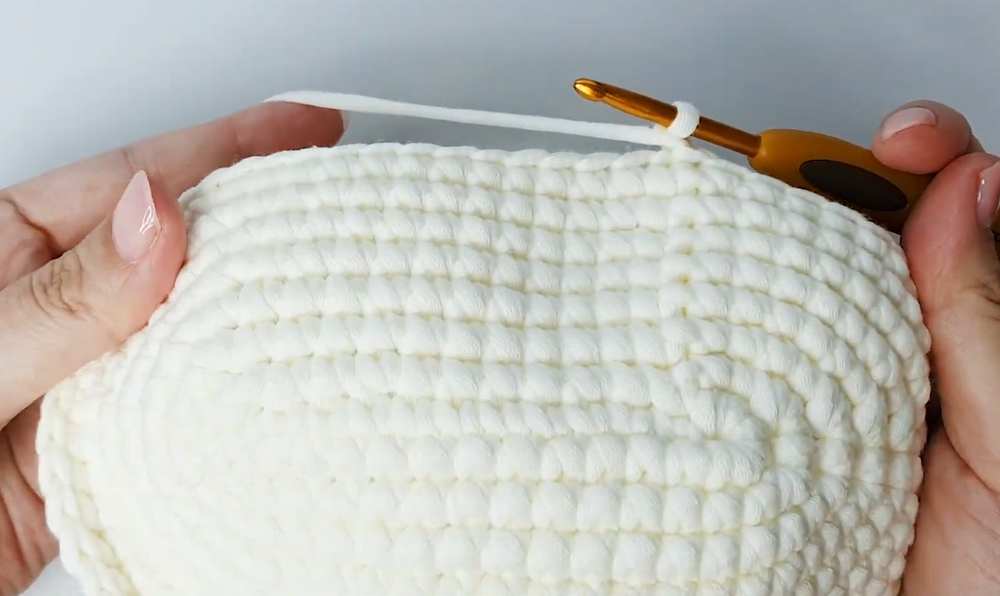
Part 2: Whale Belly
Ch 13. Repeat the same foundation as the back piece (sc 10, 3-sc inc at the end).
Rounds 2–6: Increase at the head and tail. For the belly tail section, use 3-sc inc (3 sc in one stitch) to create a wider, flatter base.
Final Rounds: Work sc around without increases to match the size of the back piece. Fasten off.
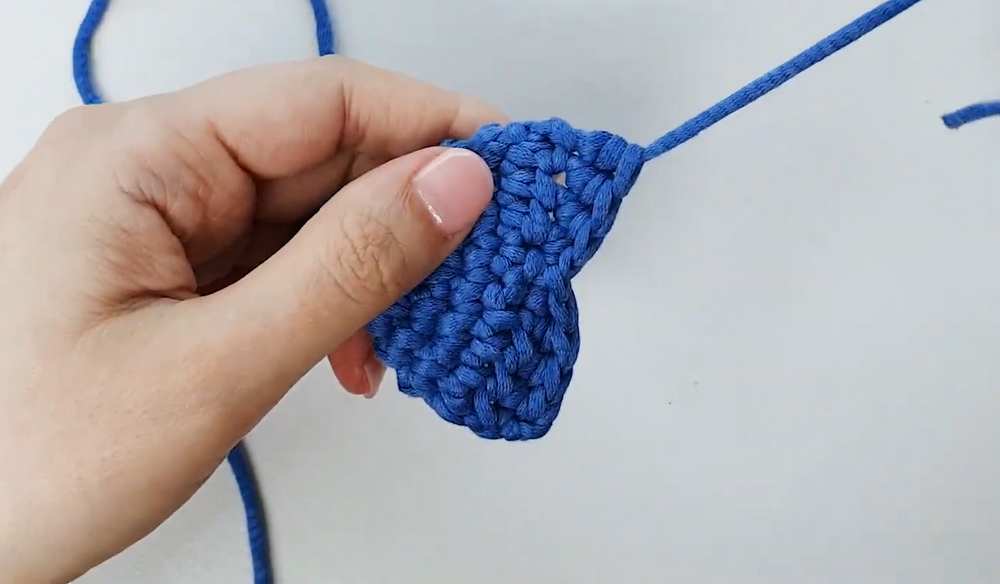
Part 3: Fins & Tail
Side Fins (Make 2): Create a Magic Ring. Sc 4 into ring. Round 2: 4 inc (8 sts). Rounds 3-4: Sc 8. Fasten off with a long tail for sewing.
Tail Fin: Use a Magic Ring. Round 1: Sc 6. Round 2: (sc, inc) x3 (9 sts). Rounds 3-4: Increase patterns to create a flat, triangular shape. Fold and sc across the edge to close.
Part 4: Facial Features
Eyes: Position eyes about 3 rows above the mouth line. Embroider with black yarn (you can make them circular or “sleeping” curved lines).
Cheeks: Use pink yarn to embroider small horizontal lines next to the eyes.
Part 5: Assembly & Zipper
Placement: Align the side fins on the body and the tail fin at the back. Sew securely.
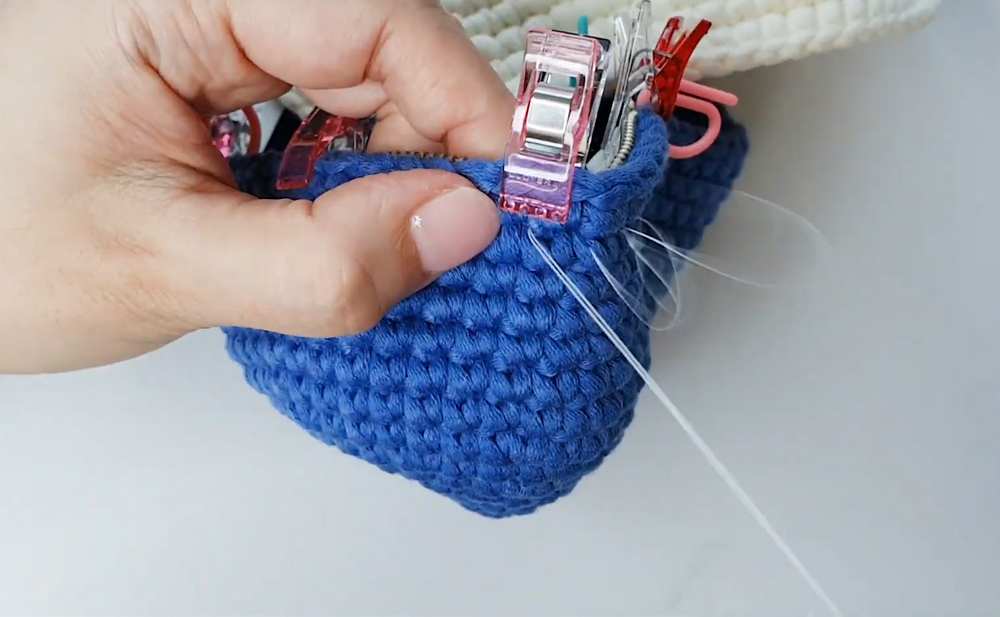
Zipper: Use clips to position the zipper between the “mouth” area of the top and bottom pieces.
Sewing Zipper: Using a standard sewing needle and thread, sew the zipper to the top piece first using a backstitch for strength. Repeat for the bottom piece.
Closing the Body: Sew the remaining edges of the top and bottom pieces together (the back half) using a tapestry needle through the back loops only to join the pieces.
Finishing Touch: Use a steam iron to smooth out the stitches and help the pouch hold its rounded shape.
Video Tutorial:
You may also like

Crochet Oli: Crochet Whale Wallet & Pouch for Summer
Crochet Whale Pouch & Bag Charm Pattern
Crochet Cat Pouch & Bag Charm Pattern Free

Crochet Pineapple Drawstring Pouch Patterns
Crochet Penguin Pouch & Bag Charm Pattern

Crochet Floral Phone Pouch Bag Pattern Free
Free Crocheted Phone Pouch Pattern For Beginners