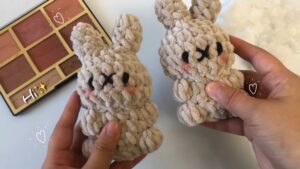
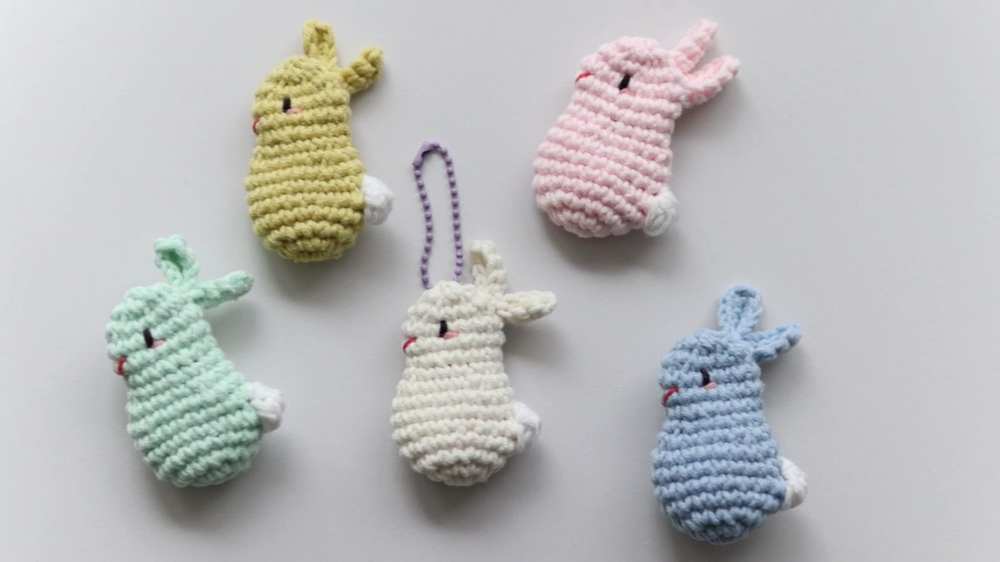
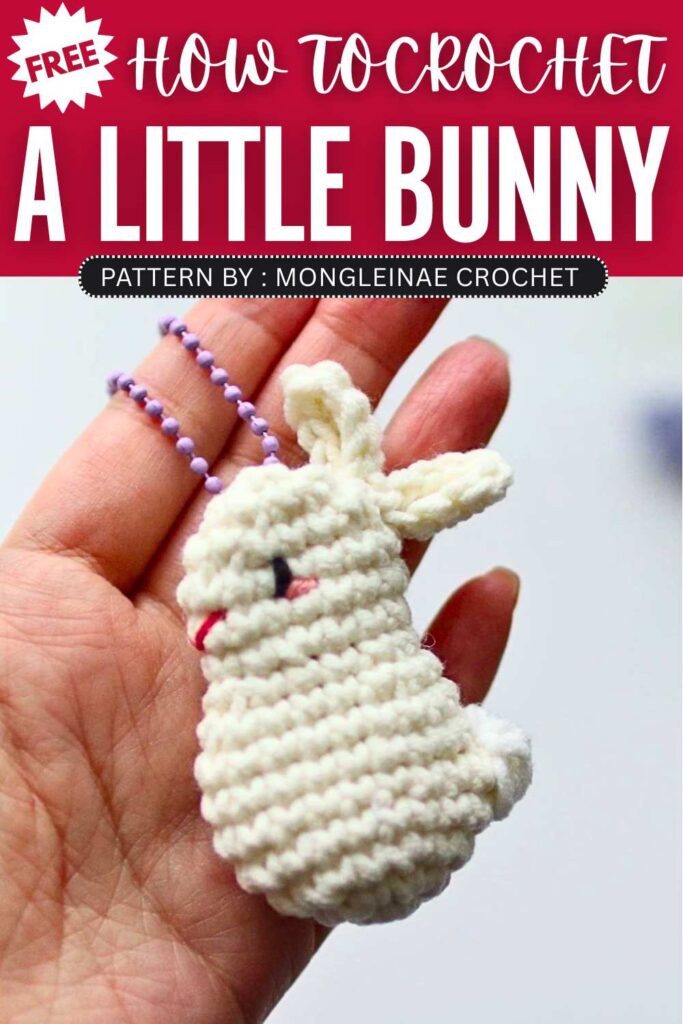
Crochet Little Bunny Amigurumi Brooch Pattern
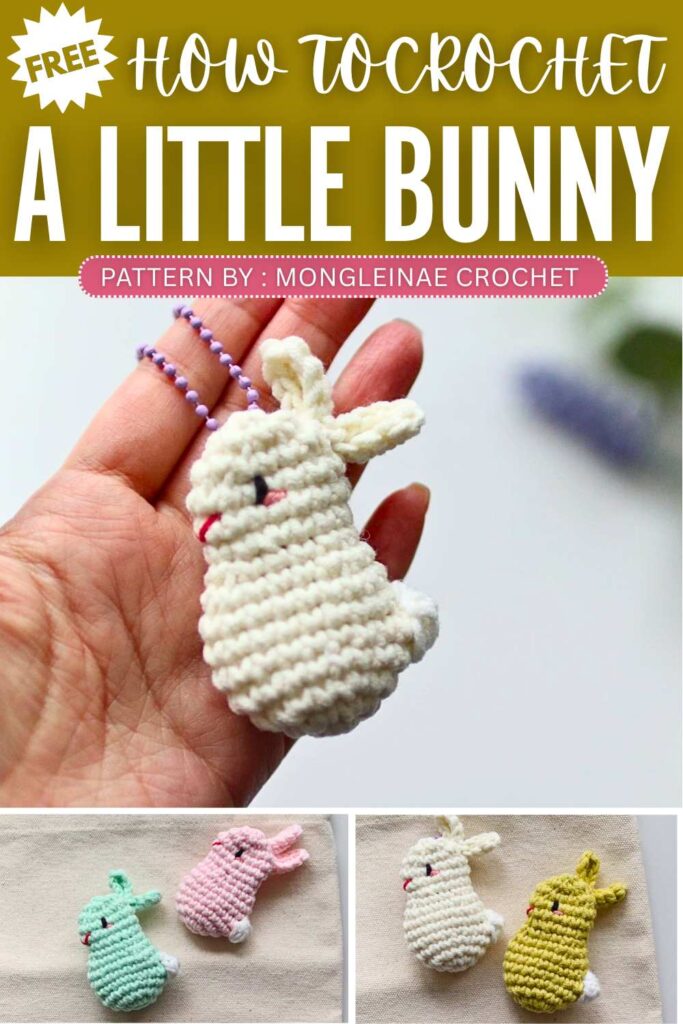
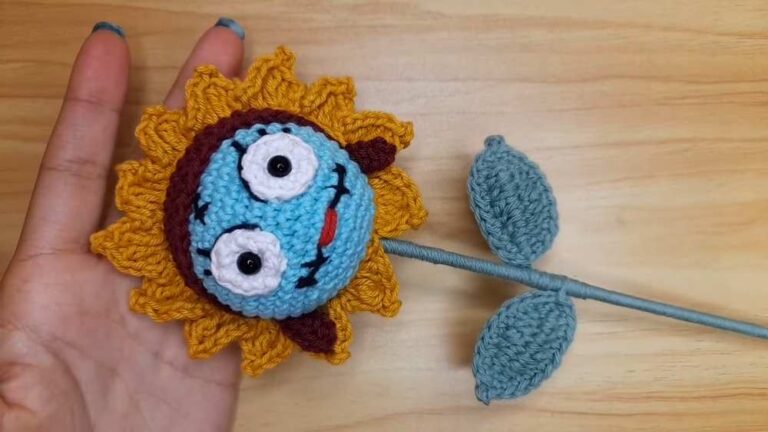
The designer of this pattern is @mongleinae. She makes themed crochet pouches and little decorations that are always elegant and gift-ready. In one word, she is among the most CREATIVE crochet designers whose work I have covered so far. Just take a look at her octopus pouch!
Be sure to subscribe to her channel for more of creative crochet patterns and to support her
Step by Step Pattern:
Materials List
Main Yarn: Approximately 5g of leftover yarn.
White Yarn: Small amount for the tail.
Embroidery Thread: Black and pink (or orange) for the face.
Crochet Hook: Size 5/0 (3.0mm).
Stuffing: Small amount of polyester fiberfill.
Tools: Scissors, yarn needle, and stitch markers.
Hardware: Brooch pin or keychain ring.
Abbreviation List
MR: Magic Ring
sc: Single crochet
inc: Increase (2 sc in the same stitch)
dec: Decrease (Invisible decrease using front loops)
sl st: Slip stitch
ch: Chain
st(s): Stitch(es)
BO: Bobble stitch (5 half-finished double crochets in one stitch)
Step-by-Step Pattern
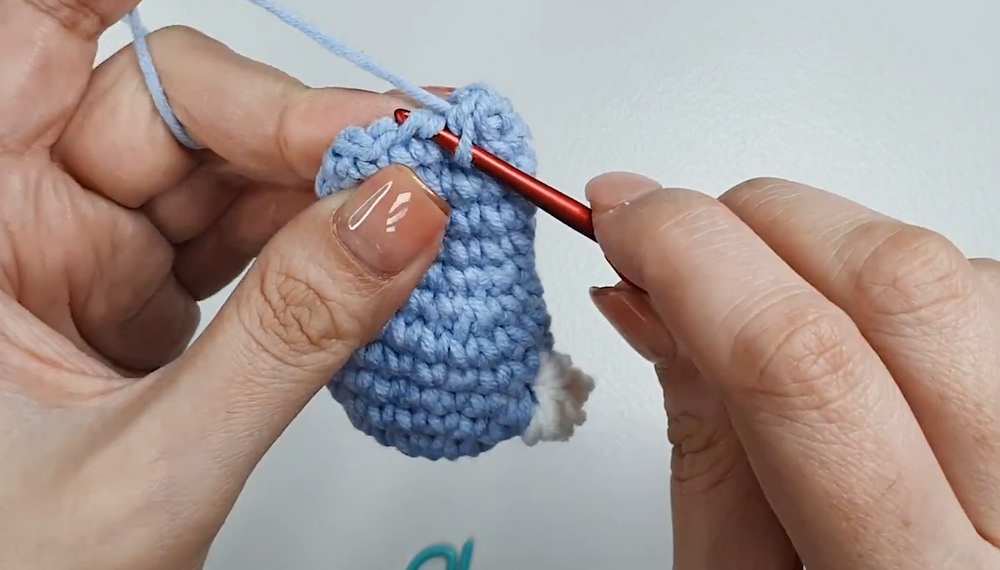
Body & Head
Round 1: In MR, 6 sc. Sl st to first sc. [6 sts]
Round 2: Ch 1, 6 inc. Sl st. [12 sts]
Round 3: Ch 1, (1 sc, 1 inc) x 6. Sl st. [18 sts]
Round 4: Ch 1, 18 sc around. Sl st. [18 sts]
Round 5: Ch 1, 1 sc (switch to white yarn in the last step of this sc), 1 BO in white, switch back to main color, 16 sc. Sl st. [18 sts]
Round 6–7: Ch 1, 18 sc around. Sl st. [18 sts]
Round 8: Ch 1, (4 sc, 1 dec) x 3. Sl st. [15 sts]
Round 9: Ch 1, (3 sc, 1 dec) x 3. Sl st. [12 sts]
Round 10: Ch 1, (1 sc, 1 inc, 2 sc) x 3. Sl st. [15 sts]
Round 11–12: Ch 1, 15 sc around. Sl st. [15 sts]
Round 13: Ch 1, (3 sc, 1 dec) x 3. Sl st. [12 sts]
Stuffing: Add a small amount of stuffing.
Round 14: 6 dec around. Sl st. [6 sts]
Finishing: Cut yarn, weave through front loops to close the top.
Ears
Foundation: Ch 10.
Row 1: Starting in 2nd ch from hook: 2 sc in first st, 7 sc.
Turn: In the last ch, work 3 sc.
Other side: 8 sc along the bottom of the chains.
Finishing: Sl st to first st. Leave a long tail. Fold the base of the ear and sew it slightly pinched to create a “V” shape.
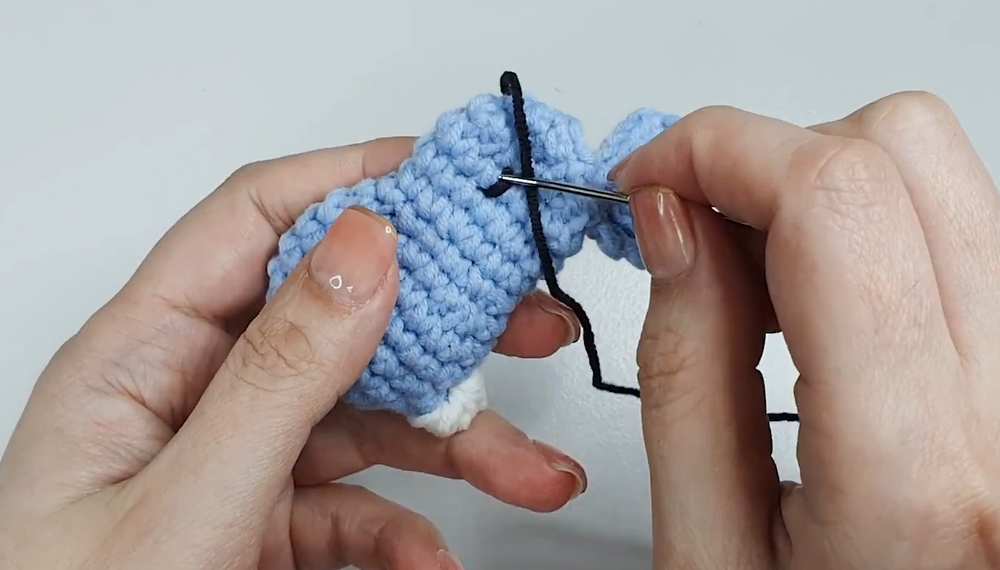
Assembly
Ears: Sew the ear to the top of the head (between Rounds 2 and 3).
Eyes: Using black thread, embroider horizontal lines on Round 3 of the head section.
Nose: Use pink thread to make a small “V” shape centered below the eyes.
Blush: Add small pink stitches next to the eyes for cheeks.
Backing: Sew a brooch pin or attach a keychain ring to the back.
Video Tutorial:
You may also like
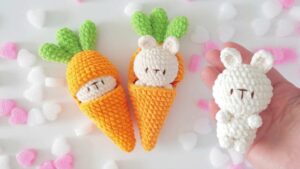
KumoAmu: How to Crochet Bunny in a Carrot Plushie Tutorial for Fall

Free Crochet Mini Bunny Amigurumi Keychain Pattern
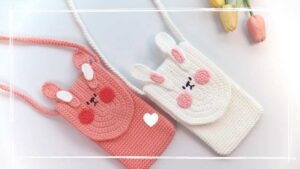
Crochet Bunny Phone Pouch Bag Pattern Free
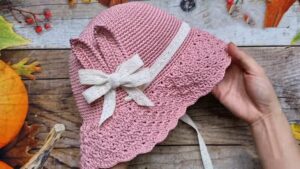
Free Crochet Bunny Ear Summer Hat Pattern
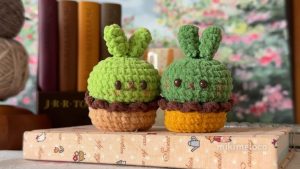
How to Crochet Mochi Bunny in A Pot Plushie for Desktop Decor