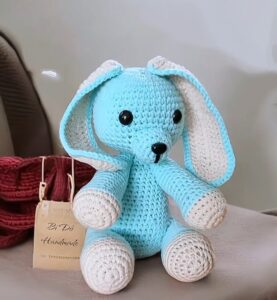
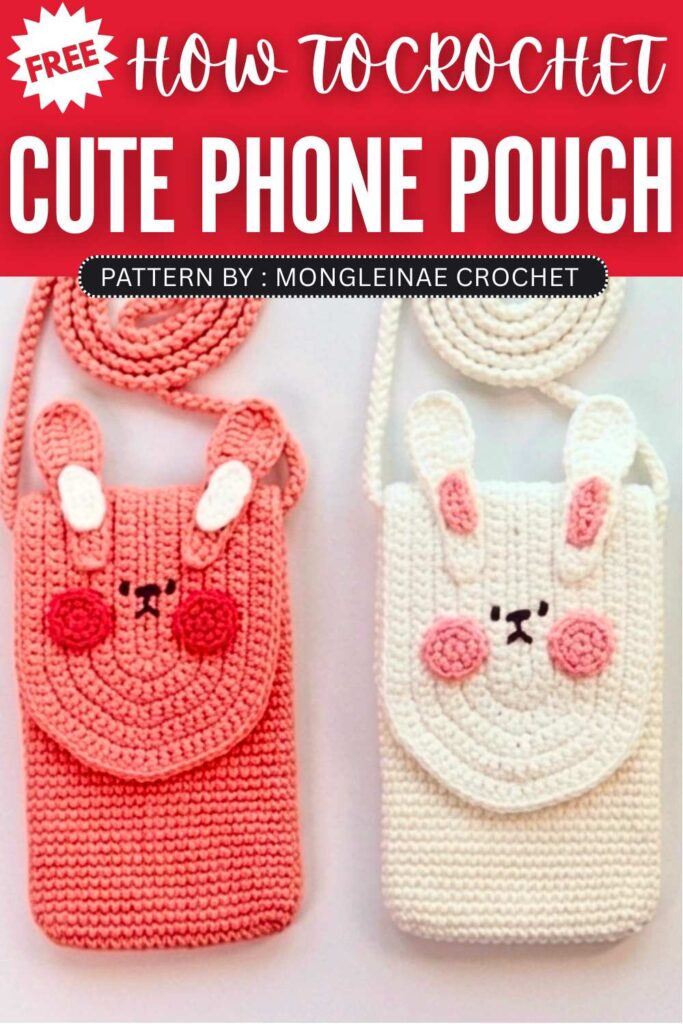
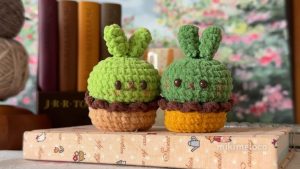
Crochet Bunny Phone Pouch Bag Pattern Free

The designer of this pattern is @mongleinae. She makes themed crochet pouches and little decorations that are always elegant and gift-ready. In one word, she is among the most CREATIVE crochet designers whose work I have covered so far. Just take a look at her octopus pouch!
Be sure to subscribe to her channel for more of creative crochet patterns and to support her
Step by Step Pattern:
Materials List
Yarn: Ivory or Coral Pink (Body), Pink (Inner Ear/Cheeks), Black (Embroidery for face)
Crochet Hook: 3.0mm to 3.5mm (depending on yarn weight)
Other: Safety eyes or black embroidery thread, tapestry needle, scissors, stitch markers, and optional magnetic snaps for closure.
Abbreviations
Ch: Chain
Sc: Single crochet
Inc: Increase (2 sc in one stitch)
Dec: Decrease (sc 2 together)
Sl st: Slip stitch
Hdc: Half double crochet
Dc: Double crochet
BLO: Back loops only
MR: Magic Ring
Step-by-Step Pattern
1. Main Pouch Body
Foundation: Ch 20 (Adjust number of chains to fit the width of your specific phone).
Rnd 1: Skip 1 ch, sc 19 down the chain. In the last ch, work 3 sc. Turn to work on the other side of the chain: sc 18, then work 2 sc in the final stitch.
Rnd 2 (Increase Round): Inc in the first stitch, sc 18, (inc) x3, sc 18, (inc) x2.
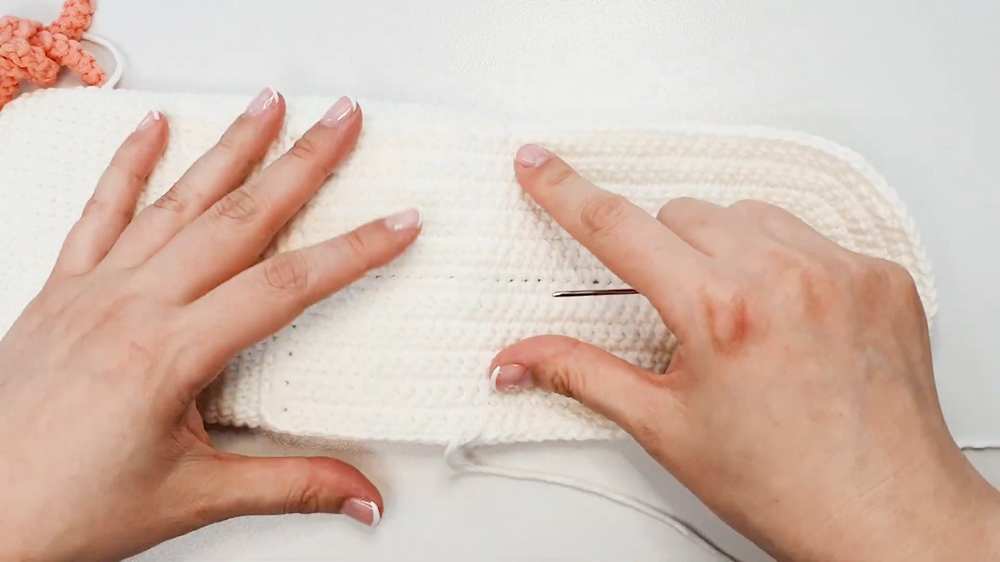
Rnd 3 – 37: Sc in each stitch around (no more increases). Repeat until the pouch reaches the desired height of your phone.
Finishing: Sl st into the next stitch, fasten off, and weave in ends.
2. Back Pocket & Flap
Foundation: Ch 33.
Row 1: Skip 1 ch, sc 32. In the last ch, work 3 sc. Turn to work on the other side: sc 32.
Row 2: Ch 1, turn. Sc 32, (inc) x3 in the rounded end stitches, sc 32.
Row 3: Ch 1, turn. Sc 32, (sc 1, inc) x3, sc 32.
Row 4: Ch 1, turn. Sc 32, (sc 2, inc) x3, sc 32.
Row 5: Ch 1, turn. Sc 32, (sc 1, inc, sc 2) x3, sc 32.
Row 6: Ch 1, turn. Sc 32, (sc 4, inc) x3, sc 32.
Row 7: Ch 1, turn. Sc 32, (sc 2, inc, sc 3) x3, sc 32.
Row 8: Ch 1, turn. Sc 32, (sc 6, inc) x3, sc 32.
Row 9: Ch 1, turn. Sc 32, (sc 3, inc, sc 4) x3, sc 32.
Row 10: Ch 1, turn. Sc 32, (sc 8, inc) x3, sc 32.
Row 11: Ch 1, turn. Sc 32, (sc 4, inc, sc 5) x3, sc 32.
Finishing Edge: Sc evenly across the straight top edge of the flap to clean it up. Fasten off, leaving a long tail for sewing.
3. Bunny Ears (Make 2)
Outer Ear (Ivory):
Ch 15, skip 1 ch.
Sc 5, Hdc 5, Dc 4.
In the last ch: 5 Dc.
Work down the other side: Dc 4, Hdc 5, Sc 5. Sl st to join.
Inner Ear (Pink):
Ch 5, skip 1 ch.
Sc 4. Fasten off and sew onto the center of the outer ear.
4. Cheeks (Make 2 – Pink)
Rnd 1: 6 sc in MR.
Rnd 2: (Inc) x6 [12]. Sl st to join and fasten off.
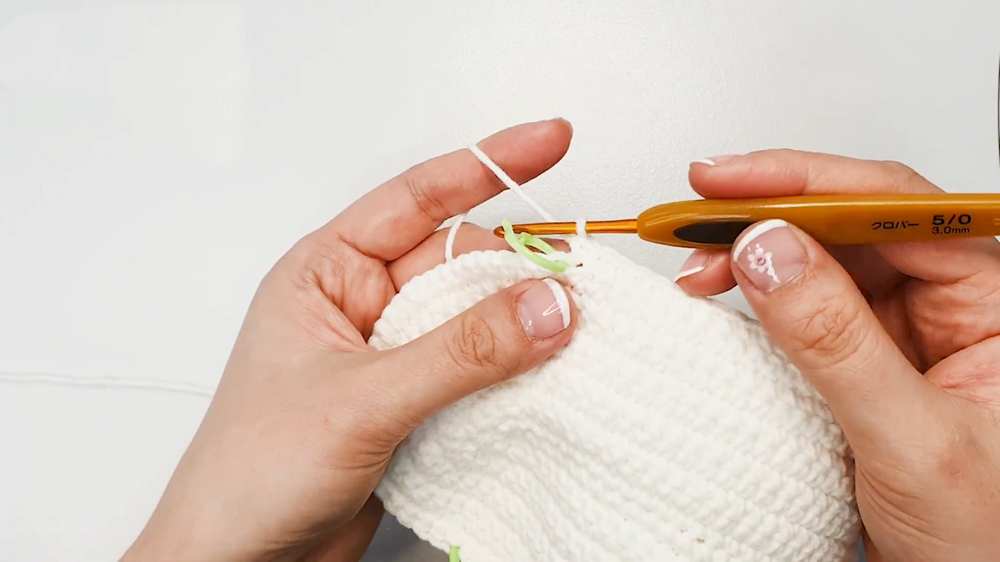
5. Shoulder Strap (I-Cord / Shrimp Stitch)
Ch 2. Sc in the first ch.
Rotate slightly and sc into the side loop.
Continue rotating and sc through the two side loops that form.
Repeat until the strap is approx. 100cm (or 80cm for children).
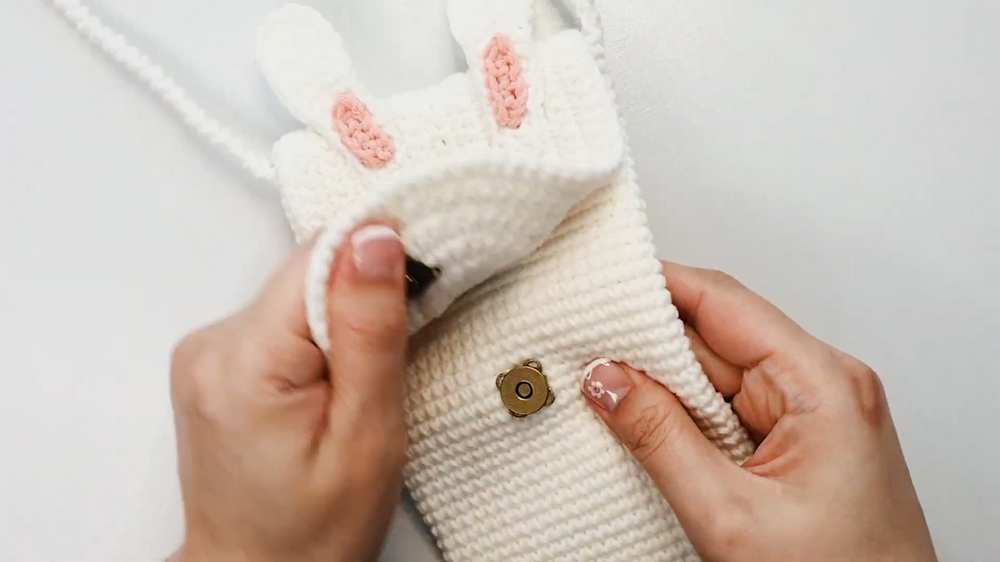
6. Assembly
Pocket: Align the back pocket/flap to the back of the pouch and sew along the sides and bottom.
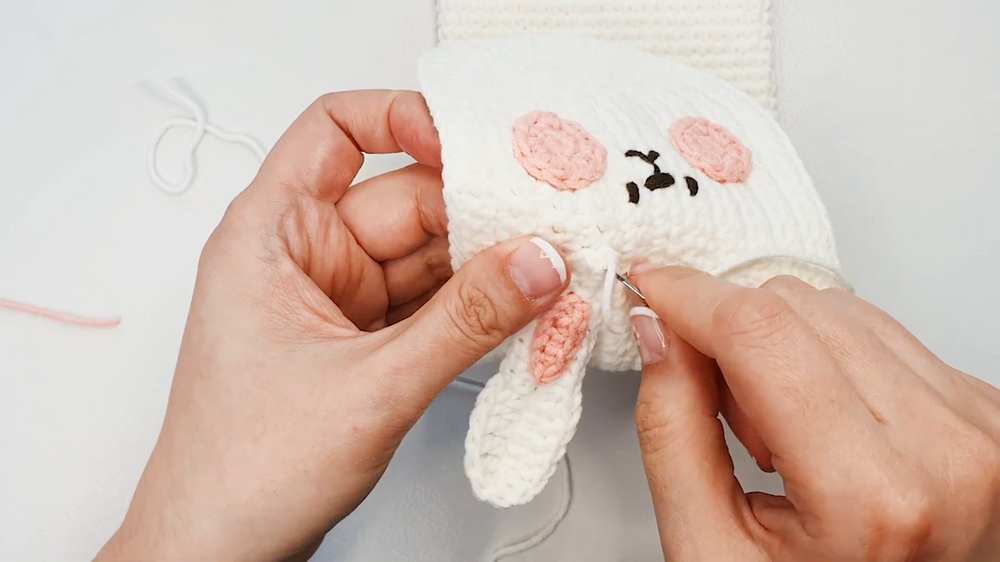
Face: Embroider the nose and eyes onto the front of the pouch. Sew the pink cheeks on either side.
Ears: Sew the ears onto the top edge of the flap or pouch body.
Strap: Securely sew each end of the strap to the inside corners of the pouch.
Video Tutorial:
You may also like
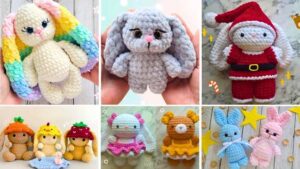
11 Free Crochet Bunny Plushie Dolls for Kids
How to Crochet Miffy Bunny Plushie for Little Ones
Crochet Little Bunny Amigurumi Brooch Pattern
6 Free Crochet Bunny and Bear Amigurumi Patterns
How to Crochet Mochi Bunny in A Pot Plushie for Desktop Decor