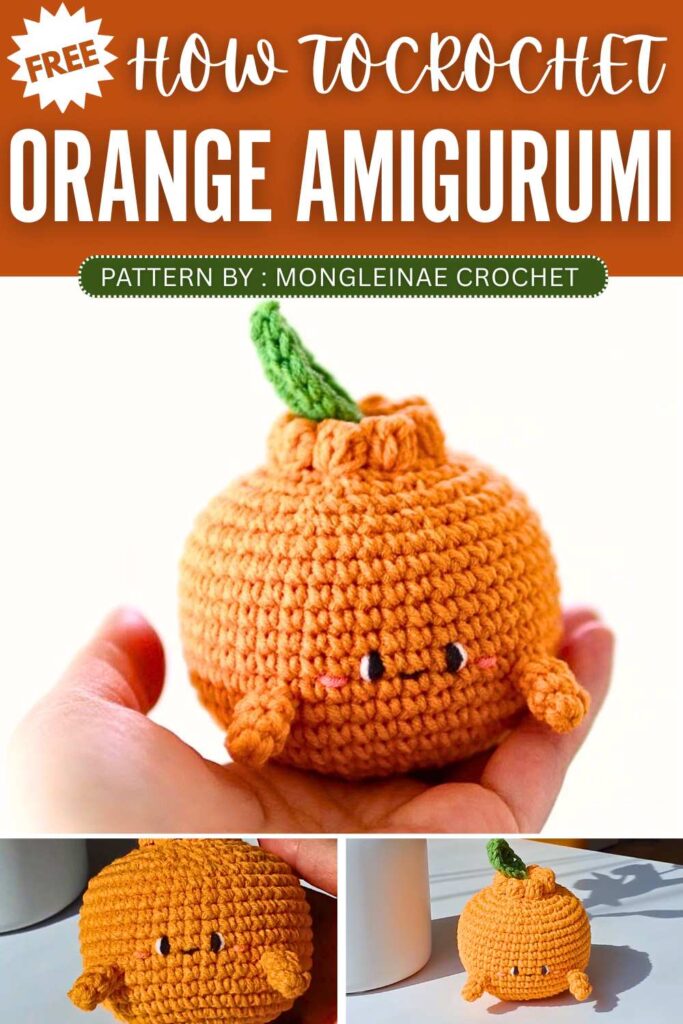
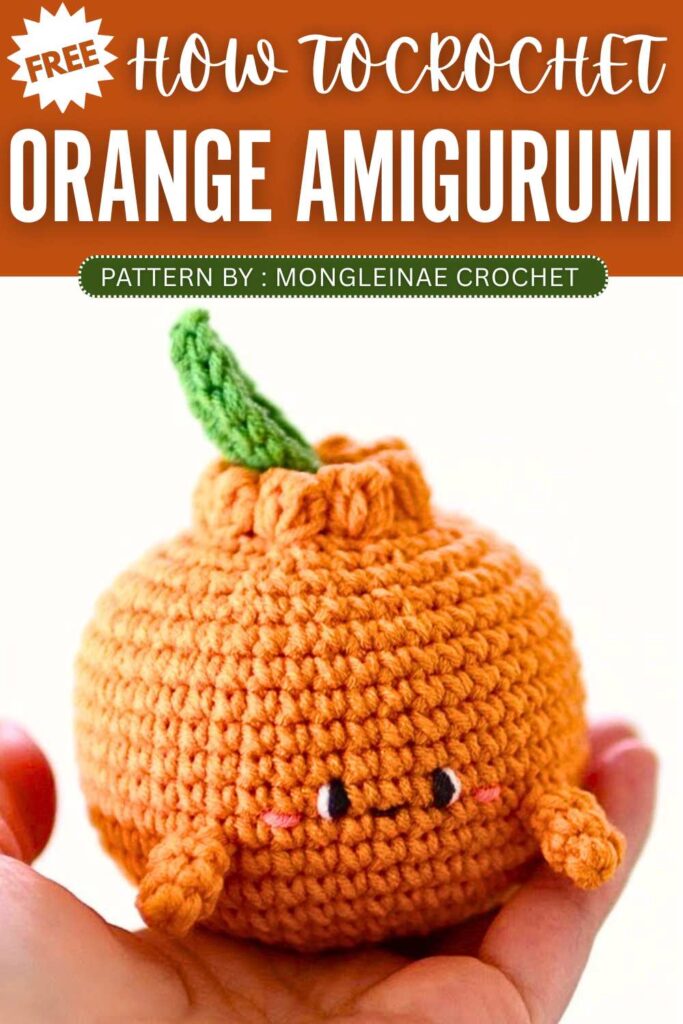
Crochet Happy Orange Amigurumi Toy Pattern
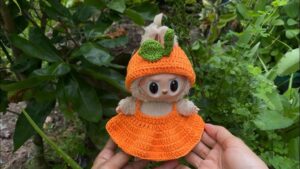
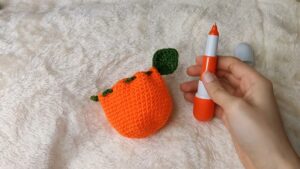
Add a fresh citrus touch to your crochet with this cute fruit amigurumi. It is shaped like a small round orange with a bumpy top, just like the real Jeju fruit. Bright orange yarn and a little green leaf make it look lively and simple. Soft and easy to hold, it works well as a small decoration that brings a natural, cheerful feel to any space.
The designer of this pattern is @mongleinae. She makes themed crochet pouches and little decorations that are always elegant and gift-ready. In one word, she is among the most CREATIVE crochet designers whose work I have covered so far. Just take a look at her octopus pouch!
Be sure to subscribe to her channel for more of creative crochet patterns and to support her
Step by Step Pattern:
Materials List
Yarn: Orange (Body) and Green (Stem & Leaf)
Crochet Hook: 2.5mm
Eyes: Safety eyes (approx. 5-6mm)
Embroidery: Black thread (mouth), Pink thread (cheeks)
Tools: Polyester stuffing, tapestry needle, and scissors
Abbreviations
MR: Magic Ring
Sc: Single crochet
Inc: Increase (2 sc in one stitch)
Dec: Decrease (sc 2 together)
Sl st: Slip stitch
Ch: Chain
Hdc: Half double crochet
Dc: Double crochet
BLO: Back loops only
Step-by-Step Pattern
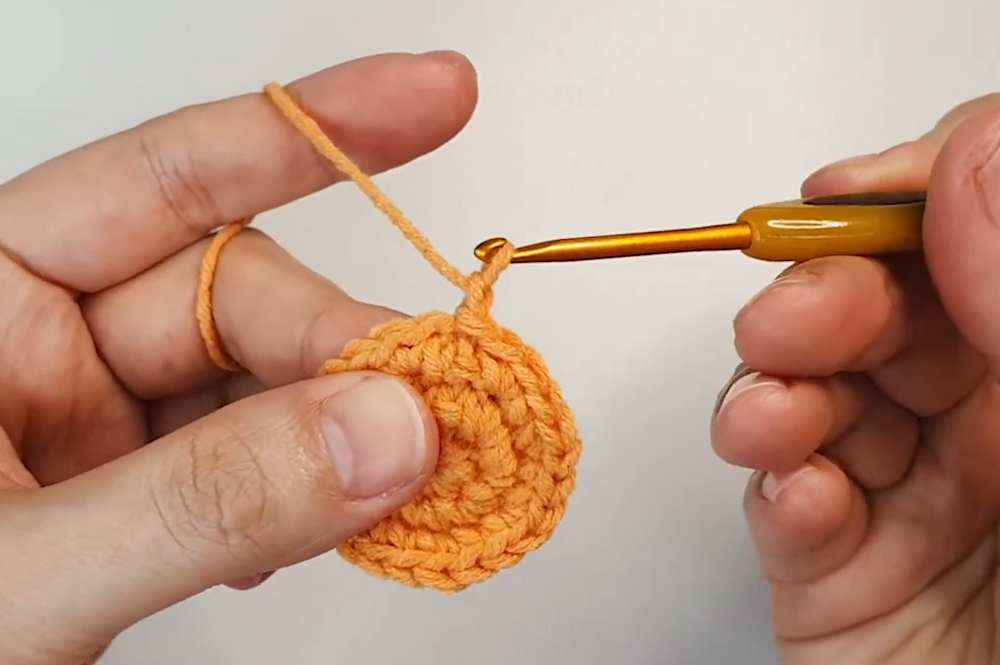
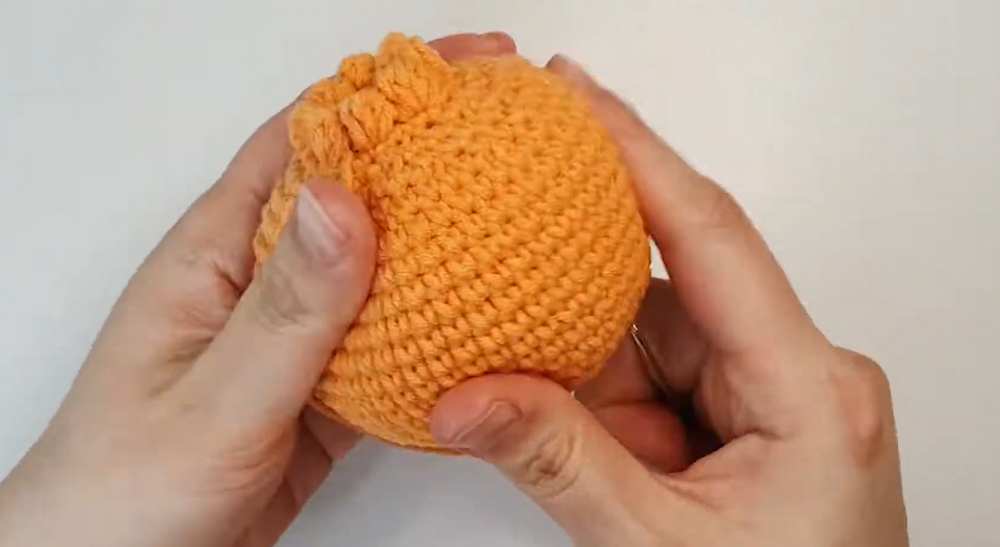
1. Body (Orange Yarn)
Rnd 1: 6 sc in MR [6]
Rnd 2: (Inc) x6 [12]
Rnd 3: (1 sc, inc) x6 [18]
Rnd 4: 18 sc in BLO (This creates the ridge for the top bump) [18]
Rnd 5: (2 sc, inc) x6 [24]
Rnd 6: (3 sc, inc) x6 [30]
Rnd 7: (4 sc, inc) x6 [36]
Rnd 8: (5 sc, inc) x6 [42]
Rnd 9: (6 sc, inc) x6 [48]
Rnd 10-17: Sc in each stitch around [48]
Insert safety eyes between Rounds 13 and 14, approximately 7-8 stitches apart.
Rnd 18: (6 sc, dec) x6 [42]
Rnd 19: (5 sc, dec) x6 [36]
Rnd 20: (4 sc, dec) x6 [30]
Rnd 21: (3 sc, dec) x6 [24]
Begin stuffing the body.
Rnd 22: (2 sc, dec) x6 [18]
Rnd 23: (1 sc, dec) x6 [12]
Rnd 24: (Dec) x6 [6]
Fasten off and sew the remaining hole closed.
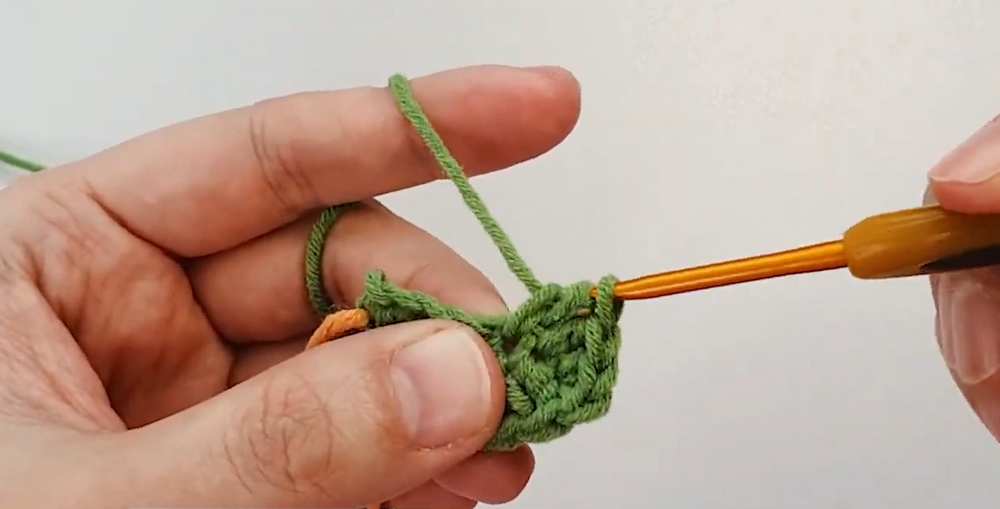
2. Stem & Leaf (Green Yarn)
Stem:
Join green yarn to the center of the Magic Ring at the very top.
Ch 4, then starting from the 2nd chain from the hook, work 3 sl st back down. Fasten off.
Leaf:
Ch 6.
Starting from 2nd chain from hook: 1 sl st, 1 sc, 1 hdc, 1 dc, then work 3 dc into the last chain.
Turn to work on the opposite side of the chain: 1 dc, 1 hdc, 1 sc, 1 sl st.
Fasten off and sew the leaf to the base of the stem.
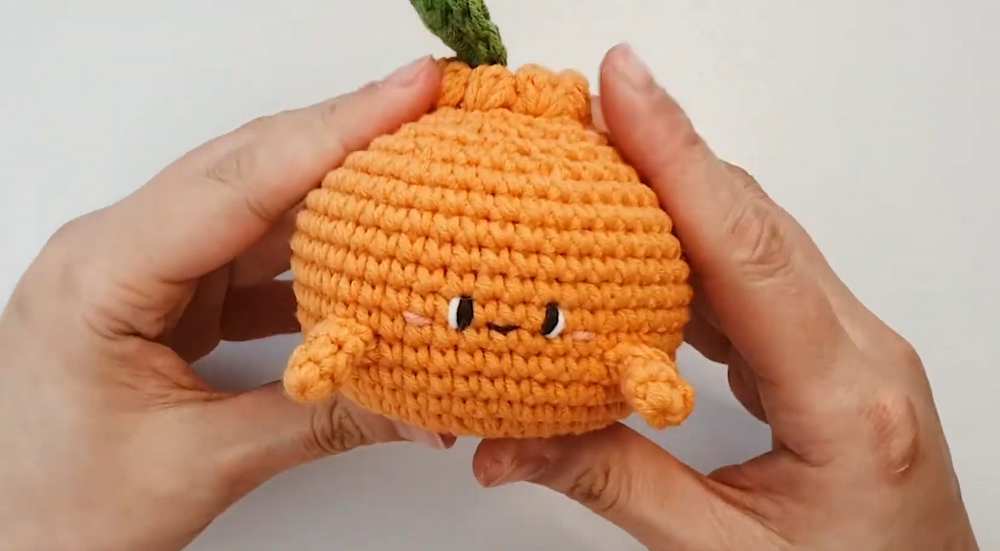
3. Finishing Touches
Mouth: Embroider a small “V” shape centered between the eyes.
Cheeks: Use pink thread to stitch two small horizontal lines just below and to the side of the eyes.
Video Tutorial:
You may also like
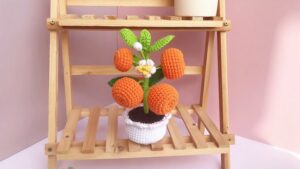
How to Crochet Mini Orange Plant Pot For Fall
How to Crochet Orange Drawstring Pouch for Fall
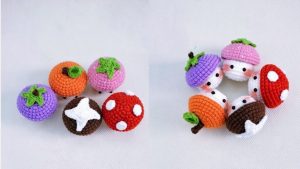
Crochet 5 Fruity Mushroom Keychains (Strawberry, Orange & More)
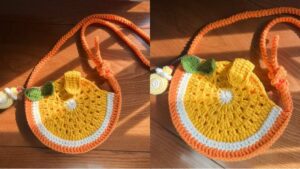
Crochet Orange Bag Pattern For Summer Fashion
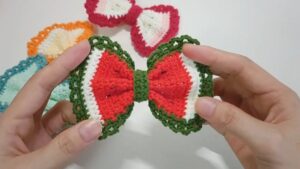
How to Crochet Fruity Bows (Watermelon, Orange & Strawberry Bow)